


[TOC]
序:接口文档
在开发过程中,接口文档是非常重要的一环,在 Spring Boot 中,我们可以通过集成第三方来实现接口文档的自动生成。
通过注解来描述接口,然后根据这些注解自动生成接口文档,它不仅方便开发者查看和理解接口的功能和参数,还能帮助前后端开发协同工作,提高开发效率。
常用的接口文档,有Swagger和Knife4j,推荐Knife4j 。
- 作用
- 方便前后端开发对接
- 方便沉淀和维护
- 支持在线调试、在线测试
- 可以导出接口文档
1 Swagger
Swagger 是一个 RESTful 接口文档的规范和工具集,它的目标是统一 RESTful 接口文档的格式和规范。
1.1 基本信息
官网
Maven中央仓库
1.2 接入步骤
根据maven中央仓库,引入包
根据SpringBoot选择对应的版本,我的是SpringBoot版本是
2.7.15Swagger后端包
<!-- https://mvnrepository.com/artifact/io.springfox/springfox-swagger2 -->
<dependency>
  <groupId>io.springfox</groupId>
  <artifactId>springfox-swagger2</artifactId>
  <version>2.9.2</version>
</dependency>
Swagger前端包
<!-- https://mvnrepository.com/artifact/io.springfox/springfox-swagger-ui -->
<dependency>
    <groupId>io.springfox</groupId>
    <artifactId>springfox-swagger-ui</artifactId>
    <version>2.9.2</version>
</dependency>
创建配置类
新建
SwaggerConfig.java文件package com.leovany.usercenter.config; import org.springframework.context.annotation.Bean; import org.springframework.context.annotation.Configuration; import springfox.documentation.builders.ApiInfoBuilder; import springfox.documentation.builders.PathSelectors; import springfox.documentation.builders.RequestHandlerSelectors; import springfox.documentation.service.ApiInfo; import springfox.documentation.service.Contact; import springfox.documentation.spi.DocumentationType; import springfox.documentation.spring.web.plugins.Docket; import springfox.documentation.swagger2.annotations.EnableSwagger2; @Configuration @EnableSwagger2 public class SwaggerConfig { @Bean public Docket productApi() { return new Docket(DocumentationType.SWAGGER_2) .apiInfo(apiInfo()) .select() // 这里一定要标注你控制器的位置 .apis(RequestHandlerSelectors.basePackage("com.leovany.usercenter.controller")) .paths(PathSelectors.any()) .build(); } /** * api 信息 * * @return */ private ApiInfo apiInfo() { return new ApiInfoBuilder() .title("用户中心") .description("用户中心接口文档") .termsOfServiceUrl("https://github.com/leovany") .contact(new Contact("leovany", "https://github.com/leovany", "xxx@qq.com")) .version("v1.0.0") .build(); } }
配置路径匹配策略
如果 springboot version >= 2.6,需要添加如下配置
spring:
    mvc:
        pathmatch:
        matching-strategy: ANT_PATH_MATCHER
原因
Spring MVC 的路径匹配策略是
ant-path-matcher,而 Spring Boot 2.6.x版本的默认匹配策略是path-pattern-matcher,这就导致启动时报错,错误内容信息:Failed to start bean 'documentationPluginsBootstrapper'; nested exception is java.lang.NullPointerException ...
启动项目,输入地址
地址:
http://localhost:8080/swagger-ui.html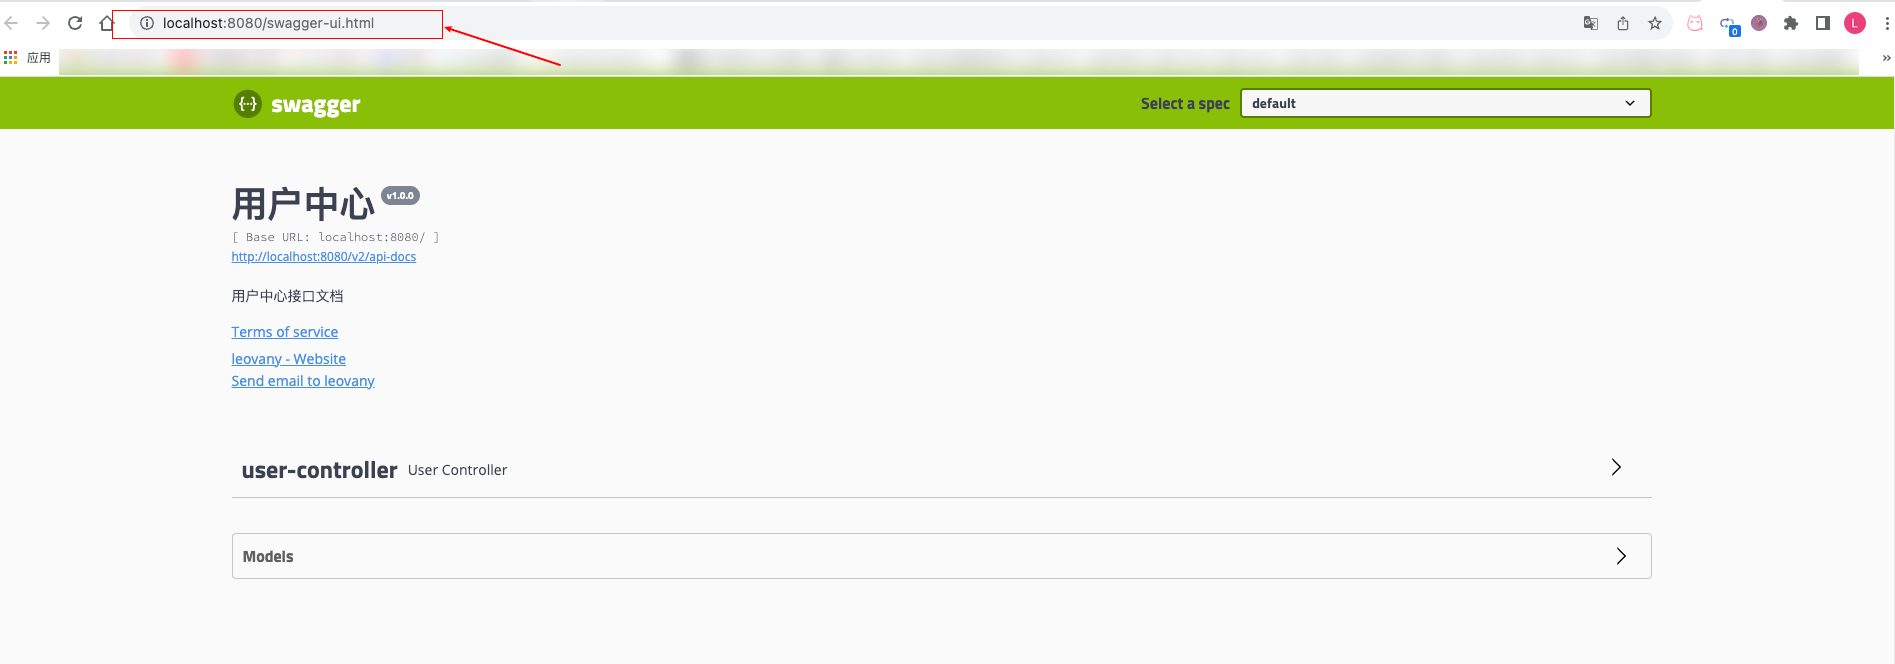
2 Knife4j
knife4j是为Java MVC框架集成Swagger生成Api文档的增强解决方案
2.1 基本信息
2.2 接入步骤
根据maven中央仓库,引入包
根据SpringBoot选择对应的版本,我的是SpringBoot版本是
2.7.15<!-- https://mvnrepository.com/artifact/com.github.xiaoymin/knife4j-spring-boot-starter --> <dependency> <groupId>com.github.xiaoymin</groupId> <artifactId>knife4j-spring-boot-starter</artifactId> <version>3.0.3</version> </dependency>创建配置类
新建
Knife4jConfig.java文件package com.leovany.usercenter.config; import org.springframework.context.annotation.Bean; import org.springframework.context.annotation.Configuration; import org.springframework.context.annotation.Profile; import springfox.documentation.builders.ApiInfoBuilder; import springfox.documentation.builders.PathSelectors; import springfox.documentation.builders.RequestHandlerSelectors; import springfox.documentation.service.ApiInfo; import springfox.documentation.service.Contact; import springfox.documentation.spi.DocumentationType; import springfox.documentation.spring.web.plugins.Docket; import springfox.documentation.swagger2.annotations.EnableSwagger2WebMvc; /** * 自定义 Knife4j 接口文档的配置 */ @Configuration @EnableSwagger2 public class Knife4jConfig { @Bean(value = "defaultApi2") public Docket defaultApi2() { return new Docket(DocumentationType.SWAGGER_2) .apiInfo(apiInfo()) .select() // 项目controller的位置 .apis(RequestHandlerSelectors.basePackage("com.leovany.usercenter.controller")) .paths(PathSelectors.any()) .build(); } /** * api 信息 * * @return */ private ApiInfo apiInfo() { return new ApiInfoBuilder() .title("用户中心") .description("用户中心接口文档") .termsOfServiceUrl("https://github.com/leovany") .contact(new Contact("leovany", "https://github.com/leovany", "xxx@qq.com")) .version("1.0.0") .build(); } }配置路径匹配策略
如果 springboot version >= 2.6,需要添加如下配置
spring:
    mvc:
        pathmatch:
        matching-strategy: ANT_PATH_MATCHER
原因
Spring MVC 的路径匹配策略是
ant-path-matcher,而 Spring Boot 2.6.x版本的默认匹配策略是path-pattern-matcher,这就导致启动时报错,错误内容信息:Failed to start bean 'documentationPluginsBootstrapper'; nested exception is java.lang.NullPointerException ...
配置是否屏蔽文档接口
在文件
application.yml配置,生产环境注意防止暴露接口文档(production设置为true)knife4j: # 开启增强配置 enable: true # 是否屏蔽接口文件(true=屏蔽,false=不屏蔽) production: false启动项目,输入地址
地址:
http://localhost:8080/doc.html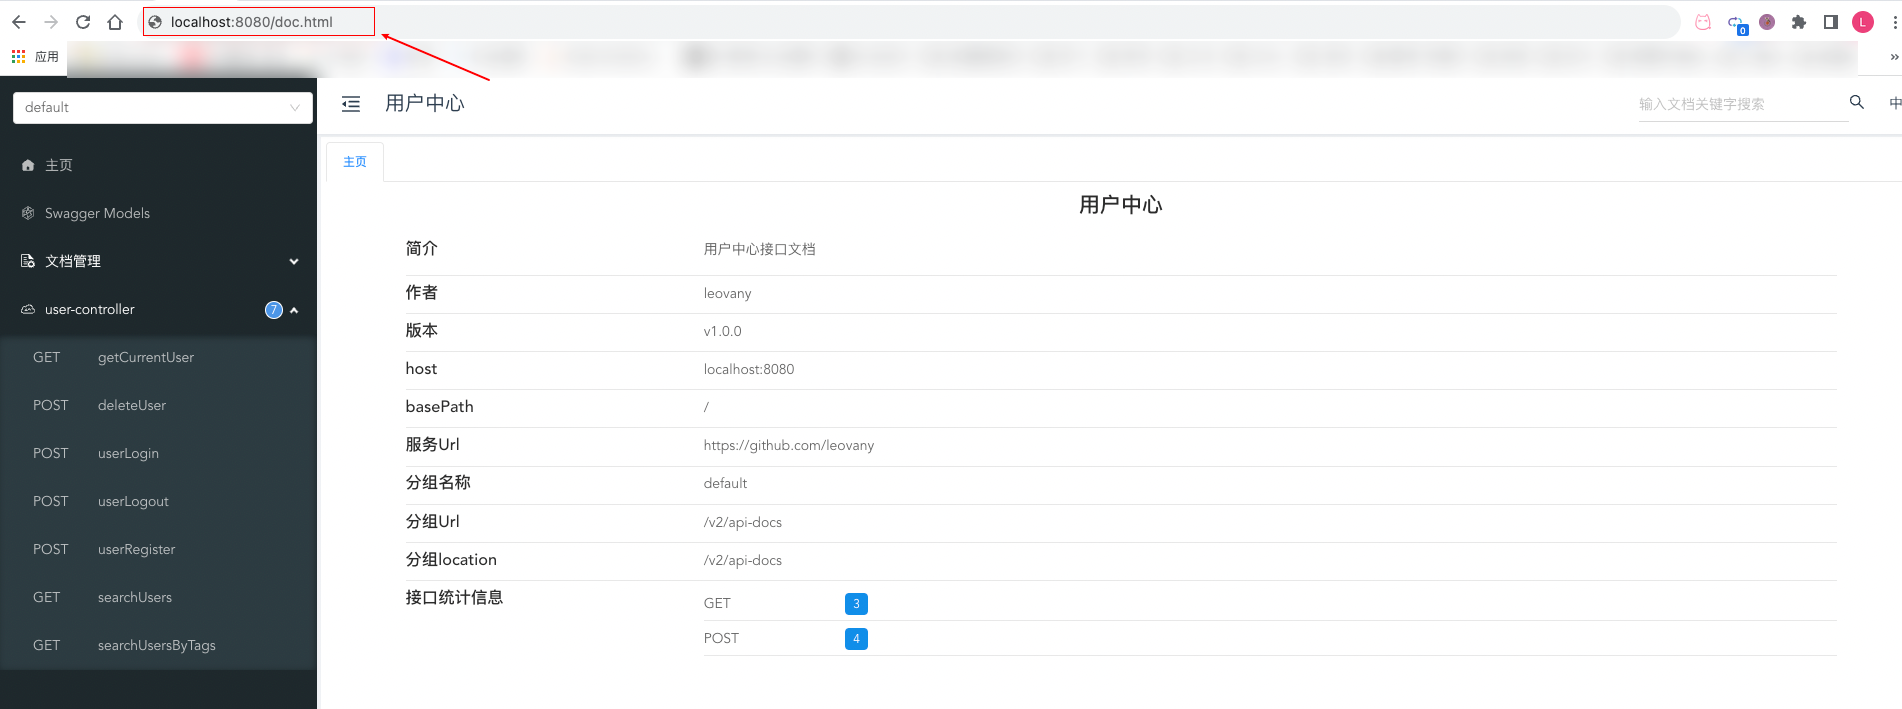


 2032
2032


 被折叠的 条评论
为什么被折叠?
被折叠的 条评论
为什么被折叠?
 到【灌水乐园】发言


