


1、全局异常处理——ErrorController
首先创建一个处理异常的Controller 实现ErrorController接口
@Controller
@RequestMapping(value="error")
public class BaseErrorController implements ErrorController {

	private static final Logger LOG = LoggerFactory.getLogger(BaseErrorController.class);

	@Override
	public String getErrorPath() {
		// TODO Auto-generated method stub
		LOG.info("出错了,进入自定义错误控制器");
		return "error/error";
	}

	@RequestMapping
	public String error() {
		return getErrorPath();
	}

}
在创建一个HTML页面来显示错误
	<body>
		<h2>ErrorController</h2>
		<span>出错了!!</span>
	</body>
当然要配置文件读取位置
#设置后缀以及页面存放位置
spring:
  thymeleaf:
    prefix: classpath:/web/
    suffix: .html
项目结构

运行测试 结果如下图:
当访问链接错误时,就会显示error.html

当访问链接正确时 会显示正确页面 如下图

2、自动匹配异常处理
什么是自动匹配异常处理,意思就是按照状态码命名html文件
这种方法不用编写任何异常Controller ,直接添加页面,SpringBoot可以自动根据状态码解析渲染对应页面。
使用方法:在resources文件夹下新建public文件夹——再新建error文件夹 在error文件夹下新建对应的错误页面。
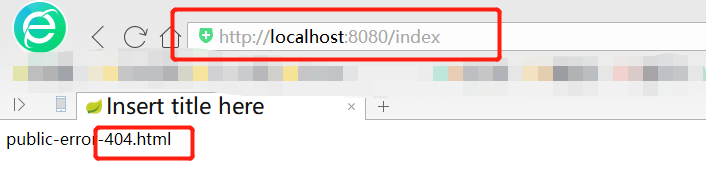
<!-- 404.html -->
<body>
	public-error-404.html
</body>
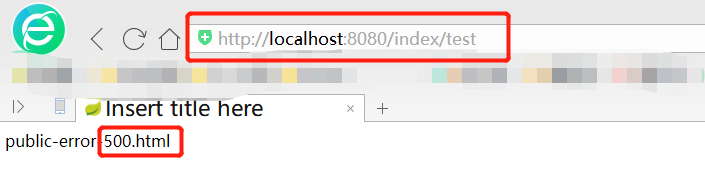
<body>
	<!-- 500.html -->
	public-error-500.html
</body>
再新建一个正确的controller 和正确的HTML页面,并在controller里手动抛出一个异常
@Controller
@RequestMapping("/index/")
public class StudentController {

	@RequestMapping("test")
	public String test(Model model) throws Exception {

		//传入字符串
		model.addAttribute("test","Hellow Spring boot Freemarker!!");

		//传入对象
		Student stu = new Student(101, "张三");
		model.addAttribute("stu",stu);

		//传入集合
		List<Object> list = new ArrayList<Object>();
		list.add(new Student(102, "李四"));
		list.add(new Student(103,"王五"));
		model.addAttribute("list",list);

		//抛出异常
		if(!"a".equals("")) {
			throw new Exception();
		}

		return "student";
	}
}
<body>
	<h2>thymeleaf</h2><br>

	<!-- 渲染文本 -->
	<span th:text="${test}"></span><br>

	<!-- 对象 -->
	<span th:text="${stu.id}"></span><br>
	<span th:text="${stu.name}"></span><br>

	<!-- 替换超链接 (带参数) -->
	<a href="https://www.zy.com" th:href="@{https://www.baidu.com(id=${stu.id})}">带参链接</a><br>

	<!-- 替换超链接 (无参数) -->
	<a href="https://www.zy.com" th:href="@{https://www.baidu.com}">无参链接</a><br>

	<!-- 循环 -->
	<ul>
		<li th:each="s:${list}" th:text="${s.name}"></li>
	</ul>
</body>
配置文件
#设置后缀以及页面存放位置
spring:
  thymeleaf:
    prefix: classpath:/web/
    suffix: .html
项目结构如下图

测试
当页面不存在时 报错404
当数据异常时 报错500
3、单个异常处理—— ExceptionHandler
首先创建一个处理异常的Controller
@ControllerAdvice
public class ErrorExceptionHandler {

	//日志
	private static final Logger LOG = LoggerFactory.getLogger(ErrorExceptionHandler.class);

	@ExceptionHandler
	@ResponseStatus(HttpStatus.OK)
	public ModelAndView processException(Exception e) {
		LOG.info("自定义异常处理-exception");
		ModelAndView m = new ModelAndView();
		m.addObject("zxException",e.getMessage());
		m.setViewName("error/exception");
		return m;
	}

	@ExceptionHandler
	@ResponseStatus(HttpStatus.OK)
	public ModelAndView processException(RuntimeException e) {
		LOG.info("自定义异常处理-runtimeException");
		ModelAndView m = new ModelAndView();
		m.addObject("zxException",e.getMessage());
		m.setViewName("error/runtimeException");
		return m;
	}
}
然后创建异常HTML
exception.html用于处理非运行时异常
runtimeException用于处理非运行时异常
因为我这里使用的时thymeleaf模板。所以使用th替换文本,html页面格式根据自己选用的模板编写。
<body>
	<!-- exception.html -->
	<h2>异常处理界面_Exception</h2>
	<span th:text="${zxException}"></span>
</body>
<body>
	<!-- RuntimeException -->
	<h2>异常处理界面_RuntimeException</h2>
	<span th:text="${zxException}"></span>
</body>
最后在正确Controller里手动抛出异常
if(!"a".equals("")) {
		throw new Exception("非运行时异常!");
}
测试结果 非运行时异常

然后修改抛出异常类型
if(!"a".equals("")) {
		throw new RuntimeException("运行时异常!");
}
测试结果 运行时异常

初学者的学习记录,有错误的地方欢迎大家指出,互相学习。谢谢!


 2687
2687


 被折叠的 条评论
为什么被折叠?
被折叠的 条评论
为什么被折叠?
 到【灌水乐园】发言


