


使用-javaFx 创建Hello World项目
打开Eclipse,并在Eclipse中选择:
File -> New -> Others..
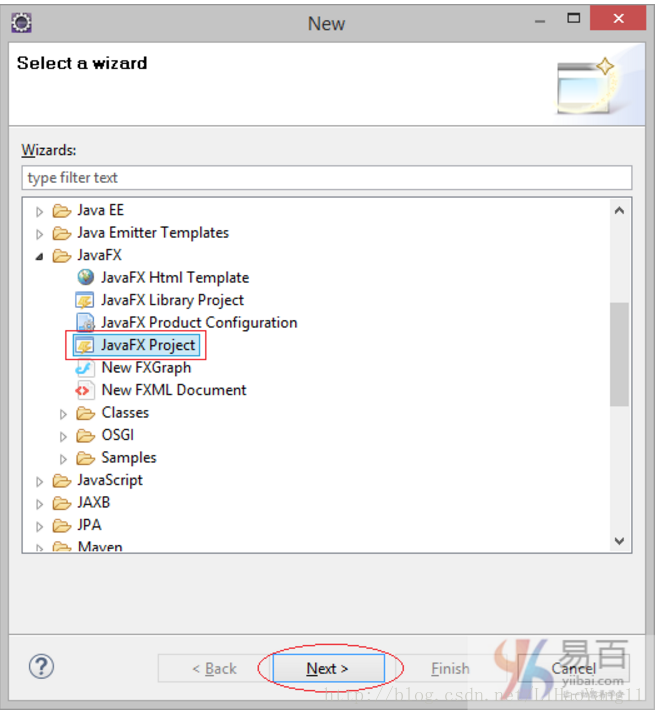
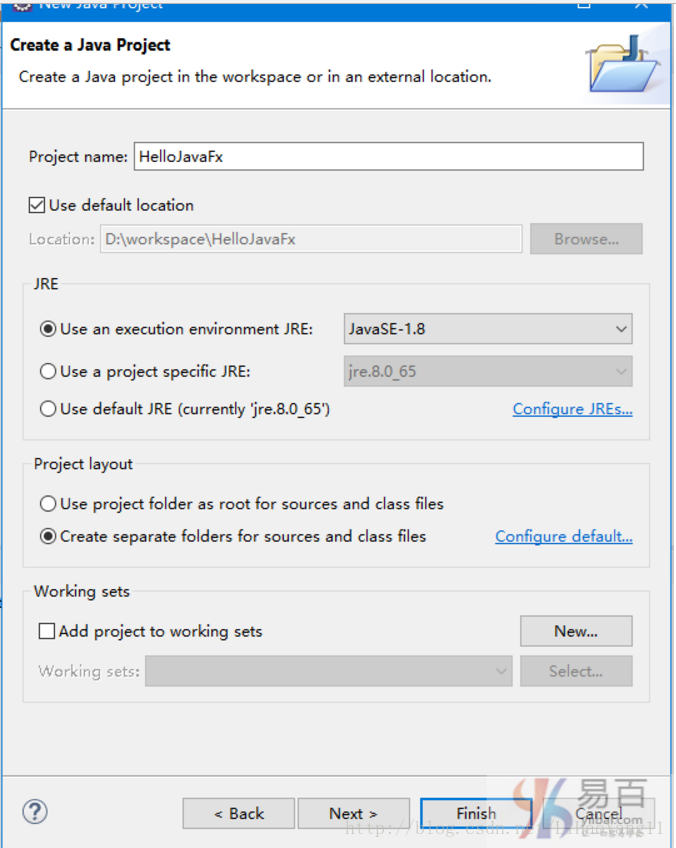
创建一个项目名称为:HelloJavaFx,如下图中所示 -
项目创建成功以后,如下图中所示 -
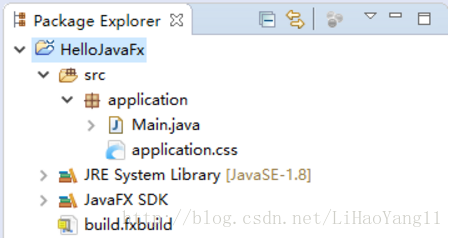
还创建了Hello World示例代码,如下所示 -
package application;

import javafx.application.Application;
import javafx.stage.Stage;
import javafx.scene.Scene;
import javafx.scene.layout.BorderPane;


public class Main extends Application {
    @Override
    public void start(Stage primaryStage) {
        try {
            BorderPane root = new BorderPane();
            Scene scene = new Scene(root,400,400);
            scene.getStylesheets().add(getClass().getResource("application.css").toExternalForm());
            primaryStage.setScene(scene);
            primaryStage.show();
        } catch(Exception e) {
            e.printStackTrace();
        }
    }

    public static void main(String[] args) {
        launch(args);
    }
}
首先,让我们确保运行Hello World例子成功。 右键单击主类(Main)并选择:
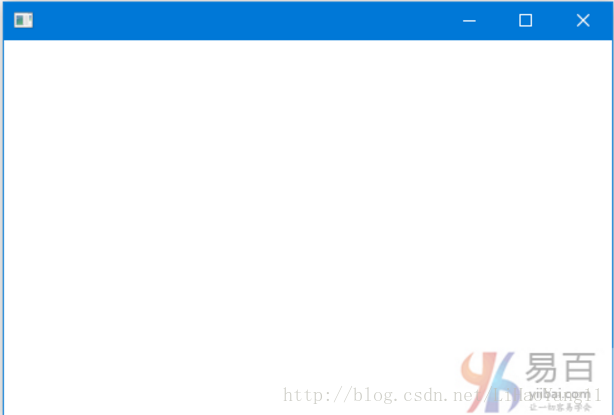
Run As -> Java Application

JavaFX的Hello World应用正在运行,结果是一个空白的界面,如下:
使用JavaFX Scene Builder的示例
这是一个小例子,使用Scene Builder来设计应用程序界面。应用于该示例的MVC的模型如下所示:
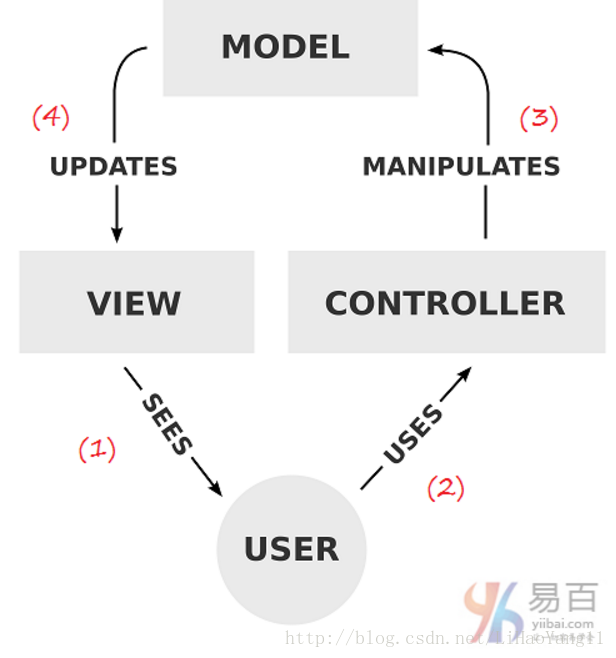
在VIEW上显示它
用户使用CONTROLLER
操作数据(更新,修改,删除,..),MODEL上的数据已更改。
在VIEW上显示MODEL的数据。
下面我们来创建一个新的 MySecene.xml 文件。
File -> New -> Other…
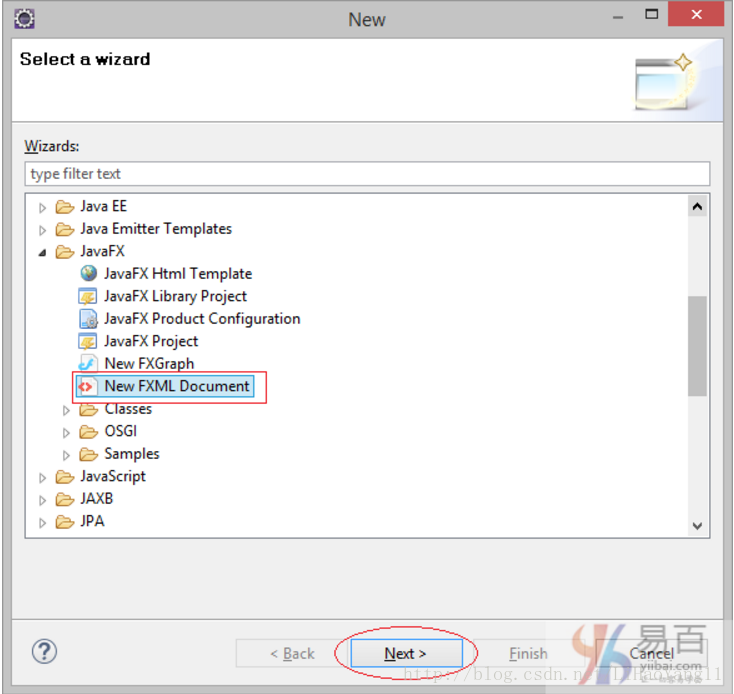
输入文件名称 -
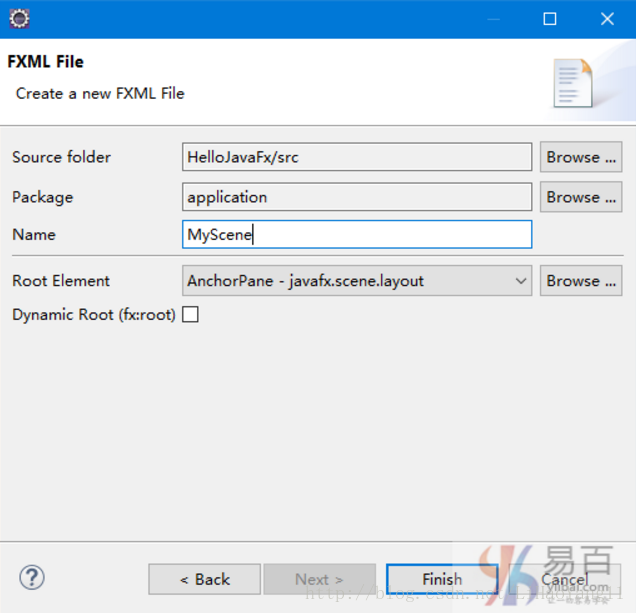
创建结果如下图所示 -
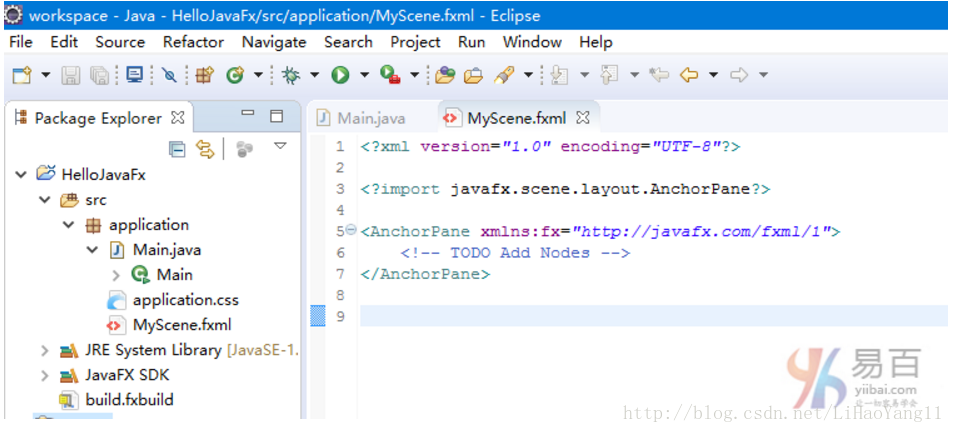
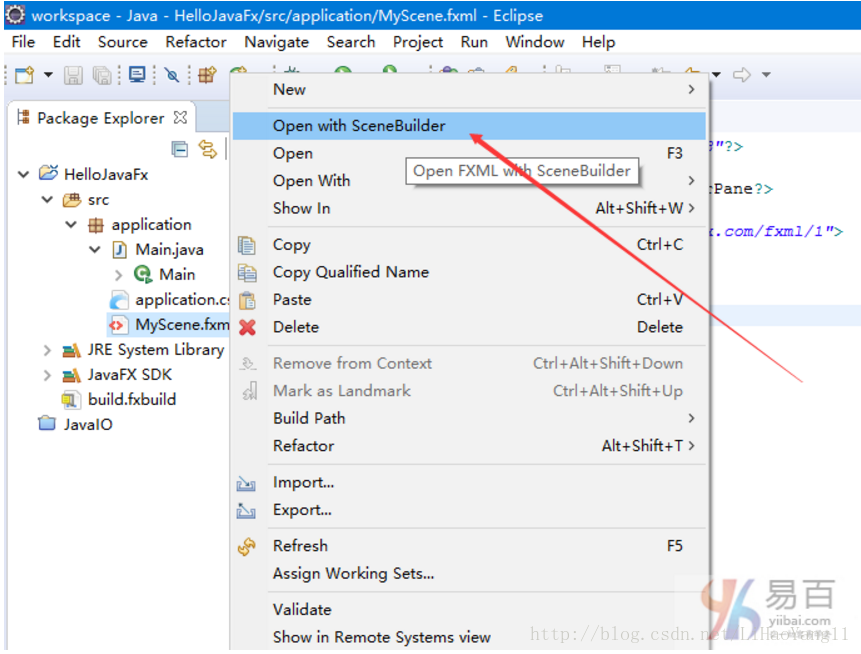
可以使用JavaFX Scene Builder打开fxml文件。
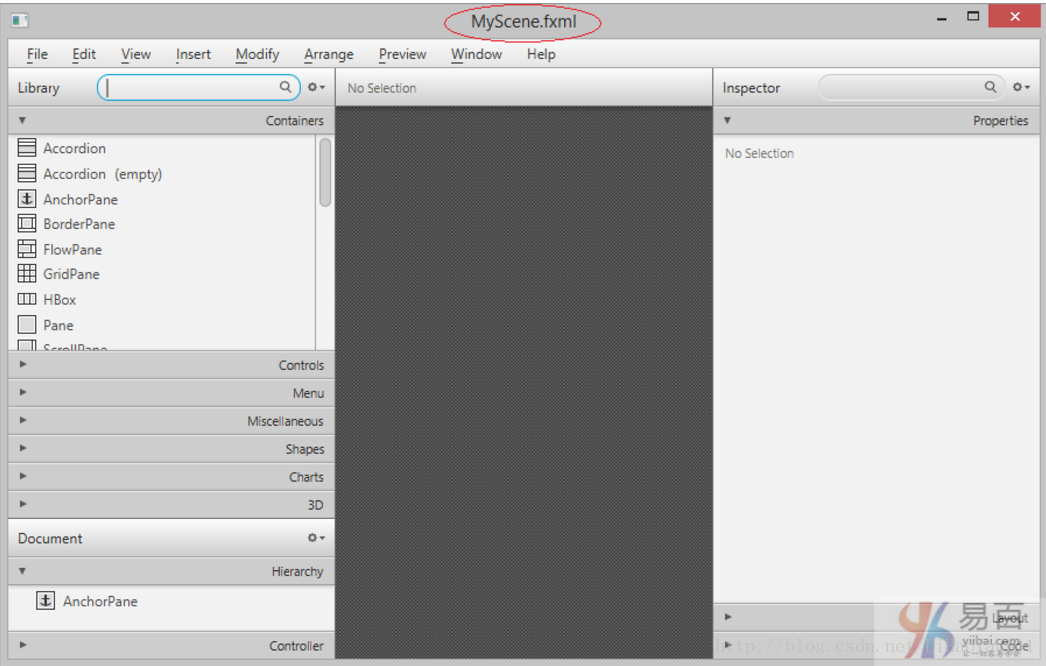
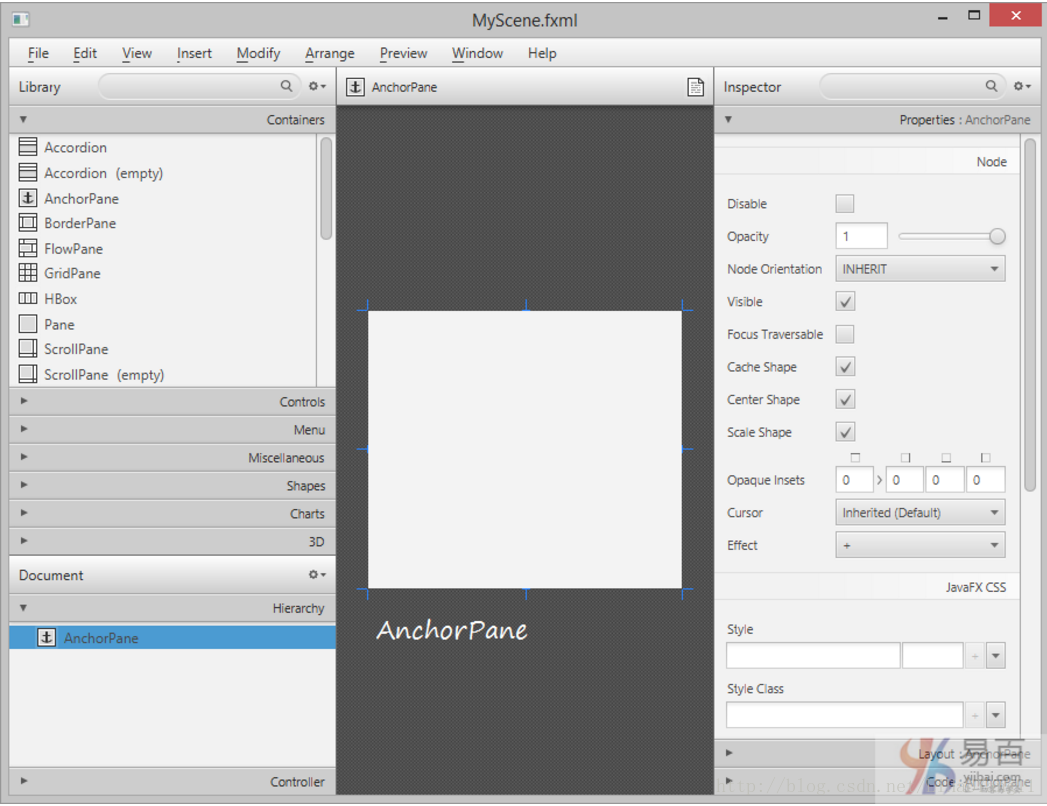
MyScene.fxml的界面设计屏幕如下:
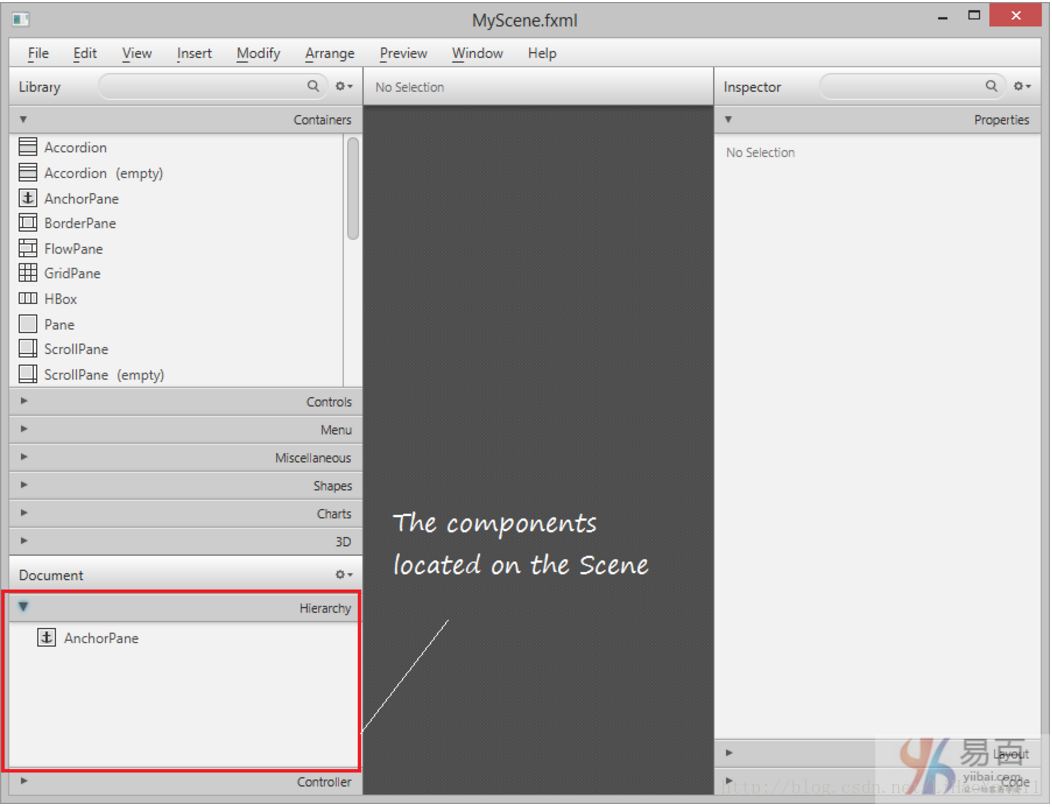
位于场景上的组件:
拉伸面板 -
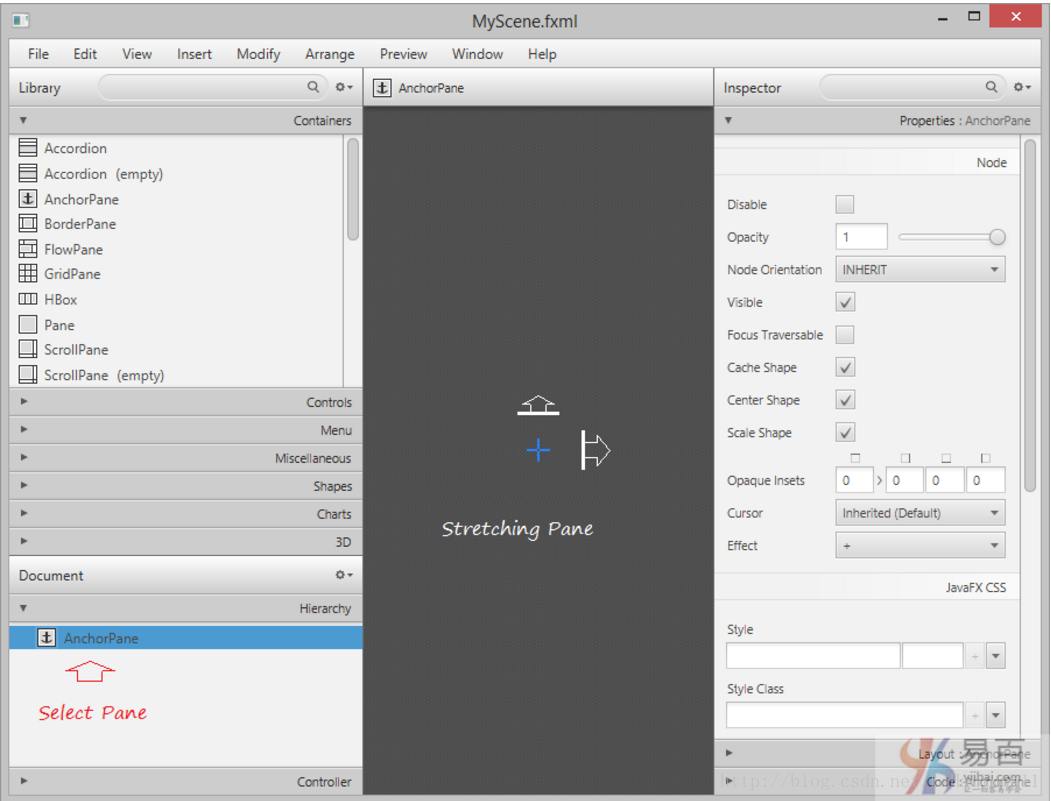
锚点面板 -
查找按钮并将其拖动到AnchorPane中:
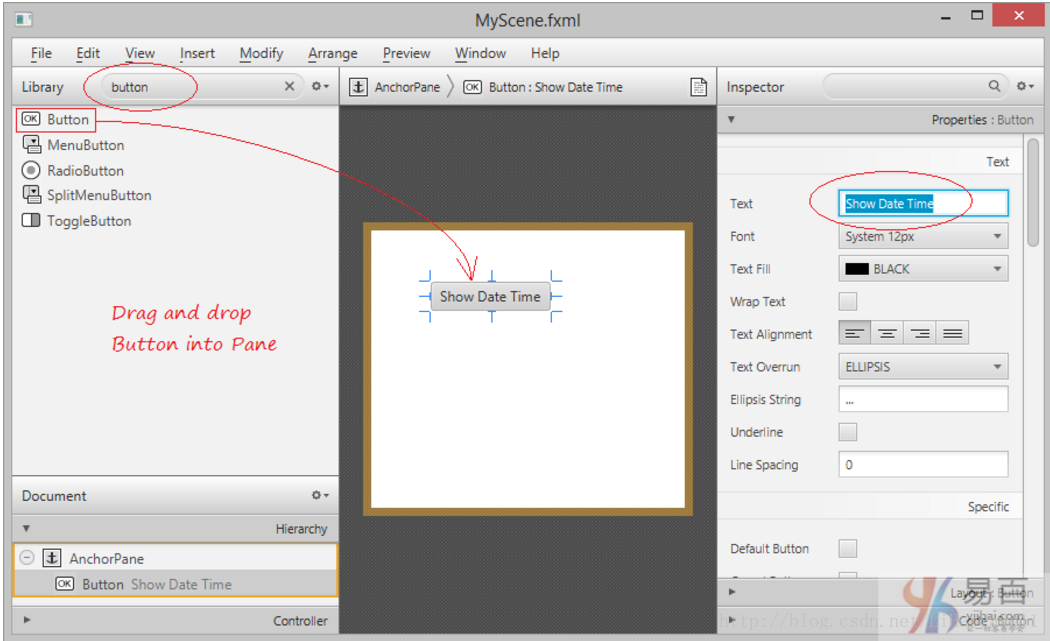
选择文件/保存以保存更改。并在窗口中选择“预览/显示预览”以预览您的设计

关闭Scene Builder窗口并在Eclipse上刷新项目。您可以查看此时MyScene.fxml文件中生成的代码
<?xml version="1.0" encoding="UTF-8"?>

<?import javafx.scene.control.*?>
<?import java.lang.*?>
<?import javafx.scene.layout.*?>
<?import javafx.scene.layout.AnchorPane?>


<AnchorPane prefHeight="309.0" prefWidth="349.0"
    xmlns:fx="http://javafx.com/fxml/1" xmlns="http://javafx.com/javafx/8">
    <children>
        <Button fx:id="myButton" layoutX="60.0" layoutY="73.0"
            mnemonicParsing="false" onDragDetected="#showDateTime" prefHeight="23.0"
            prefWidth="120.0" text="Show Date Time" />
        <TextField fx:id="myTextField" layoutX="60.0" layoutY="155.0" />
    </children>
</AnchorPane>
将属性fx:controller添加到中,Controller将对位于AnchorPane内部的控件(如myButton和myTextField)有引用。
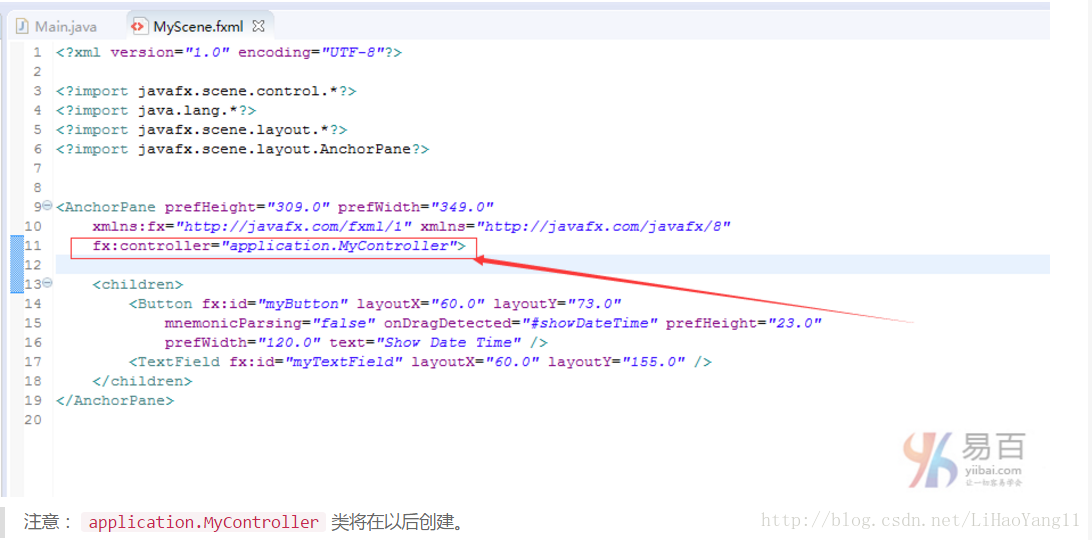
注意:application.MyController类将在以后创建。
控制器(Controller)
package application;

import java.net.URL;
import java.text.DateFormat;
import java.text.SimpleDateFormat;
import java.util.Date;
import java.util.ResourceBundle;

import javafx.event.ActionEvent;
import javafx.fxml.FXML;
import javafx.fxml.Initializable;
import javafx.scene.control.Button;
import javafx.scene.control.TextField;

public class MyController implements Initializable {

   @FXML
   private Button myButton;

   @FXML
   private TextField myTextField;

   @Override
   public void initialize(URL location, ResourceBundle resources) {

       // TODO (don't really need to do anything here).

   }

   // When user click on myButton
   // this method will be called.
   public void showDateTime(ActionEvent event) {
       System.out.println("Button Clicked!");

       Date now= new Date();

       DateFormat df = new SimpleDateFormat("yyyy-dd-MM HH:mm:ss");
       String dateTimeString = df.format(now);
        // Show in VIEW
        myTextField.setText(dateTimeString);

   }

}
Main.java 文件的内容如下 -
package application;

import javafx.application.Application;
import javafx.stage.Stage;
import javafx.scene.Scene;
import javafx.scene.layout.BorderPane;
import javafx.application.Application;
import javafx.fxml.FXMLLoader;
import javafx.scene.Parent;
import javafx.scene.Scene;
import javafx.stage.Stage;

public class Main extends Application {
    @Override
    public void start(Stage primaryStage) {
        try {
            // Read file fxml and draw interface.
            Parent root = FXMLLoader.load(getClass()
                    .getResource("/application/MyScene.fxml"));

            primaryStage.setTitle("My Application");
            primaryStage.setScene(new Scene(root));
            primaryStage.show();

        } catch(Exception e) {
            e.printStackTrace();
        }
    }

    public static void main(String[] args) {
        launch(args);
    }
}


 2424
2424


 被折叠的 条评论
为什么被折叠?
被折叠的 条评论
为什么被折叠?
 到【灌水乐园】发言


