


IDEA调试spring框架源码—图文详细
spring源码是java学习的核心,如果我们想要修改源码,例如加一些注释什么的,需要会编译源码,因此本文一步步教大家如何编译spring框架源码。
下载spring框架源码到本地
- 由于github比较慢,使用码云Spring-Framework拉取代码
https://gitee.com/mirrors/Spring-Framework?_from=gitee_search

- 复制下载仓库链接
https://gitee.com/mirrors/Spring-Framework.git

https://gitee.com/mirrors/Spring-Framework.git
- 使用IDEA的git管理工具拉取代码

- 设置本地存储路径

- 打开拉取的代码

- 新打开一个窗口
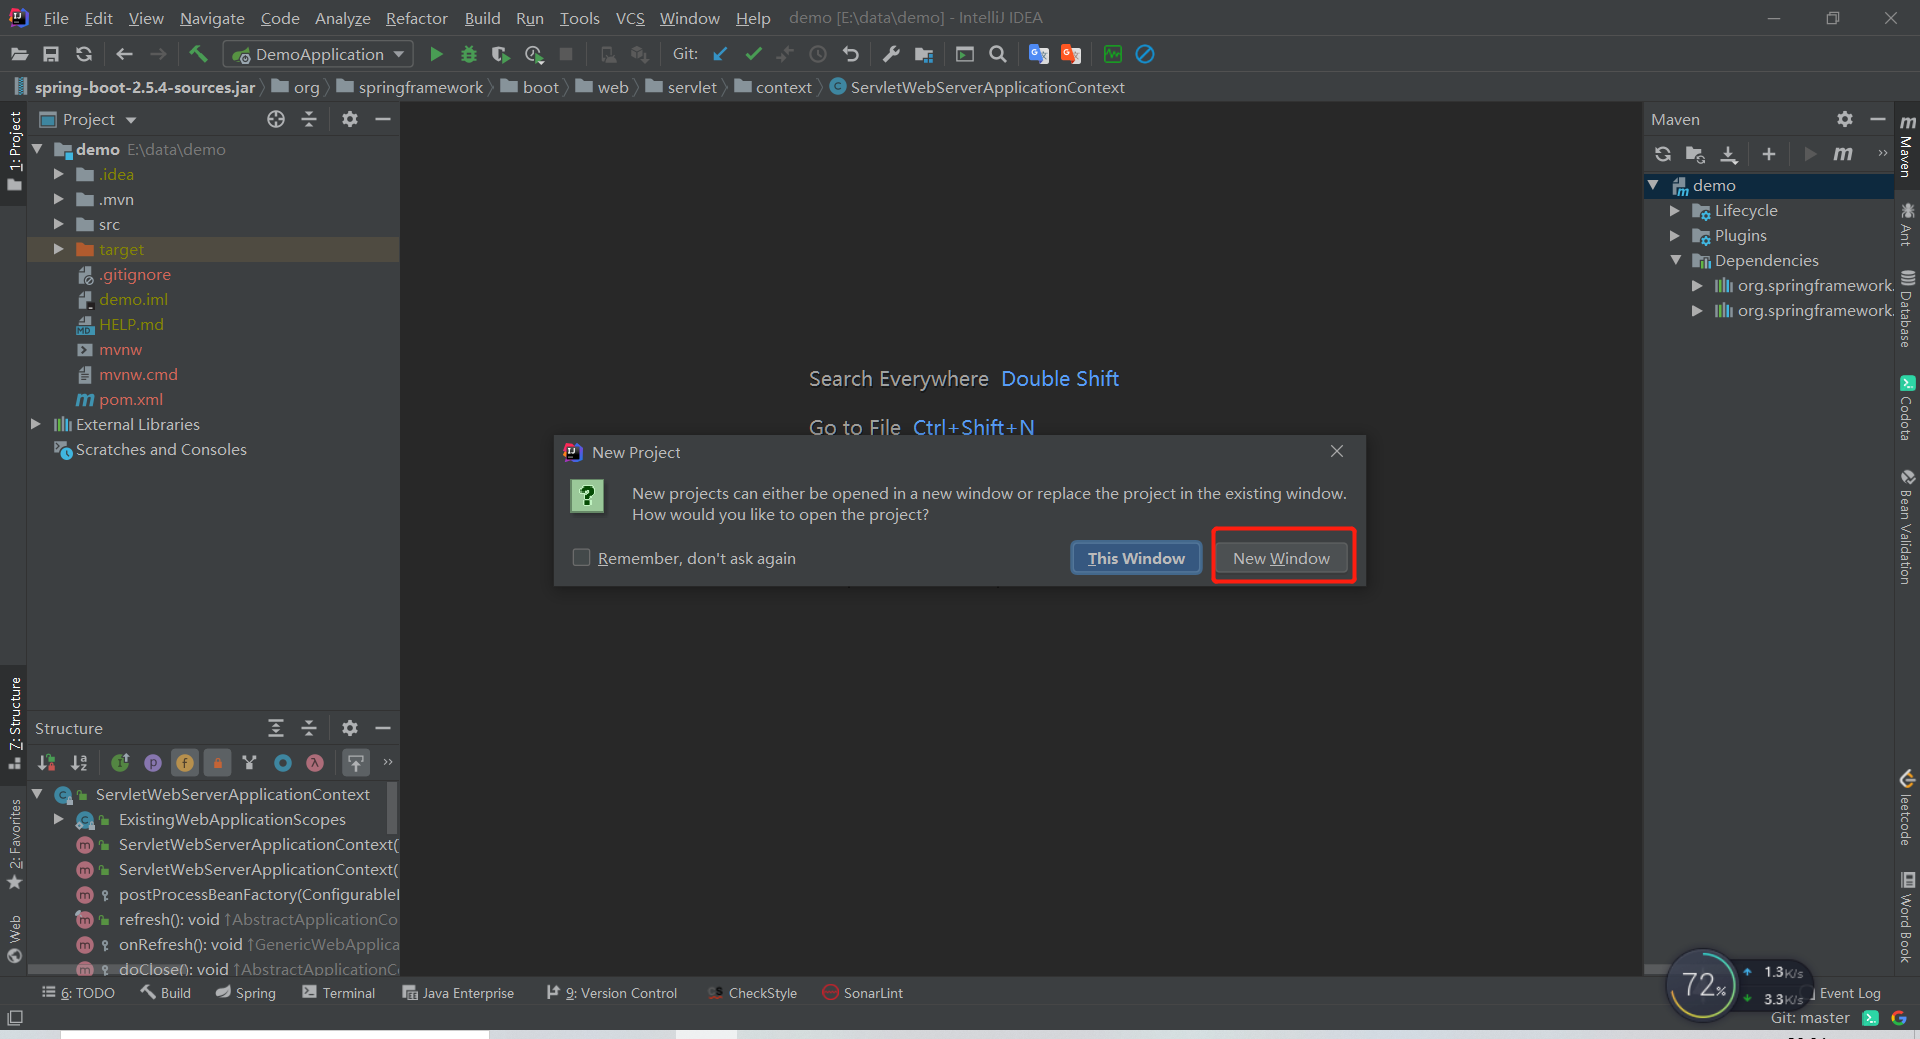
- 可以看到spring框架源码已经拉取下来

- 默认可能会出现编译失败

切换spring源码分支
- 切换spring源码分支

- 点击展示更多分支

- 选择5.2.x版本

修改仓库下载地址
这一步比较重要,很多编译失败都是包下载不下来导致的。
- 打开IDEA搜索框

- 搜索以下关键字
repositories {
- 打开build.gradle

- 添加如下地址
maven { url 'https://maven.aliyun.com/nexus/content/repositories/google' }
maven { url 'https://maven.aliyun.com/nexus/content/groups/public/' }
maven { url 'https://maven.aliyun.com/nexus/content/repositories/jcenter'}

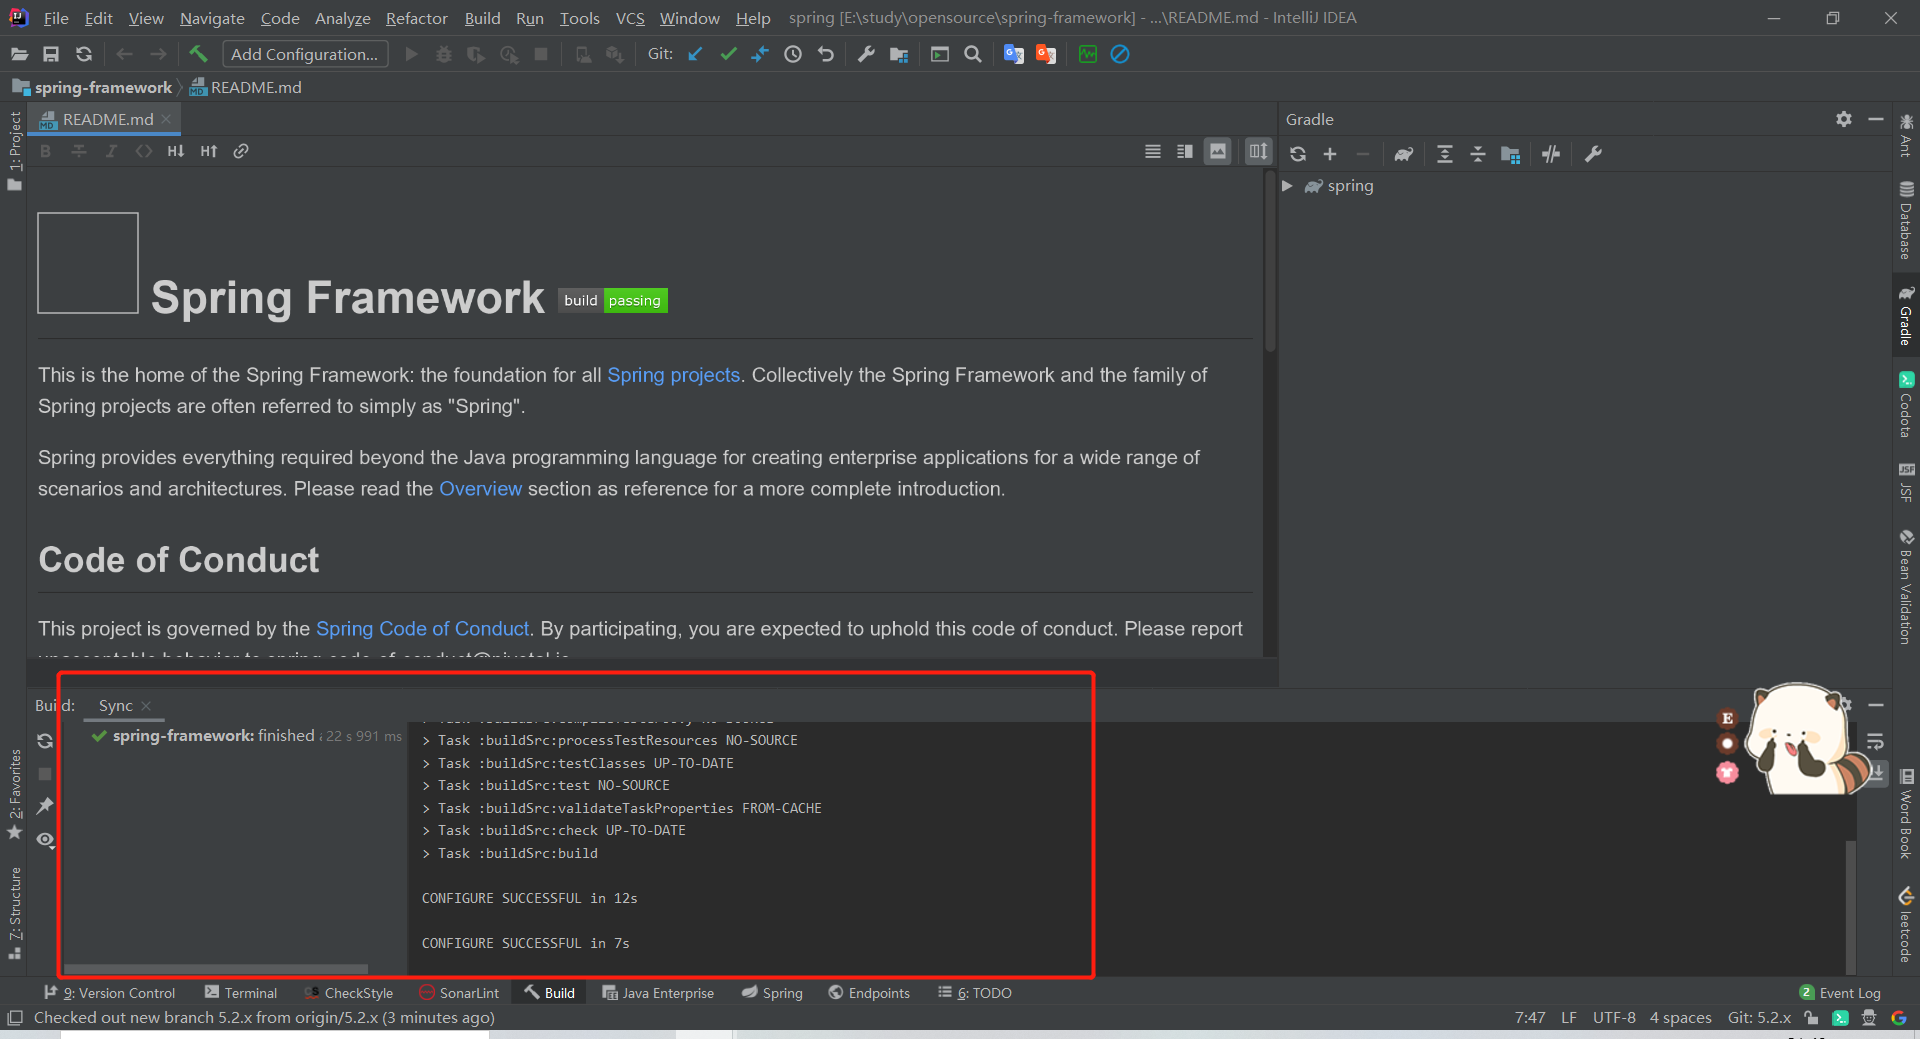
- 重新编译

- 编译成功
创建测试场景
- spring-test中新建一个包

- 添加一个domain包

- 新建一个java类

- 类名为Person

- 不加入git版本控制管理
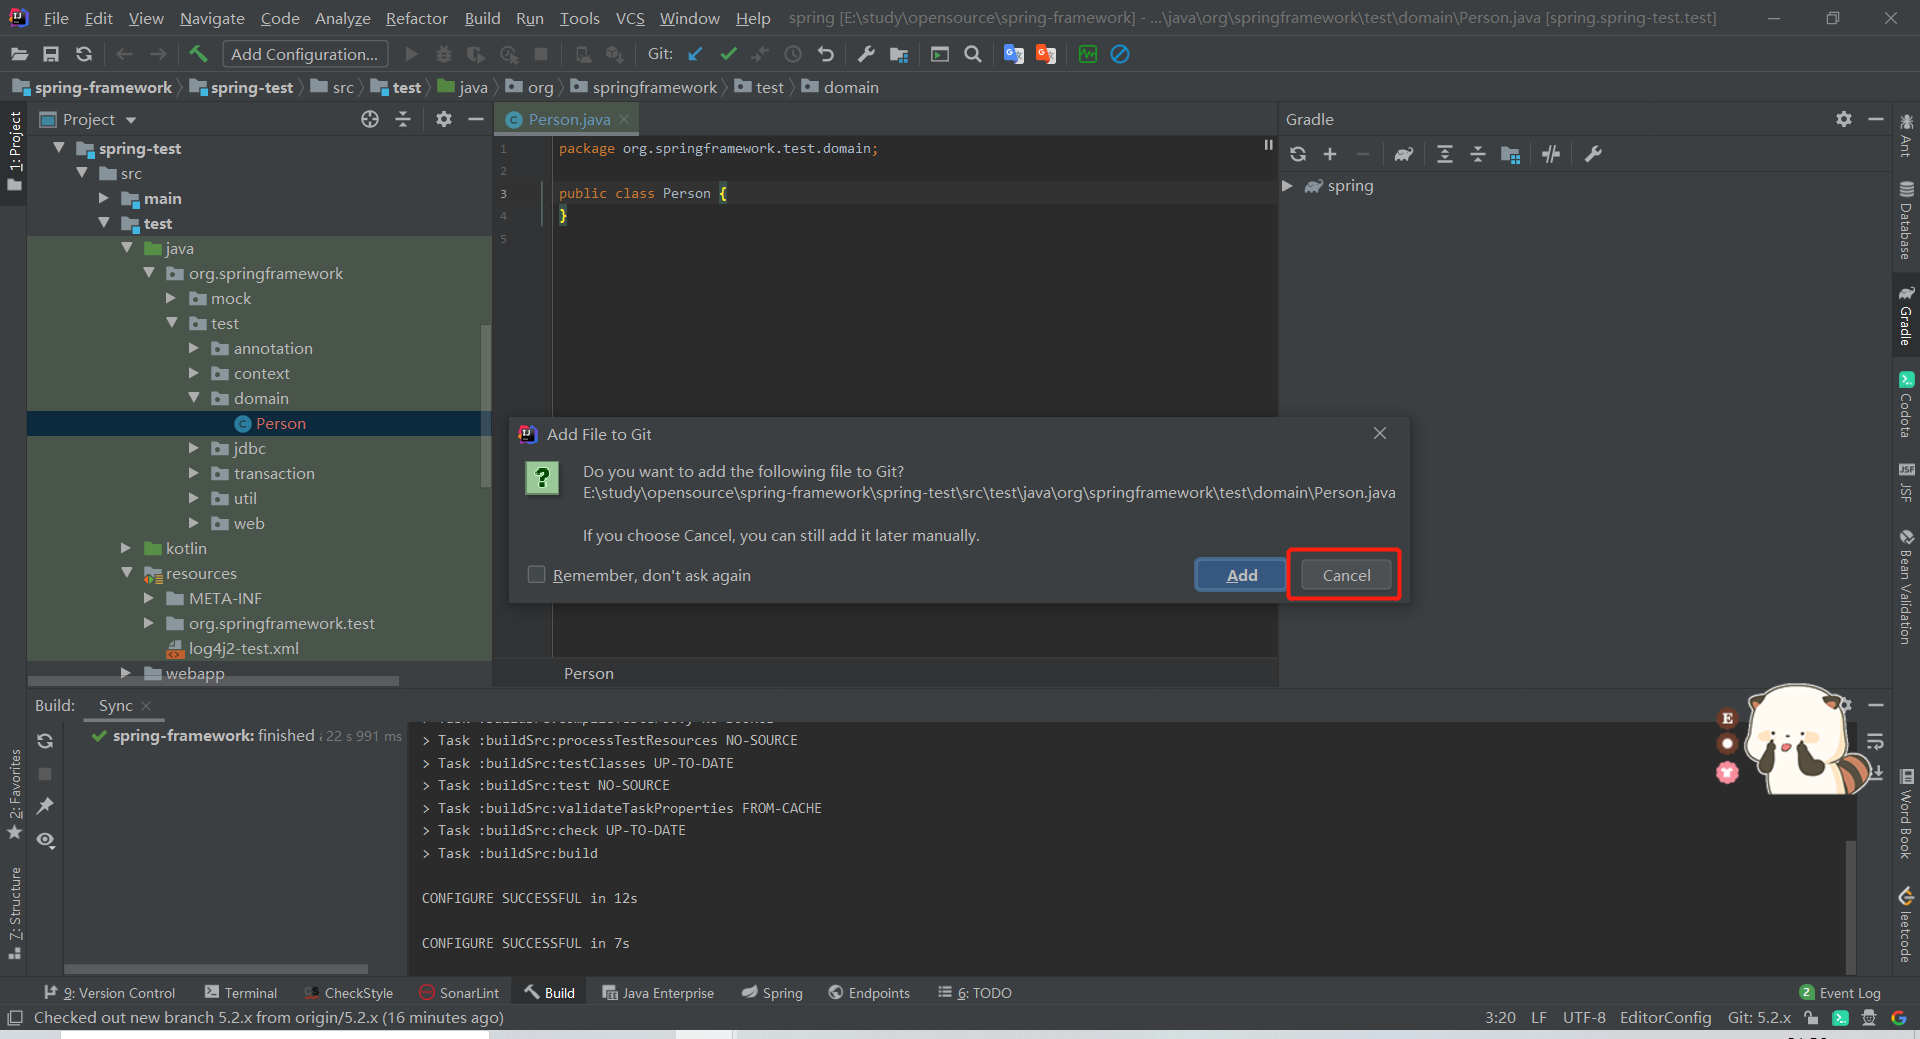
- 添加如下代码
package org.springframework.test.domain;

public class Person {
	private String name;
	public Integer age;

	public String getName() {
		return name;
	}

	public void setName(String name) {
		this.name = name;
	}

	public Integer getAge() {
		return age;
	}

	public void setAge(Integer age) {
		this.age = age;
	}

	@Override
	public String toString() {
		return "Person{" +
				"name='" + name + '\'' +
				", age=" + age +
				'}';
	}
}
- 在resources下新建一个xml文件

- 命名为applicationContext.xml

- 不加入git版本控制

- 添加如下代码
<beans xmlns="http://www.springframework.org/schema/beans"
       xmlns:xsi="http://www.w3.org/2001/XMLSchema-instance"
       xsi:schemaLocation="http://www.springframework.org/schema/beans
       http://www.springframework.org/schema/beans/spring-beans.xsd">

    <!-- 导入约束之后,即可在此处装配bean了 -->
    <bean id="person" class="org.springframework.test.domain.Person" >
        <property name="name" value="houww"></property>
        <property name="age" value="13"></property>
    </bean>
</beans>

- 在test包下新建一个类

- 随意命名为test

- 同样不加入git版本控制

- 添加如下代码
package org.springframework.test;

import org.springframework.context.ApplicationContext;
import org.springframework.context.support.ClassPathXmlApplicationContext;
import org.springframework.test.domain.Person;

public class test {
   public static void main(String[] args) {
        ApplicationContext context = new ClassPathXmlApplicationContext("applicationContext.xml");
        Person person = context.getBean("person", Person.class);
        System.out.printf("person:"+person.toString());
   }
}

- 在第9行打个断点,右键以debug模式启动

- debug模式启动成功,点击继续运行

- 运行成功,输出消息

总结
经过一些操作,我们成功debug了spring源码,可以在源码的基础上自由的创作了。


 757
757


 被折叠的 条评论
为什么被折叠?
被折叠的 条评论
为什么被折叠?
 到【灌水乐园】发言


