


python server.py
- Running on http://0.0.0.0:8000/ (Press CTRL+C to quit)
打开浏览器,访问 http://127.0.0.1:8000/index,如无意外,会看到下面的响应。
{
“msg”: “hello world”
}
一个最简单的web程序就完成了!让我们看下过程中都发生了什么:
-
客户端(浏览器)根据输入的地址 http://127.0.0.1:8000/index 找到协议(http),主机(127.0.0.1),端口(8000)和路径(/index),与服务器(application server)建立三次握手,并发送一个http请求。
-
服务器(application server)把请求报文封装成请求对象,根据路由(router)找到/index这个路径所对应的视图函数,调用这个视图函数。
-
视图函数生成一个http响应,返回一个json数据给客户端。
HTTP/1.0 200 OK
Content-Type: application/json
Content-Length: 27
Server: Werkzeug/0.11.15 Python/3.5.2
Date: Thu, 26 Jan 2017 05:14:36 GMT
当我们输入python server.py时,会建立一个服务器(也叫应用程序服务器,即application server)来监听请求,并把请求转给flask来处理。那么这个服务器是如何跟python程序打交道的呢?答案就是 WSGI 接口,它是server端(服务器)与application端(应用程序)之间的一套约定俗成的规范,使我们只要编写一个统一的接口,就能应用到不同的wsgi server上。用图表示它们的关系,就是下面这样的:
只要application端(flask)和server端(flask内建的server)都遵循wsgi这个规范,那么他们就能够协同工作了,关于WSGI规范,可参阅Python官方的 PEP 333 里的说明。
目前为止,应用是下面这个样子的:
一切都很简单,现在我们要做一个Todo应用,提供添加todo,修改todo状态和删除todo的接口。
先不考虑数据库,可以迅速地写出下面的代码:
from flask import Flask, jsonify, request, abort, Response
from time import time
from uuid import uuid4
import json
app = Flask(name)
class Todo(object):
def init(self, content):
self.id = str(uuid4())
self.content = content #todo内容
self.created_at = time() #创建时间
self.is_finished = False #是否完成
self.finished_at = None #完成时间
def finish(self):
self.is_finished = True
self.finished_at = time()
def json(self):
return {
‘id’: self.id,
‘content’: self.content,
‘created_at’: self.created_at,
‘is_finished’: self.is_finished,
‘finished_at’: self.finished_at
}
todos = {}
get_todo = lambda tid: todos.get(tid, False)
@app.route(‘/todo’)
def index():
return jsonify(data=[todo.json() for todo in todos.values()])
@app.route(‘/todo’, methods=[‘POST’])
def add():
content = request.form.get(‘content’, None)
if not content:
abort(400)
todo = Todo(content)
todos[todo.id] = todo
return Response() #200
@app.route(‘/todo//finish’, methods=[‘PUT’])
def finish(tid):
todo = get_todo(tid)
if todo:
todo.finish()
todos[todo.id] = todo
return Response()
abort(404)
@app.route(‘/todo/’, methods=[‘DELETE’])
def delete(tid):
todo = get_todo(tid)
if todo:
todos.pop(tid)
return Response()
abort(404)
if name == ‘main’:
app.run(host=‘0.0.0.0’, port=8000)
这个程序基本实现了需要的接口,现在测试一下功能。
- 添加一个todo
http -f POST http://127.0.0.1:8000/todo content=好好学习
HTTP/1.0 200 OK
Content-Length: 0
Content-Type: text/html; charset=utf-8
Date: Thu, 26 Jan 2017 06:45:37 GMT
Server: Werkzeug/0.11.15 Python/3.5.2
- 查看todo列表
http http://127.0.0.1:8000/todo
HTTP/1.0 200 OK
Content-Length: 203
Content-Type: application/json
Date: Thu, 26 Jan 2017 06:46:16 GMT
Server: Werkzeug/0.11.15 Python/3.5.2
{
“data”: [
“{“created_at”: 1485413137.305699, “id”: “6f2b28c4-1e83-45b2-8b86-20e28e21cd40”, “is_finished”: false, “finished_at”: null, “content”: “\u597d\u597d\u5b66\u4e60”}”
]
}
- 修改todo状态
http -f PUT http://127.0.0.1:8000/todo/6f2b28c4-1e83-45b2-8b86-20e28e21cd40/finish
HTTP/1.0 200 OK
Content-Length: 0
Content-Type: text/html; charset=utf-8
Date: Thu, 26 Jan 2017 06:47:18 GMT
Server: Werkzeug/0.11.15 Python/3.5.2
http http://127.0.0.1:8000/todo
HTTP/1.0 200 OK
Content-Length: 215
Content-Type: application/json
Date: Thu, 26 Jan 2017 06:47:22 GMT
Server: Werkzeug/0.11.15 Python/3.5.2
{
“data”: [
“{“created_at”: 1485413137.305699, “id”: “6f2b28c4-1e83-45b2-8b86-20e28e21cd40”, “is_finished”: true, “finished_at”: 1485413238.650981, “content”: “\u597d\u597d\u5b66\u4e60”}”
]
}
- 删除todo
http -f DELETE http://127.0.0.1:8000/todo/6f2b28c4-1e83-45b2-8b86-20e28e21cd40
HTTP/1.0 200 OK
Content-Length: 0
Content-Type: text/html; charset=utf-8
Date: Thu, 26 Jan 2017 06:48:20 GMT
Server: Werkzeug/0.11.15 Python/3.5.2
http http://127.0.0.1:8000/todo
HTTP/1.0 200 OK
Content-Length: 17
Content-Type: application/json
Date: Thu, 26 Jan 2017 06:48:22 GMT
Server: Werkzeug/0.11.15 Python/3.5.2
{
“data”: []
}
但是这个的程序的数据都保存在内存里,只要服务一停止所有的数据就没办法保存下来了,因此,我们还需要一个数据库用于持久化数据。
那么,应该选择什么数据库呢?
-
传统的rdbms,例如mysql,postgresql等,他们具有很高的稳定性和不俗的性能,结构化查询,支持事务,由ACID来保持数据的完整性。
-
nosql,例如mongodb,cassandra等,他们具有非结构化特性,易于横向扩展,实现数据的自动分片,拥有灵活的存储结构和强悍的读写性能。
这里使用mongodb作例子,使用mongodb改造后的代码是这样的:
from flask import Flask, jsonify, request, abort, Response
from time import time
from bson.objectid import ObjectId
from bson.json_util import dumps
import pymongo
app = Flask(name)
mongo = pymongo.MongoClient(‘127.0.0.1’, 27017)
db = mongo.todo
class Todo(object):
@classmethod
def create_doc(cls, content):
return {
‘content’: content,
‘created_at’: time(),
‘is_finished’: False,
‘finished_at’: None
}
@app.route(‘/todo’)
def index():
todos = db.todos.find({})
return dumps(todos)
@app.route(‘/todo’, methods=[‘POST’])
def add():
content = request.form.get(‘content’, None)
if not content:
abort(400)
db.todos.insert(Todo.create_doc(content))
return Response() #200
@app.route(‘/todo//finish’, methods=[‘PUT’])
def finish(tid):
result = db.todos.update_one(
{‘_id’: ObjectId(tid)},
{
‘$set’: {
‘is_finished’: True,
‘finished_at’: time()
}
}
)
if result.matched_count == 0:
abort(404)
return Response()
@app.route(‘/todo/’, methods=[‘DELETE’])
def delete(tid):
result = db.todos.delete_one(
{‘_id’: ObjectId(tid)}
)
if result.matched_count == 0:
abort(404)
return Response()
if name == ‘main’:
app.run(host=‘0.0.0.0’, port=8000)
这样一来,应用的数据便能持久化到本地了。现在,整个应用看起来是下面这样的:
现在往mongodb插入1万条数据。
import requests
for i in range(10000):
requests.post(‘http://127.0.0.1:8000/todo’, {‘content’: str(i)})
获取todo的接口目前是有问题的,因为它一次性把数据库的所有记录都返回了,当数据记录增长到一万条的时候,这个接口的请求就会变的非常慢,需要500ms后才能发出响应。现在对它进行如下的改造:
@app.route(‘/todo’)
def index():
start = request.args.get(‘start’, ‘’)
start = int(start) if start.isdigit() else 0
todos = db.todos.find().sort([(‘created_at’, -1)]).limit(10).skip(start)
return dumps(todos)
每次只取十条记录,按创建日期排序,先取最新的,用分页的方式获取以往记录。改造后的接口现在只需50ms便能返回响应。
现在对这个接口进行性能测试:
wrk -c 100 -t 12 -d 5s http://127.0.0.1:8000/todo
Running 5s test @ http://127.0.0.1:8000/todo
12 threads and 100 connections
Thread Stats Avg Stdev Max +/- Stdev
Latency 1.22s 618.29ms 1.90s 48.12%
Req/Sec 14.64 10.68 40.00 57.94%
220 requests in 5.09s, 338.38KB read
Socket errors: connect 0, read 0, write 0, timeout 87
Requests/sec: 43.20
Transfer/sec: 66.45KB
rps只有43。我们继续进行改进,通过观察我们发现我们查询todo时需要通过created_at这个字段进行排序再过滤,这样以来每次查询都要先对10000条记录进行排序,效率自然变的很低,对于这个场景,可以对created_at这个字段做索引:
db.todos.ensureIndex({‘created_at’: -1})
通过explain我们轻易地看出mongo使用了索引做扫描
db.todos.find().sort({‘created_at’: -1}).limit(10).explain()
/* 1 */
{
“queryPlanner” : {
“plannerVersion” : 1,
“namespace” : “todo.todos”,
“indexFilterSet” : false,
“parsedQuery” : {},
“winningPlan” : {
“stage” : “LIMIT”,
“limitAmount” : 10,
“inputStage” : {
“stage” : “FETCH”,
“inputStage” : {
“stage” : “IXSCAN”,
“keyPattern” : {
“created_at” : -1.0
},
“indexName” : “created_at_-1”,
“isMultiKey” : false,
“multiKeyPaths” : {
“created_at” : []
},
“isUnique” : false,
“isSparse” : false,
“isPartial” : false,
“indexVersion” : 2,
“direction” : “forward”,
“indexBounds” : {
“created_at” : [
“[MaxKey, MinKey]”
]
}
}
}
},
“rejectedPlans” : []
},
“serverInfo” : {
“host” : “841bf506b6ec”,
“port” : 27017,
“version” : “3.4.1”,
“gitVersion” : “5e103c4f5583e2566a45d740225dc250baacfbd7”
},
“ok” : 1.0
}
现在再做一轮性能测试,有了索引之后就大大降低了排序的成本,rps提高到了298。
wrk -c 100 -t 12 -d 5s http://127.0.0.1:8000/todo
Running 5s test @ http://127.0.0.1:8000/todo
12 threads and 100 connections
Thread Stats Avg Stdev Max +/- Stdev
Latency 310.32ms 47.51ms 357.47ms 94.57%
Req/Sec 26.88 14.11 80.00 76.64%
1511 requests in 5.06s, 2.27MB read
Requests/sec: 298.34
Transfer/sec: 458.87KB
再把重心放到app server上,目前我们使用flask内建的wsgi server,这个server由于是单进程单线程模型的,所以性能很差,一个请求不处理完的话服务器就会阻塞住其他请求,我们需要对这个server做替换。关于python web的app server选择,目前主流采用的有:
-
gunicorn
-
uWSGI
我们看[gunicorn]文档可以得知,gunicorn是一个python编写的高效的WSGI HTTP服务器,gunicorn使用pre-fork模型(一个master进程管理多个child子进程),使用gunicorn的方法十分简单:
gunicorn --workers=9 server:app --bind 127.0.0.1:8000
根据文档说明使用(2 * cpu核心数量)+1个worker,还要传入一个兼容wsgi app的start up方法,通过Flask的源码可以看到,Flask这个类实现了下面这个接口:
def call(self, environ, start_response):
“”“Shortcut for :attr:wsgi_app.”“”
return self.wsgi_app(environ, start_response)
也就是说我们只需把flask实例的名字传给gunicorn就ok了:
gunicorn --workers=9 server:app --bind 127.0.0.1:8000
[2017-01-27 11:20:01 +0800] [5855] [INFO] Starting gunicorn 19.6.0
[2017-01-27 11:20:01 +0800] [5855] [INFO] Listening at: http://127.0.0.1:8000 (5855)
[2017-01-27 11:20:01 +0800] [5855] [INFO] Using worker: sync
[2017-01-27 11:20:01 +0800] [5889] [INFO] Booting worker with pid: 5889
[2017-01-27 11:20:01 +0800] [5890] [INFO] Booting worker with pid: 5890
[2017-01-27 11:20:01 +0800] [5891] [INFO] Booting worker with pid: 5891
[2017-01-27 11:20:01 +0800] [5892] [INFO] Booting worker with pid: 5892
[2017-01-27 11:20:02 +0800] [5893] [INFO] Booting worker with pid: 5893
[2017-01-27 11:20:02 +0800] [5894] [INFO] Booting worker with pid: 5894
[2017-01-27 11:20:02 +0800] [5895] [INFO] Booting worker with pid: 5895
[2017-01-27 11:20:02 +0800] [5896] [INFO] Booting worker with pid: 5896
[2017-01-27 11:20:02 +0800] [5897] [INFO] Booting worker with pid: 5897
可以看到gunicorn启动了9个进程(其中1个父进程)监听请求。使用了多进程的模型看起来是下面这样的:
继续进行性能测试,可以看到吞吐量又有了很大的提升:
wrk -c 100 -t 12 -d 5s http://127.0.0.1:8000/todo
Running 5s test @ http://127.0.0.1:8000/todo
12 threads and 100 connections
Thread Stats Avg Stdev Max +/- Stdev
Latency 109.30ms 16.10ms 251.01ms 90.31%
Req/Sec 72.47 10.48 100.00 78.89%
4373 requests in 5.07s, 6.59MB read
Requests/sec: 863.35
Transfer/sec: 1.30MB
那么gunicorn还能再优化吗,答案是肯定的。回到之前我们发现了这一行:
[2017-01-27 11:20:01 +0800] [5855] [INFO] Using worker: sync
也就是说,gunicorn worker使用的是sync(同步)模式来处理请求,那么它支持async(异步)模式吗,再看gunicorn的文档有下面一段说明:
Async Workers
The asynchronous workers available are based on Greenlets (via Eventlet and Gevent). Greenlets are an implementation of cooperative multi-threading for Python. In general, an application should be able to make use of these worker classes with no changes.
gunicorn支持基于greenlet的异步的worker,它使得worker能够协作式地工作。当worker阻塞在外部调用的IO操作时,gunicorn会聪明地把执行调度给其他worker,挂起当前的worker,直至IO操作完成后,被挂起的worker又会重新加入到调度队列中,这样gunicorn便有能力处理大量的并发请求了。
gunicorn有两个不错的async worker:
-
meinheld
-
gevent
meinheld是一个基于picoev的异步WSGI Web服务器,它可以很轻松地集成到gunicorn中,处理wsgi请求。
gunicorn --workers=9 --worker-class=“meinheld.gmeinheld.MeinheldWorker” server:app --bind 127.0.0.1:8000
[2017-01-27 11:47:01 +0800] [7497] [INFO] Starting gunicorn 19.6.0
[2017-01-27 11:47:01 +0800] [7497] [INFO] Listening at: http://127.0.0.1:8000 (7497)
[2017-01-27 11:47:01 +0800] [7497] [INFO] Using worker: meinheld.gmeinheld.MeinheldWorker
[2017-01-27 11:47:01 +0800] [7531] [INFO] Booting worker with pid: 7531
[2017-01-27 11:47:01 +0800] [7532] [INFO] Booting worker with pid: 7532
[2017-01-27 11:47:01 +0800] [7533] [INFO] Booting worker with pid: 7533
[2017-01-27 11:47:01 +0800] [7534] [INFO] Booting worker with pid: 7534
[2017-01-27 11:47:01 +0800] [7535] [INFO] Booting worker with pid: 7535
[2017-01-27 11:47:01 +0800] [7536] [INFO] Booting worker with pid: 7536
[2017-01-27 11:47:01 +0800] [7537] [INFO] Booting worker with pid: 7537
[2017-01-27 11:47:01 +0800] [7538] [INFO] Booting worker with pid: 7538
[2017-01-27 11:47:01 +0800] [7539] [INFO] Booting worker with pid: 7539
可以看到现在使用的是meinheld.gmeinheld.MeinheldWorker这个worker。再进行性能测试看看:
wrk -c 100 -t 12 -d 5s http://127.0.0.1:8000/todo
Running 5s test @ http://127.0.0.1:8000/todo
12 threads and 100 connections
Thread Stats Avg Stdev Max +/- Stdev
Latency 84.53ms 39.90ms 354.42ms 72.11%
Req/Sec 94.52 20.84 150.00 70.28%
5684 requests in 5.04s, 8.59MB read
Requests/sec: 1128.72
Transfer/sec: 1.71MB
果然提升了不少。
现在有了app server,那需要nginx之类的web server吗?看看[nginx]反向代理能带给我们什么好处:
-
负载均衡,把请求平均地分到上游的app server进程。
-
静态文件处理,静态文件的访问交给nginx来处理,降低了app server的压力。
-
接收完客户端所有的TCP包,再一次交给上游的应用来处理,防止app server被慢请求干扰。
-
访问控制和路由重写。
-
强大的ngx_lua模块。
-
Proxy cache。
-
Gzip,SSL…
为了以后的扩展性,带上一个nginx是有必要的,但如果你的应用没大的需求,那么可加可不加。
想让nginx反向代理gunicorn,只需对nginx的配置文件加入几行配置,让nginx通过proxy_pass打到gunicorn监听的端口上就可以了:
server {
listen 8888;
location / {
自我介绍一下,小编13年上海交大毕业,曾经在小公司待过,也去过华为、OPPO等大厂,18年进入阿里一直到现在。
深知大多数Python工程师,想要提升技能,往往是自己摸索成长或者是报班学习,但对于培训机构动则几千的学费,着实压力不小。自己不成体系的自学效果低效又漫长,而且极易碰到天花板技术停滞不前!
因此收集整理了一份《2024年Python开发全套学习资料》,初衷也很简单,就是希望能够帮助到想自学提升又不知道该从何学起的朋友,同时减轻大家的负担。
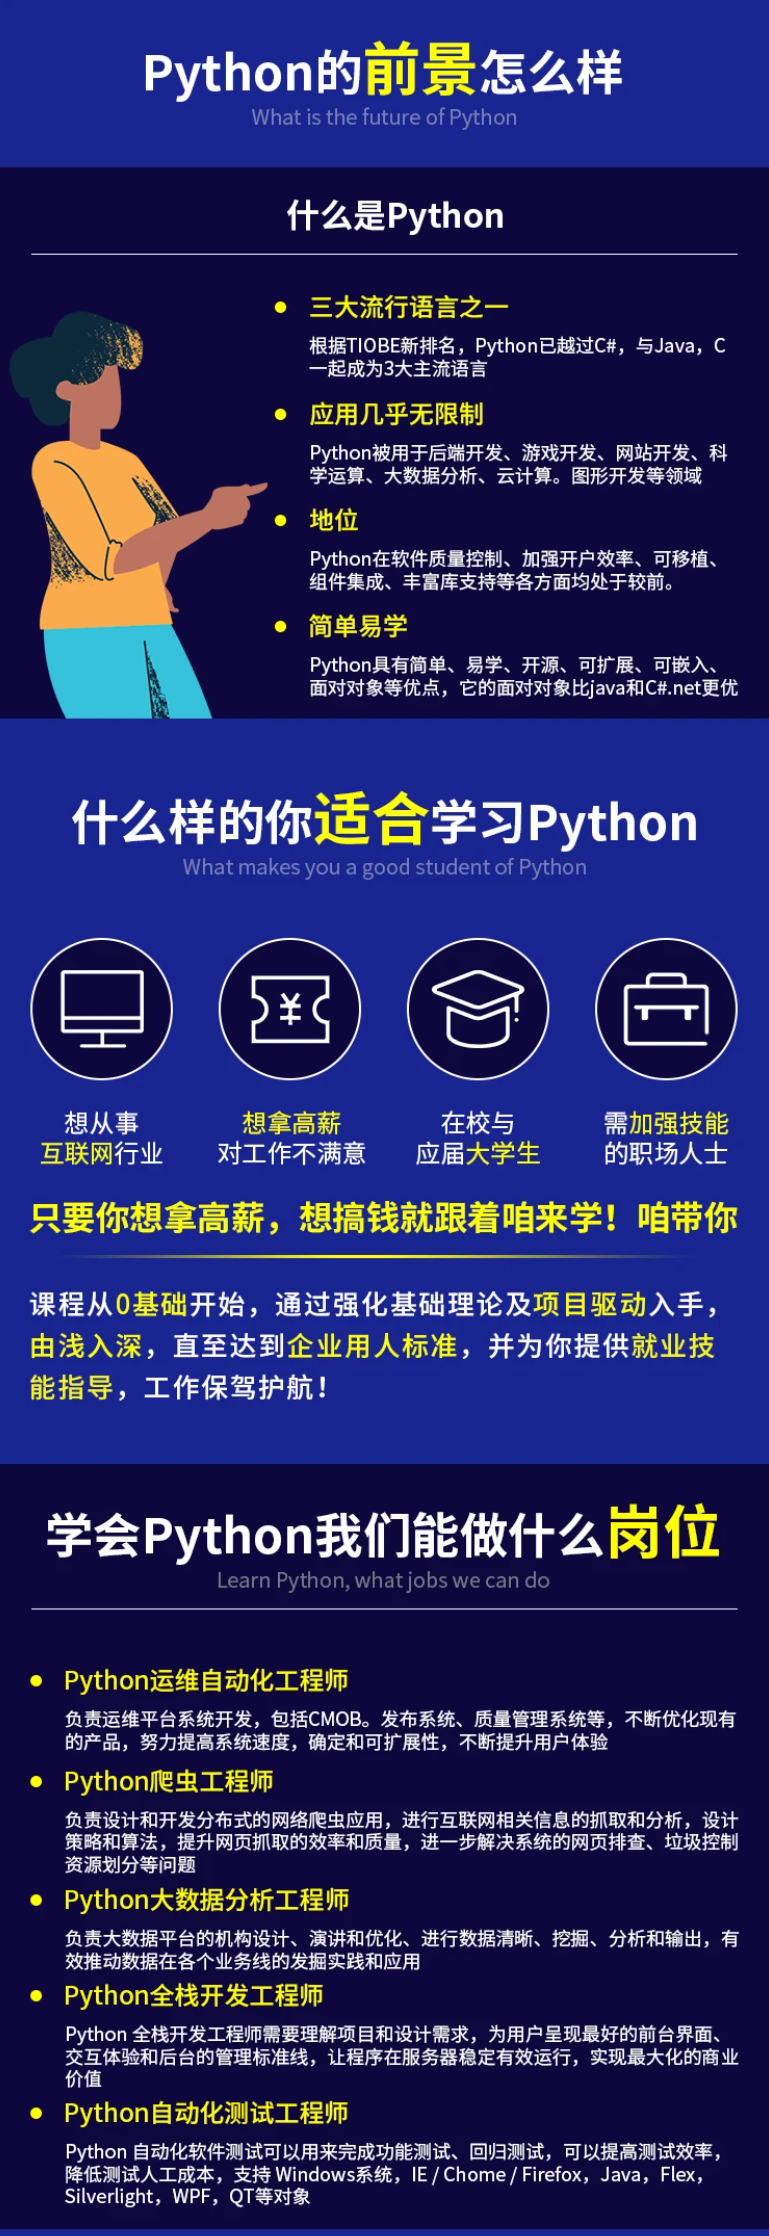


既有适合小白学习的零基础资料,也有适合3年以上经验的小伙伴深入学习提升的进阶课程,基本涵盖了95%以上前端开发知识点,真正体系化!
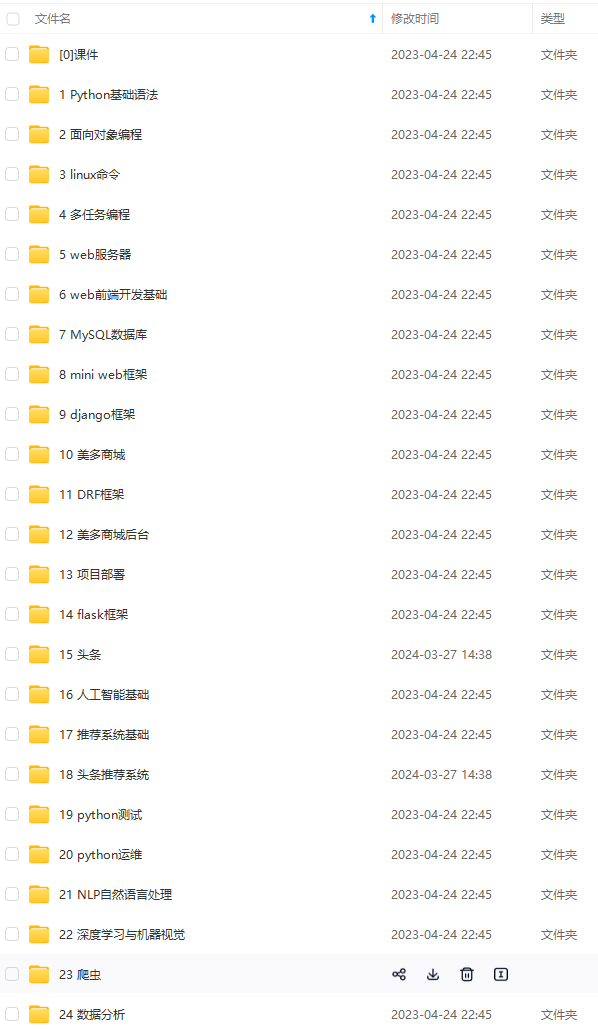
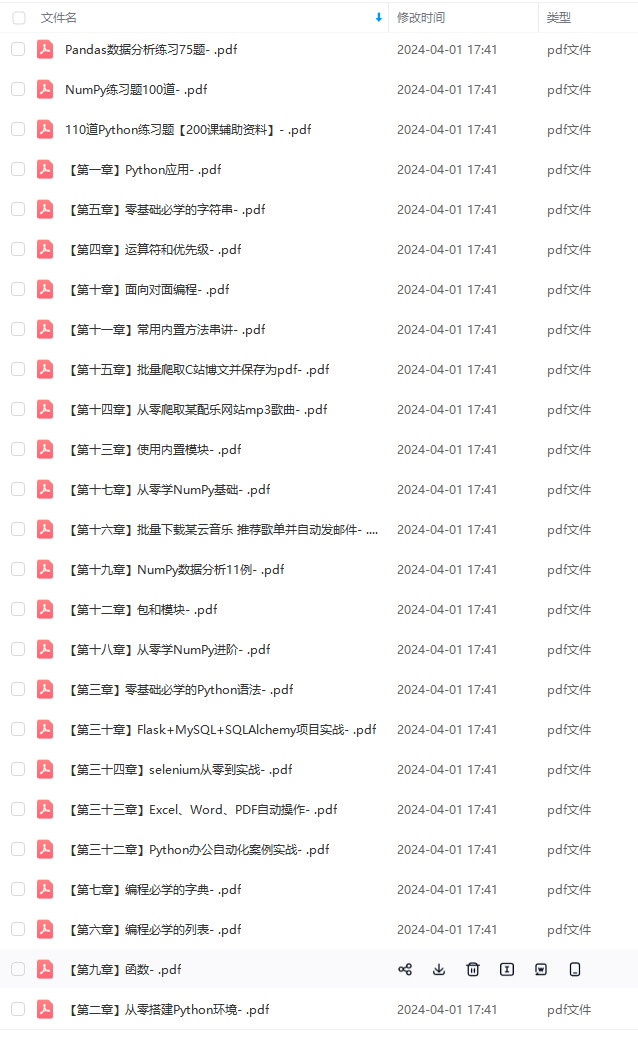
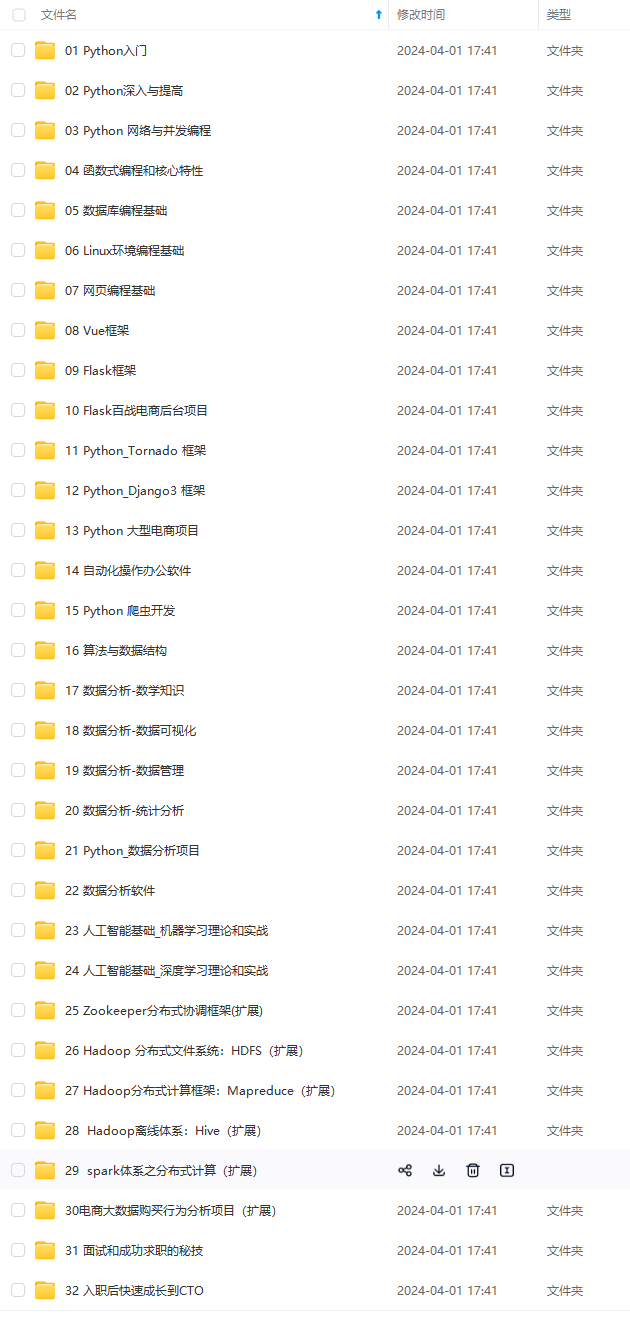
由于文件比较大,这里只是将部分目录大纲截图出来,每个节点里面都包含大厂面经、学习笔记、源码讲义、实战项目、讲解视频,并且后续会持续更新
如果你觉得这些内容对你有帮助,可以扫码获取!!!(备注:Python)
访问控制和路由重写。
-
强大的ngx_lua模块。
-
Proxy cache。
-
Gzip,SSL…
为了以后的扩展性,带上一个nginx是有必要的,但如果你的应用没大的需求,那么可加可不加。
想让nginx反向代理gunicorn,只需对nginx的配置文件加入几行配置,让nginx通过proxy_pass打到gunicorn监听的端口上就可以了:
server {
listen 8888;
location / {
自我介绍一下,小编13年上海交大毕业,曾经在小公司待过,也去过华为、OPPO等大厂,18年进入阿里一直到现在。
深知大多数Python工程师,想要提升技能,往往是自己摸索成长或者是报班学习,但对于培训机构动则几千的学费,着实压力不小。自己不成体系的自学效果低效又漫长,而且极易碰到天花板技术停滞不前!
因此收集整理了一份《2024年Python开发全套学习资料》,初衷也很简单,就是希望能够帮助到想自学提升又不知道该从何学起的朋友,同时减轻大家的负担。
[外链图片转存中…(img-G7ssARt8-1713753338508)]
[外链图片转存中…(img-2XnqCpuR-1713753338509)]
[外链图片转存中…(img-NCrsDRTg-1713753338509)]
[外链图片转存中…(img-5UDHbpVD-1713753338510)]
既有适合小白学习的零基础资料,也有适合3年以上经验的小伙伴深入学习提升的进阶课程,基本涵盖了95%以上前端开发知识点,真正体系化!
由于文件比较大,这里只是将部分目录大纲截图出来,每个节点里面都包含大厂面经、学习笔记、源码讲义、实战项目、讲解视频,并且后续会持续更新
如果你觉得这些内容对你有帮助,可以扫码获取!!!(备注:Python)


 5314
5314


 被折叠的 条评论
为什么被折叠?
被折叠的 条评论
为什么被折叠?
 到【灌水乐园】发言


