


源于 https://ask.csdn.net/questions/7797682
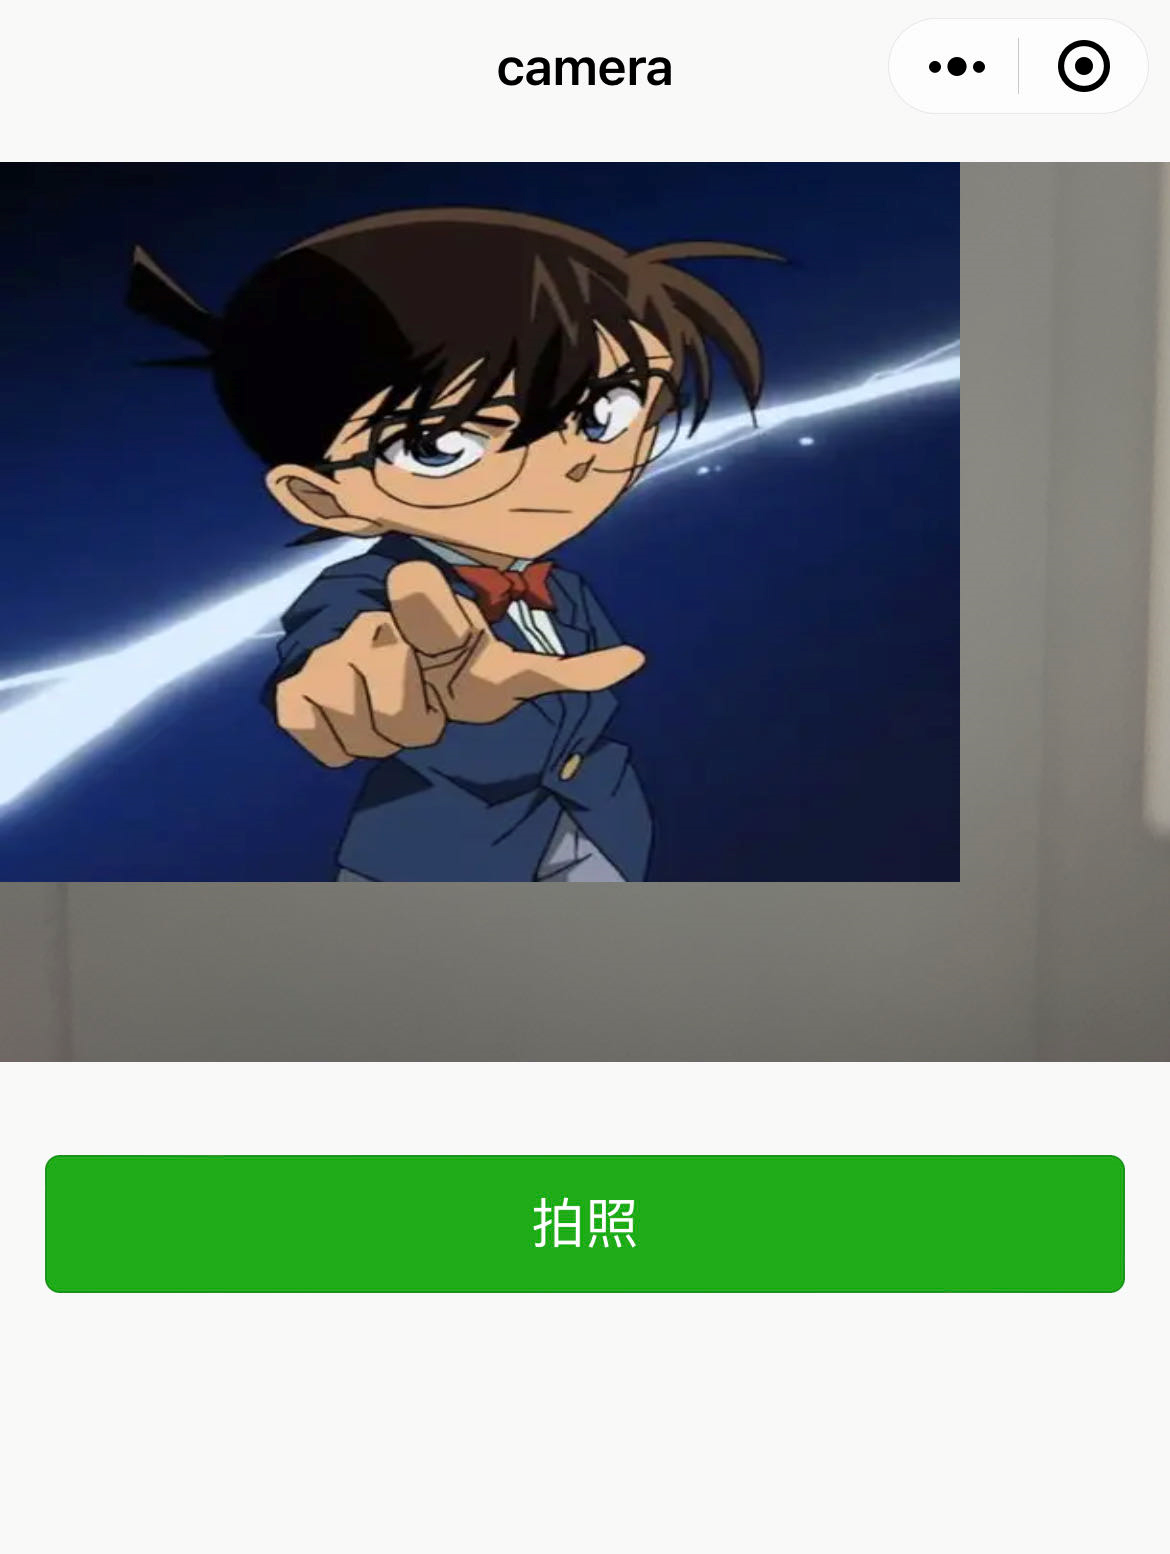
效果
输入

输出

环境
基础库版本 2.20.x使用的新版的canvas(也不算新两三年了)。
知识点
代码
index.wxml
<canvas type="2d" id="photo" class="photo" disable-scroll="{{true}}" style="width: {{width}}rpx;height: {{height}}rpx;"></canvas>
<button type="primary" bindtap="chooseImage">选择照片</button>
index.wxss
.photo {
  margin: 80rpx auto;
  background-color: rgb(68, 48, 247);
  border: 4px solid #ddd;
}
index.js 重点
代码没有进行封装,仅仅只是方便预览
const app = getApp()

Page({
  data: {
    canvas: null,
    ctx: null,
    height: 441,
    width: 358,
  },
  onReady() {
    // 创建一个 SelectorQuery 对象,选择器选取范围为这个组件实例内
    const query = this.createSelectorQuery()
    // 选择wxml上id是photo的元素
    query.select('#photo').fields({ node: true, size: true });
    // 执行
    query.exec((res) => {
      const canvas = res[0].node // 因为返回的是数组 所以要去第一个
      const ctx = canvas.getContext('2d') // 获取画布内容
      canvas.width = this.data.width  // 真实宽度
      canvas.height = this.data.height  // 真实高度
      this.data.canvas = canvas; // 暂存到data中方便其他方法调用
      this.data.ctx = ctx; // 暂存到data中方便其他方法调用
    })
  },
  chooseImage() { // 选择图片
    wx.chooseMedia({ // 选择媒体
      count: 1, // 照片数量
      mediaType: ['image'], // 图片
      sourceType: ['album'], // 相册
      success: (res) => {
        let tempFilePath = res.tempFiles[0].tempFilePath
        const canvas = this.data.canvas; // 画布
        const ctx = this.data.ctx;
        const { width, height } = canvas; // 画布的大小
        let tempImage = canvas.createImage();
        tempImage.src = tempFilePath;
        tempImage.onload = () => {
          // fill 填充模式
          let originWidth = tempImage.width; // 原宽度
          let originHeight = tempImage.height; // 原高度
          let targetWidth = width; // 目标宽度
          let targetHeight = height; // 目标高度
          let scale = 0; // 临时比例
          // 当原宽度小于原高度时
          if (originWidth < originHeight) {
            // 临时比例暂存
            scale = originWidth / originHeight;
            originWidth = targetWidth;
            originHeight = originWidth / scale;
          }
          // 非
          else {
            scale = originWidth / originHeight;
            originHeight = targetHeight;
            originWidth = originHeight * scale;
          }
          // 计算偏移量
          const offsetX = - (originWidth - targetWidth) / 2
          const offsetY = - (originHeight - targetHeight) / 2
          // 清空画布
          ctx.clearRect(0, 0, canvas.width, canvas.height)

          // 绘制图片
          ctx.drawImage(tempImage, offsetX, offsetY, originWidth, originHeight)
          const base64 = canvas.toDataURL() // canvas输出base64
          const fs = wx.getFileSystemManager(); // 获取获取全局唯一的文件管理器
          const filePath = wx.env.USER_DATA_PATH + '/tmp.png'; // 写入临时路径
          fs.writeFile({
            filePath,
            data: base64.replace(/^data:image\/\w+;base64,/, ""), // 剔除base64特有前缀
            encoding: 'base64',
            success: (res) => {
              wx.saveImageToPhotosAlbum({ // 保存到手机相册
                filePath,
                success: (res) => {
                  wx.showToast({
                    title: '保存成功',
                  })
                }
              })
            }
          });
        }
      }
    })
  }
})
源码
完整代码片段
https://developers.weixin.qq.com/s/ERW91Dma7QCP
私信的问题
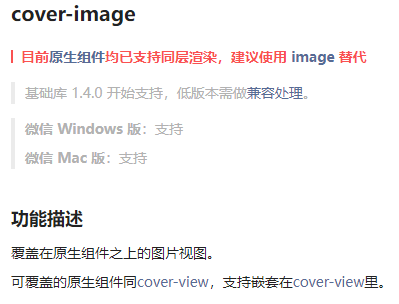
Q: Camera 如何放置遮罩层?
如果想用cover-image组件,也是一样,建议使用直接使用image组件。
<camera device-position="back" flash="off" binderror="error" style="width: 100%; height: 300px;">
   <image src="https://gimg2.baidu.com/image_search/src=http%3A%2F%2Finews.gtimg.com%2Fnewsapp_bt%2F0%2F13210298185%2F1000&refer=http%3A%2F%2Finews.gtimg.com&app=2002&size=f9999,10000&q=a80&n=0&g=0n&fmt=auto?sec=1667063277&t=74fe7de947f94409ff089e9b123d87ef"></image>
</camera>
评论的问题
Q: 使用Camera组件如何套用该案例?
将canvas组件复制到页面中,把拍照返回的临时图片路径替换到选择图片回调返回的临时图片。
代码部分
index.wxml 节选
<!-- 追加到页面 -->
<canvas type="2d" id="photo" class="photo" disable-scroll="{{true}}" style="width: {{width}}rpx;height: {{height}}rpx;"></canvas>
index.js 重点 全
const app = getApp()

Page({
    data: {
        canvas: null,
        ctx: null,
        height: 441,
        width: 358,
    },
    onReady() {
        // 创建一个 SelectorQuery 对象,选择器选取范围为这个组件实例内
        const query = this.createSelectorQuery()
        // 选择wxml上id是photo的元素
        query.select('#photo').fields({ node: true, size: true });
        // 执行
        query.exec((res) => {
            const canvas = res[0].node // 因为返回的是数组 所以要去第一个
            const ctx = canvas.getContext('2d') // 获取画布内容
            canvas.width = this.data.width  // 真实宽度
            canvas.height = this.data.height  // 真实高度
            this.data.canvas = canvas; // 暂存到data中方便其他方法调用
            this.data.ctx = ctx; // 暂存到data中方便其他方法调用
        })
    },
    onLoad() {
        this.ccc = wx.createCameraContext()
    },
    takePhoto() {
        this.ccc.takePhoto({
            quality: 'high',
            success: (res) => {
                let tempFilePath = res.tempImagePath
                const canvas = this.data.canvas; // 画布
                const ctx = this.data.ctx;
                const { width, height } = canvas; // 画布的大小
                let tempImage = canvas.createImage();
                tempImage.src = tempFilePath;
                tempImage.onload = () => {
                    // fill 填充模式
                    let originWidth = tempImage.width; // 原宽度
                    let originHeight = tempImage.height; // 原高度
                    let targetWidth = width; // 目标宽度
                    let targetHeight = height; // 目标高度
                    let scale = 0; // 临时比例
                    // 当原宽度小于原高度时
                    if (originWidth < originHeight) {
                        // 临时比例暂存
                        scale = originWidth / originHeight;
                        originWidth = targetWidth;
                        originHeight = originWidth / scale;
                    }
                    // 非
                    else {
                        scale = originWidth / originHeight;
                        originHeight = targetHeight;
                        originWidth = originHeight * scale;
                    }
                    // 计算偏移量
                    const offsetX = - (originWidth - targetWidth) / 2
                    const offsetY = - (originHeight - targetHeight) / 2
                    // 清空画布
                    ctx.clearRect(0, 0, canvas.width, canvas.height)

                    // 绘制图片
                    ctx.drawImage(tempImage, offsetX, offsetY, originWidth, originHeight)
                    const base64 = canvas.toDataURL() // canvas输出base64
                    const fs = wx.getFileSystemManager(); // 获取获取全局唯一的文件管理器
                    const filePath = wx.env.USER_DATA_PATH + '/tmp.png'; // 写入临时路径
                    fs.writeFile({
                        filePath,
                        data: base64.replace(/^data:image\/\w+;base64,/, ""), // 剔除base64特有前缀
                        encoding: 'base64',
                        success: (res) => {
                            wx.saveImageToPhotosAlbum({ // 保存到手机相册
                                filePath,
                                success: (res) => {
                                    wx.showToast({
                                        title: '保存成功',
                                    })
                                }
                            })
                        }
                    });
                }
            }
        })
    },
    error(e) {
        console.log(e.detail)
    }
})
源码
https://developers.weixin.qq.com/s/DxGSlEmD7wCu
拓展
处理图片的颜色值
index.js 节选
// 绘制图片
ctx.drawImage(tempImage, offsetX, offsetY, originWidth, originHeight)
// getImageData
// 按照从左到右,从上到下的顺序去存储像素点信息
// 每四个数组元素代表了一个像素点的RGBA信息
const imageData = ctx.getImageData(0, 0, originWidth, originHeight)
// 灰度范围
const minGray = 230;
// 目标色
const white = 255;
for (let i = 0; i < imageData.data.length; i += 4) {
    let tmpRed = imageData.data[i]
    let tmpGreen = imageData.data[i + 1]
    let tmpBlue = imageData.data[i + 2]
    let tmpAlpha = imageData.data[i + 3]
    if (tmpRed > minGray && tmpGreen > minGray && tmpBlue > minGray && tmpAlpha > minGray) {
        imageData.data[i] = white;
        imageData.data[i + 1] = white;
        imageData.data[i + 2] = white;
        imageData.data[i + 3] = white;
    }
}
ctx.putImageData(imageData, 0, 0)


 1万+
1万+


 被折叠的 条评论
为什么被折叠?
被折叠的 条评论
为什么被折叠?
 到【灌水乐园】发言


