


源码下载地址:http://download.csdn.net/detail/liu537192/8491685
核心代码:
//
// JLAppDelegate.m
// 02-控制器的创建
//
// Created by XinYou on 15-3-11.
// Copyright (c) 2015年 vxinyou. All rights reserved.
//
#import "JLAppDelegate.h"
#import "JLOneViewController.h"
#import "JLTwoViewController.h"
#import "JLThreeViewController.h"
@implementation JLAppDelegate
- (BOOL)application:(UIApplication *)application didFinishLaunchingWithOptions:(NSDictionary *)launchOptions
{
self.window = [[UIWindow alloc] initWithFrame:[UIScreen mainScreen].bounds];
// 设置window的背景色为红色
self.window.backgroundColor = [UIColor redColor];
// 第1种创建控制器的方式
// [self method_1];
// 第2种创建控制器的方式
// [self method_2];
// 第3种创建控制器的方式
[self method_3];
// 设置window为主窗口,并且显示
[self.window makeKeyAndVisible];
return YES;
}
/**
* 创建方式3,通过xib创建
*/
- (void)method_3{
JLThreeViewController *threeViewController = [[JLThreeViewController alloc] initWithNibName:@"three" bundle:nil];
self.window.rootViewController = threeViewController;
// 使用这种方式创建控制器,程序会直接奔溃。
// 因为xib和storyboard不同,storyboard中如果有多个控制器,会加载箭头所指的控制器
// 而xib没有箭头,所以如果xib中有多个UIView,initWithNibName:方法不知道要加载哪个UIView,这时程序就会奔溃
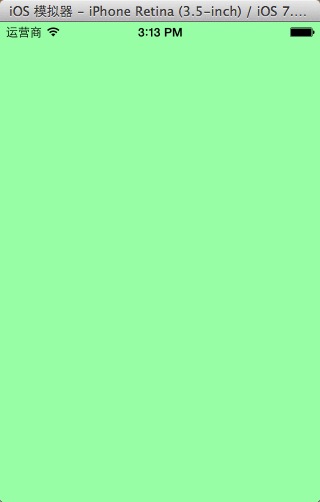
// 这时我们需要进行一些配置。
// 1,如图5所示,进入three.xib文件选中右上角的File's Owner,然后设置其Class属性
// 2,如图6所示,右击File's Owner,设置它的View
// 这时我们再运行程序,就不会有问题了,效果图如图7所示。
}
/**
* 创建方式2,通过storyboard创建
*/
- (void)method_2{
// 1,加载storyboard
UIStoryboard *storyboard = [UIStoryboard storyboardWithName:@"two" bundle:nil];
// 2,通过storyboard创建控制器
// 2.1,假设two.storyboard中有多个控制器,使用这种方式来创建控制器,默认创建的是storyboard中箭头所指的控制器
// 这个箭头是可以拖动的,我们可以拖动它让它指向别的控制器
// JLTwoViewController *twoViewController = [storyboard instantiateInitialViewController];
// 2.2,如果我们想创建不是箭头所指的控制器,可以给控制器设置Storyboard ID属性,如图2所示
// 然后使用如下方法来创建
JLTwoViewController *twoViewController = [storyboard instantiateViewControllerWithIdentifier:@"pink"];
self.window.rootViewController = twoViewController;
// two.storyboard如图3所示
// 以上代码的效果图如图4所示
}
/**
* 创建方式1,init方式
*/
- (void)method_1{
JLOneViewController *oneViewController = [[JLOneViewController alloc] init];
oneViewController.view.backgroundColor = [UIColor blueColor];
self.window.rootViewController = oneViewController;
// 效果图,如图1所示
}
- (void)applicationWillResignActive:(UIApplication *)application
{
// Sent when the application is about to move from active to inactive state. This can occur for certain types of temporary interruptions (such as an incoming phone call or SMS message) or when the user quits the application and it begins the transition to the background state.
// Use this method to pause ongoing tasks, disable timers, and throttle down OpenGL ES frame rates. Games should use this method to pause the game.
}
- (void)applicationDidEnterBackground:(UIApplication *)application
{
// Use this method to release shared resources, save user data, invalidate timers, and store enough application state information to restore your application to its current state in case it is terminated later.
// If your application supports background execution, this method is called instead of applicationWillTerminate: when the user quits.
}
- (void)applicationWillEnterForeground:(UIApplication *)application
{
// Called as part of the transition from the background to the inactive state; here you can undo many of the changes made on entering the background.
}
- (void)applicationDidBecomeActive:(UIApplication *)application
{
// Restart any tasks that were paused (or not yet started) while the application was inactive. If the application was previously in the background, optionally refresh the user interface.
}
- (void)applicationWillTerminate:(UIApplication *)application
{
// Called when the application is about to terminate. Save data if appropriate. See also applicationDidEnterBackground:.
}
@end
图1
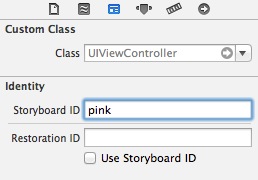
图3
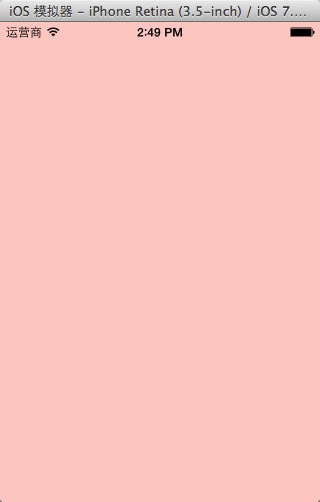
图5
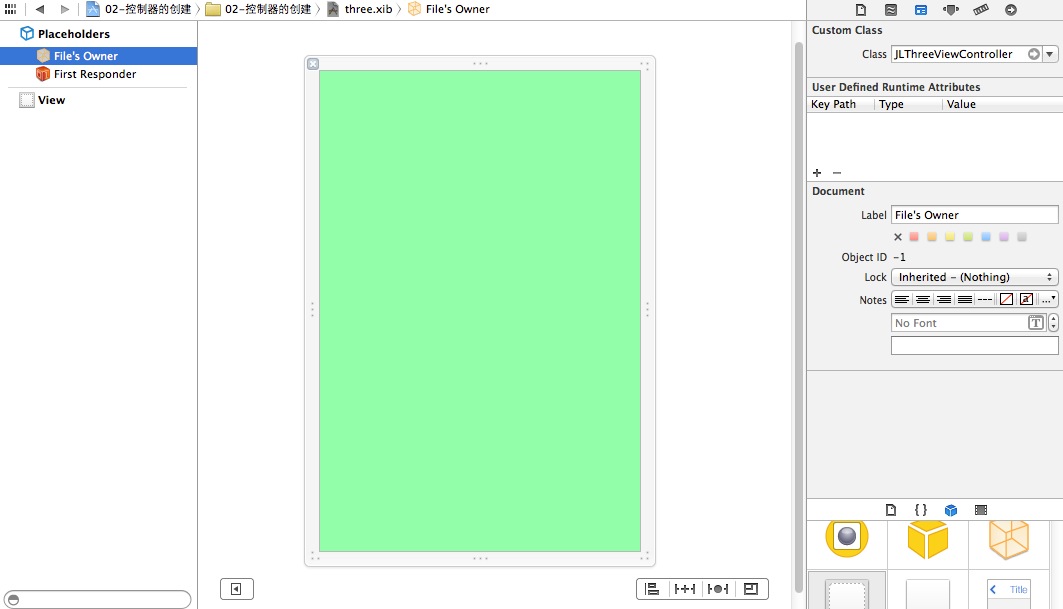
图6

图7


 726
726

 被折叠的 条评论
为什么被折叠?
被折叠的 条评论
为什么被折叠?
 到【灌水乐园】发言


