


当你的Android Studio升级到2.2以上,Gradle版本升级到2.2.0以上时,就可以使用CMake的方式编译jni啦~
首先需要下载ndk、CMake以及LLDB(用来调试原生代码),如下图:

此时,我们新建一个项目,注意记得勾选Include C++ support,如图:

点击Next,这里的C++ Standard我们选择默认就好,下方的Exceptions Support表示是否启用对C++异常处理的支持;如果你希望支持 RTTI,则勾选Runtime Type Information Support,如果此时没有勾选这两个,也可以在app目录下面的build.gradle里面去添加配置

点击finish,AndroidStudio会自动帮我们创建一个ndk的项目,左侧项目结构目录中的 app 应用模块中可以看到 cpp 文件夹,cpp 文件件里面存放有属于项目的所有原生源文件、标头和预构建库,并且多了一个CMakeLists.txt文件,这个文件就是配置jni的:

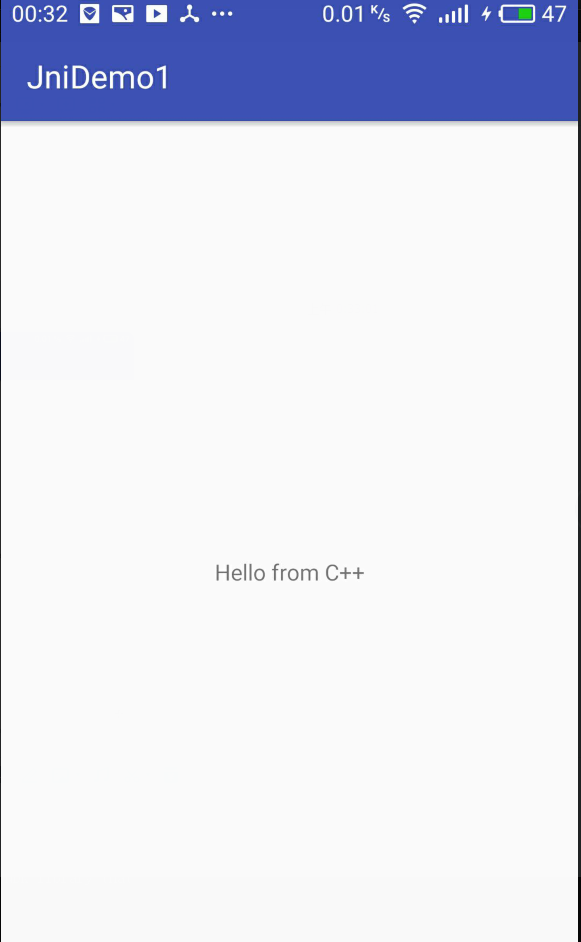
此时运行项目就可以看到手机上显示的结果了。
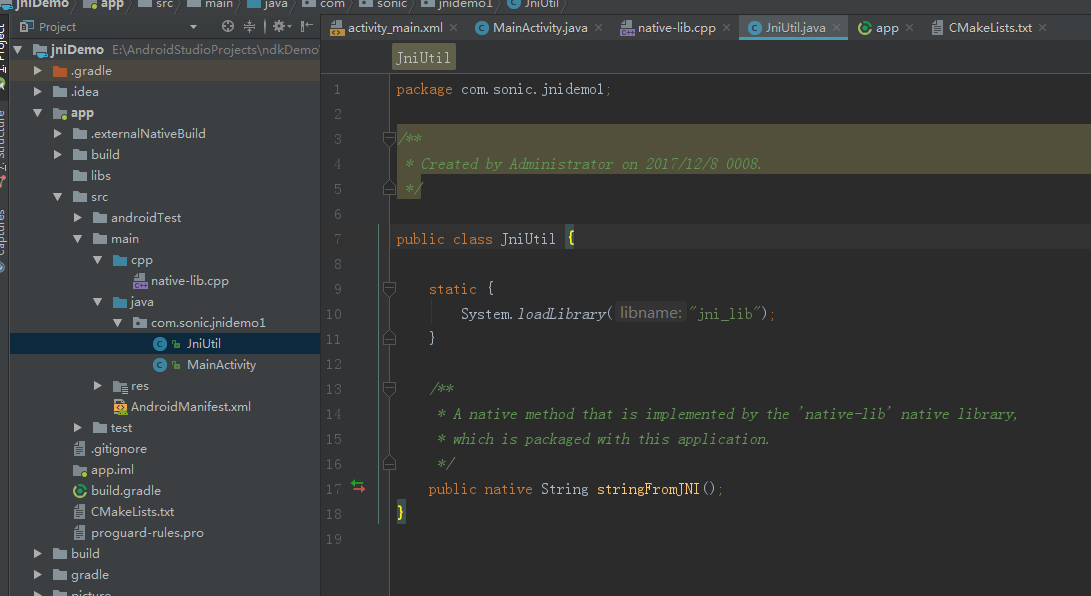
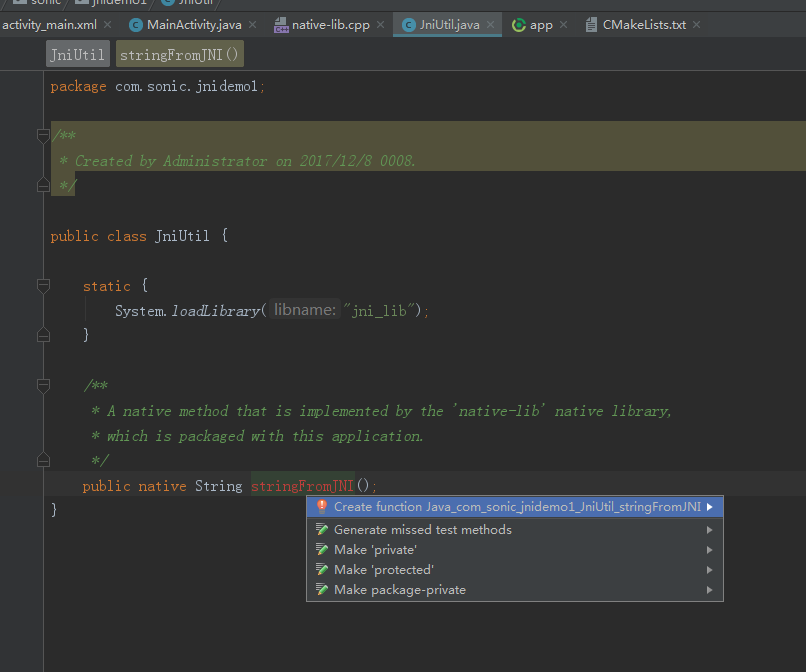
当然我们可以把jni的native方法单独抽取出来放在一个类里面,
此时如果我们修改了System.loadLibrary("jni_lib")里面的库的名称,则需要去CmakeLists.txt里面去对应的做修改:
# For more information about using CMake with Android Studio, read the
# documentation: https://d.android.com/studio/projects/add-native-code.html

# Sets the minimum version of CMake required to build the native library.

cmake_minimum_required(VERSION 3.4.1)

# Creates and names a library, sets it as either STATIC
# or SHARED, and provides the relative paths to its source code.
# You can define multiple libraries, and CMake builds them for you.
# Gradle automatically packages shared libraries with your APK.

add_library( # Sets the name of the library.
             jni_lib

             # Sets the library as a shared library.
             SHARED

             # Provides a relative path to your source file(s).
             src/main/cpp/native-lib.cpp )

# Searches for a specified prebuilt library and stores the path as a
# variable. Because CMake includes system libraries in the search path by
# default, you only need to specify the name of the public NDK library
# you want to add. CMake verifies that the library exists before
# completing its build.

find_library( # Sets the name of the path variable.
              log-lib

              # Specifies the name of the NDK library that
              # you want CMake to locate.
              log )

# Specifies libraries CMake should link to your target library. You
# can link multiple libraries, such as libraries you define in this
# build script, prebuilt third-party libraries, or system libraries.

target_link_libraries( # Specifies the target library.
                       jni_lib

                       # Links the target library to the log library
                       # included in the NDK.
                       ${log-lib} )
# 设置在编译本地库时我们需要的最小的cmake版本,AndroidStudio自动生成
cmake_minimum_required(VERSION 3.4.1)
# add_library用来设置编译生成的本地库的名字为jni_lib,SHARED表示编译生成的是动态链接库,
# src/main/cpp/native-lib.cpp表示参与编译的文件的路径,这里面可以写多个文件的路径。
add_library( # Sets the name of the library.
             jni_lib
             # Sets the library as a shared library.
             SHARED
             # Provides a relative path to your source file(s).
             src/main/cpp/native-lib.cpp )
# find_library 是用来添加一些我们在编译我们的本地库的时候需要依赖的一些库,由于cmake已经知道系统库的路径,
# 所以我们这里只是指定使用log库,然后给log库起别名为log-lib便于我们后面引用,此处的log库是我们后面调试时需要用来打log日志的库,是NDK为我们提供的。
find_library( # Sets the name of the path variable.
              log-lib
              # Specifies the name of the NDK library that
              # you want CMake to locate.
              log )
# target_link_libraries 是为了关联我们自己的库和一些第三方库或者系统库,这里把我们把自己的库native-lib库和log库关联起来。
target_link_libraries( # Specifies the target library.
                       jni_lib
                       # Links the target library to the log library
                       # included in the NDK.
                       ${log-lib} )
native-lib.cpp的代码如下:
#include <jni.h>
#include <string>

extern "C"
JNIEXPORT jstring JNICALL
Java_com_sonic_jnidemo1_JniUtil_stringFromJNI(JNIEnv *env, jobject instance) {
    // TODO
    std::string hello = "My name is jni,and I am came from c++ !";
    return env->NewStringUTF(hello.c_str());
}
最后在MainActivity里面修改一下调用,再运行就ok啦,效果如图:


 1708
1708

 被折叠的 条评论
为什么被折叠?
被折叠的 条评论
为什么被折叠?
 到【灌水乐园】发言


