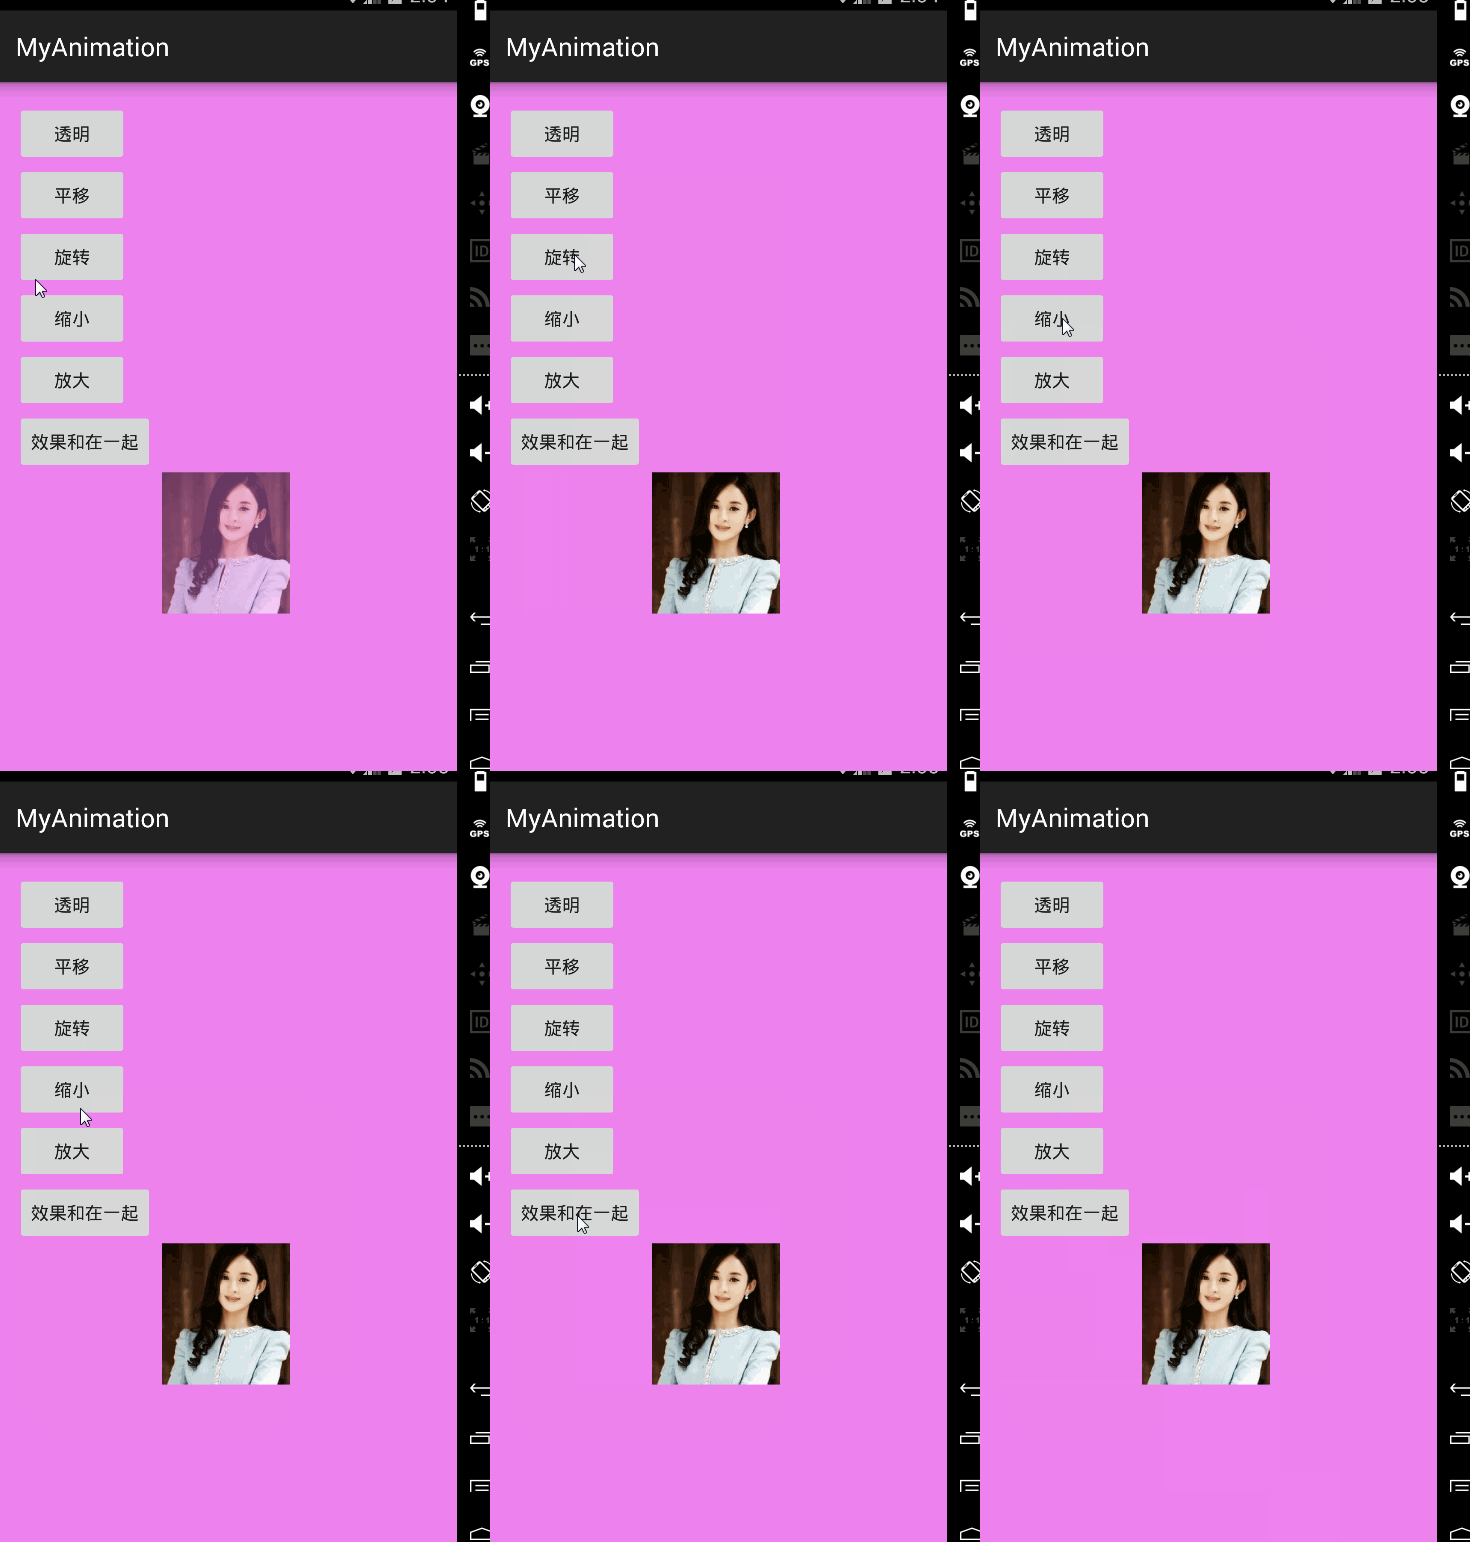
Animation定义属性的步骤和程序
使用步骤:
1、在res目录下创建anim文件,编写xml文件的动画效果
Alpha:
fromAlpha(开始的透明度)
toAlpha(结束时的透明度)
repeatCount(重复次数)
duration(使用时长,毫秒为单位)
<?xml version="1.0" encoding="utf-8"?>
<set xmlns:android="http://schemas.android.com/apk/res/android">
    <alpha
        android:fromAlpha="0.2"
        android:toAlpha="1.0"
        android:duration="1000"
        android:repeatCount="1"
        />

</set>
Translate:
fromXDelta(开始平移的x坐标)
fillAfter(是否记录终止位置,如果为true则会停止在最终位置)
toXDelta(停止平移的X坐标位置)
interpolator(设置加速过程,加速的形式很多,比如先加后减、自由落体的效果等)
<?xml version="1.0" encoding="utf-8"?>
<set xmlns:android="http://schemas.android.com/apk/res/android" >

    <translate
        android:duration="1000"
        android:fillAfter="false"
        android:fromXDelta="0"
        android:fromYDelta="0"
        android:interpolator="@android:anim/accelerate_decelerate_interpolator"
        android:toXDelta="200"
        android:toYDelta="200"
         />

</set>
Rotate:
fromDegrees(开始旋转的角度)
toDegrees(停止旋转的角度)
<?xml version="1.0" encoding="utf-8"?>
<set xmlns:android="http://schemas.android.com/apk/res/android">
    <rotate
        android:fromDegrees="0"
        android:toDegrees="360"
        android:duration="1000"
        />

</set>
Scale :
pivotX/pivotY:以哪个点进行缩放
<?xml version="1.0" encoding="utf-8"?>
<set xmlns:android="http://schemas.android.com/apk/res/android">
    <scale
        android:fromXScale="0"
        android:toXScale="1"
        android:fromYScale="0"
        android:toYScale="1"
      android:duration="2000"
      android:pivotX="100"
      android:pivotY="100"
        />

</set>
2、MainActivity中的调用:
 case R.id.button_animation:
                Animation animation= AnimationUtils.loadAnimation(getApplicationContext(),R.anim.animation);
                mImageView.startAnimation(animation);
                break;
总结:上面这种定义属性的方法和下面主函数里的AnimationSet产生的效果是一样的,都是几种效果一起实现。
 AnimationSet animationSet = new AnimationSet(false);
                AlphaAnimation animation1 = new AlphaAnimation(0.0f, 1.0f);
                TranslateAnimation animation2 = new TranslateAnimation(-mImageView.getMeasuredWidth(), 0, 0, 0);
                RotateAnimation animation3 = new RotateAnimation(0, 360);
                ScaleAnimation animation4 = new ScaleAnimation(1, 0.5f, 1, 0.5f);
                animation1.setDuration(3000);
                animation2.setDuration(3000);
                animation3.setDuration(3000);
                animation4.setDuration(3000);
                animationSet.addAnimation(animation1);
                animationSet.addAnimation(animation2);
                animationSet.addAnimation(animation3);
                animationSet.addAnimation(animation4);
                mImageView.startAnimation(animationSet);
主函数
public class MainActivity extends AppCompatActivity implements View.OnClickListener {
    private Button mButtonAlpha;
    private Button mButtonTranslation;
    private Button mButtonScaleReduce;
    private Button mButtonScaleIncrease;
    private Button mButtonXuan;
    private Button mButtonCollect;
    private ImageView mImageView;

    @Override
    protected void onCreate(Bundle savedInstanceState) {
        super.onCreate(savedInstanceState);
        setContentView(R.layout.activity_main);
        mButtonAlpha = (Button) findViewById(R.id.button_alpha);
        mButtonTranslation = (Button) findViewById(R.id.button_translation);
        mButtonScaleReduce = (Button) findViewById(R.id.button_scale_reduce);
        mButtonXuan = (Button) findViewById(R.id.button_xuanzhuan);
        mButtonScaleIncrease = (Button) findViewById(R.id.button_scale_increase);
        mButtonCollect = (Button) findViewById(R.id.button_collect);
        mImageView = (ImageView) findViewById(R.id.imageview);
        mButtonAlpha.setOnClickListener(this);
        mButtonTranslation.setOnClickListener(this);
        mButtonXuan.setOnClickListener(this);
        mButtonScaleReduce.setOnClickListener(this);
        mButtonScaleIncrease.setOnClickListener(this);
        mButtonCollect.setOnClickListener(this);
    }


    @Override
    public void onClick(View v) {
        switch (v.getId()) {
            case R.id.button_alpha:
                AlphaAnimation animation = new AlphaAnimation(0.0f, 1.0f);
                animation.setDuration(3000);
                mImageView.startAnimation(animation);
                break;
            case R.id.button_translation:
                TranslateAnimation translateAnimation = new TranslateAnimation(-mImageView.getMeasuredWidth(), 0, 0, 0);
                translateAnimation.setDuration(3000);
                mImageView.startAnimation(translateAnimation);
                break;
            case R.id.button_xuanzhuan:
                RotateAnimation rotateAnimation = new RotateAnimation(0, 360);
                rotateAnimation.setDuration(3000);
                mImageView.startAnimation(rotateAnimation);
                break;
            case R.id.button_scale_reduce:
                ScaleAnimation scaleAnimation = new ScaleAnimation(1, 0.5f, 1, 0.5f);
                scaleAnimation.setDuration(3000);
                mImageView.startAnimation(scaleAnimation);
                break;
            case R.id.button_scale_increase:
                ScaleAnimation scaleAnimation1 = new ScaleAnimation(0.5f, 1, 0.5f, 1);
                scaleAnimation1.setDuration(3000);
                mImageView.startAnimation(scaleAnimation1);
                break;
            case R.id.button_collect:
                AnimationSet animationSet = new AnimationSet(false);
                AlphaAnimation animation1 = new AlphaAnimation(0.0f, 1.0f);
                TranslateAnimation animation2 = new TranslateAnimation(-mImageView.getMeasuredWidth(), 0, 0, 0);
                RotateAnimation animation3 = new RotateAnimation(0, 360);
                ScaleAnimation animation4 = new ScaleAnimation(1, 0.5f, 1, 0.5f);
                animation1.setDuration(3000);
                animation2.setDuration(3000);
                animation3.setDuration(3000);
                animation4.setDuration(3000);
                animationSet.addAnimation(animation1);
                animationSet.addAnimation(animation2);
                animationSet.addAnimation(animation3);
                animationSet.addAnimation(animation4);
                mImageView.startAnimation(animationSet);
                break;

        }
    }
}
布局
<LinearLayout xmlns:android="http://schemas.android.com/apk/res/android"
    xmlns:tools="http://schemas.android.com/tools" android:layout_width="match_parent"
    android:layout_height="match_parent" android:paddingLeft="@dimen/activity_horizontal_margin"
    android:paddingRight="@dimen/activity_horizontal_margin"
    android:paddingTop="@dimen/activity_vertical_margin"
    android:paddingBottom="@dimen/activity_vertical_margin"
    android:background="#ee82ee"
    android:orientation="vertical" tools:context=".MainActivity">

<Button
    android:text="透明"
    android:id="@+id/button_alpha"
    android:layout_width="wrap_content"
    android:layout_height="wrap_content"
    />
    <Button
        android:text="平移"
        android:id="@+id/button_translation"
        android:layout_width="wrap_content"
        android:layout_height="wrap_content"/>
    <Button
        android:text="旋转"
        android:id="@+id/button_xuanzhuan"
        android:layout_width="wrap_content"
        android:layout_height="wrap_content"/>
    <Button
        android:text="缩小"
        android:id="@+id/button_scale_reduce"
        android:layout_width="wrap_content"
        android:layout_height="wrap_content"/>
    <Button
        android:text="放大"
        android:id="@+id/button_scale_increase"
        android:layout_width="wrap_content"
        android:layout_height="wrap_content"/>
    <Button
        android:text="效果和在一起"
        android:id="@+id/button_collect"
        android:layout_width="wrap_content"
        android:layout_height="wrap_content"/>

    <ImageView
        android:id="@+id/imageview"
        android:layout_width="wrap_content"
        android:layout_height="wrap_content"
        android:src="@mipmap/zhaoliying"
        android:layout_gravity="center"/>

</LinearLayout>


 5204
5204

 被折叠的 条评论
为什么被折叠?


