


libssh2库的使用
ubuntu上使用libssh2库实现本地文件上传到服务器。
1. 编译工具的安装
sudo apt install autoconf
sudo apt install automake
sudo apt install libtool
2. 下载 libssh2 library
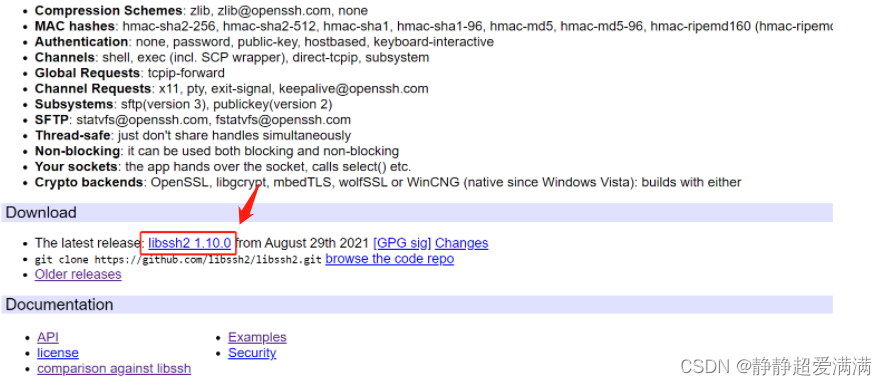
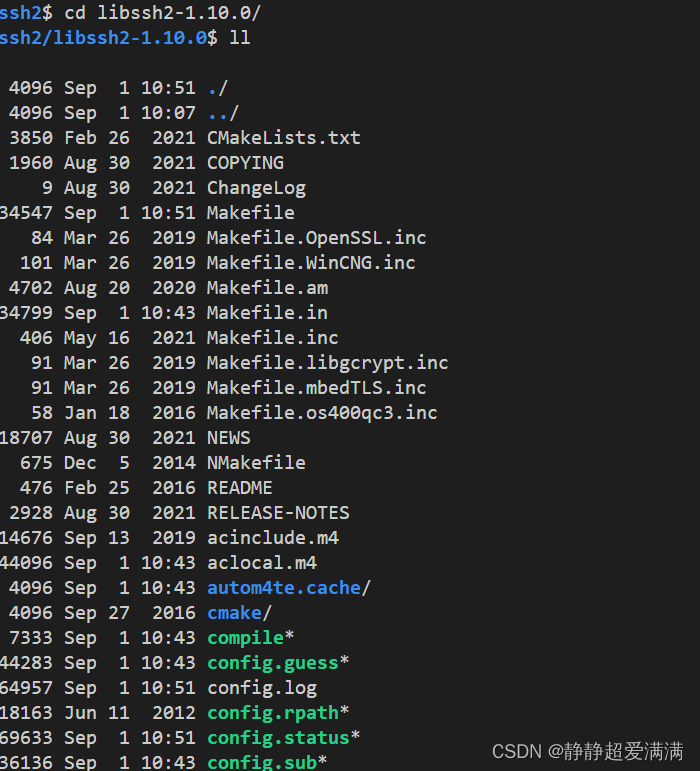
解压:tar -xvf libssh2-1.10.0.tar.gz
3.本地编译
3.1 执行 autoreconf -fi
XXX@XXXXXX:~/libssh2/libssh2-1.10.0$autoreconf -fi
报错:
autoreconf: ‘configure.ac’ or ‘configure.in’ is required
原因没有进入libssh2-1.10.0文件夹下
cd libssh2-1.10.0
3.2 执行./configure
XXX@XXXXXX:~/libssh2/libssh2-1.10.0$ ./configure
报错:
…
…
configure: error: Required dependencies are missing!
解决:
sudo apt-get update
sudo apt-get install libssl-dev
然后再执行./configure,正确。
3.3 执行make
XXX@XXXXXXXX:~/libssh2/libssh2-1.10.0$ make
4.将编译好的程序安装至系统中
sudo make install
XXX@XXXXX:~/libssh2/libssh2-1.10.0$ sudo make install
如果原始码编译无误,且执行结果正确,便可以把程序安装至系统预设的可执行文件存放路径。
5.example下的sftp_write.c文件测试
5.1 编译测试文件
在任意路径下新建一个测试的文件夹,并进入。
XXX@XXXXX:~$ mkdir check_libssh2
XXX@XXXXX:~$ cd check_libssh2/
将要测试的文件拷贝到文件夹下:
XXX@XXXXX:~/check_libssh2$ cp ../libssh2/libssh2-1.10.0/example/sftp_write.c ./
拷贝头文件:
XXX@XXXXX:~/check_libssh2$ cp ../libssh2/libssh2-1.10.0/src/libssh2_config.h ./
开始编译,使用gcc,加上-l参数,指定我们使用的动态库名称。
XXX@XXXXX:~/check_libssh2$ gcc sftp_write.c -l ssh2
编译成功不报错。
5.2 运行可执行文件
XXX@XXXXX:~/check_libssh2$ ./a.out
./a.out: error while loading shared libraries: libssh2.so.1: cannot open shared object file: No such file or directory
运行可执行文件报错。
解决办法:
(1)找到libssh2.so.1的路径
XXX@XXXXX:~/check_libssh2$ whereis libssh2.so.1
libssh2.so: /usr/local/lib/libssh2.so /usr/local/lib/libssh2.so.1
(2)修改配置文件
XXX@XXXXX:/lib64$ sudo vim /etc/ld.so.conf
在文件末尾中加入:
/usr/local/lib
(3)让配置生效
XXX@XXXXX:/lib64$ sudo ldconfig
ldconfig是一个动态链接库管理命令,其目的为了让动态链接库为系统所共享。
ldconfig的主要用途:
默认搜寻/lilb和/usr/lib,以及配置文件/etc/ld.so.conf内所列的目录下的库文件。
搜索出可共享的动态链接库,库文件的格式为:lib***.so.**,进而创建出动态装入程序(ld.so)所需的连接和缓存文件。
缓存文件默认为/etc/ld.so.cache,该文件保存已排好序的动态链接库名字列表。
ldconfig通常在系统启动时运行,而当用户安装了一个新的动态链接库时,就需要手工运行这个命令。
(4)重新编译运行成功
XXX@XXXXX:~/check_libssh2$ gcc sftp_write.c -l ssh2
XXX@XXXXX:~/check_libssh2$ ./a.out 10.XXX.XX.13 username password local_path/local_file dest_path/dest_file
实现了将local_file上传到10.XXX.XX.13服务器上的dest_path/dest_file,dest_file可以不存在,如果存在的话就是覆盖。
6.example的sftp_write.c代码
直接下载官网上面的那个库里面就有这个代码,贴这里方便阅读。
/*
 * Sample showing how to do SFTP write transfers.
 *
 * The sample code has default values for host name, user name, password
 * and path to copy, but you can specify them on the command line like:
 *
 * "sftp 192.168.0.1 user password sftp_write.c /tmp/secrets"
 */

#include "libssh2_config.h"
#include <libssh2.h>
#include <libssh2_sftp.h>

#ifdef HAVE_WINSOCK2_H
# include <winsock2.h>
#endif
#ifdef HAVE_SYS_SOCKET_H
# include <sys/socket.h>
#endif
#ifdef HAVE_NETINET_IN_H
# include <netinet/in.h>
#endif
# ifdef HAVE_UNISTD_H
#include <unistd.h>
#endif
#ifdef HAVE_ARPA_INET_H
# include <arpa/inet.h>
#endif

#include <sys/types.h>
#include <fcntl.h>
#include <errno.h>
#include <stdio.h>
#include <ctype.h>

int main(int argc, char *argv[])
{
    unsigned long hostaddr;
    int sock, i, auth_pw = 1;
    struct sockaddr_in sin;
    const char *fingerprint;
    LIBSSH2_SESSION *session;
    const char *username = "username";
    const char *password = "password";
    const char *loclfile = "sftp_write.c";
    const char *sftppath = "/tmp/TEST";
    int rc;
    FILE *local;
    LIBSSH2_SFTP *sftp_session;
    LIBSSH2_SFTP_HANDLE *sftp_handle;
    char mem[1024*100];
    size_t nread;
    char *ptr;

#ifdef WIN32
    WSADATA wsadata;
    int err;

    err = WSAStartup(MAKEWORD(2, 0), &wsadata);
    if(err != 0) {
        fprintf(stderr, "WSAStartup failed with error: %d\n", err);
        return 1;
    }
#endif

    if(argc > 1) {
        hostaddr = inet_addr(argv[1]);
    }
    else {
        hostaddr = htonl(0x7F000001);
    }

    if(argc > 2) {
        username = argv[2];
    }
    if(argc > 3) {
        password = argv[3];
    }
    if(argc > 4) {
        loclfile = argv[4];
    }
    if(argc > 5) {
        sftppath = argv[5];
    }

    rc = libssh2_init(0);
    if(rc != 0) {
        fprintf(stderr, "libssh2 initialization failed (%d)\n", rc);
        return 1;
    }

    local = fopen(loclfile, "rb");
    if(!local) {
        fprintf(stderr, "Can't open local file %s\n", loclfile);
        return -1;
    }

    /*
     * The application code is responsible for creating the socket
     * and establishing the connection
     */
    sock = socket(AF_INET, SOCK_STREAM, 0);

    sin.sin_family = AF_INET;
    sin.sin_port = htons(22);
    sin.sin_addr.s_addr = hostaddr;
    if(connect(sock, (struct sockaddr*)(&sin),
            sizeof(struct sockaddr_in)) != 0) {
        fprintf(stderr, "failed to connect!\n");
        return -1;
    }

    /* Create a session instance
     */
    session = libssh2_session_init();
    if(!session)
        return -1;

    /* Since we have set non-blocking, tell libssh2 we are blocking */
    libssh2_session_set_blocking(session, 1);

    /* ... start it up. This will trade welcome banners, exchange keys,
     * and setup crypto, compression, and MAC layers
     */
    rc = libssh2_session_handshake(session, sock);
    if(rc) {
        fprintf(stderr, "Failure establishing SSH session: %d\n", rc);
        return -1;
    }

    /* At this point we havn't yet authenticated.  The first thing to do
     * is check the hostkey's fingerprint against our known hosts Your app
     * may have it hard coded, may go to a file, may present it to the
     * user, that's your call
     */
    fingerprint = libssh2_hostkey_hash(session, LIBSSH2_HOSTKEY_HASH_SHA1);
    fprintf(stderr, "Fingerprint: ");
    for(i = 0; i < 20; i++) {
        fprintf(stderr, "%02X ", (unsigned char)fingerprint[i]);
    }
    fprintf(stderr, "\n");

    if(auth_pw) {
        /* We could authenticate via password */
        if(libssh2_userauth_password(session, username, password)) {
            fprintf(stderr, "Authentication by password failed.\n");
            goto shutdown;
        }
    }
    else {
        /* Or by public key */
        const char *pubkey = "/home/username/.ssh/id_rsa.pub";
        const char *privkey = "/home/username/.ssh/id_rsa.pub";
        if(libssh2_userauth_publickey_fromfile(session, username,
                                               pubkey, privkey,
                                               password)) {
            fprintf(stderr, "\tAuthentication by public key failed\n");
            goto shutdown;
        }
    }

    fprintf(stderr, "libssh2_sftp_init()!\n");
    sftp_session = libssh2_sftp_init(session);

    if(!sftp_session) {
        fprintf(stderr, "Unable to init SFTP session\n");
        goto shutdown;
    }

    fprintf(stderr, "libssh2_sftp_open()!\n");
    /* Request a file via SFTP */
    sftp_handle =
        libssh2_sftp_open(sftp_session, sftppath,
                      LIBSSH2_FXF_WRITE|LIBSSH2_FXF_CREAT|LIBSSH2_FXF_TRUNC,
                      LIBSSH2_SFTP_S_IRUSR|LIBSSH2_SFTP_S_IWUSR|
                      LIBSSH2_SFTP_S_IRGRP|LIBSSH2_SFTP_S_IROTH);

    if(!sftp_handle) {
        fprintf(stderr, "Unable to open file with SFTP\n");
        goto shutdown;
    }
    fprintf(stderr, "libssh2_sftp_open() is done, now send data!\n");
    do {
        nread = fread(mem, 1, sizeof(mem), local);
        if(nread <= 0) {
            /* end of file */
            break;
        }
        ptr = mem;

        do {
            /* write data in a loop until we block */
            rc = libssh2_sftp_write(sftp_handle, ptr, nread);
            if(rc < 0)
                break;
            ptr += rc;
            nread -= rc;
        } while(nread);

    } while(rc > 0);

    libssh2_sftp_close(sftp_handle);
    libssh2_sftp_shutdown(sftp_session);

shutdown:
    libssh2_session_disconnect(session,
                               "Normal Shutdown, Thank you for playing");
    libssh2_session_free(session);

#ifdef WIN32
    closesocket(sock);
#else
    close(sock);
#endif
    if(local)
        fclose(local);
    fprintf(stderr, "all done\n");

    libssh2_exit();

    return 0;
}


 5307
5307


 被折叠的 条评论
为什么被折叠?
被折叠的 条评论
为什么被折叠?
 到【灌水乐园】发言


