


Nginx的安装
Linux 下安装
1、安装gcc
安装 nginx 需要先将官网下载的源码进行编译,编译依赖 gcc 环境,如果没有 gcc 环境,则需要安装:
[root@iZ2ze04bxb1zhkn84xuy4uZ ~]# yum install gcc-c++
2、PCRE pcre-devel 安装
PCRE(Perl Compatible Regular Expressions) 是一个Perl库,包括 perl 兼容的正则表达式库。nginx 的 http 模块使用 pcre 来解析正则表达式,所以需要在 linux 上安装 pcre 库,pcre-devel 是使用 pcre 开发的一个二次开发库。nginx也需要此库。命令:
[root@iZ2ze04bxb1zhkn84xuy4uZ ~]# yum install -y pcre pcre-devel
3、zlib 安装
zlib 库提供了很多种压缩和解压缩的方式, nginx 使用 zlib 对 http 包的内容进行 gzip ,所以需要在 Centos 上安装 zlib 库。
[root@iZ2ze04bxb1zhkn84xuy4uZ ~]# yum install -y zlib zlib-devel
4、OpenSSL 安装
OpenSSL 是一个强大的安全套接字层密码库,囊括主要的密码算法、常用的密钥和证书封装管理功能及 SSL 协议,并提供丰富的应用程序供测试或其它目的使用。
nginx 不仅支持 http 协议,还支持 https(即在ssl协议上传输http),所以需要在 Centos 安装 OpenSSL 库。
[root@iZ2ze04bxb1zhkn84xuy4uZ ~]# yum install -y openssl openssl-devel
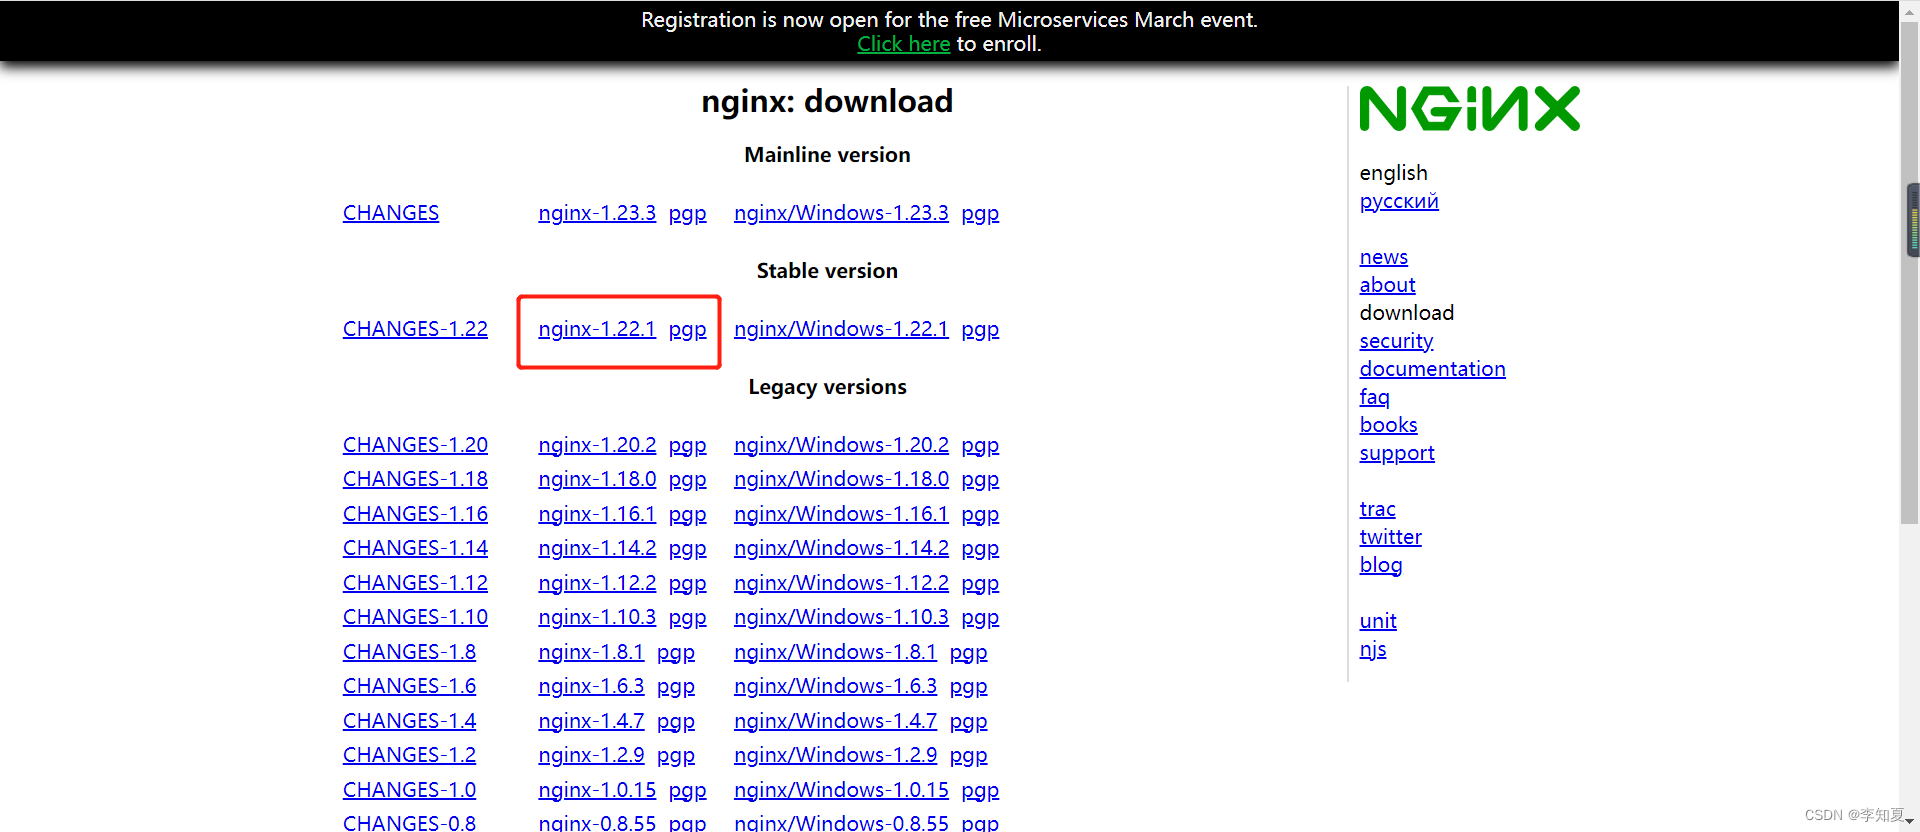
5、下载tar.gz安装包
下载地址:http://nginx.org/en/download.html
6、上传tar.gz安装包到服务器上
[root@iZ2ze04bxb1zhkn84xuy4uZ ~]# ls
nginx-1.22.1.tar.gz
[root@iZ2ze04bxb1zhkn84xuy4uZ ~]#
7、进行解压
[root@iZ2ze04bxb1zhkn84xuy4uZ ~]# tar -zxvf nginx-1.22.1.tar.gz
nginx-1.22.1/
nginx-1.22.1/auto/
nginx-1.22.1/conf/
8、配置
[root@iZ2ze04bxb1zhkn84xuy4uZ ~]# cd nginx-1.22.1/
[root@iZ2ze04bxb1zhkn84xuy4uZ nginx-1.22.1]# ll
total 824
drwxr-xr-x 6 1001 1001   4096 Mar 20 11:46 auto
-rw-r--r-- 1 1001 1001 317399 Oct 19 16:02 CHANGES
-rw-r--r-- 1 1001 1001 485035 Oct 19 16:02 CHANGES.ru
drwxr-xr-x 2 1001 1001   4096 Mar 20 11:46 conf
-rwxr-xr-x 1 1001 1001   2590 Oct 19 16:02 configure
drwxr-xr-x 4 1001 1001   4096 Mar 20 11:46 contrib
drwxr-xr-x 2 1001 1001   4096 Mar 20 11:46 html
-rw-r--r-- 1 1001 1001   1397 Oct 19 16:02 LICENSE
drwxr-xr-x 2 1001 1001   4096 Mar 20 11:46 man
-rw-r--r-- 1 1001 1001     49 Oct 19 16:02 README
drwxr-xr-x 9 1001 1001   4096 Mar 20 11:46 src
[root@iZ2ze04bxb1zhkn84xuy4uZ nginx-1.22.1]# ./configure
[root@iZ2ze04bxb1zhkn84xuy4uZ nginx-1.22.1]# make
[root@iZ2ze04bxb1zhkn84xuy4uZ nginx-1.22.1]# make install
- 查找安装路径
[root@iZ2ze04bxb1zhkn84xuy4uZ nginx-1.22.1]# whereis nginx
nginx: /usr/local/nginx
[root@iZ2ze04bxb1zhkn84xuy4uZ nginx-1.22.1]#
9、启动
[root@iZ2ze04bxb1zhkn84xuy4uZ nginx]# cd /usr/local/nginx/sbin/
[root@iZ2ze04bxb1zhkn84xuy4uZ sbin]# ./nginx
[root@iZ2ze04bxb1zhkn84xuy4uZ sbin]#
- 浏览器进行访问服务器ip+端口号80 (记得配置服务器安全组)
[root@iZ2ze04bxb1zhkn84xuy4uZ sbin]# cd /usr/local/nginx/sbin/
[root@iZ2ze04bxb1zhkn84xuy4uZ sbin]# ./nginx  启动
[root@iZ2ze04bxb1zhkn84xuy4uZ sbin]# ./nginx -s stop  停止
[root@iZ2ze04bxb1zhkn84xuy4uZ sbin]# ./nginx -s quit  安全退出
[root@iZ2ze04bxb1zhkn84xuy4uZ sbin]# ./nginx -s reload  重新加载配置文件
[root@iZ2ze04bxb1zhkn84xuy4uZ sbin]# ps aux|grep nginx  查看nginx进程
#查看配置文件
[root@iZ2ze04bxb1zhkn84xuy4uZ sbin]# cat /usr/local/nginx/conf/nginx.conf
Windows 下安装
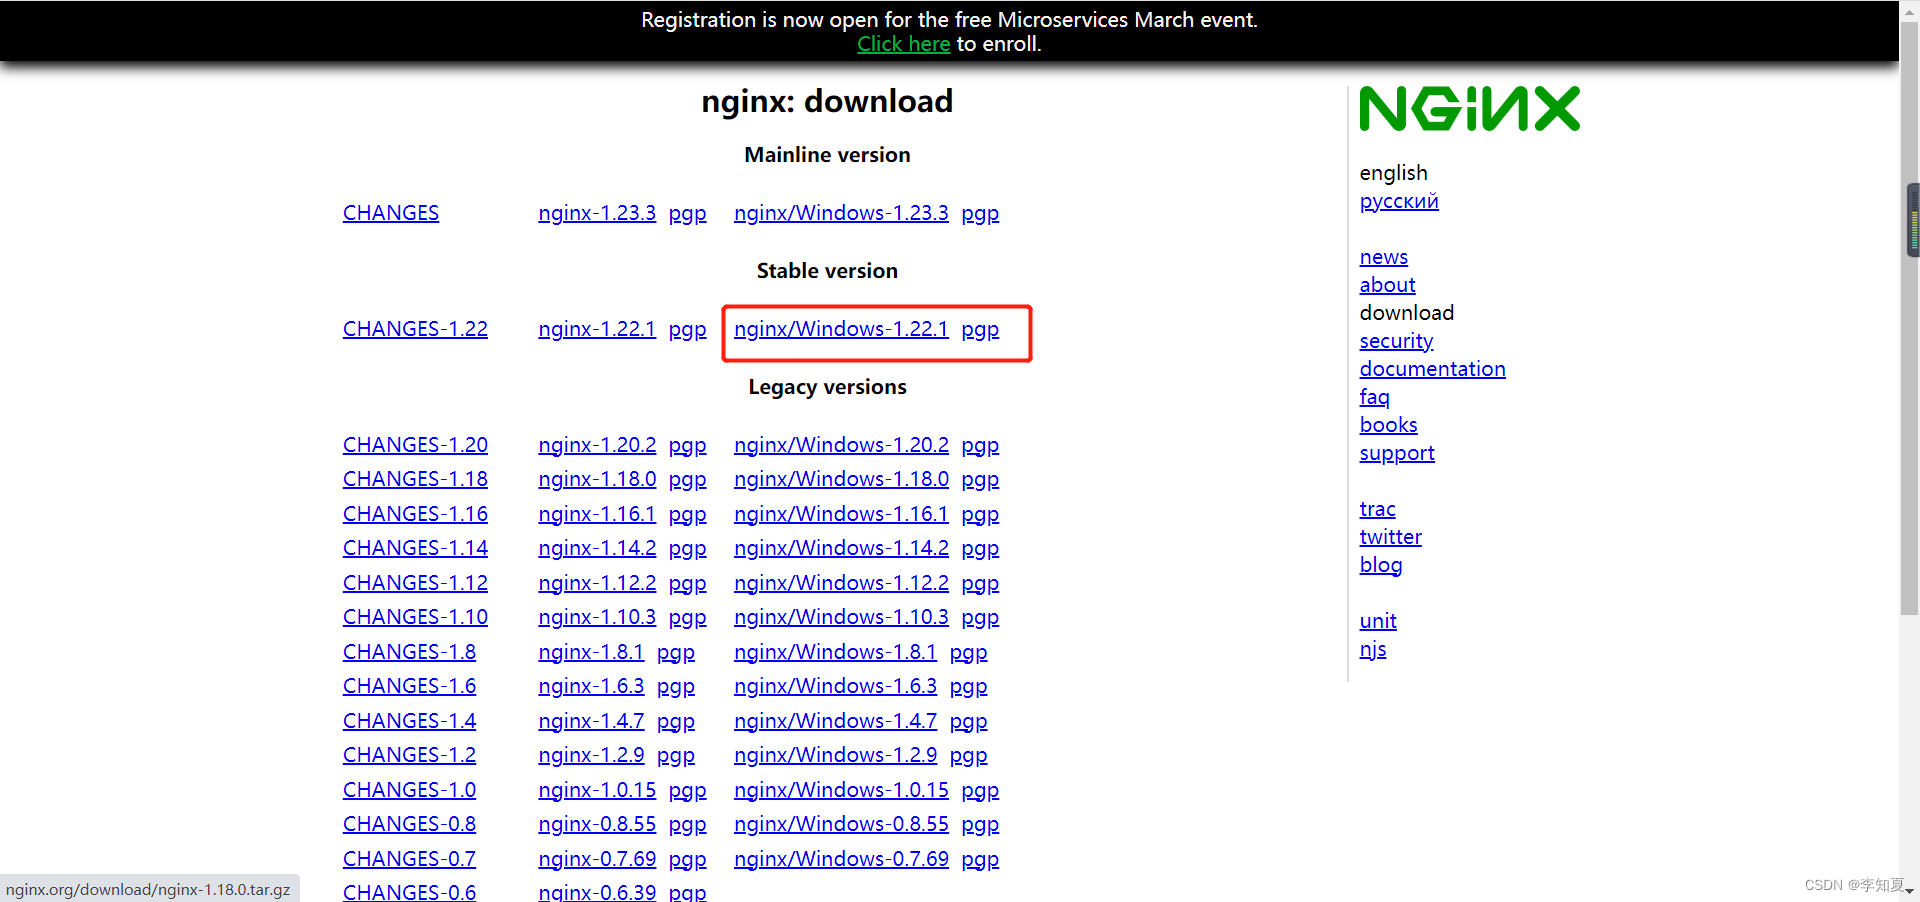
1、下载安装包
下载地址:http://nginx.org/en/download.html
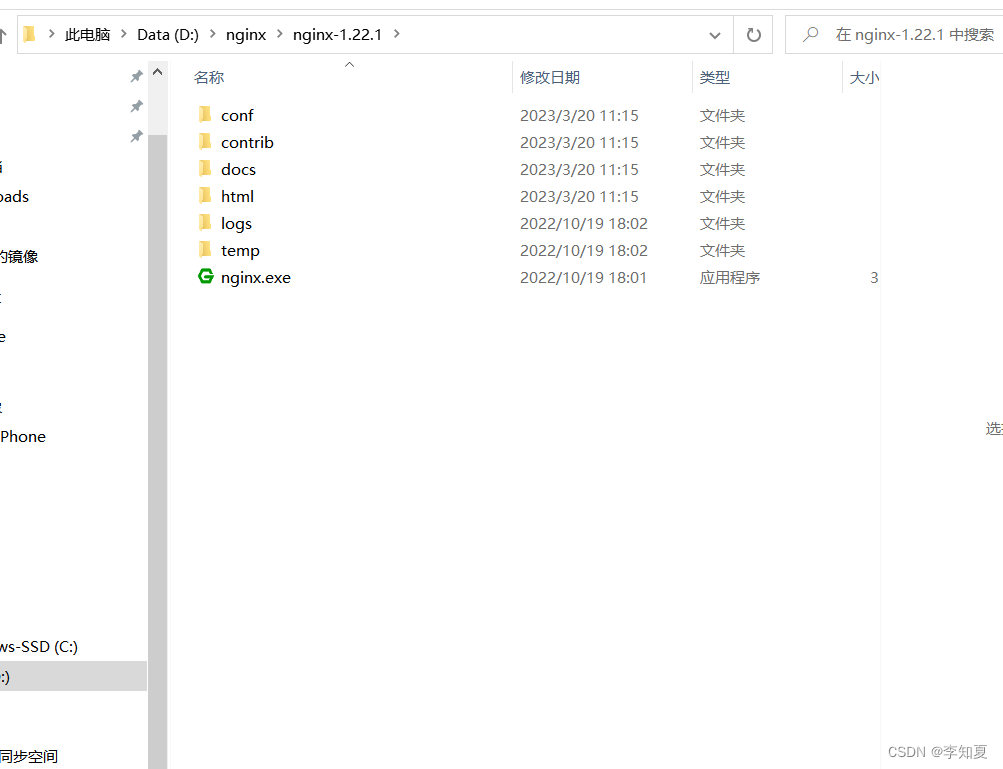
解压如下
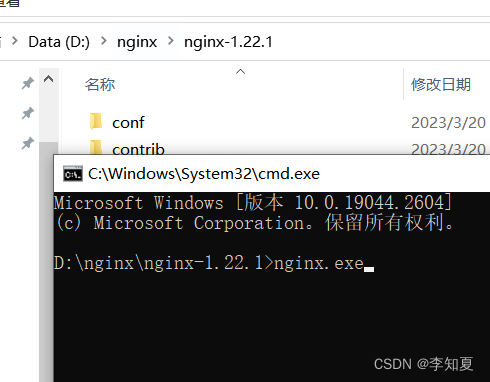
2、启动nginx
- 直接双击nginx.exe,双击后一个黑色的弹窗一闪而过就是启动成功
- 打开cmd命令窗口,切换到nginx解压目录下,输入命令 nginx.exe ,回车即可
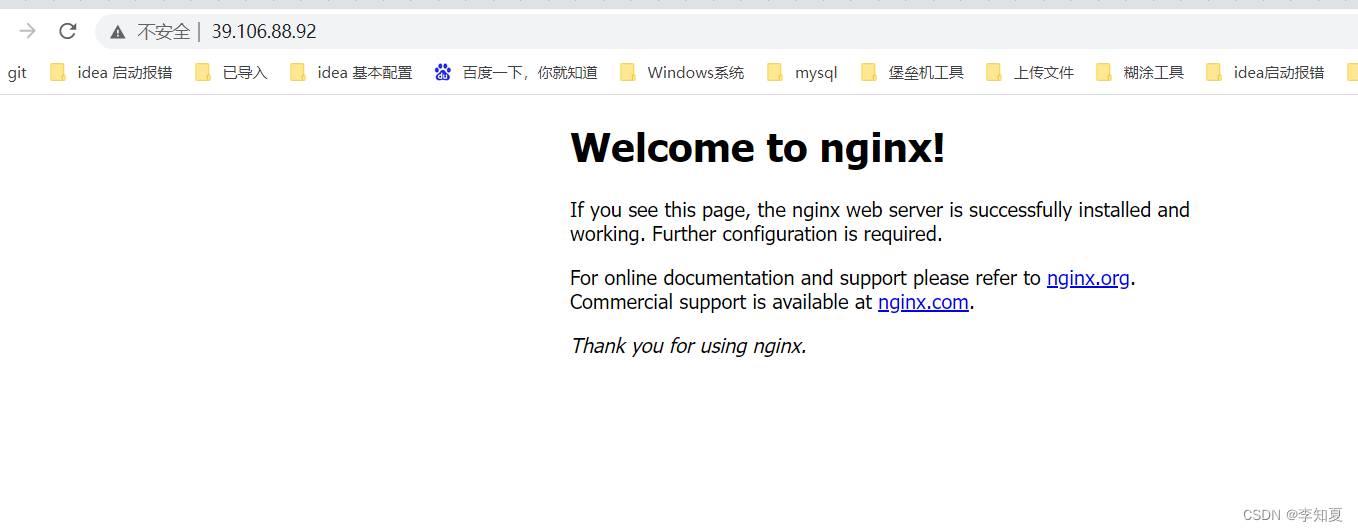
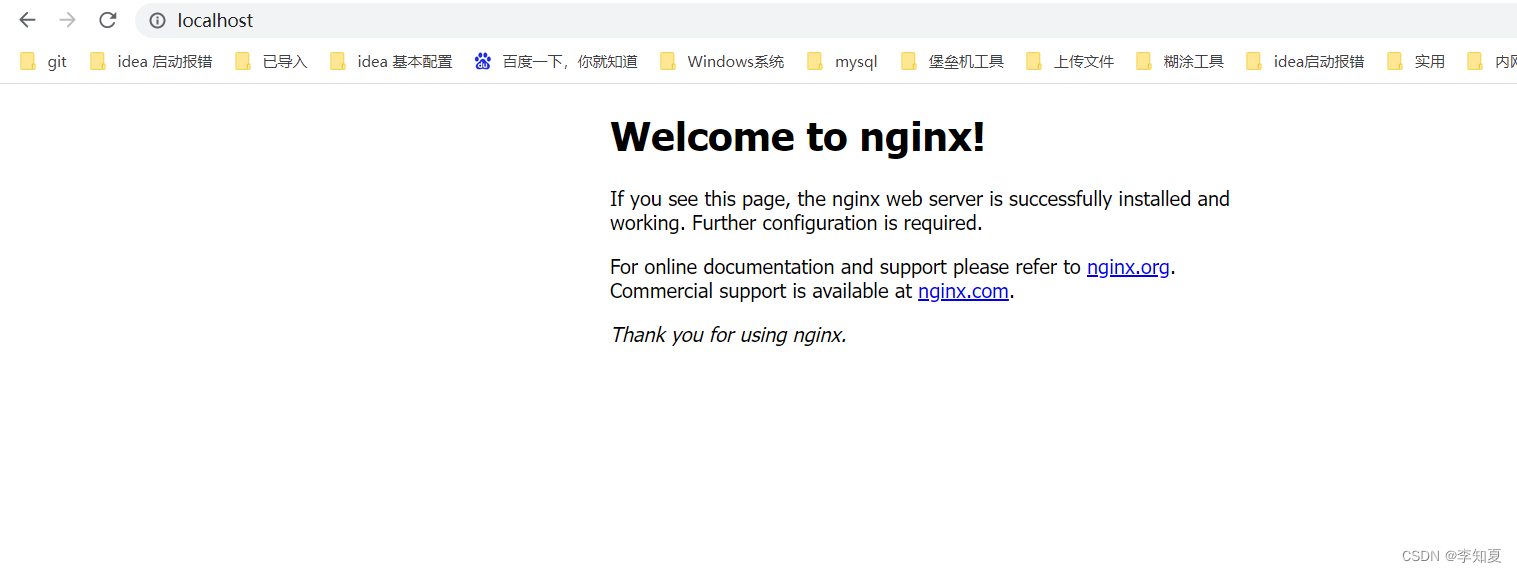
3、检查nginx是否启动成功
直接在浏览器地址栏输入网址 http://localhost:80 回车,出现以下页面说明启动成功
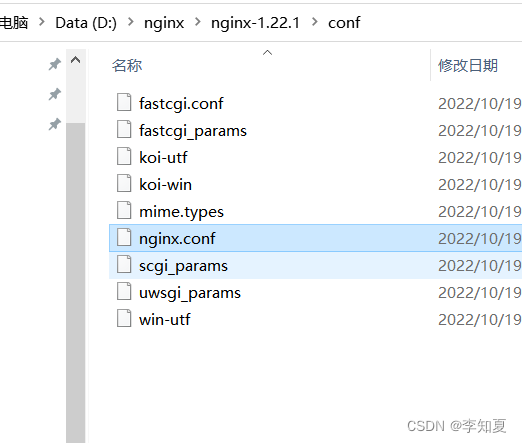
4、配置监听
nginx的配置文件是conf目录下的nginx.conf,默认配置的nginx监听的端口为80,如果80端口被占用可以修改为未被占用的端口即可。
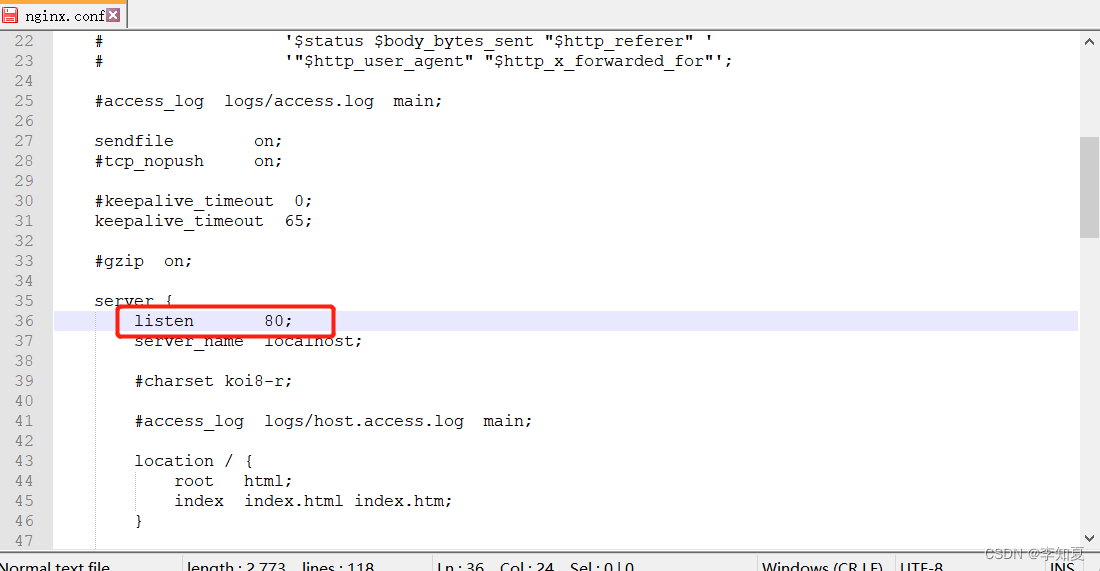
当我们修改了nginx的配置文件nginx.conf 时,不需要关闭nginx后重新启动nginx,只需要执行命令 nginx -s reload 即可让改动生效
5、关闭nginx
如果使用cmd命令窗口启动nginx, 关闭cmd窗口是不能结束nginx进程的,可使用两种方法关闭nginx
- 输入nginx命令 nginx -s stop(快速停止nginx) 或 nginx -s quit(完整有序的停止nginx)
- 使用taskkill taskkill /f /t /im nginx.exe
taskkill是用来终止进程的,
/f是强制终止 .
/t终止指定的进程和任何由此启动的子进程。
/im示指定的进程名称 .


 3918
3918


 被折叠的 条评论
为什么被折叠?
被折叠的 条评论
为什么被折叠?
 到【灌水乐园】发言


