首先看一下我依赖包,大家下载一下,至于作用我会慢慢的一一解答,请不要着急
{
  "name": "carp-create-react-cli",
  "version": "1.0.0",
  "main": "index.js",
  "license": "MIT",
  "scripts": {
    "start": "npx webpack server",
    "build": "npx webpack"
  },
  "devDependencies": {
    "@babel/core": "^7.18.9",
    "@babel/preset-env": "^7.18.9",
    "@babel/preset-react": "^7.18.6",
    "babel-loader": "^8.2.5",
    "css-loader": "5.0.1",
    "html-webpack-plugin": "^5.5.0",
    "less": "3.12.2",
    "less-loader": "7.1.0",
    "mini-css-extract-plugin": "^2.6.1",
    "style-loader": "2.0.0",
    "ts-loader": "^9.3.1",
    "typescript": "^4.7.4",
    "webpack": "^5.74.0",
    "webpack-cli": "^4.10.0",
    "webpack-dev-server": "3.11.0"
  },
  "dependencies": {
    "react": "17.0.0",
    "react-dom": "17.0.0",
    "react-router-dom": "5"
  }
}
这是我最终的配置
const path = require('path');  // nodejs的模块
const HtmlPlugin = require('html-webpack-plugin');
const MinCssExtractPlugin = require('mini-css-extract-plugin');
module.exports = {
    mode: 'development',
    //__dirname表示当前执行文件所在目录, path.join()连接路径的两个或多个部分,这里用只用了两个参数
    entry: path.join(__dirname, './index.js'), // 入口
    devtool: "inline-source-map", // 生成一个 DataUrl 形式的 SourceMap 文件
    output: { // 出口
        path: path.join(__dirname, './dist'),
        filename: 'bundle.[contenthash].js', // 打包之后的文件名字
        clean: true //用来请求上次的打包文件的
    },
    plugins: [ // 插件使用
        new HtmlPlugin({
            title: "首页", // 这里可以给html配置标题  <title><%= htmlWebpackPlugin.options.title%></title>
            template: "./public/index.html",// 文件路径
            filename: "./index.html",//指定生成的文件的存放路径
            inject: "body" //可以配置js加载位置,
        }),
        new MinCssExtractPlugin({  // css 样式独立文件
            filename: 'css/[name].[contenthash].css'
        })
    ],
    module: { //所有第三方文件模块的匹配规则
        rules: [ //文件后缀名的匹配规则
            {
                test: /\.(js|jsx)/,
                exclude: /node_modules/,
                use: {
                    loader: 'babel-loader',
                    options: {
                        presets: [
                            '@babel/preset-env',
                            '@babel/preset-react'
                        ]
                    }
                }
            },
            { test: /\.less$/, use: [MinCssExtractPlugin.loader, 'css-loader', 'less-loader'] }, // 配置加载器(loading),用来加载浏览器无法识别的文件
            {
                test: /\.tsx?$/,
                use: 'ts-loader',
                exclude: /node_modules/,
            },

        ]
    },
    resolve: {
        extensions: ['.tsx', '.ts', '.js','.jsx'],
    },

    devServer: { // 配置devServer
        open: true, // 启动后是否打开浏览器
        port: 8888  // 启动开启的端口号
    }
}
依赖包版本
依赖包要注意版本配置,如果版本过高会导致打包失败,或者运行失败
这里使用的时webpack5来构建的,尚未出现报错题
1. 下载配置webpack环境
npm/cnpm/yarn 都行
"webpack": "^5.74.0",
"webpack-cli": "^4.10.0",
"webpack-dev-server": "3.11.0"  //用来给项目开启一个本地服务的
"html-webpack-plugin": "^5.5.0",//用来配置html的页面的
2.开始配置
(1)配置基webpack.config.js
const path = require('path');
const HtmlWebpackPlugin = require('html-webpack-plugin');
const mode = "development";
module.exports = {
    entry: path.join(__dirname, "/src/main.js"),
    output: {
        path: path.join(__dirname, "/dist"),
        filename: "[name].[contenthash].js",
        clean: true
    },
    mode,
    devtool: "inline-source-map",
    plugins: [
        new HtmlWebpackPlugin({
            title: "首页",
            template: "./public/index.html",
            inject: "body"
        }),
    ],
    devServer: {
        compress: true,
        port: 8888
    }
}
(2)这里是html页面的配置
<!DOCTYPE html>
<html lang="en">
<head>
    <meta charset="UTF-8">
    <meta http-equiv="X-UA-Compatible" content="IE=edge">
    <meta name="viewport" content="width=device-width, initial-scale=1.0">
    <title><%= htmlWebpackPlugin.options.title%></title> // 给他配置的标题
</head>
<body>
    <div id="root"> // 配置的根
        <div class="root-children">

        </div>
    </div>
</body>
</html>
3. 配置一下pagage.json
因为我们不是全局安装,所有使用到了npx
  "scripts": {
    "start": "npx webpack server",  //启动服务
    "test": "echo \"Error: no test specified\" && exit 1",
    "build": "npx webpack"  //打包
  },
4. 基本的已经配置完成可以启动查看了
npm run start / yarn start
5.我们开始配置css,less
(1). 下载依赖
"less": "3.12.2",
"less-loader": "7.1.0",
"mini-css-extract-plugin": "^2.6.1",  // 用来生成一个独立css文件
"style-loader": "2.0.0",
(2)开始配置
const path = require('path');
const MinCssExtractPlugin = require('mini-css-extract-plugin')
const HtmlWebpackPlugin = require('html-webpack-plugin');
const MinCssExtractPlugin = require('mini-css-extract-plugin');  //引入插件
const mode = "development";
// const cls = require('mini-css-extract-plugin');
module.exports = {
    entry: path.join(__dirname, "/src/main.js"),
    output: {
        path: path.join(__dirname, "/dist"),
        filename: "[name].[contenthash].js",
        clean: true
    },
    mode,
    devtool: "inline-source-map",
    plugins: [
        new HtmlWebpackPlugin({
            title: "首页",
            template: "./public/index.html",
            inject: "body"
        }),
        new MinCssExtractPlugin()
    ],
    module: {
        rules: [
            [
                 { test: /\.less$/,
                   use: [MinCssExtractPlugin.loader, 'css-loader', 'less-loader'] },
                              // 配置加载器(loading),用来加载浏览器无法识别的文件
            ]
        ]
    },
    devServer: {
        contentBase: ".dist",
        compress: true,
        port: 8888
    }
}
5. 配置react
(1)下载依赖
    "react": "17.0.0",
    "react-dom": "17.0.0",
    "react-router-dom": "5"
(2)配置并引入我们的配置的app组件(我们做的单页面)
import App from './src/App';
import React from 'react';
import ReactDOM from 'react-dom';
ReactDOM.render(
    <App/>,
    document.getElementById("root")
)
import React from 'react';
import './App.less';
import __RouteConfig from './route/RouteConfig'; //路由配置
import { HashRouter as Router } from 'react-router-dom';
const App = () => {
  return (
    <div className='app'>
      <Router>
        <__RouteConfig />
      </Router >
    </div >

  )
}

export default App
(3)配置路由
我这边路由由于想到的比较复杂,为后续的权限配置预留了一些出来如果看不懂就正常自己配置即可
(3-1)我的routesConfig配置
import React, { lazy, Suspense } from 'react';
import { Route, BrowserRouter, Routes, Switch, Redirect, } from 'react-router-dom';
import __RoutesData from './routes'; //路由配置信息
const __RouteConfig = () => {
  const __componentRrouteConfig = (__config) => {
    return __config.map((__v, __i) => {
      return <Route path={__v.path} component={lazy(() => import("../pages" + __v.component.split('.')[__v.component.split('.').length - 1]))} key={__i}></Route>
    })
  }
  return (
    <Suspense fallback="loading...">
      {__componentRrouteConfig(__RoutesData)}
    </Suspense>
  )
}

export default __RouteConfig;
(3-2)我的路由数据 routes.js
export default [
    {
        path: "/home",
        component: "./Home"
    },
    {
        path: "/mine",
        component: "./Mine"
    },
]
完成到这已经基本完成,我们只需要配置对应的界面即可
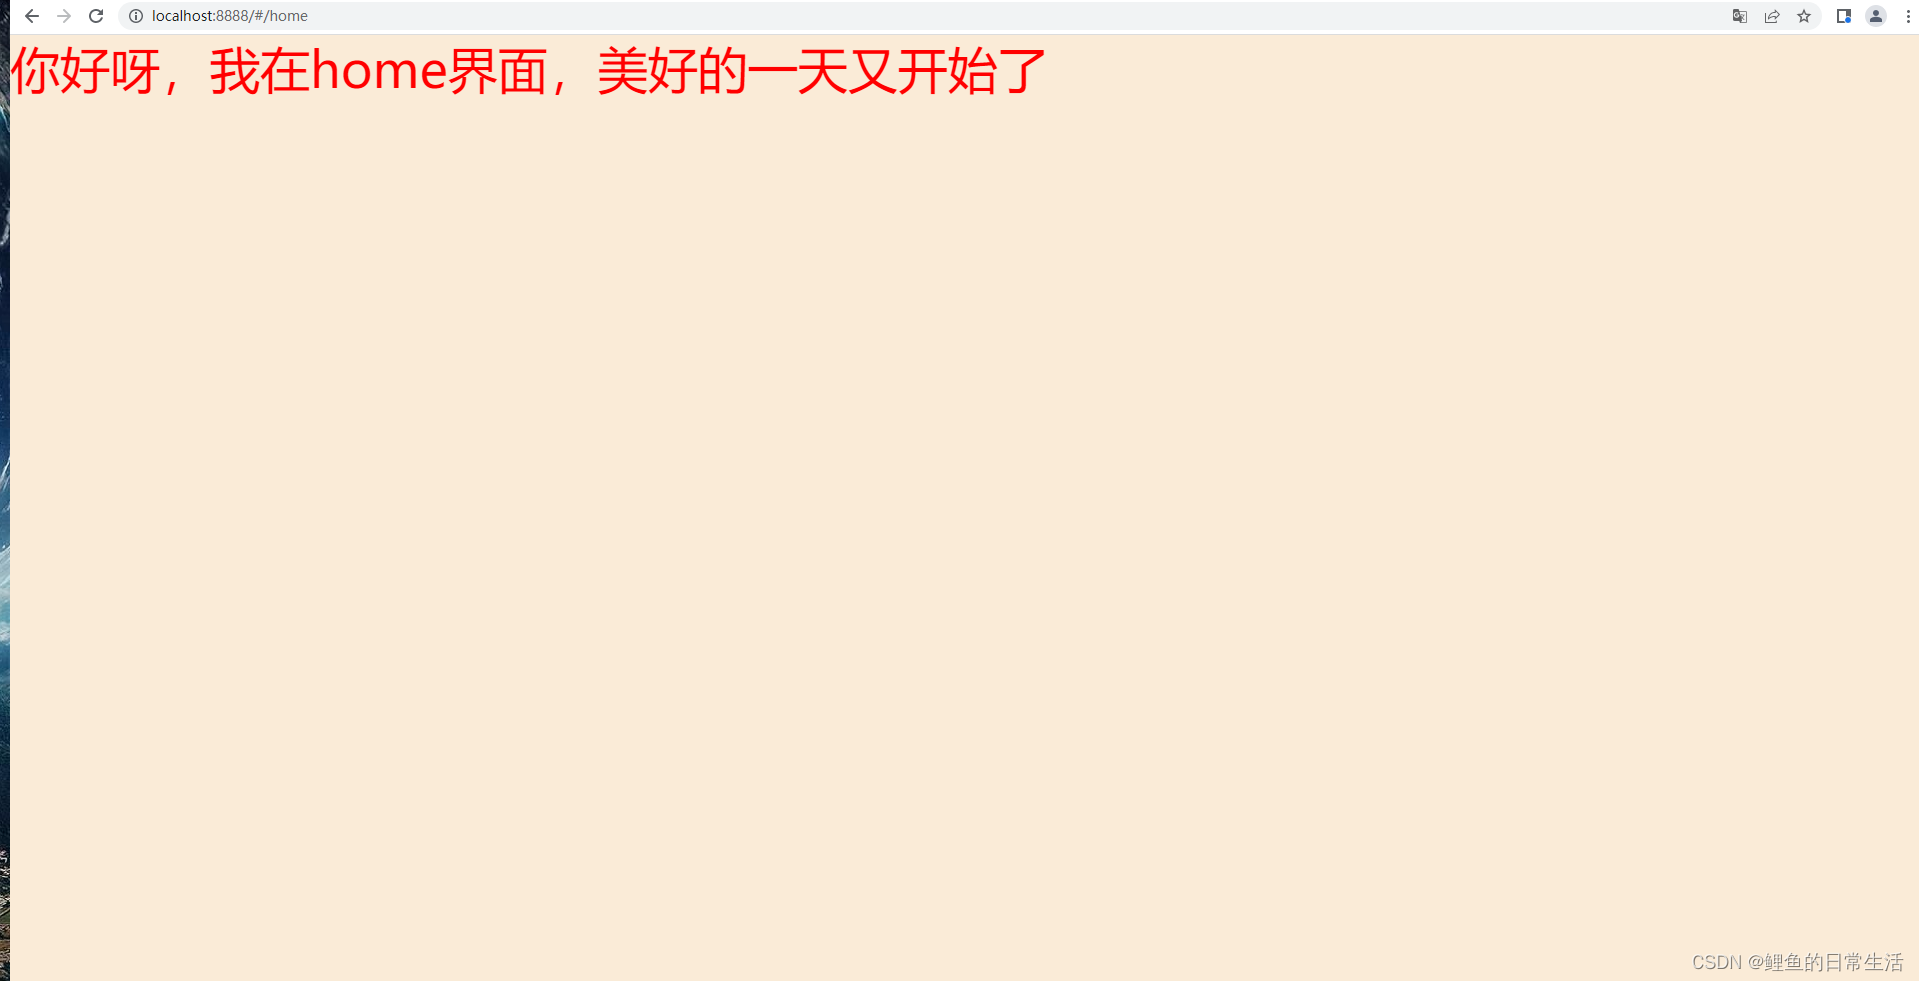
6. 最终结果


 2559
2559


 被折叠的 条评论
为什么被折叠?


