


SpringSecurity OAuth2.0文档: https://docs.spring.io/spring-security/reference/servlet/oauth2/index.html
1、需求
对接Github,在自己系统实现支持Github登录。
2、在对接系统中完成客户端注册
头像 ⇒ Settings ⇒ Developer settings ⇒ OAuth Apps ⇒ 注册一个新的应用

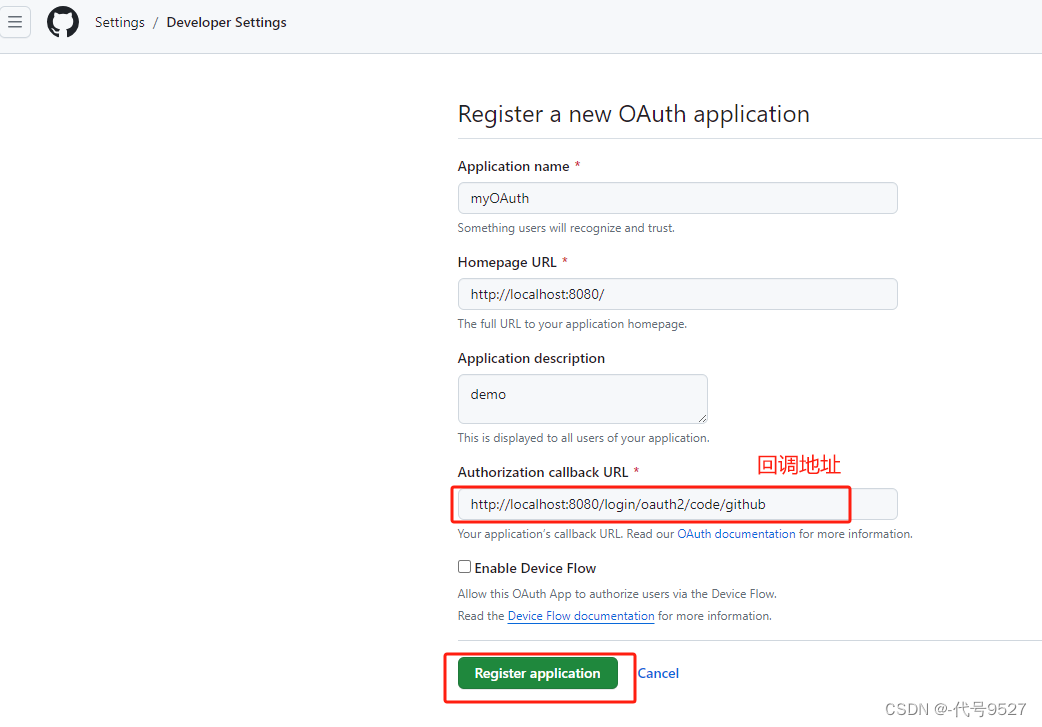
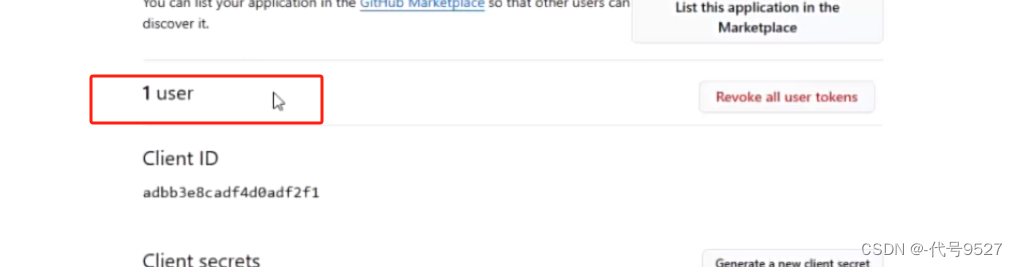
注册成功,拿到客户端id和密钥。请求Github的授权服务器时,携带clinet_id和secret,Github就知道你是一个合法的客户端应用。

3、创建客户端应用
//官方示例
https://github.com/spring-projects/spring-security-samples/blob/main/servlet/spring-boot/java/oauth2/login/README.adoc
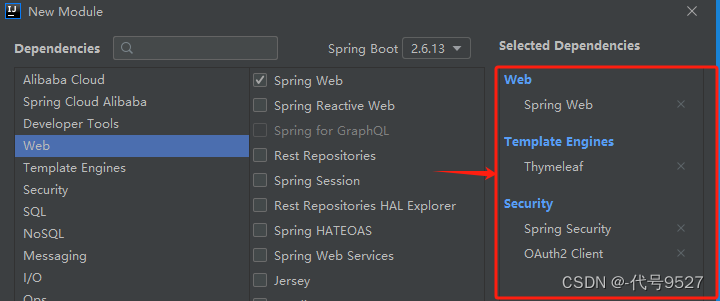
新建模块,搜索勾选springweb、thymeleaf、spring security、oauth2 client依赖:
上一步完成客户端注册后,这里写application配置:
spring:
  security:
    oauth2:
      client:
        registration:
          github:
            client-id: 33ddf22a5738dcdeeca4
            client-secret: 79519586acf22ef10597e5d94ee0e67d39ebd64
写Controller:
import org.springframework.security.core.annotation.AuthenticationPrincipal;
import org.springframework.security.oauth2.client.OAuth2AuthorizedClient;
import org.springframework.security.oauth2.client.annotation.RegisteredOAuth2AuthorizedClient;
import org.springframework.security.oauth2.core.user.OAuth2User;
import org.springframework.stereotype.Controller;
import org.springframework.ui.Model;
import org.springframework.web.bind.annotation.GetMapping;

@Controller
public class OAuth2LoginController {

	@GetMapping("/")
	public String index(Model model, @RegisteredOAuth2AuthorizedClient OAuth2AuthorizedClient authorizedClient,
			@AuthenticationPrincipal OAuth2User oauth2User) {
		model.addAttribute("userName", oauth2User.getName());
		model.addAttribute("clientName", authorizedClient.getClientRegistration().getClientName());
		model.addAttribute("userAttributes", oauth2User.getAttributes());
		return "index";
	}

}
写index视图:
<!DOCTYPE html>
<html xmlns="http://www.w3.org/1999/xhtml" xmlns:th="https://www.thymeleaf.org" xmlns:sec="https://www.thymeleaf.org/thymeleaf-extras-springsecurity5">
<head>
<title>Spring Security - OAuth 2.0 Login</title>
<meta charset="utf-8" />
</head>
<body>
<div style="float: right" th:fragment="logout" sec:authorize="isAuthenticated()">
<div style="float:left">
<span style="font-weight:bold">User: </span><span sec:authentication="name"></span>
</div>
<div style="float:none"> </div>
<div style="float:right">
<form action="#" th:action="@{/logout}" method="post">
<input type="submit" value="Logout" />
</form>
</div>
</div>
<h1>OAuth 2.0 Login with Spring Security</h1>
<div>
You are successfully logged in <span style="font-weight:bold" th:text="${userName}"></span>
via the OAuth 2.0 Client <span style="font-weight:bold" th:text="${clientName}"></span>
</div>
<div> </div>
<div>
<span style="font-weight:bold">User Attributes:</span>
<ul>
<li th:each="userAttribute : ${userAttributes}">
<span style="font-weight:bold" th:text="${userAttribute.key}"></span>: <span th:text="${userAttribute.value}"></span>
</li>
</ul>
</div>
</body>
</html>
启动程序,localhost:8080/login
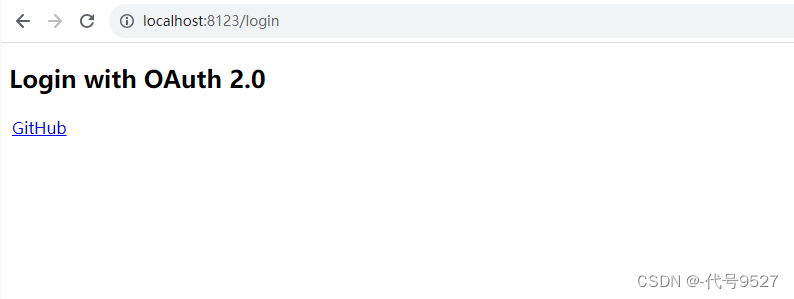
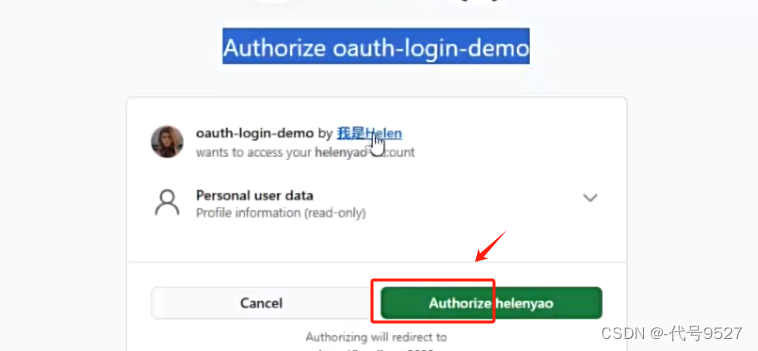
点击跳转github的登录页面:
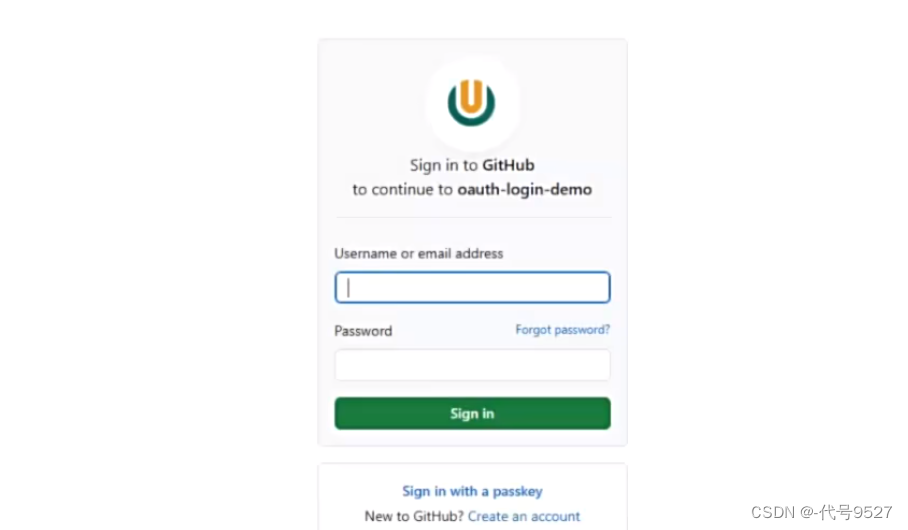
在github页面完成登录,在授权页面点击Authoize授权
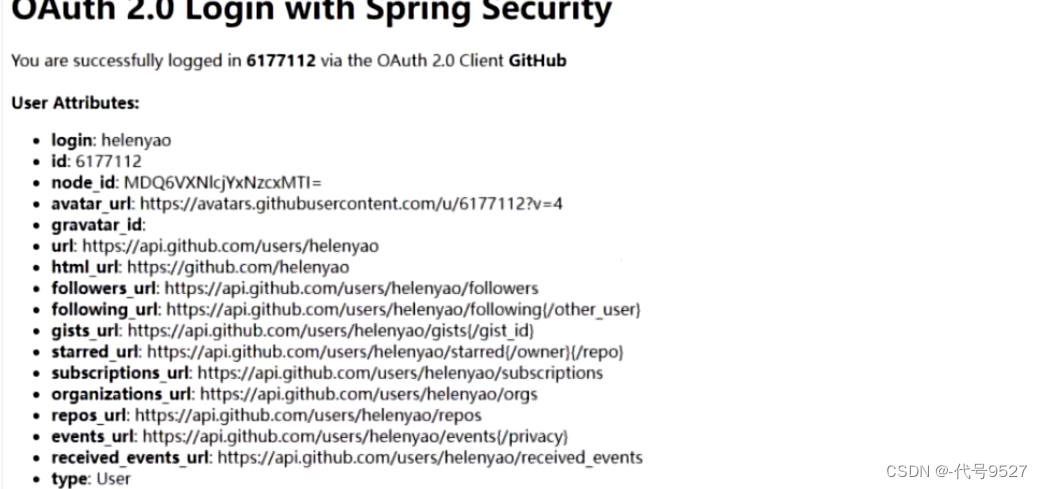
客户端成功获取到github上的用户信息:
退出登录后,再次授权直接授权成功,因为token还没过期:
以上的实际流程为(绝大多数步骤已被框架spring security oauth2 client实现了):
- A网站(客户端)让用户跳转到 GitHub,并携带参数client_id 以及 redirection url
- GitHub 要求用户登录,然后询问用户"A网站要求获取用户信息的权限,你是否同意?"
- 用户同意,GitHub 就会重定向回A网站,同时发回一个授权码
- A网站使用授权码,向 GitHub 请求令牌token
- GitHub 返回令牌token
- A网站使用令牌,向 GitHub资源服务器请求用户数据
- GitHub返回用户数据
- A网站使用 GitHub用户数据登录
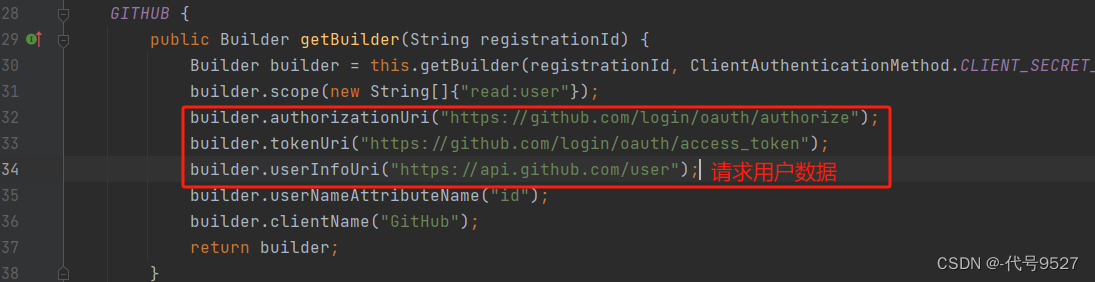
4、CommonOAuth2Provider
CommonOAuth2Provider是一个预定义的通用OAuth2Provider,为一些知名资源服务API提供商如Google、GitHub、Facebook,预定义了一组默认的属性。包括授权码URI、换取令牌URI和请求用户信息URI,因为它们不经常变化。因此,提供默认值以减少所需的配置。所以配置GitHub客户端时,只需要提供client-id和client-secret就行。


 951
951


 被折叠的 条评论
为什么被折叠?
被折叠的 条评论
为什么被折叠?
 到【灌水乐园】发言


