


首先我们先创建视图组件的视图模型,在项目根目录下面创建ViewModels文件夹,该文件夹为项目的视图模型文件夹,然后在视图模型文件夹(ViewModels)下面创建PostListModel模型类,代码内容为
    public class PostListModel
    {
        public IList<string> Post { get; set; }
    }
然后手动创建视图组件的cshtml文件(视图)所在的文件夹。在项目根目录Views下面的Shared文件夹,新建Components文件夹。
我们要创建的名为PostList的视图组件,所以在刚才创建的Components文件夹下面创建PostList文件夹,然后在PostList文件夹下面创建Default.cshtml文件。
Default.cshtml文件的内容为
@using WebApplication2.ViewModels;
@model PostListModel
<h2>发帖列表</h2>
@foreach(string item in Model.Post)
{
    <h3>帖子标题:@item</h3>
}
然后我们来创建视图组件的组件控制器文件夹,在项目的根目录下面创建ViewComponents文件夹。
我们在组件控制器文件夹新建PostList组件类
 public class PostList : ViewComponent
    {
        public async Task<IViewComponentResult> InvokeAsync(string Id)
        {
            if(Id.IndexOf("aa") >= 0)
            {
                PostListModel model = new PostListModel();
                model.Post = new List<string> {
                    "帖子标题1",
                    "帖子标题2",
                    "帖子标题3",
                    "帖子标题4",
                    "帖子标题5"
                };
                return View(model);
            }
            return View();
        }
    }
在Blog控制器中添加名为GetPostList的Action
        public IActionResult GetPostList()
        {
            return ViewComponent("PostList", new { Id = "aa"});
        }
然后在Blog首页添加如下代码
<div class="post-list"></div>
<button class="get-post" type="button">Click!</button>
然后在首页添加如下JQuery特效代码
<script type="text/javascript">
var url = '/Blog/GetPostList';
$('.get-post').click(
function ()
{
$('.post-list').load(url);
}
);
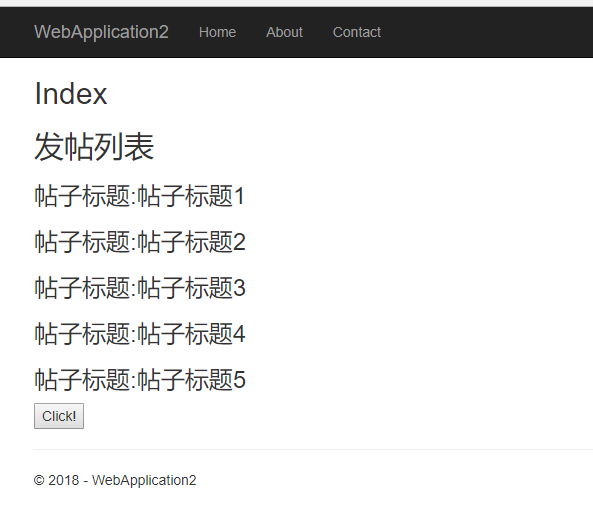
</script>点击首页的Click!按键,及可自动加载列表,如下图


 880
880

 被折叠的 条评论
为什么被折叠?
被折叠的 条评论
为什么被折叠?
 到【灌水乐园】发言


