


文章目录
一、NSWindow、NSWindowController、NSViewController、NSView 之间的关系
1、NSWindowController 管理 NSWindow 之间的交互;
NSWindowController 有一个属性为 window ,使用 initWithWindow 初始化时,可以设置自定义的 window 为自己的 window。
2、NSViewController 管理 NSWindow 内容的展示
NSWindow 的内容由contentViewController 和 contentView 决定。
contentViewController 是一个 NSViewController 类;用 NSViewController 来管理 NSWindow 内容的展示更方便。
设置 某个 NSViewController 子类a 为 NSWindow 的 contentViewController 后:
window.contentView = window.contentViewController.view = a.view
3、NSViewController 内容为 NSView
NSViewController 的内容由一个个的 NSView 决定。
二、创建 NSWindow
创建项目后,删除工程自带的 xib中的window,在delegate中添加 NSWindow 属性
@property(nonatomic,strong) NSWindow *window1;
懒加载初始化,并在启动时展示出来
-(NSWindow *)window1{
    if (!_window1) {
        NSUInteger style = NSWindowStyleMaskTitled | NSWindowStyleMaskClosable | NSWindowStyleMaskMiniaturizable ;
        _window1 = [[NSWindow alloc]initWithContentRect:CGRectMake(0, 0, 200, 300) styleMask:style backing:NSBackingStoreBuffered defer:YES];
//        _window1.contentViewController = self.firstVC;
    }
    return _window1;
}

- (void)applicationDidFinishLaunching:(NSNotification *)aNotification {
        [self.window1 center];
        [self.window1 orderFront:nil];
}
运行程序,就可以看到我们创建的window了。
window的样式这里不累述了,可参考文章:MacOS 开发 - NSWindow 自定义样式 : http://blog.csdn.net/lovechris00/article/details/77943884
设置window的内容
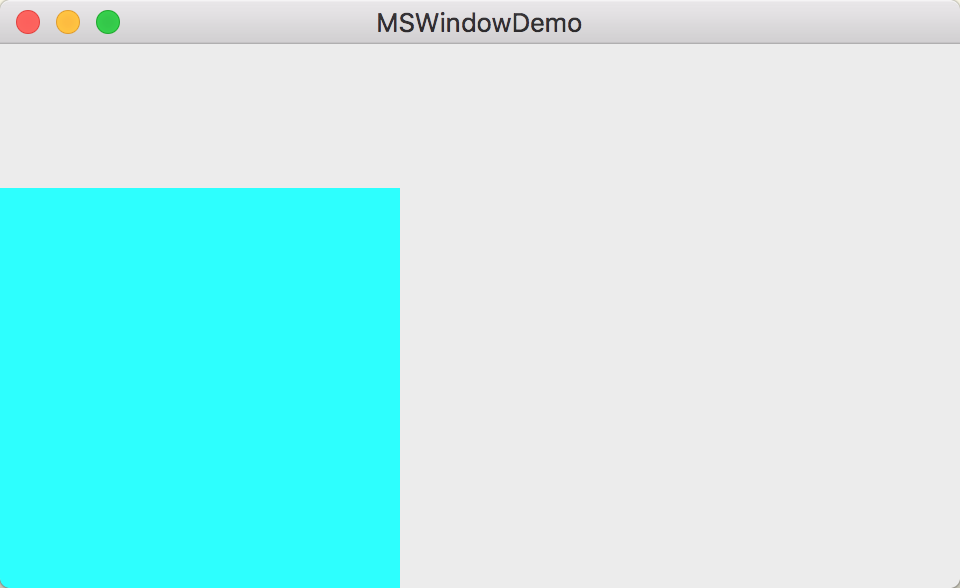
1、设置contentView
往 contentView 添加内容
OneView *view = [[OneView alloc]initWithFrame:CGRectMake(0, 0, 200, 200)];
[self.window.contentView addSubview:view];
其中 OneView 继承自 NSView,并在 OneView.m 中添加自定义设置
- (void)drawRect:(NSRect)dirtyRect {
    [super drawRect:dirtyRect];

    self.wantsLayer = YES;
    self.layer.backgroundColor = [NSColor cyanColor].CGColor;
}
2、设置 contentViewController
self.window.contentViewController = [[FirstViewController alloc]init];
这个窗口的显示内容,由 FirstViewController 决定。
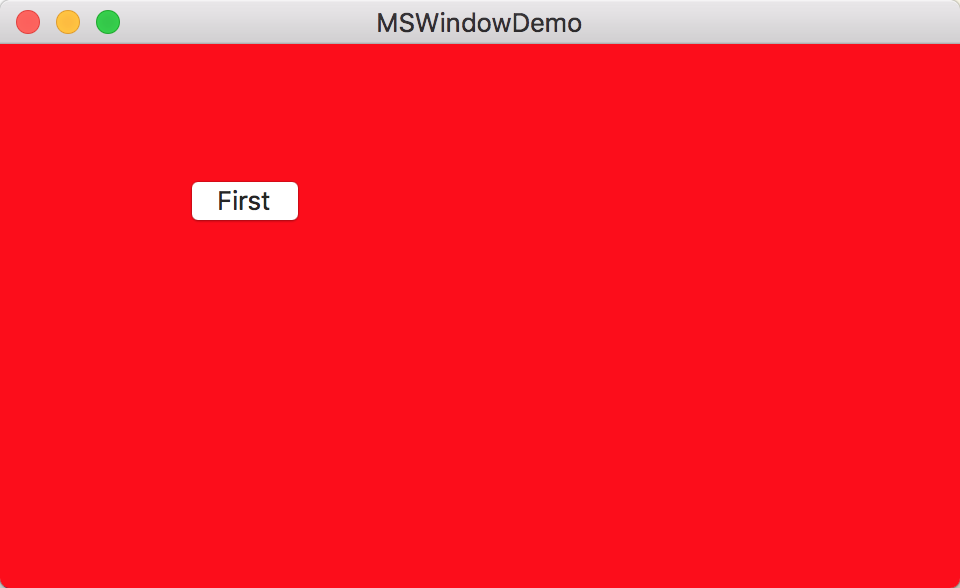
设置完 contentViewController 后,window.contentView 就是 self.window.contentViewController.view
我们写下如下测试代码:
- (void)applicationDidFinishLaunching:(NSNotification *)aNotification {

    NSLog(@"contentViewController : %@ , Controller.view : %@ , contentView : %@",self.window.contentViewController,self.window.contentViewController.view,self.window.contentView);

    self.window.contentViewController = [[FirstViewController alloc]init];

    NSLog(@"contentViewController : %@ , Controller.view : %@ , contentView : %@",self.window.contentViewController,self.window.contentViewController.view,self.window.contentView);
}
打印日志如下:
2018-03-08 16:00:22.344709+0800 MSWindowDemo[3030:262893] contentViewController : (null) ,
Controller.view : (null) ,
contentView : <NSView: 0x604000120aa0>

2018-03-08 16:00:22.347321+0800 MSWindowDemo[3030:262893] contentViewController : <FirstViewController: 0x6000000c2e60> ,
Controller.view : <NSView: 0x600000122800> ,
contentView : <NSView: 0x600000122800>
3、设置 contentViewController 同时往 contentView 上添加东西
效果按照添加顺序叠加
3.1 如果先设置 contentViewController ,再往 contentView 上添加控件。实际上是往 contentViewController.view 上添加控件。效果如下:
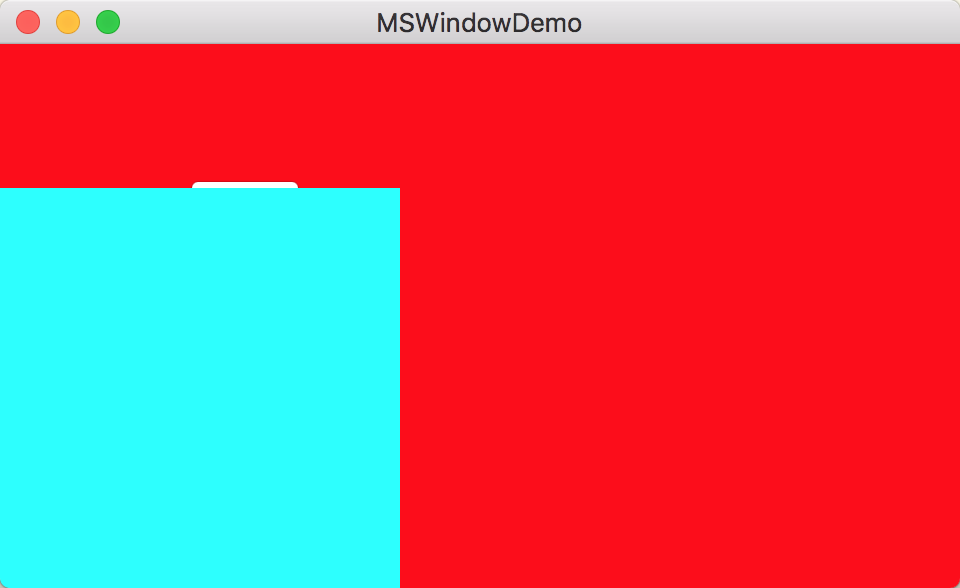
3.2 如果先添加 contentView,再设置 contentViewController,contentViewController的内容会覆盖之前的设置。效果同 2.
三、创建 NSWindowController
创建项目后,删除工程自带的 xib中的window,创建继承自 NSWindowController 的类,弹出该控制器的 window.
delegate中弹窗部分代码如下:
- (void)applicationDidFinishLaunching:(NSNotification *)aNotification {

    [self.firstWindowC.window center];
    [self.firstWindowC.window orderFront:nil];
}
1、不勾选xib
1.1 使用 init 初始化,无法正常显示窗口
_firstWindowC = [[FirstWindowController alloc]init];
1.2 使用 initWithWindow 初始化,可以显示窗口
        NSUInteger style = NSWindowStyleMaskTitled | NSWindowStyleMaskClosable | NSWindowStyleMaskMiniaturizable | NSWindowStyleMaskResizable ;
        NSWindow *window0 = [[NSWindow alloc]initWithContentRect:CGRectMake(0, 0, 400, 200) styleMask:style backing:NSBackingStoreBuffered defer:YES];
        _firstWindowC = [[FirstWindowController alloc]initWithWindow:window0];

2、勾选xib
2.1 使用 initWithWindowNibName 初始化,可以正常显示窗口
_secWindowC = [[SecWindowController alloc]initWithWindowNibName:@"SecWindowController"];
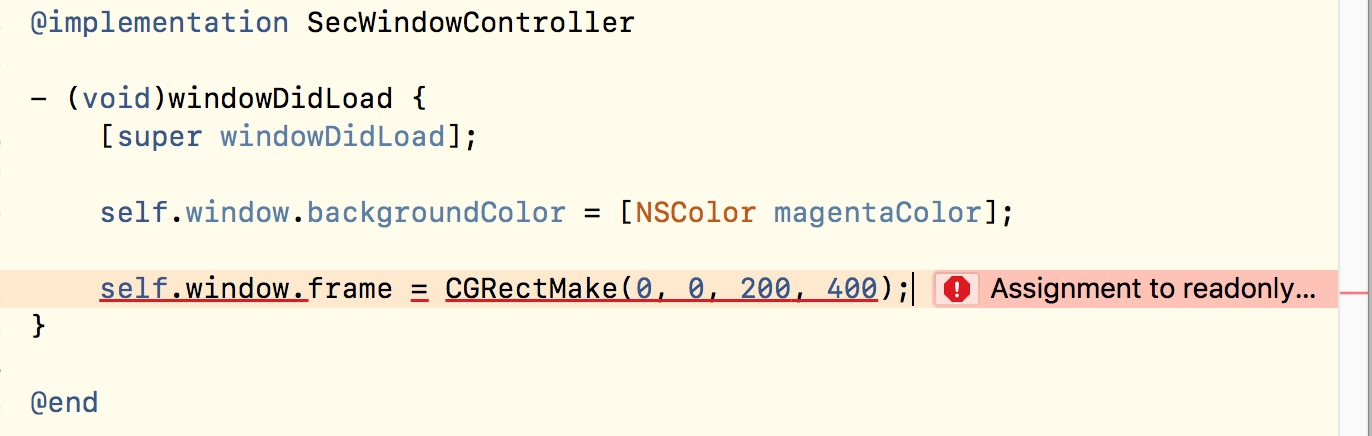
2.1.1 在 windowDidLoad 中设置window,无法设置frame
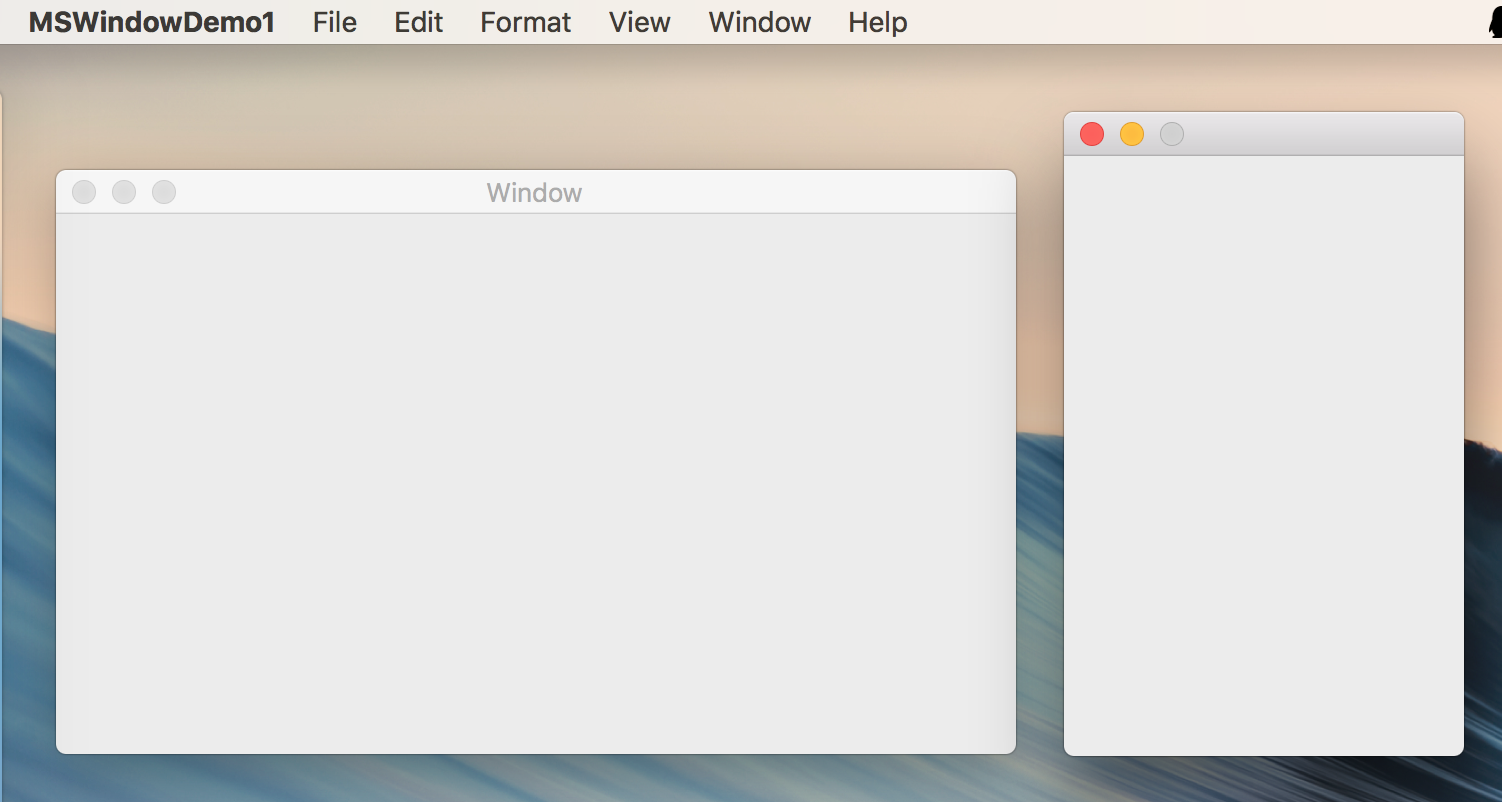
2.1.2 在 windowDidLoad 中设置 self.window 指针,会弹出两个窗口
- (void)windowDidLoad {
    [super windowDidLoad];

    NSUInteger style = NSWindowStyleMaskTitled | NSWindowStyleMaskClosable | NSWindowStyleMaskMiniaturizable ;
    NSWindow *window0 = [[NSWindow alloc]initWithContentRect:CGRectMake(0, 0, 200, 300) styleMask:style backing:NSBackingStoreBuffered defer:YES];

    self.window = window0;
}
2.2 使用 init 初始化,无法正常显示窗口
_secWindowC = [[SecWindowController alloc]init];
2.2.1 在 windowDidLoad 中设置 self.window 指针(代码同 2.1.2),还是无法正常显示窗口
2.2.2 使用 initWithWindow 初始化,会弹出窗口,效果同 1.2
跟初始化的 xib 中的窗口无关了。
四、NSViewController
创建 FirstViewController 继承自 NSViewController,并将 FirstViewController 示例设置为 window.contentViewController
1、创建时不勾选xib
1.1 使用 init 方法初始化,显示 window 失败。
self.firstVC = [[FirstViewController alloc]init];
self.window.contentViewController = self.firstVC;
上述代码会报下述错误
-[NSNib _initWithNibNamed:bundle:options:] could not load the nibName: FirstViewController in bundle (null).
尝试在控制台打印这个 VC 的 view,也无法得到相关信息。
Mac 中创建 NSViewController 不会自动创建 view,就像是 创建view 不会自动创建 layer 一样。
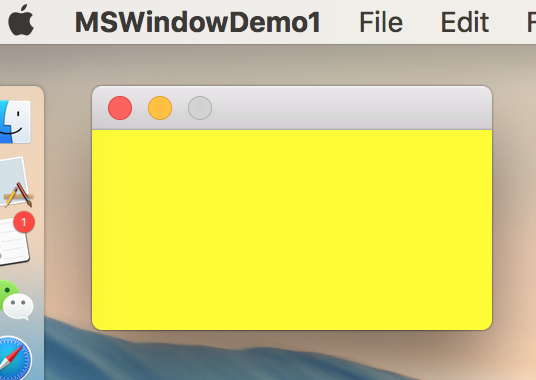
1.2 初始化 NSViewController,并设置view,显示成功
-(SecViewController *)secVC{
    if (!_secVC) {
        _secVC = [[SecViewController alloc]init];
        NSView *view = [[NSView alloc]initWithFrame:CGRectMake(0, 0, 200, 100)];
        view.wantsLayer = YES;
        view.layer.backgroundColor = [NSColor yellowColor].CGColor;
        _secVC.view = view;

    }
    return _secVC;
}

self.window1.contentViewController = self.secVC;
也可以将初始化的方法写在 VC 中,重写 loadView 方法。
-(void)loadView{
    NSView *view = [[NSView alloc]initWithFrame:CGRectMake(0, 0, 600, 400)];
    view.wantsLayer = YES;
    view.layer.backgroundColor = [NSColor yellowColor].CGColor;
    self.view = view;
}
2、勾选xib
2.1 使用 initWithNibName 初始化,加载成功
self.window.contentViewController = [[FirstViewController alloc]initWithNibName:@"FirstViewController" bundle:nil];
2.2使用 init 方法初始化,加载成功,效果同上。
self.window.contentViewController = [[FirstViewController alloc]init];
于是我想测试下,是否偷偷调用了 initWithNibName 方法,在 FirstViewController.m 中写下如下代码:
@implementation FirstViewController

-(instancetype)init{
    self = [super init];
    NSLog(@"First : init");
    return self;
}

-(instancetype)initWithNibName:(NSNibName)nibNameOrNil bundle:(NSBundle *)nibBundleOrNil{

   self = [super initWithNibName:nibNameOrNil bundle:nibBundleOrNil];

    NSLog(@"First nibNameOrNil : %@ , nibBundleOrNil : %@",nibNameOrNil,nibBundleOrNil);

    return self;
}
再次运行,发现打印日志如下:
2018-03-08 16:46:56.625786+0800 MSWindowDemo[3919:297186] First nibNameOrNil : (null) , nibBundleOrNil : (null)
2018-03-08 16:46:57.896924+0800 MSWindowDemo[3919:297186] First : init
说明使用 init 方法会默认调用 initWithNibName 方法去寻找 xib文件。
五、综合、不显示的问题等
1、NSWindow or NSWindowController 需要被强引用
//显示失败
- (void)test4{

    FirstWindowController *firstWC = [[FirstWindowController alloc]initWithWindowNibName:@"FirstWindowController"];
    [firstWC.window orderFront:nil];
    [firstWC.window center];
}
需要改为:
//显示成功
- (void)test4{

    FirstWindowController *firstWC = [[FirstWindowController alloc]initWithWindowNibName:@"FirstWindowController"];
    [firstWC.window orderFront:nil];
    [firstWC.window center];

    self.firstWC = firstWC;

}
部分情况下,window 可能会显示出来,但是 window 上的按钮可能点击无效。
2、示例:NSView -->NSViewController–>NSWindow–>NSWindowController
这样创建的逻辑是没有问题的,但是 window 不会显示出来;
原因是,不知道 window 的大小;
解决方法,初始化 NSView 的时候,要设置 frame; 那么 window 的大小就会是这个 view.frame;
代码可改为如下
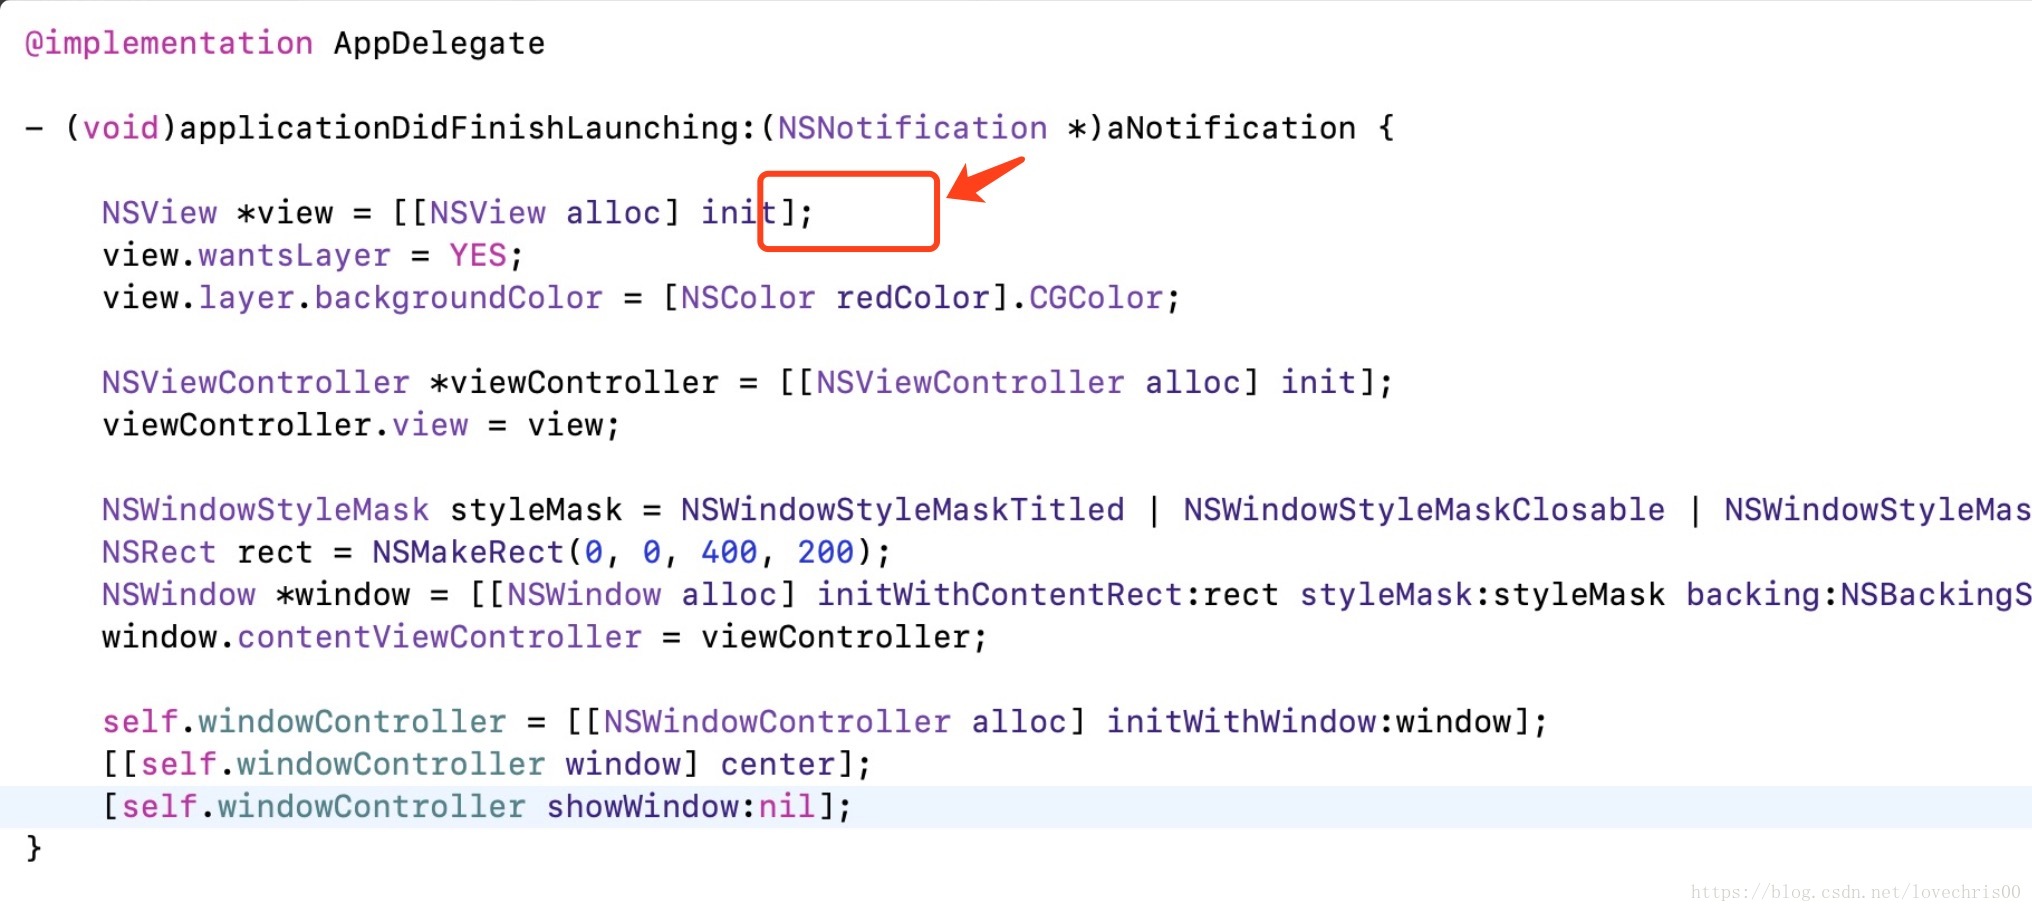
//可以显示,且窗口大小为 view 的大小:{300,300}
- (void)test3{

    NSView *view = [[NSView alloc]initWithFrame:NSMakeRect(0, 0, 300, 300)];
    view.wantsLayer = YES;
    view.layer.backgroundColor = [NSColor redColor].CGColor;

    NSViewController *viewController = [[NSViewController alloc]init];
    viewController.view = view;

    NSWindowStyleMask styleMask = NSWindowStyleMaskTitled | NSWindowStyleMaskClosable;
    NSRect rect = NSMakeRect(0, 0, 400, 200);
    NSWindow *window = [[NSWindow alloc]initWithContentRect:rect styleMask:styleMask backing:NSBackingStoreBuffered defer:YES];
    window.contentViewController = viewController;

    self.windowController = [[NSWindowController alloc]initWithWindow:window];
    [self.windowController.window center];
    [self.windowController.window orderFront:nil];

}
3、示例 NSView–>NSWindow–>NSWindowController
//显示成功
- (void)test2{

    NSView *view0 = [[NSView alloc]initWithFrame:NSMakeRect(0, 0, 400, 400)];
    view0.wantsLayer = YES;
    view0.layer.backgroundColor = [NSColor redColor].CGColor;

    NSWindowStyleMask styleMask = NSWindowStyleMaskTitled | NSWindowStyleMaskClosable;
    NSRect rect = NSMakeRect(0, 0, 400, 200);
    NSWindow *window = [[NSWindow alloc]initWithContentRect:rect styleMask:styleMask backing:NSBackingStoreBuffered defer:YES];
    window.contentView = view0;

    self.windowController = [[NSWindowController alloc]initWithWindow:window];
    [self.windowController.window center];
    [self.windowController.window orderFront:nil];

}
参考资料
http://blog.csdn.net/fl2011sx/article/details/73252859


 被折叠的 条评论
为什么被折叠?
被折叠的 条评论
为什么被折叠?
 到【灌水乐园】发言


