


前言
上头了,再来一个粒子特效登录页面。
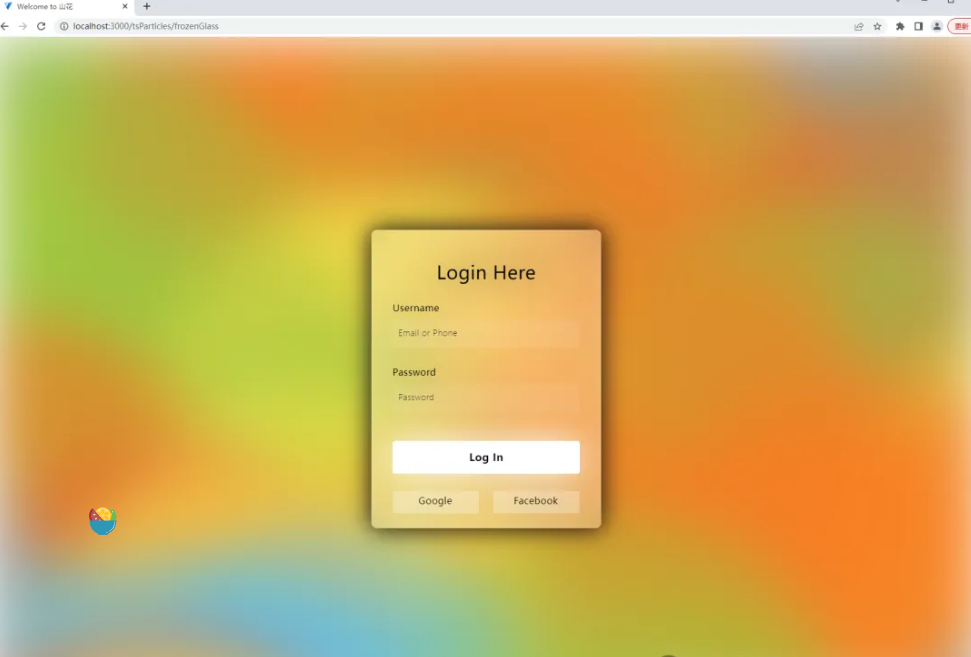
一、粒子特效登录页
登录页:
<template>

    <div>

      <vue-particles id="tsparticles" @particles-loaded="particlesLoaded"  :options="options"  />
<form>
  <h3>Login Here</h3>

  <label for="username">Username</label>
  <input type="text" placeholder="Email or Phone" id="username">

  <label for="password">Password</label>
  <input type="password" placeholder="Password" id="password">

  <button>Log In</button>
  <div class="social">
    <div class="go"><i class="fab fa-google"></i> Google</div>
    <div class="fb"><i class="fab fa-facebook"></i> Facebook</div>
  </div>
</form><div id="tsparticles"></div>
<form>
  <h3>Login Here</h3>

  <label for="username">Username</label>
  <input type="text" placeholder="Email or Phone" id="username">

  <label for="password">Password</label>
  <input type="password" placeholder="Password" id="password">

  <button>Log In</button>
  <div class="social">
    <div class="go"><i class="fab fa-google"></i> Google</div>
    <div class="fb"><i class="fab fa-facebook"></i> Facebook</div>
  </div>
</form>

    </div>
</template>

<script setup lang="ts" name="">
let themeableContainer;

import tsParticles from "@tsparticles/vue3";


const particlesLoaded = async (container: any) => {
    console.log("Particles container loaded", container);
};
const options =

{
    fpsLimit: 60,
    fullScreen: { enable: true },
    particles: {
      number: {
        value: 50
      },
      shape: {
        type: "circle"
      },
      opacity: {
        value: 0.5
      },
      size: {
        value: 400,
        random: {
          enable: true,
          minimumValue: 200
        }
      },
      move: {
        enable: true,
        speed: 10,
        direction: "top",
        outModes: {
          default: "out",
          top: "destroy",
          bottom: "none"
        }
      }
    },
    interactivity: {
      detectsOn: "canvas",
      events: {
        resize: true
      }
    },
    style: {
      filter: "blur(50px)"
    },
    detectRetina: true,
    themes: [
      {
        name: "light",
        default: {
          value: true,
          mode: "light"
        },
        options: {
          background: {
            color: "#f7f8ef"
          },
          particles: {
            color: {
              value: ["#5bc0eb", "#fde74c", "#9bc53d", "#e55934", "#fa7921"]
            }
          }
        }
      },
      {
        name: "dark",
        default: {
          value: true,
          mode: "dark"
        },
        options: {
          background: {
            color: "#080710"
          },
          particles: {
            color: {
              value: ["#004f74", "#5f5800", "#245100", "#7d0000", "#810c00"]
            }
          }
        }
      }
    ],
    emitters: {
      direction: "top",
      position: {
        x: 50,
        y: 150
      },
      rate: {
        delay: 0.2,
        quantity: 2
      },
      size: {
        width: 100,
        height: 0
      }
    }
  }
</script>

<style lang='scss' scoped>
*,
*:before,
*:after {
  padding: 0;
  margin: 0;
  box-sizing: border-box;
}
form {
  height: 520px;
  width: 400px;
  background-color: rgba(255, 255, 255, 0.13);
  position: absolute;
  transform: translate(-50%, -50%);
  top: 50%;
  left: 50%;
  border-radius: 10px;
  backdrop-filter: blur(30px);
  -webkit-backdrop-filter: blur(30px);
  border: 2px solid rgba(255, 255, 255, 0.1);
  box-shadow: 0 0 40px rgba(8, 7, 16, 0.6);
  padding: 50px 35px;
}
form * {
  font-family: "Poppins", sans-serif;
  color: #000000;
  letter-spacing: 0.5px;
  outline: none;
  border: none;
}

@media (prefers-color-scheme: dark) {
  form * {
    color: #ffffff;
  }
}

form h3 {
  font-size: 32px;
  font-weight: 500;
  line-height: 42px;
  text-align: center;
}

label {
  display: block;
  margin-top: 30px;
  font-size: 16px;
  font-weight: 500;
}
input {
  display: block;
  height: 50px;
  width: 100%;
  background-color: rgba(255, 255, 255, 0.07);
  border-radius: 3px;
  padding: 0 10px;
  margin-top: 8px;
  font-size: 14px;
  font-weight: 300;
}

::placeholder {
  color: #1b1b1b;
}

@media (prefers-color-scheme: dark) {
  ::placeholder {
    color: #e5e5e5;
  }
}

button {
  margin-top: 50px;
  width: 100%;
  background-color: #ffffff;
  color: #080710;
  padding: 15px 0;
  font-size: 18px;
  font-weight: 600;
  border-radius: 5px;
  cursor: pointer;
}
.social {
  margin-top: 30px;
  display: flex;
}
.social div {
  background: red;
  width: 150px;
  border-radius: 3px;
  padding: 5px 10px 10px 5px;
  background-color: rgba(255, 255, 255, 0.27);
  color: #150f03;
  text-align: center;
}

@media (prefers-color-scheme: dark) {
  .social div {
    color: #eaf0fb;
  }

  body {
    background: #000;
  }
}

.social div:hover {
  background-color: rgba(255, 255, 255, 0.47);
}
.social .fb {
  margin-left: 25px;
}
.social i {
  margin-right: 4px;
}
</style>
如果不成功仔细看第一篇文章,一步一步做,很简单的。实际效果要比图片好看多了,gif录糊了糊了。。。
总结
行到水穷处,坐看云起时


 408
408

 被折叠的 条评论
为什么被折叠?
被折叠的 条评论
为什么被折叠?
 到【灌水乐园】发言


