


随着android5.0的发布,google还发布了SwipeRefreshLayout,RecyclerView,CardView几个有用的控件,今天我写这篇博客记录下我的使用过程,内容包括正在刷新加载,下拉刷新,上拉加载更多,无数据的提示信息的显示,也希望给这方面有疑惑的一点帮助!!!
首先当然是添加对这些控件的依赖,由于我使用的是android studio,这个很简单,添加如下的代码在build.gradle下:
    compile 'com.android.support:appcompat-v7:23.1.1'
    compile 'com.android.support:support-v4:23.1.1'
    compile 'com.android.support:recyclerview-v7:23.1.1'
    compile 'com.android.support:cardview-v7:23.1.1'
目前为止,最新的版本是23.1.1,看到这篇博客的时候,大家的版本可能会更新,大家使用最新的版本就好。
1、下拉刷新
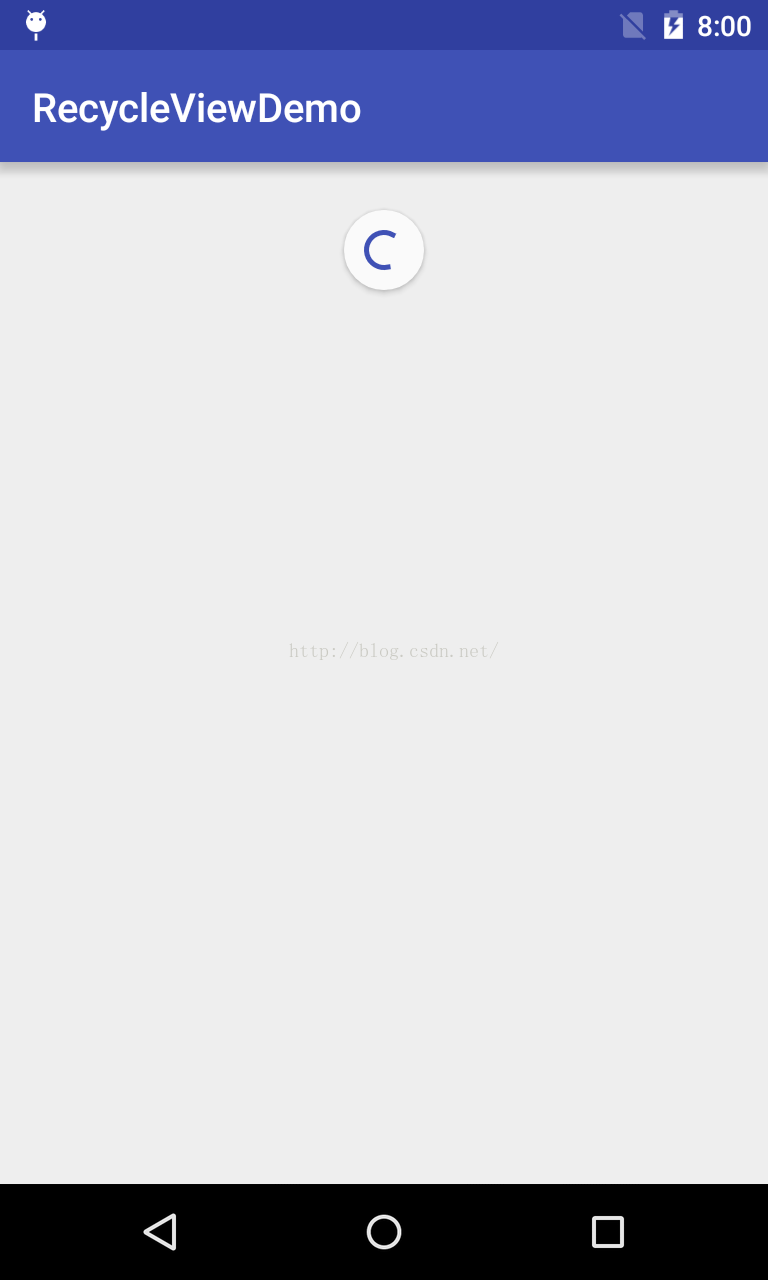
在进入一个新界面的时候需要一个显示正在加载数据的进度条,我们只需要使用如下的代码就可以显示这个进度条:
        mSwipeRefreshLayout.post(new Runnable() {

            @Override
            public void run() {
                mSwipeRefreshLayout.setRefreshing(true);
            }
        });
大家注意这段代码是写在onCreate方法中的,大家如果直接mSwipeRefreshLayout.setRefreshing(true);写成这样,那么很可能这进度条不显示出来,原因大家请参看 http://www.zhaoyb.cn/swiperefreshlayout%E8%B0%83%E7%94%A8setrefreshingtrue%E4%B8%8D%E6%98%BE%E7%A4%BA%E8%A7%A3%E5%86%B3/,加载完成以后调用mSwipeRefreshLayout.setRefreshing(false);即可取消加载进度条,下拉刷新很简单,界面如下所示:
完整的代码如下:
布局文件activity_main.xml如下:
<?xml version="1.0" encoding="utf-8"?>
<RelativeLayout
    xmlns:android="http://schemas.android.com/apk/res/android"
    xmlns:tools="http://schemas.android.com/tools"
    android:layout_width="match_parent"
    android:layout_height="match_parent"
    tools:context="com.example.recycleviewdemo.MainActivity">

    <android.support.v4.widget.SwipeRefreshLayout
        android:id="@+id/swiperefreshlayout"
        android:layout_width="match_parent"
        android:layout_height="match_parent">

        <android.support.v7.widget.RecyclerView
            android:id="@+id/recyclerview"
            android:layout_width="match_parent"
            android:layout_height="wrap_content"/>
    </android.support.v4.widget.SwipeRefreshLayout>
</RelativeLayout>
MainActivity.java文件如下:
import android.support.v4.widget.SwipeRefreshLayout;
import android.support.v7.app.AppCompatActivity;
import android.os.Bundle;
import android.support.v7.widget.LinearLayoutManager;
import android.support.v7.widget.RecyclerView;

import java.util.ArrayList;
import java.util.List;

public class MainActivity extends AppCompatActivity implements SwipeRefreshLayout.OnRefreshListener{
    private SwipeRefreshLayout mSwipeRefreshLayout;
    private RecyclerView mRecyclerView;
    private ItemsAdapter mAdapter;
    private List<String> mData;

    @Override
    protected void onCreate(Bundle savedInstanceState) {
        super.onCreate(savedInstanceState);
        setContentView(R.layout.activity_main);

        mSwipeRefreshLayout = (SwipeRefreshLayout) findViewById(R.id.swiperefreshlayout);
        mSwipeRefreshLayout.setColorSchemeResources(R.color.colorPrimary, R.color.colorPrimaryDark);
        mSwipeRefreshLayout.setOnRefreshListener(this);
        mRecyclerView = (RecyclerView) findViewById(R.id.recyclerview);
        WrapContentLinearLayoutManager layoutManager = new WrapContentLinearLayoutManager(this, LinearLayoutManager.VERTICAL, false){
            @Override
            protected int getExtraLayoutSpace(RecyclerView.State state) {
                return 6000;
            }
        };
        mRecyclerView.setLayoutManager(layoutManager);
        //mRecyclerView.addItemDecoration(new DividerDecoration(this));
        mData = new ArrayList<>();
        mSwipeRefreshLayout.post(new Runnable() {

            @Override
            public void run() {
                mSwipeRefreshLayout.setRefreshing(true);
            }
        });
        loadData();
    }

    private void loadData(){
        new Thread(){
            @Override
            public void run() {
                super.run();
                try {
                    Thread.sleep(5000);
                    int index = mData.size();
                    for(int i=index;i<index+20;i++){
                        mData.add("第"+i+"个数据");
                    }
                    runOnUiThread(new Runnable() {
                        @Override
                        public void run() {
                            setAdapter();
                            mSwipeRefreshLayout.setRefreshing(false);
                        }
                    });
                } catch (InterruptedException e) {
                    e.printStackTrace();
                }
            }
        }.start();
    }

    private void setAdapter(){
        if(mAdapter==null){
            mAdapter = new ItemsAdapter(this,mData);
            mRecyclerView.setAdapter(mAdapter);
        }else{
            mAdapter.notifyDataSetChanged();
        }
    }

    @Override
    public void onRefresh() {
        mData.clear();
        loadData();
    }
}
ItemsAdapter.java文件内容如下:
import android.content.Context;
import android.support.v7.widget.RecyclerView;
import android.view.LayoutInflater;
import android.view.ViewGroup;

import java.util.List;

/**
 * Created by Administrator on 2016/1/26.
 */
public class ItemsAdapter extends RecyclerView.Adapter<RecyclerView.ViewHolder> {
    private List<String> mData;
    private final LayoutInflater mLayoutInflater;
    private Context mContext;

    public ItemsAdapter(Context context, List<String> data) {
        this.mContext = context;
        this.mData = data;
        this.mLayoutInflater = LayoutInflater.from(mContext);
    }

    @Override
    public RecyclerView.ViewHolder onCreateViewHolder(ViewGroup parent, int viewType) {
        return new ItemHolder(mLayoutInflater.inflate(R.layout.item_list, parent, false));
    }

    @Override
    public void onBindViewHolder(RecyclerView.ViewHolder holder, int position) {
        final String string = mData.get(position);
        ItemHolder itemHolder = (ItemHolder)holder;
        itemHolder.mTextView.setText(string);
    }

    @Override
    public int getItemCount() {
        return mData.size();
    }
}
item_list.xml文件如下:
<?xml version="1.0" encoding="utf-8"?>
<android.support.v7.widget.CardView
    android:id="@+id/cv_item"
    xmlns:android="http://schemas.android.com/apk/res/android"
    xmlns:card_view="http://schemas.android.com/apk/res-auto"
    xmlns:tools="http://schemas.android.com/tools"
    android:layout_width="match_parent"
    android:layout_height="wrap_content"
    android:layout_margin="8dp"
    android:descendantFocusability="blocksDescendants"
    card_view:cardCornerRadius="4dp"
    card_view:cardUseCompatPadding="true">

    <TextView
        android:id="@+id/item"
        android:layout_width="wrap_content"
        android:layout_height="wrap_content"
        android:layout_margin="20dp"
        tools:text="item"/>
</android.support.v7.widget.CardView>
以上是刷新的相关图片和代码。。。
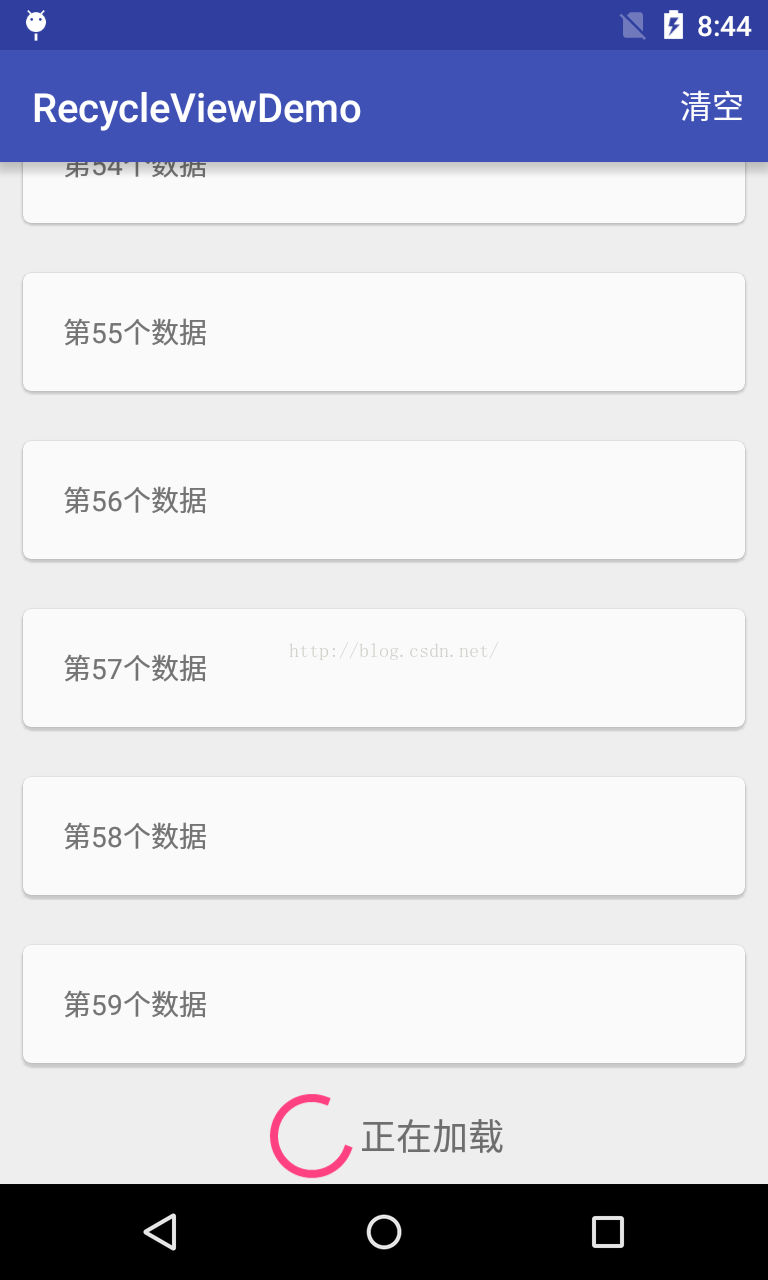
2、上拉加载更多
当我们滚动RecyclerView的时候,去加载更多的数据,同时在RecyclerView的底部显示一个进度条,这个的原理就是在数据集的最后面加上一个null,刷新界面的时候判断,如果是空就显示一个进度条的布局,配合RecycleView的滚动事件,先上图有直观的认识:
主要是在之前的基础上加了个有进度条的布局,还有就是加了滚动的事件,核心代码如下:
if (recyclerView.getLayoutManager() instanceof LinearLayoutManager) {
            final LinearLayoutManager linearLayoutManager = (LinearLayoutManager) recyclerView.getLayoutManager();
            recyclerView.addOnScrollListener(new RecyclerView.OnScrollListener() {
                @Override
                public void onScrolled(RecyclerView recyclerView, int dx, int dy) {
                    super.onScrolled(recyclerView, dx, dy);
                    totalItemCount = linearLayoutManager.getItemCount();
                    lastVisibleItem = linearLayoutManager.findLastVisibleItemPosition();
                    if (!loading && totalItemCount <= (lastVisibleItem + visibleThreshold)) {
                        // End has been reached
                        // Do something
                        if (onLoadMoreListener != null) {
                            onLoadMoreListener.onLoadMore();
                        }
                    }
                }
            });
        }
3、当没有数据的时候给提示
效果如下:
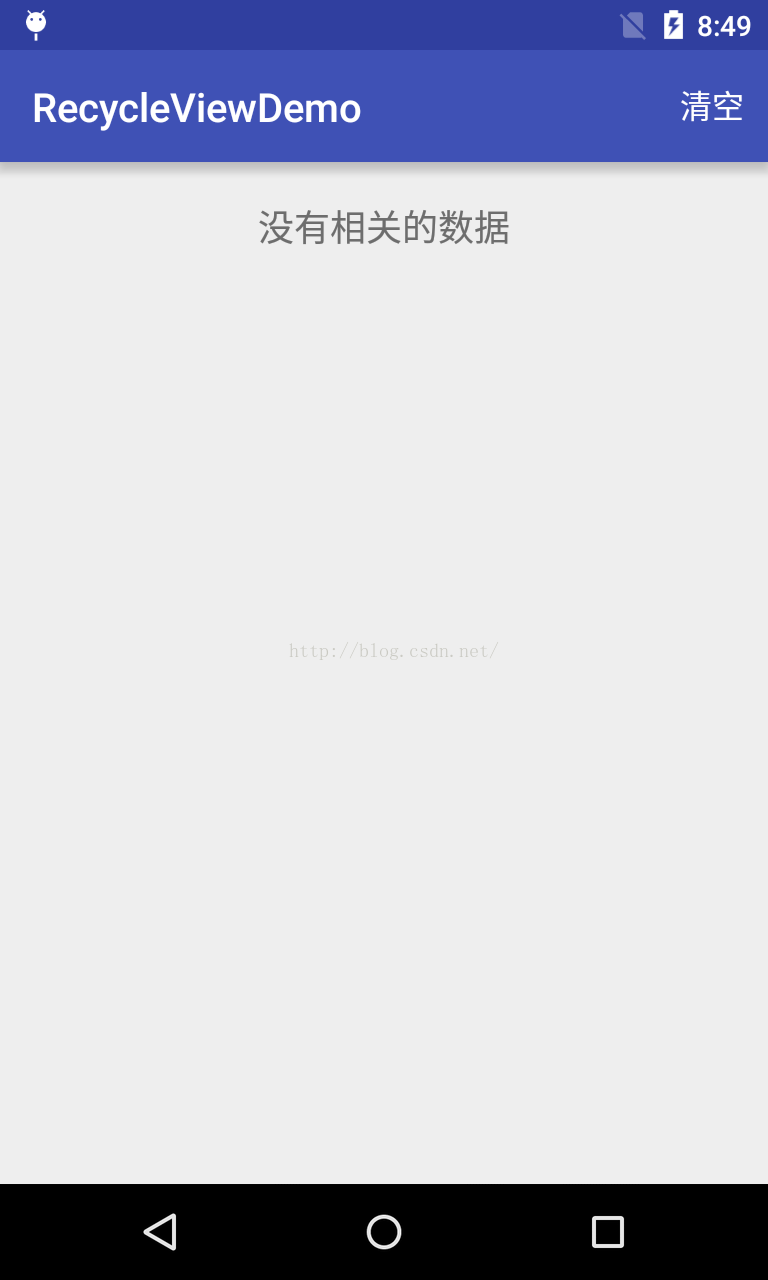
原理也一样,就显示一个没有提示的item,没什么好说的。
这SwipeRefreshLayout,RecyclerView,CardView三个控件组合起来,能够实现比较人性化的用户体验。
最后,给出整个demo的下载地址:http://download.csdn.net/detail/lovexieyuan520/9418952,大家有什么问题或者是更好的建议,请给我留言。
还有个问题,就是在使用RecycleView会报IndexOutOfBoundsException: Inconsistency detected,详情请看http://blog.csdn.net/lovexieyuan520/article/details/50537846


 317
317

 被折叠的 条评论
为什么被折叠?
被折叠的 条评论
为什么被折叠?
 到【灌水乐园】发言


