


 本文介绍了如何通过conda创建Python3.8环境并安装Jupyter,解决浏览器兼容性问题,以及如何配置Jupyter的默认登录账号和密码。还提供了在PyCharm中两种不同的配置方法,以便在其中使用JupyterNotebook。
目标
使用conda安装jupyter,能够在浏览器和pycharm中基于jupyter编辑和维护python代码。
安装jupyter
创建conda环境,安装python包和jupyter包。
#创建环境,python版本使用3.8及以上
conda create -n demo python=3.8
#安装juptyter
conda install jupyter
#juptyer浏览器端的兼容性问题
conda install nbconvert==5.4.1
#扩展工具
conda install -c conda-forge jupyter_contrib_nbextensions
conda install -c conda-forge jupyter_nbextensions_configurator
配置账号
配置jupyter的默认登录账号,避免每次复制token。
获取密文,打开Python终端,生成密码。

#生成jupyter的默认配置,设置密码
jupyter notebook  --generate-config --allow-root
#配置jupyter,macOS默认的配置文件路径为:~/.jupyter/jupyter_notebook_config.py
# Configuration file for jupyter-notebook.
c.ServerApp.ip = 'localhost'
c.ServerApp.allow_root = True
c.ServerApp.open_browser = False
c.ServerApp.port = 8888
c.ServerApp.password = u'sha1:[上一步生成的密码]'
c.ContentsManager.root_dir = '/Users/[用户名]/python/jupyter'
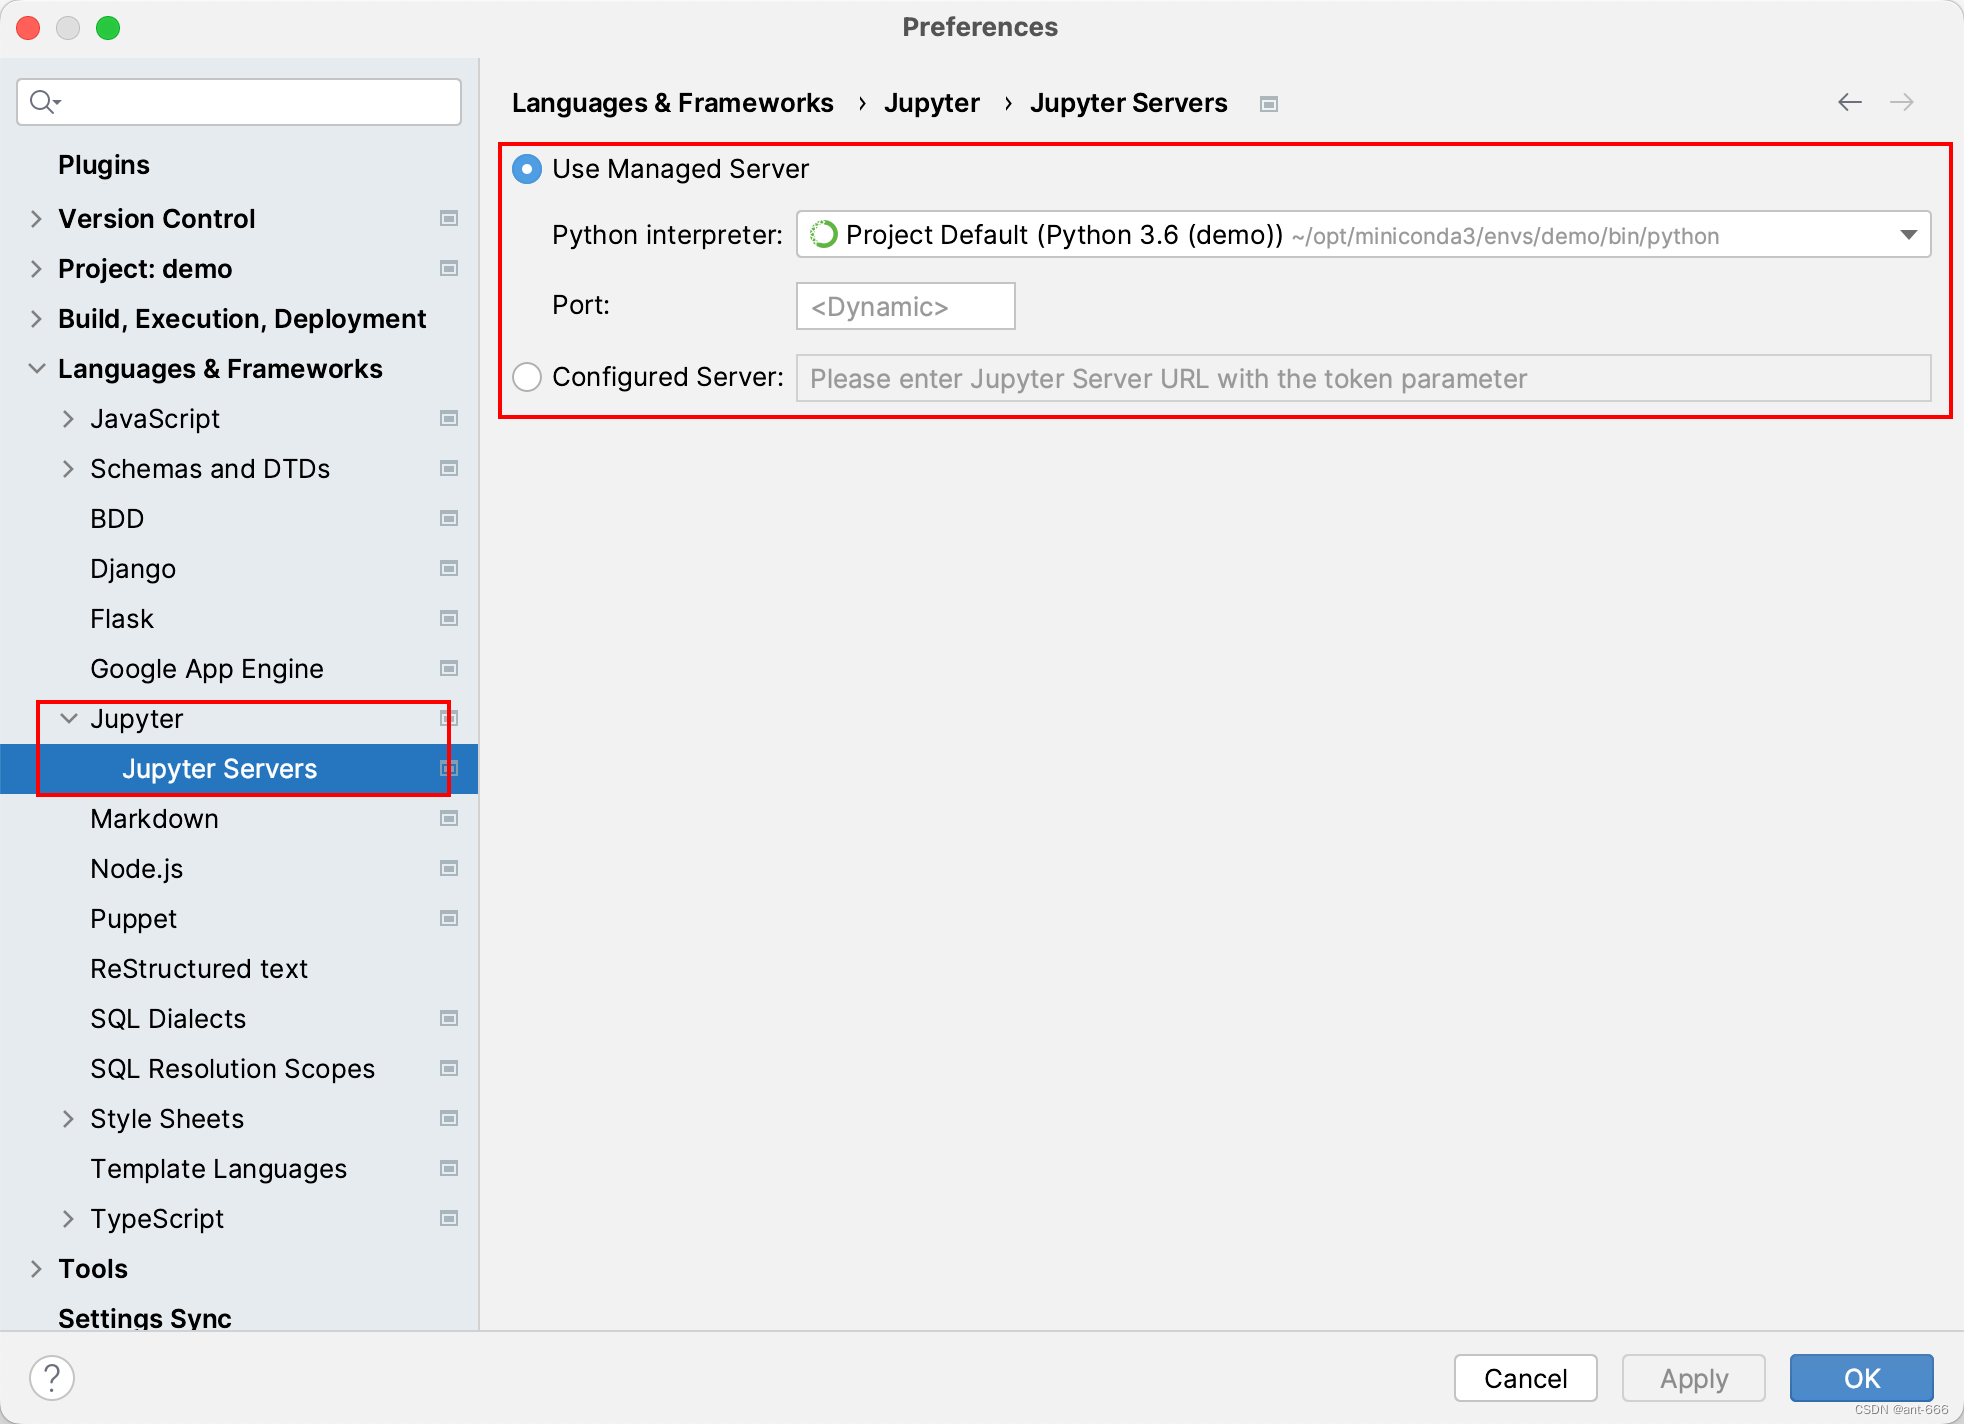
配置pycharm
两种配置方式均可以,区别是启动方式。使用“User Managed Server”方式,pycharm自动启动jupyter notebook;使用“configured server”需要提前手动启动。
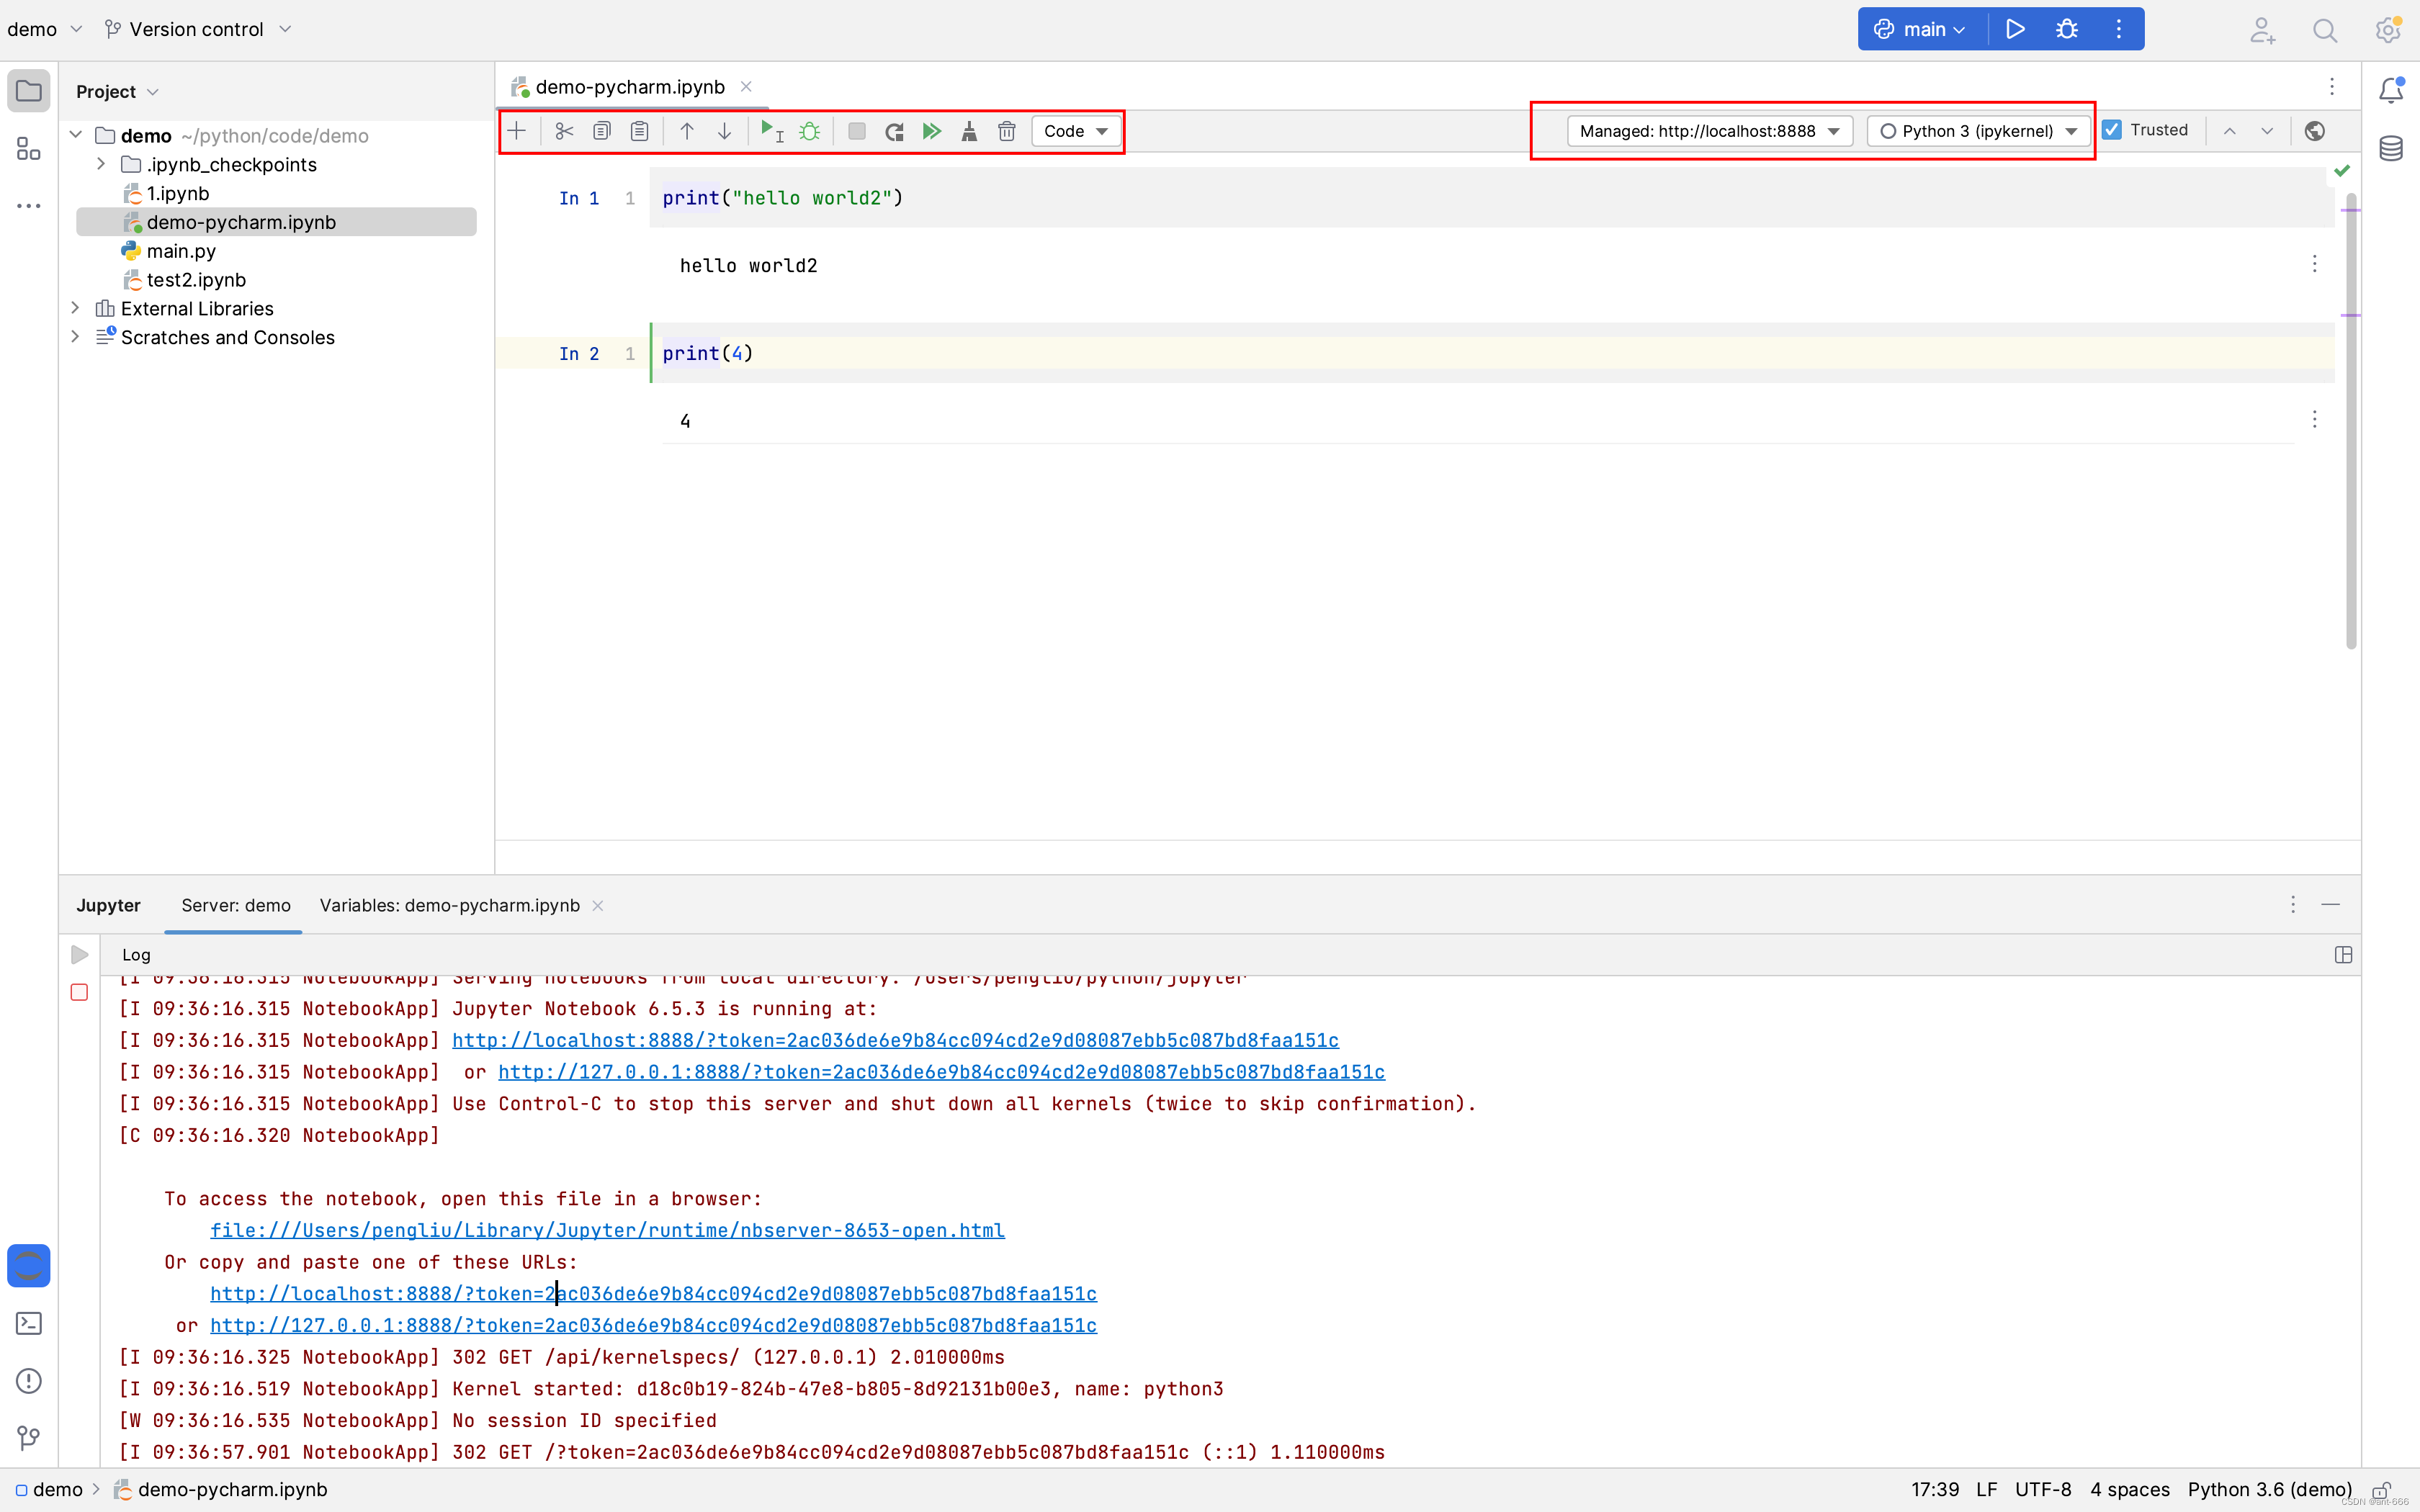
配置完成之后,在pycharm中新建ipynb文件,如下。
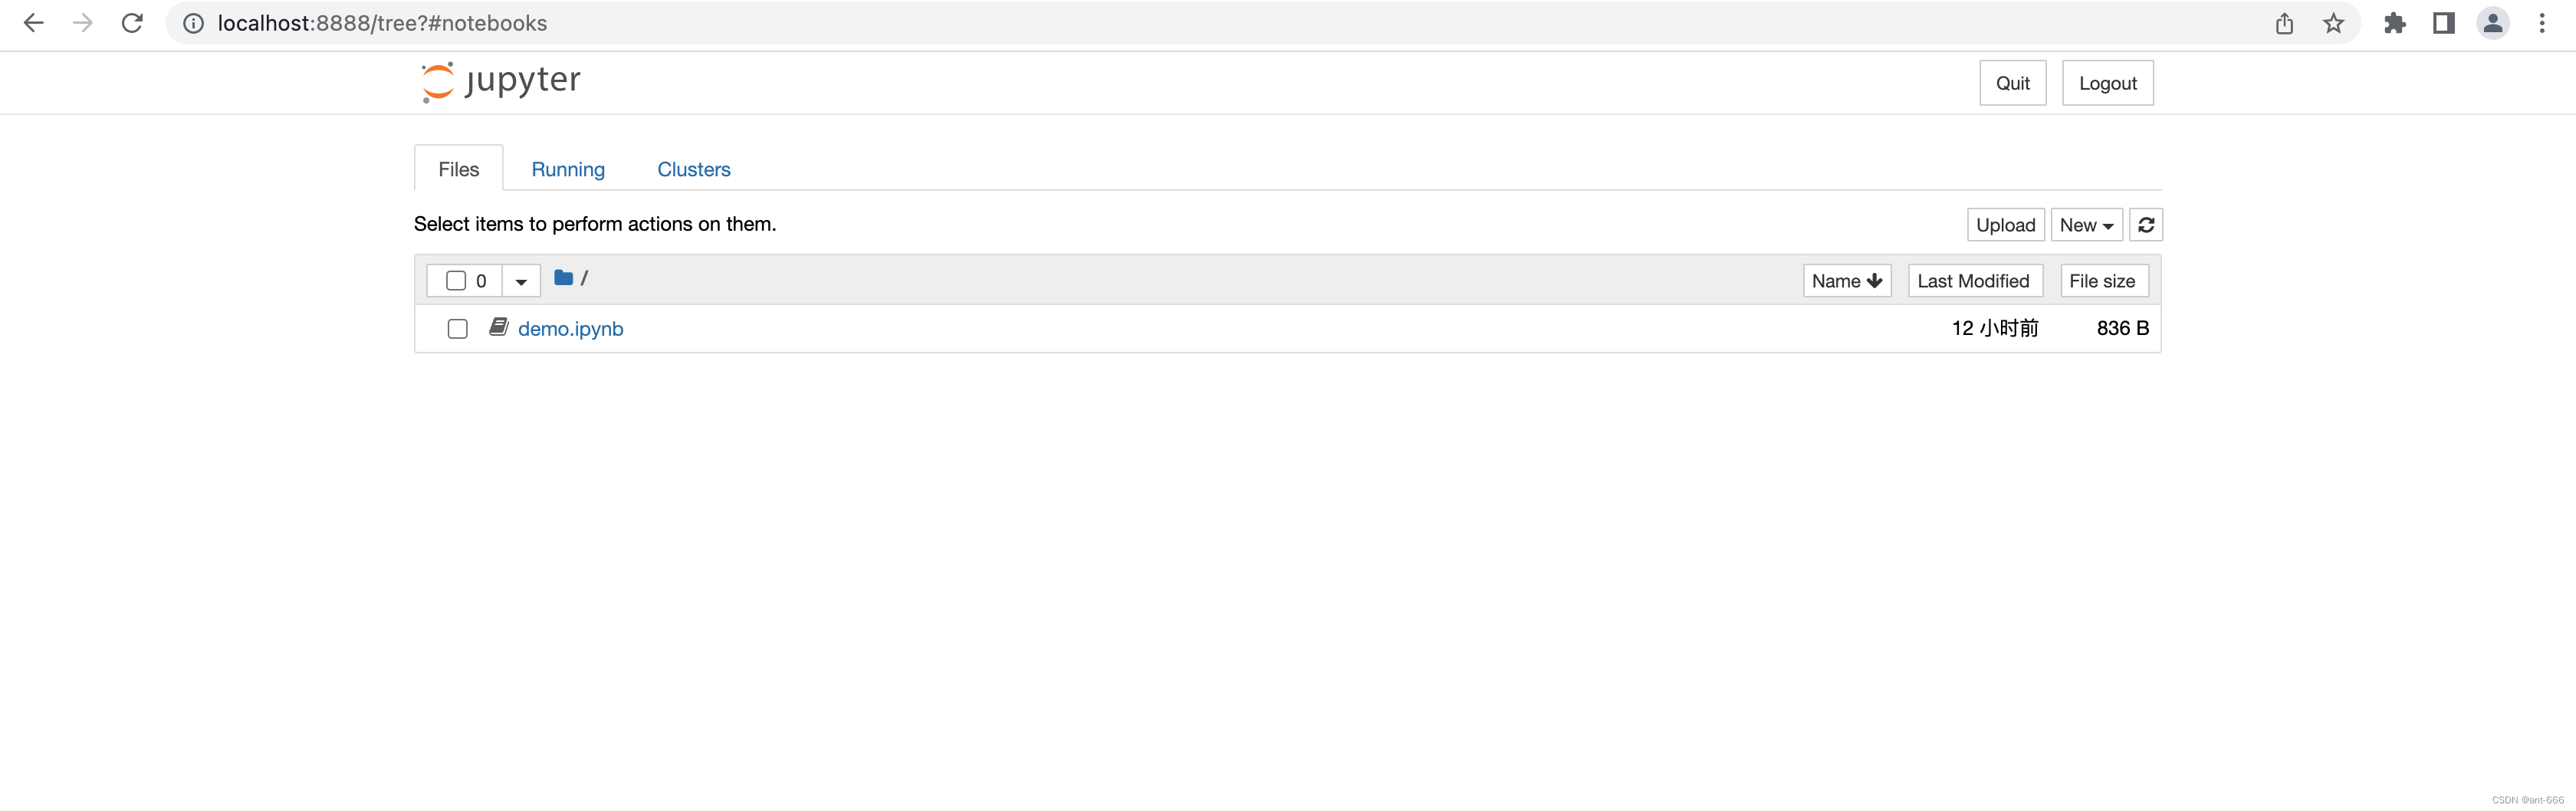
 在浏览器端直接访问jupyter notebook : http://localhost:8888


 被折叠的 条评论
为什么被折叠?
被折叠的 条评论
为什么被折叠?
 到【灌水乐园】发言


