


 本文通过一个简单示例介绍了SpringMVC的工作流程,包括前端控制器的注册、处理器的实现方式、映射器与适配器的作用等,并分析了单例模式在处理器中的应用。
结合一个简单的demo来总结一下springmvc的工作流程以及springmvc中的映射器,适配器,视图解析器,了解的比较浅显,有不对的地方还请各位大佬指出
一,示例如下:
1,建立web项目添加相应的jar包
2,在web.xml文件中注册springmvc的前端控制器,也是springmvc中的核心处理器DispatchServlet,是一个Servlet,而struts2的入口是一个filter
<?xml version="1.0" encoding="UTF-8"?>
<web-app xmlns:xsi="http://www.w3.org/2001/XMLSchema-instance"
         xmlns="http://java.sun.com/xml/ns/javaee"
         xsi:schemaLocation="http://java.sun.com/xml/ns/javaee http://java.sun.com/xml/ns/javaee/web-app_3_0.xsd"
         id="WebApp_ID" version="3.0">
  <display-name>spring_mvc_demo1</display-name>

  <!-- 注册springmvc核心控制器 -->
  <!--
      这样配置的话前端控制器会默认去找到/WEB-INF/<servlet-name>-servlet.xml文件
   -->
  <servlet>
         <servlet-name>springMVC</servlet-name>
         <servlet-class>org.springframework.web.servlet.DispatcherServlet</servlet-class>
  </servlet>
  <servlet-mapping>
  <!-- 在这里前端控制器只拦截.action结尾的请求 -->
           <servlet-name>springMVC</servlet-name>
           <url-pattern>*.action</url-pattern>
  </servlet-mapping>

</web-app>这里这样配置的话,前端控制器会去/WEB-INF/路径下找到名为<servlet-name>-servlet.xml的文件,然后前端控制器只拦截以.action结尾的请求。
3,建立处理器:
package com.fulan.controller;

import javax.servlet.http.HttpServletRequest;
import javax.servlet.http.HttpServletResponse;
import org.springframework.web.servlet.ModelAndView;
import org.springframework.web.servlet.mvc.Controller;

/**
 * 实现Controller接口
 * 即处理器,控制器
 * @author Administrator
 *
 */
public class HelloAction implements Controller{
	/**
	 * 在一次连接中,只创建一个HelloAction实例,使用的是单例模式
	 */

	public HelloAction(){
		System.out.println("HelloAction实例被创建!");
	}
	/**
	 * 重写handleRequest方法
	 * ModelAndView对象封装的是处理业务后返回的数据和视图对应路径
	 */
	@Override
	public ModelAndView handleRequest(HttpServletRequest request, HttpServletResponse response) throws Exception {
		// TODO Auto-generated method stub
		System.out.println("进入业务处理方法!!!");
		ModelAndView modelAndView = new ModelAndView();
		modelAndView.addObject("message","你好啊");//数据
		modelAndView.setViewName("/success.jsp");//真实路径,后面学习逻辑路径
//		System.out.println(modelAndView);ModelAndView类中重写了toString方法,打印出来看一下
		return modelAndView;
	}

}
4,创建xml文件,springMVC-servlet.xml:
<?xml version="1.0" encoding="UTF-8"?>

<beans
	xmlns="http://www.springframework.org/schema/beans"
	xmlns:xsi="http://www.w3.org/2001/XMLSchema-instance"
	xmlns:p="http://www.springframework.org/schema/p"
	xmlns:mvc="http://www.springframework.org/schema/mvc"
	xsi:schemaLocation="http://www.springframework.org/schema/beans
	http://www.springframework.org/schema/beans/spring-beans-3.1.xsd
	http://www.springframework.org/schema/mvc
	http://www.springframework.org/schema/mvc/spring-mvc-3.1.xsd
	">

<!-- 注册处理器
     class表示处理器的全路径
     name表示请求的路径
     这个是必须配置的
 -->
<bean name="/hello.action" class="com.fulan.controller.HelloAction"></bean>
<beans><%@ page language="java" contentType="text/html; charset=UTF-8"
pageEncoding="UTF-8"%>
<!DOCTYPE html PUBLIC "-//W3C//DTD HTML 4.01 Transitional//EN" "http://www.w3.org/TR/html4/loose.dtd">
<html>
<head>
<meta http-equiv="Content-Type" content="text/html; charset=ISO-8859-1">
<title>Insert title here</title>
</head>
<body>
<h2>${message}</h2>
</body>
</html>运行结果:
控制台打印结果:
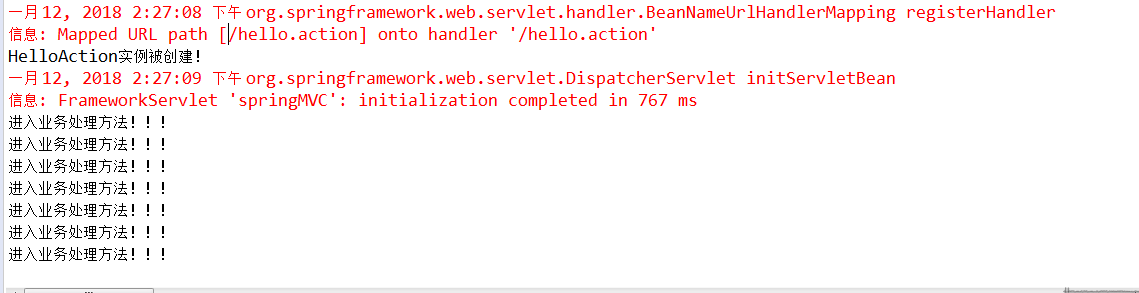
我运行时多刷新了几遍,可以看出一次连接只会创建一个处理器的实例,所以实现了Controller接口的处理器类是单例模式的
页面结果:
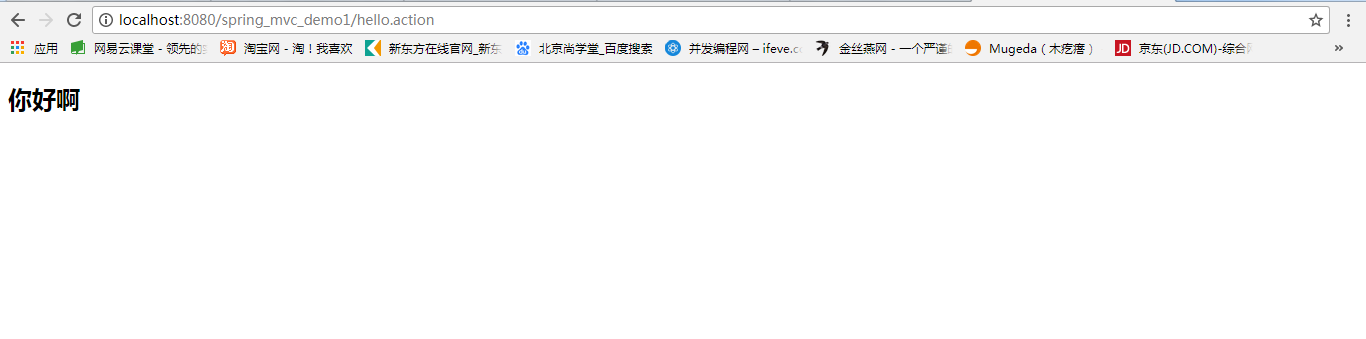
二,说一下springmvc的工作流程:
1,首先用户通过客户端向服务器发送请求,请求被前端控制器DispatchServlet捕获,前端控制器会解析请求中的url,如果url中不是*.action模式就抛出404,当然并不是只能设定URL为.action结尾,结合上面的示例,可以在<url-pattern>中设定
2,当请求路径是*.action模式的时候,前端控制器DispatchServlet就会根据URL调用HandlerMapping(映射器),映射器会返回给前端控制器相应的处理器(Handler)。
3,DispatchServlet根据获得的处理器(Handler),选择一个合适的适配器。在这里说一下为什么需要使用适配器以及源码中是如何设计的
(1),每一次请求都会执行DispatchServlet中的doDispatch方法:
	protected void doDispatch(HttpServletRequest request, HttpServletResponse response) throws Exception {
		HttpServletRequest processedRequest = request;
		HandlerExecutionChain mappedHandler = null;
		boolean multipartRequestParsed = false;

		WebAsyncManager asyncManager = WebAsyncUtils.getAsyncManager(request);

		try {
			ModelAndView mv = null;
			Exception dispatchException = null;

			try {
				processedRequest = checkMultipart(request);
				multipartRequestParsed = (processedRequest != request);
                                //1,这里是通过映射器得到当前请求的处理器Handler
				// Determine handler for the current request.
				mappedHandler = getHandler(processedRequest);
				if (mappedHandler == null || mappedHandler.getHandler() == null) {
					noHandlerFound(processedRequest, response);
					return;
				}
                                //2,通过得到的处理器mappedHandler作为参数得到相对应的处理器适配器
				// Determine handler adapter for the current request.
				HandlerAdapter ha = getHandlerAdapter(mappedHandler.getHandler());

				// Process last-modified header, if supported by the handler.
				String method = request.getMethod();
				boolean isGet = "GET".equals(method);
				if (isGet || "HEAD".equals(method)) {
					long lastModified = ha.getLastModified(request, mappedHandler.getHandler());
					if (logger.isDebugEnabled()) {
						logger.debug("Last-Modified value for [" + getRequestUri(request) + "] is: " + lastModified);
					}
					if (new ServletWebRequest(request, response).checkNotModified(lastModified) && isGet) {
						return;
					}
				}

				if (!mappedHandler.applyPreHandle(processedRequest, response)) {
					return;
				}
                                //3,实际执行的方法
				// Actually invoke the handler.
				mv = ha.handle(processedRequest, response, mappedHandler.getHandler());

				if (asyncManager.isConcurrentHandlingStarted()) {
					return;
				}

				applyDefaultViewName(processedRequest, mv);
				mappedHandler.applyPostHandle(processedRequest, response, mv);
			}
			catch (Exception ex) {
				dispatchException = ex;
			}
			catch (Throwable err) {
				// As of 4.3, we're processing Errors thrown from handler methods as well,
				// making them available for @ExceptionHandler methods and other scenarios.
				dispatchException = new NestedServletException("Handler dispatch failed", err);
			}
			processDispatchResult(processedRequest, response, mappedHandler, mv, dispatchException);
		}
		catch (Exception ex) {
			triggerAfterCompletion(processedRequest, response, mappedHandler, ex);
		}
		catch (Throwable err) {
			triggerAfterCompletion(processedRequest, response, mappedHandler,
					new NestedServletException("Handler processing failed", err));
		}
		finally {
			if (asyncManager.isConcurrentHandlingStarted()) {
				// Instead of postHandle and afterCompletion
				if (mappedHandler != null) {
					mappedHandler.applyAfterConcurrentHandlingStarted(processedRequest, response);
				}
			}
			else {
				// Clean up any resources used by a multipart request.
				if (multipartRequestParsed) {
					cleanupMultipart(processedRequest);
				}
			}
		}
	}
首先通过映射器得到当前请求的处理器,然后通过getHandlerAdapter得到处理器的对应的适配器,然后使用适配器调用处理方法
2,为什么需要使用适配器呢?因为Controller的实现方式用很多种,如下图:

而每一种的实现业务处理的方法又不一样,如果直接调用的话必须使用if..else来判断执行对应的方法,如果现在想要拓展一种Controller的实现方式,就必须在原有的程序上再增加一个逻辑判断,这样一来就不易于程序的扩展和维护,而且还改动了原来的代码,这就违反了开闭原则


 6956
6956

 被折叠的 条评论
为什么被折叠?
被折叠的 条评论
为什么被折叠?
 到【灌水乐园】发言


