


 本文介绍Redis在CentOS上的安装配置过程,包括服务脚本定制、防火墙设置及环境变量配置。同时提供Java客户端示例代码,展示如何进行键值对的增删改查操作,并给出Spring框架整合Redis的配置示例。
Redis 的安装与使用(单节点)
IP:192.168.4.111
环境:CentOS 6.6
Redis 版本:redis-3.0 (考虑到 Redis3.0 在集群和性能提升方面的特性,rc 版为正式版的候选版,而且很快就出正式版)
安装目录:/usr/local/redis
用户:root
编译和安装所需的包
# yum install gcc tcl
下载 3.0 版 Redis(当前最新版 redis-3.0.0-rc5.tar.gz,请学员们在安装时自行选用最新版)
# cd /usr/local/src
# wget https://github.com/antirez/redis/archive/3.0.0-rc5.tar.gz
创建安装目录:
# mkdir /usr/local/redis
解压:
# tar -zxvf 3.0.0-rc5.tar.gz
# mv redis-3.0.0-rc5 redis3.0
# cd redis3.0
安装(使用 PREFIX 指定安装目录):
# make PREFIX=/usr/local/redis install
安装完成后,可以看到/usr/local/redis 目录下有一个 bin 目录,bin 目录里就是 redis 的命令脚本:redis-benchmark redis-check-aof redis-check-dump redis-cli redis-server
将 Redis 配置成服务:按上面的操作步骤,Redis 的启动脚本为:/usr/local/src/redis3.0/utils/redis_init_script
将启动脚本复制到/etc/rc.d/init.d/目录下,并命名为redis:
# cp /usr/local/src/redis3.0/utils/redis_init_script /etc/rc.d/init.d/redis
编辑/etc/rc.d/init.d/redis,修改相应配置,使之能注册成为服务:
# vi /etc/rc.d/init.d/redis
#!/bin/sh
#
# Simple Redis init.d script conceived to work on Linux systems
# as it does use of the /proc filesystem.
REDISPORT=6379
EXEC=/usr/local/bin/redis-server
CLIEXEC=/usr/local/bin/redis-cli
PIDFILE=/var/run/redis_${REDISPORT}.pid
CONF="/etc/redis/${REDISPORT}.conf"
case "$1" in start)
if [ -f $PIDFILE ] then
echo "$PIDFILE exists, process is already running or crashed"
else
echo "Starting Redis server..." $EXEC $CONF
fi
;;
stop)
if [ ! -f $PIDFILE ] then
echo "$PIDFILE does not exist, process is not running"
else
PID=$(cat $PIDFILE) echo "Stopping ..."
$CLIEXEC -p $REDISPORT shutdown while [ -x /proc/${PID} ]
do
echo "Waiting for Redis to shutdown ..." sleep 1
done
echo "Redis stopped"
fi
;;
*)
echo "Please use start or stop as first argument"
;;
esac
查看以上 redis 服务脚本,关注标为橙色的几个属性,做如下几个修改的准备:
(1) 在脚本的第一行后面添加一行内容如下:
#chkconfig: 2345 80 90
(如果不添加上面的内容,在注册服务时会提示:service redis does not support chkconfig)
(2) REDISPORT端口保持 6379 不变;(注意,端口名将与下面的配置文件名有关)
(3) EXEC=/usr/local/bin/redis-server 改为 EXEC=/usr/local/redis/bin/redis-server
(4) CLIEXEC=/usr/local/bin/redis-cli 改为 CLIEXEC=/usr/local/redis/bin/redis-cli
(5) 配置文件设置:
创建 redis 配置文件目录
# mkdir /usr/local/redis/conf
复制 redis 配置文件/usr/local/src/redis3.0/redis.conf 到/usr/local/redis/conf 目录并按端口号重命名为6379.conf
# cp /usr/local/src/redis3.0/redis.conf /usr/local/redis/conf/6379.conf
做了以上准备后,再对 CONF 属性作如下调整:
CONF="/etc/redis/${REDISPORT}.conf" 改为 CONF="/usr/local/redis/conf/${REDISPORT}.conf"
(6) 更改 redis 开启的命令,以后台运行的方式执行: $EXEC $CONF& #“&”作用是将服务转到后面运行
修改后的/etc/rc.d/init.d/redis 服务脚本内容为:
#!/bin/sh
#chkconfig: 2345 80 90
#
# Simple Redis init.d script conceived to work on Linux systems
# as it does use of the /proc filesystem.
REDISPORT=6379
EXEC=/usr/local/redis/bin/redis-server
CLIEXEC=/usr/local/redis/bin/redis-cli
PIDFILE=/var/run/redis_${REDISPORT}.pid
CONF="/usr/local/redis/conf/${REDISPORT}.conf"
case "$1" in start)
if [ -f $PIDFILE ] then
echo "$PIDFILE exists, process is already running or crashed"
else
echo "Starting Redis server..." $EXEC $CONF&
fi
;;
stop)
if [ ! -f $PIDFILE ] then
echo "$PIDFILE does not exist, process is not running"
else
PID=$(cat $PIDFILE) echo "Stopping ..."
$CLIEXEC -p $REDISPORT shutdown while [ -x /proc/${PID} ]
do
echo "Waiting for Redis to shutdown ..."
sleep 1
done
echo "Redis stopped"
fi
;;
*)
echo "Please use start or stop as first argument"
;;
esac
以上配置操作完成后,便可将 Redis 注册成为服务:
# chkconfig --add redis
防火墙中打开对应的端口
# vi /etc/sysconfig/iptables
添加:
-A INPUT -m state --state NEW -m tcp -p tcp --dport 6379 -j ACCEPT
重启防火墙:
# service iptables restart
修改 redis 配置文件设置:
# vi /usr/local/redis/conf/6379.conf
修改如下配置
daemonize no 改为>daemonize yes
pidfile /var/run/redis.pid 改为>pidfile /var/run/redis_6379.pid
启动 Redis 服务
# service redis start
将 Redis 添加到环境变量中:
# vi /etc/profile
在最后添加以下内容:
## Redis env
export PATH=$PATH:/usr/local/redis/bin
使配置生效:
# source /etc/profile
现在就可以直接使用redis-cli 等redis 命令了:
关闭 Redis 服务
# service redis stop
默认情况下,Redis 开启安全认证,可以通过/usr/local/redis/conf/6379.conf 的requirepass 指定一个验证密码。
java代码测试
spring整合
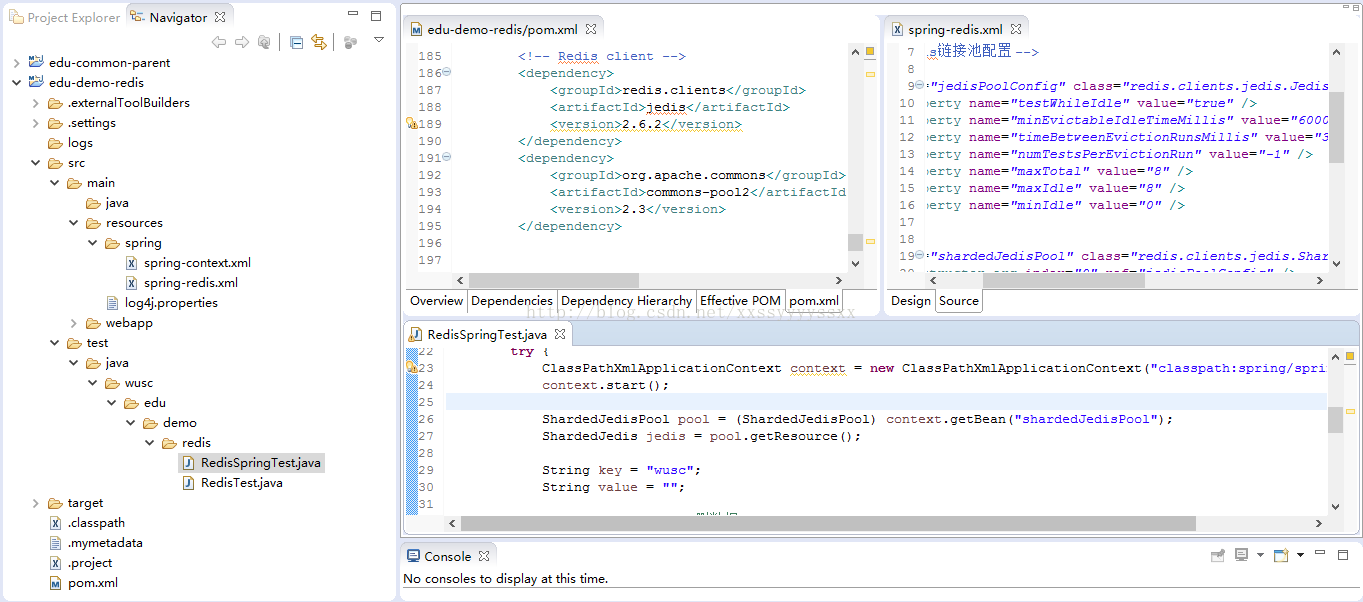
测试代码


 423
423

 被折叠的 条评论
为什么被折叠?
被折叠的 条评论
为什么被折叠?
 到【灌水乐园】发言


