


1.安装ElasticSearch
1.官网下载ElasticSearch,解压即可。(下载地址:Download Elasticsearch | Elastic)
2.进入安装目录下bin目录中,使用命令 ./elasticsearch 启动,启动输出信息结尾出现started 关键字,表示启动成功,使用./elasticsearch -d 命令使服务后台启动,程序默认端口为9200。
2.Elasticsearch-Rest-Client
Elasticsearch-Rest-Client:官方RestClient,封装了ES操作,API层次分明,上手简单
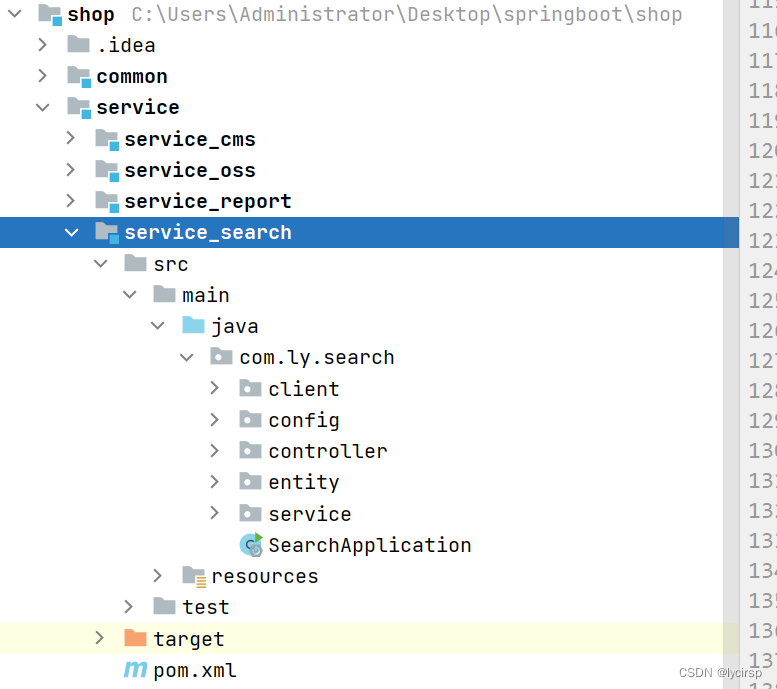
第一步:创建模块
创建模块service_search
第二步:依赖
引入依赖,注意版本要和elasticsearch版本一样。
<properties>
<elasticsearch.version>7.8.0</elasticsearch.version>
</properties>
<dependencies>
<dependency>
<groupId>org.elasticsearch.client</groupId>
<artifactId>elasticsearch-rest-high-level-client</artifactId>
</dependency>
<dependency>
<groupId>org.springframework.boot</groupId>
<artifactId>spring-boot-test</artifactId>
<scope>compile</scope>
</dependency>
<dependency>
<groupId>org.springframework</groupId>
<artifactId>spring-test</artifactId>
</dependency>
</dependencies>第三步:配置文件
# 服务端口
server.port=8007
# 服务名
spring.application.name=service-search
#返回json的全局时间格式
spring.jackson.date-format=yyyy-MM-dd HH:mm:ss
spring.jackson.time-zone=GMT+8
# nacos服务地址
spring.cloud.nacos.discovery.server-addr=127.0.0.1:8848第四步:启动类
package com.wxj.search;
import org.springframework.boot.SpringApplication;
import org.springframework.boot.autoconfigure.SpringBootApplication;
import org.springframework.boot.autoconfigure.jdbc.DataSourceAutoConfiguration;
import org.springframework.cloud.client.discovery.EnableDiscoveryClient;
@SpringBootApplication(exclude = DataSourceAutoConfiguration.class)
@EnableDiscoveryClient
public class SearchApplication {
public static void main(String[] args) {
SpringApplication.run(SearchApplication.class,args);
}
}
第五步:配置类
package com.wxj.search.config;
import org.apache.http.HttpHost;
import org.elasticsearch.client.RequestOptions;
import org.elasticsearch.client.RestClient;
import org.elasticsearch.client.RestHighLevelClient;
import org.springframework.context.annotation.Bean;
import org.springframework.context.annotation.Configuration;
@Configuration
public class ElasticSearchConfig {
public static final RequestOptions COMMON_OPTIONS;
static {
RequestOptions.Builder builder = RequestOptions.DEFAULT.toBuilder();
// builder.addHeader("Authorization", "Bearer " + TOKEN);
// builder.setHttpAsyncResponseConsumerFactory(
// new HttpAsyncResponseConsumerFactory
// .HeapBufferedResponseConsumerFactory(30 * 1024 * 1024 * 1024));
COMMON_OPTIONS = builder.build();
}
@Bean
public RestHighLevelClient esRestClient(){
RestHighLevelClient client=new RestHighLevelClient(
RestClient.builder(new HttpHost("localhost",9200,"http")));
return client;
}
}


 191
191


 被折叠的 条评论
为什么被折叠?
被折叠的 条评论
为什么被折叠?
 到【灌水乐园】发言


