


1、在SpringBoot中默认支持Tomcat容器,所以当一个SpringBoot项目打包生成*.jar文件,并且直接执行的时候就会自动启动内部的Tomcat容器。除了此种模式之外,也可以将Web项目打包为*.war文件,采用部署的形式通过Tomcat进行发布处理,这种方式和传统模式比较类似,打成war包丢到tomcat里面进行运行。
2、在将SpringBoot打包为*.war文件的时候,如果想正常部署一定要注意以下两点:
第一点:是取消项目中的Jetty容器的配置。
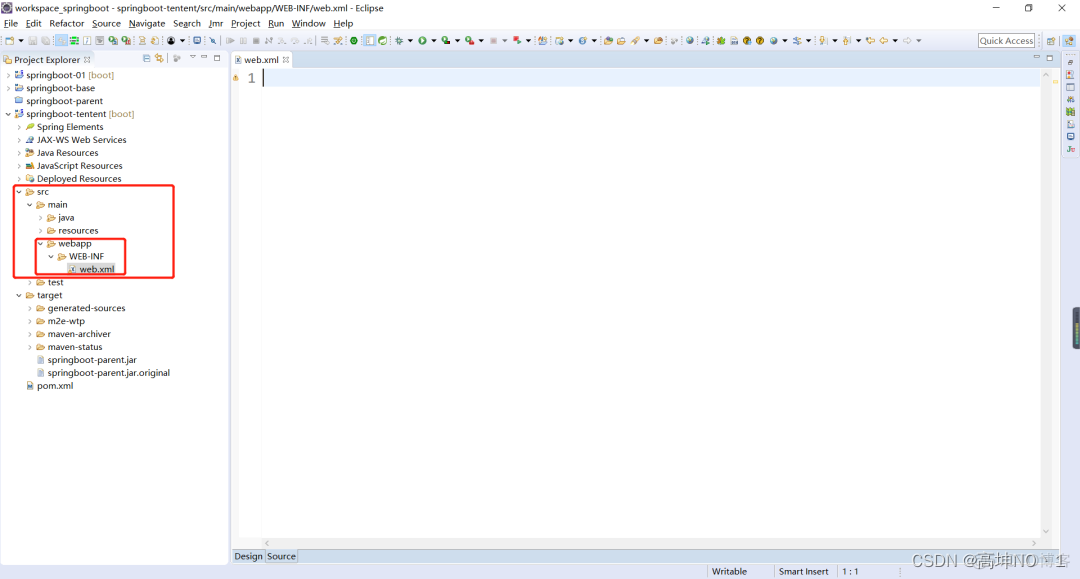
第二点:是将所有的源文件夹目录设置输出资源,修改父pom.xml中的配置。千万注意,创建WEB-INF/web.xml配置文件,不然会提示报错的哦。
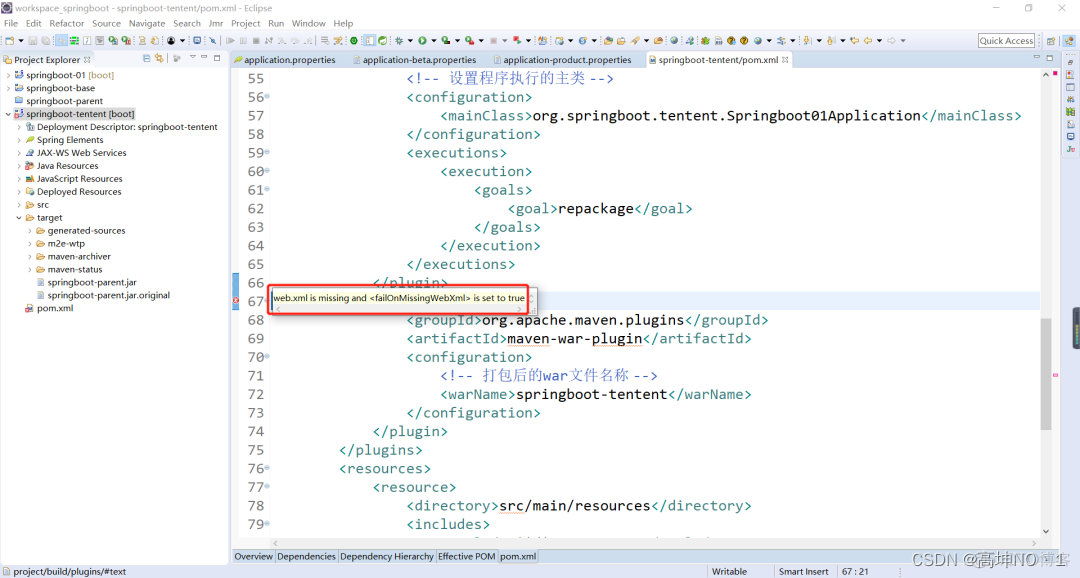
3、开始修改pom.xml配置文件,将程序的打包类型定义为*.war,修改pom.xml配置文件,追加war文件打包插件。
<?xml version="1.0"?>
<project
    xsi:schemaLocation="http://maven.apache.org/POM/4.0.0
    http://maven.apache.org/xsd/maven-4.0.0.xsd"
    xmlns="http://maven.apache.org/POM/4.0.0"
    xmlns:xsi="http://www.w3.org/2001/XMLSchema-instance">
    <modelVersion>4.0.0</modelVersion>

    <parent>
        <groupId>com.bie</groupId>
        <artifactId>springboot-base</artifactId>
        <version>0.0.1-SNAPSHOT</version>
    </parent>

    <!-- 父项目已经指定,这里可以省略 -->
    <!-- <groupId>com.bie</groupId> -->
    <artifactId>springboot-tentent</artifactId>
    <!-- <version>0.0.1-SNAPSHOT</version> -->
    <name>springboot-tentent</name>
    <url>http://maven.apache.org</url>
    <!-- 将Springboot项目打包成war包的形式 -->
    <packaging>war</packaging>

    <properties>
        <project.build.sourceEncoding>UTF-8</project.build.sourceEncoding>
    </properties>

    <dependencies>
        <dependency>
            <groupId>org.springframework.boot</groupId>
            <artifactId>spring-boot-starter-web</artifactId>
        </dependency>
        <dependency>
            <groupId>org.springframework.boot</groupId>
            <artifactId>spring-boot-starter-test</artifactId>
            <scope>test</scope>
        </dependency>
        <dependency>
            <groupId>junit</groupId>
            <artifactId>junit</artifactId>
            <scope>test</scope>
        </dependency>
        <dependency>
            <groupId>org.springframework.boot</groupId>
            <artifactId>spring-boot-starter-jetty</artifactId>
        </dependency>
    </dependencies>

    <build>
        <plugins>
            <!-- 该插件的主要功能是进行项目的打包发布处理 -->
            <plugin>
                <groupId>org.springframework.boot</groupId>
                <artifactId>spring-boot-maven-plugin</artifactId>
                <!-- 设置程序执行的主类 -->
                <configuration>
                    <mainClass>org.springboot.tentent.Springboot01Application</mainClass>
                </configuration>
                <executions>
                    <execution>
                        <goals>
                            <goal>repackage</goal>
                        </goals>
                    </execution>
                </executions>
            </plugin>
            <plugin>
                <groupId>org.apache.maven.plugins</groupId>
                <artifactId>maven-war-plugin</artifactId>
                <configuration>
                    <!-- 打包后的war文件名称 -->
                    <warName>springboot-tentent</warName>
                </configuration>
            </plugin>
        </plugins>
        <resources>
            <resource>
                <directory>src/main/resources</directory>
                <includes>
                    <include>**/*.properties</include>
                    <include>**/*.yml</include>
                    <include>**/*.xml</include>
                    <include>**/*.tld</include>
                </includes>
                <filtering>false</filtering>
            </resource>
            <resource>
                <directory>src/main/java</directory>
                <includes>
                    <include>**/*.properties</include>
                    <include>**/*.xml</include>
                    <include>**/*.tld</include>
                </includes>
                <filtering>false</filtering>
            </resource>
        </resources>
    </build>


</project>
修改完pom.xml文件之后,更新项目会报错提示缺少web.xml配置文件,此时创建一个web.xml配置文件即可。
如果现在项目要以Tomcat的形式运行,那么需要修改SpringBoot程序启动类定义,该类必须要继承SpringBootServletInitializer父类,同时还需要覆写configure()方法。
package org.springboot.tentent;

import org.springframework.boot.SpringApplication;
import org.springframework.boot.autoconfigure.SpringBootApplication;
import org.springframework.boot.builder.SpringApplicationBuilder;
import org.springframework.boot.web.servlet.support.SpringBootServletInitializer;

@SpringBootApplication // 启动Springboot程序,自带子包扫描
public class Springboot01Application extends SpringBootServletInitializer {

    @Override
    protected SpringApplicationBuilder configure(SpringApplicationBuilder builder) {
        // 配置Springboot的应用环境
        SpringApplicationBuilder sources = builder.sources(Springboot01Application.class);
        return sources;
    }

    public static void main(String[] args) {
        SpringApplication.run(Springboot01Application.class, args);
    }

}
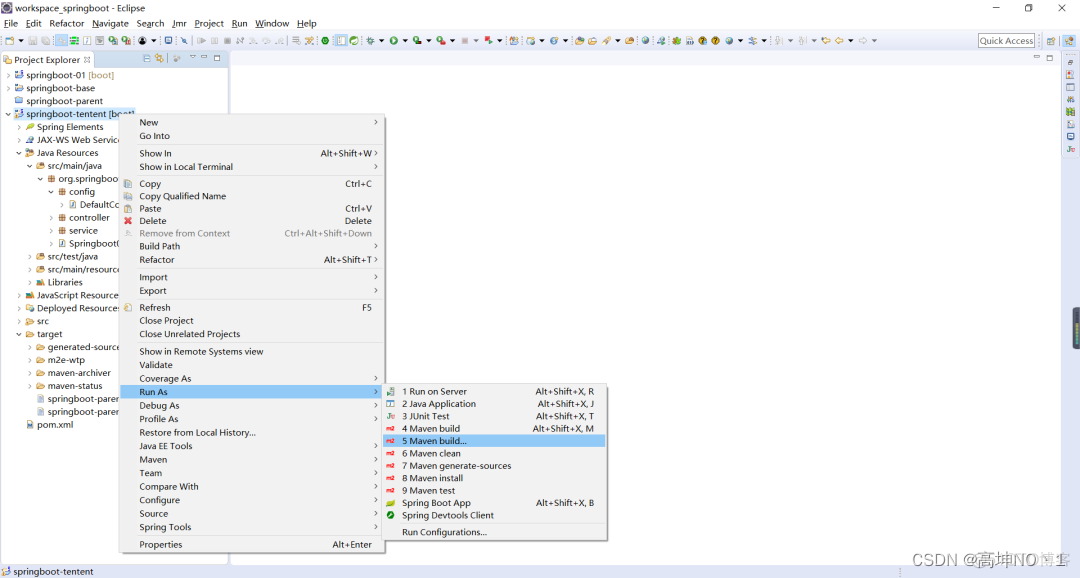
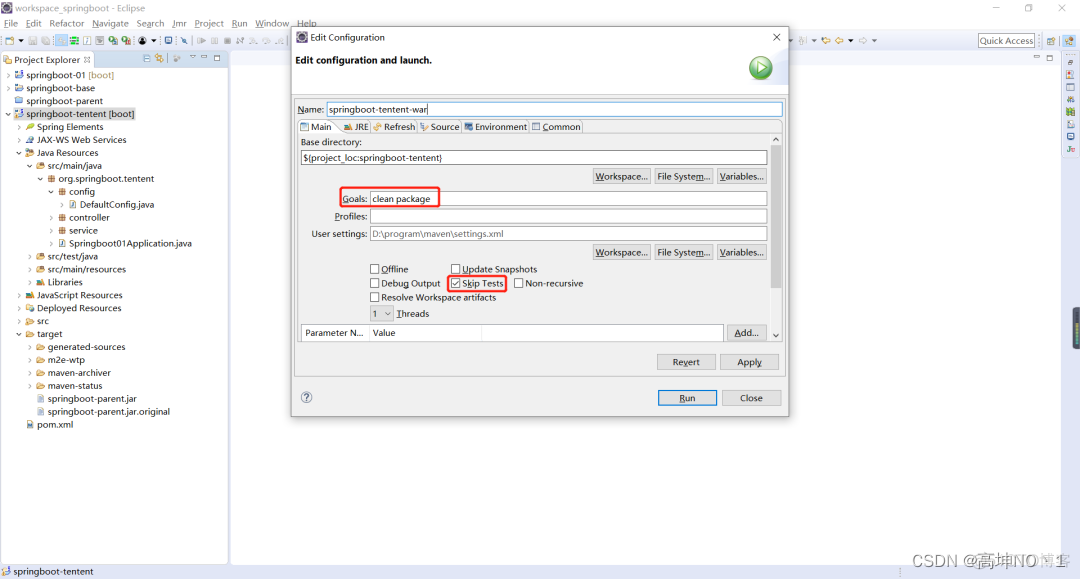
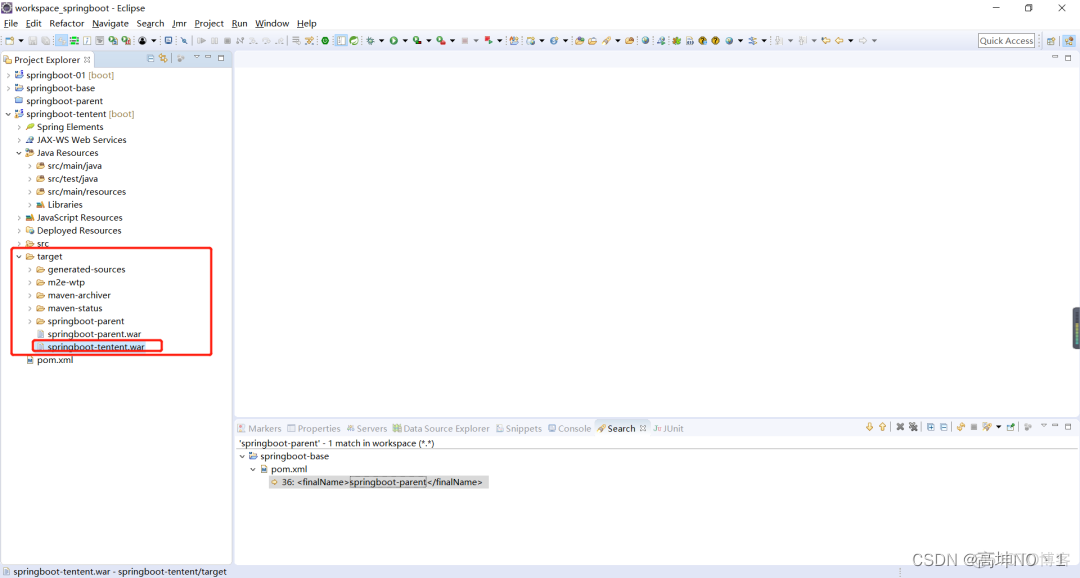
对项目进行打包部署(clean package),成功之后会在target目录中形成xxx.war程序文件,随后可以将此文件直接复制到Tomcat所在目录之中,而后启动Tomcat进行项目发布。
生成的xxx.war包在target目录下面,由于我的使用的maven创建父子工程,所以生成了两个,如下所示:


 2689
2689


 被折叠的 条评论
为什么被折叠?
被折叠的 条评论
为什么被折叠?
 到【灌水乐园】发言


