


一、从ActiveMq官方上下载ActiveMq服务
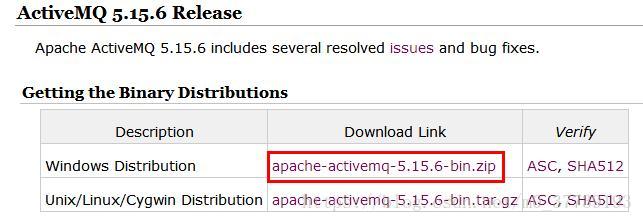
下载地址:http://activemq.apache.org/download.html
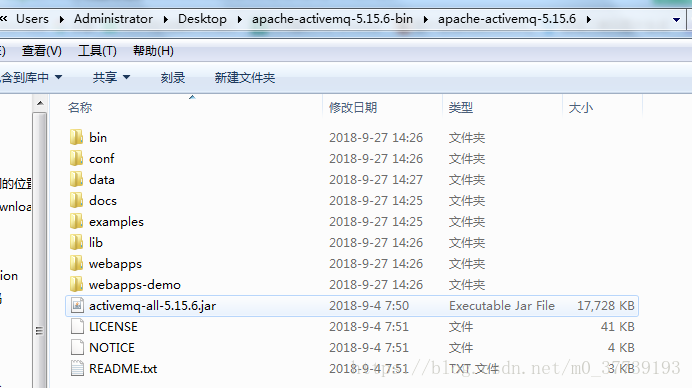
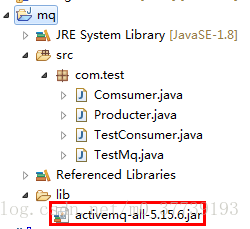
解压成功后,我们会看到这样的目录结构:
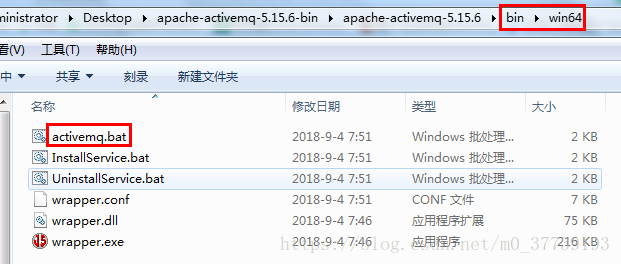
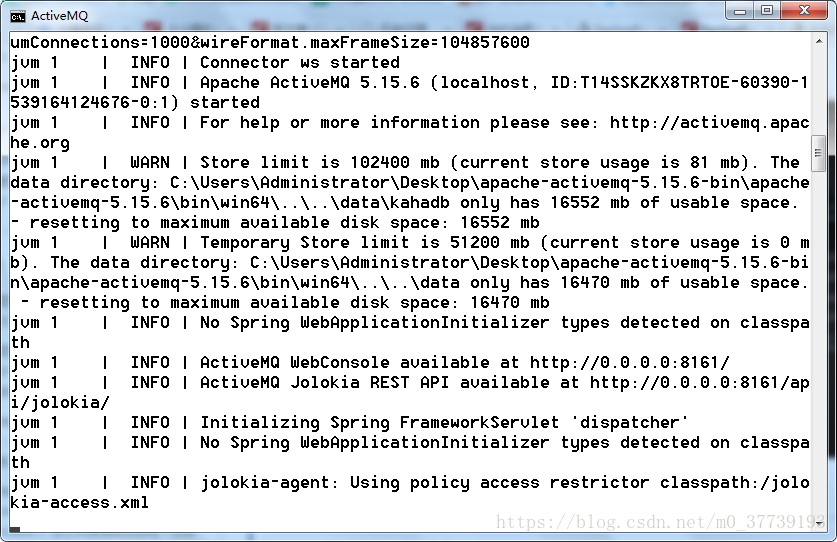
二、运行ActiveMq服务
根据自己的电脑是运行32位还是64位的
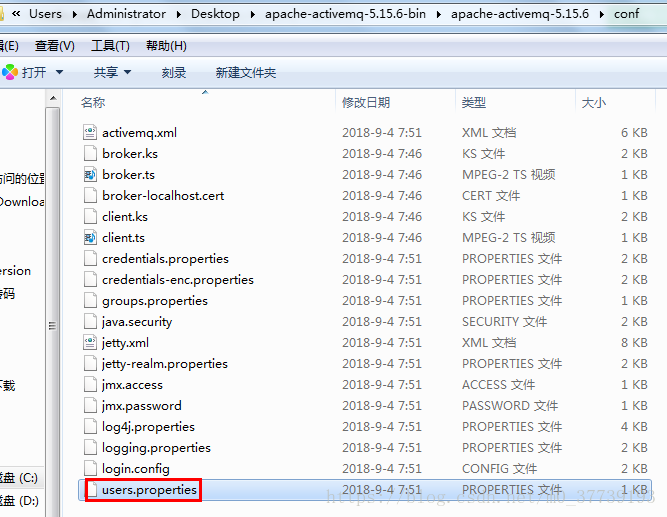
我们可以通过:http://127.0.0.1:8161 或者http://localhost:8161在浏览器中访问管理页面,通过tcp://localhost:61616来连接消息服务器,用到的用户名和密码都在以下文件中(默认为admin=admin)

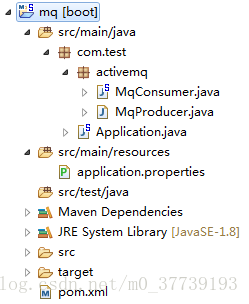
三、创建SpringBoot项目
1.pom.xml:
<project xmlns="http://maven.apache.org/POM/4.0.0"
	xmlns:xsi="http://www.w3.org/2001/XMLSchema-instance"
	xsi:schemaLocation="http://maven.apache.org/POM/4.0.0 http://maven.apache.org/maven-v4_0_0.xsd">
	<modelVersion>4.0.0</modelVersion>
	<groupId>com.example</groupId>
	<artifactId>mq</artifactId>
	<packaging>war</packaging>
	<version>0.0.1-SNAPSHOT</version>
	<name>mq Maven Webapp</name>
	<url>http://maven.apache.org</url>

	<parent>
		<groupId>org.springframework.boot</groupId>
		<artifactId>spring-boot-starter-parent</artifactId>
		<version>1.3.1.RELEASE</version>
		<relativePath />
	</parent>

	<dependencies>
		<dependency>
			<groupId>org.springframework.boot</groupId>
			<artifactId>spring-boot-starter</artifactId>
		</dependency>

		<dependency>
			<groupId>org.springframework.boot</groupId>
			<artifactId>spring-boot-starter-web</artifactId>
		</dependency>

		<dependency>
			<groupId>org.springframework.boot</groupId>
			<artifactId>spring-boot-starter-activemq</artifactId>
			<version>2.0.4.RELEASE</version>
		</dependency>
	</dependencies>

	<build>
		<finalName>mq</finalName>
	</build>
</project>
2.创建SpringBoot项目的主函数:
package com.test;

import org.apache.activemq.command.ActiveMQQueue;
import org.slf4j.Logger;
import org.slf4j.LoggerFactory;
import org.springframework.boot.SpringApplication;
import org.springframework.boot.autoconfigure.SpringBootApplication;
import org.springframework.context.annotation.Bean;
import org.springframework.jms.annotation.EnableJms;

@SpringBootApplication
@EnableJms
public class Application {

   @Bean
   public ActiveMQQueue queue() {
      return new ActiveMQQueue("test");
   }

   protected static Logger logger=LoggerFactory.getLogger(Application.class);

   public static void main(String[] args) {
      SpringApplication.run(Application.class, args);
      logger.info("SpringBoot Start Success");
   }
}
注意:@EnableJms会启动jms的注解扫描即发现@JmsListener注释的方法创建消息监听容器,相当于<jms:annotation-d riven/>,可是我后来发现没有@EnableJms程序也可以正常运行,网上也有人有这样的疑惑https://stackoverflow.com/questions/45796021/how-does-spring-look-for-enablejms-methods-if-i-dont-have-class-marked-enable,可能是spring boot检测到了JMS的存在并自动启用JMS处理,可能该注解仅适用于非Spring Boot应用程序
3.生产者:
package com.test.activemq;

import org.springframework.beans.factory.annotation.Autowired;
import org.springframework.jms.core.JmsMessagingTemplate;
import org.springframework.scheduling.annotation.EnableScheduling;
import org.springframework.scheduling.annotation.Scheduled;
import org.springframework.stereotype.Component;

import javax.jms.Queue;

@Component
@EnableScheduling
public class MqProducer {

    @Autowired
    private JmsMessagingTemplate jmsMessagingTemplate;

    @Autowired
    private Queue queue;

    @Scheduled(fixedDelay = 2000)    // 每2s执行1次
    public void send() {
        this.jmsMessagingTemplate.convertAndSend(this.queue, "hello,activeMQ");
    }
}
注:这里的jmsMessagingTemplate和queue都是用@Autowired注解自动注入的。注意这里的jmsMessagingTemplate,在整个工程里都没有配置实例化的地方。
其实,jmsMessagingTemplate的实例化是spring boot的autoconfigure自动注入的。
实现可以参见JmsAutoConfiguration.java的代码。大概意思就是当我们引入了jms相关的包,比如activemq的包,又定义了ConnectionFactory的实例,那么他就会自动生成一个JmsTemplate实例。
ConnectionFactory在哪里自动创建的呢?看这个ActiveMQConnectionFactoryConfiguration.java。大概意思是,如果没有ConnectionFactory实例,就自动创建一个实例。
所以说,只要引入了spring-boot-starter-activemq那么就会给我们自动创建一个JmsTemplate,相关的连接配置从application.properties,如果里面没有配置的话就会使用ActiveMQProperties.java的默认值。
3.消费者:
package com.test.activemq;

import org.springframework.jms.annotation.JmsListener;
import org.springframework.stereotype.Component;

@Component
public class MqConsumer {

    /**
     * 客户端消费
     * @param consumer
     */
    @JmsListener(destination = "test")
    public void receiveQueue(String consumer) {
        System.out.println(consumer+"消息已经消费了");
    }
}
注JmsListener是spring-jms提供的一个注解,会实例化一个Jms的消息监听实例,也就是一个异步的消费者。
4.配置文件application.properties:
spring.activemq.broker-url=tcp://localhost:61616
spring.activemq.in-memory=false
#true表示使用连接池
spring.activemq.pool.enabled=true
#连接池最大连接数
spring.activemq.pool.max-connections=5
#空闲的连接过期时间,默认为30秒
spring.activemq.pool.idle-timeout=30000
#强制的连接过期时间,与idleTimeout的区别在于:idleTimeout是在连接空闲一段时间失效,而expiryTimeout不管当前连接的情况,只要达到指定时间就失效。默认为0,never
spring.activemq.pool.expiry-timeout=0
注意:有的spring boot版本对应的jms-starter没有包含activemq-pool的依赖引入,所以不能设置pool.enabled=true,如果要使用需要自己添加activemq-pool的依赖包:
<dependency>
   <groupId>org.apache.activemq</groupId>
    <artifactId>activemq-pool</artifactId>
   <!--  <version>5.7.0</version> -->
</dependency>
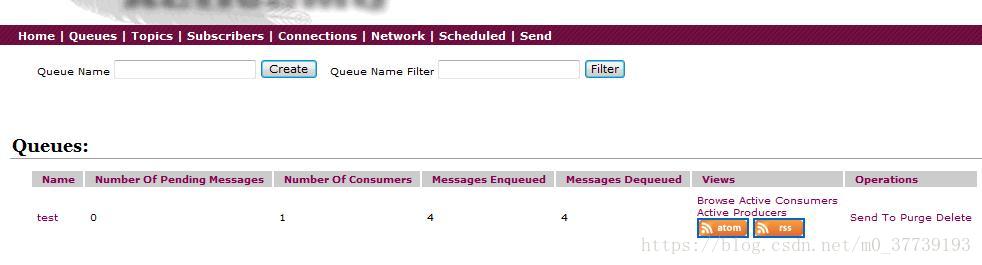
结果如下:

四、不使用Spring boot
1.Producter:
package com.test;

import java.util.concurrent.atomic.AtomicInteger;

import javax.jms.Connection;
import javax.jms.ConnectionFactory;
import javax.jms.JMSException;
import javax.jms.MessageProducer;
import javax.jms.Queue;
import javax.jms.Session;
import javax.jms.TextMessage;

import org.apache.activemq.ActiveMQConnection;
import org.apache.activemq.ActiveMQConnectionFactory;

public class Producter {

    //ActiveMq 的默认用户名为null
    private static final String USERNAME = ActiveMQConnection.DEFAULT_USER;
    //ActiveMq 的默认登录密码为null
    private static final String PASSWORD = ActiveMQConnection.DEFAULT_PASSWORD;
    //ActiveMQ 的链接地址为tcp://127.0.0.1:61616或者tcp://localhost:61616
    private static final String BROKEN_URL = ActiveMQConnection.DEFAULT_BROKER_URL;

    AtomicInteger count = new AtomicInteger(0);
    //链接工厂
    ConnectionFactory connectionFactory;
    //链接对象
    Connection connection;
    //事务管理
    Session session;
    ThreadLocal<MessageProducer> threadLocal = new ThreadLocal<>();

    public void init(){
        try {
            //创建一个链接工厂
            connectionFactory = new ActiveMQConnectionFactory(USERNAME,PASSWORD,BROKEN_URL);
            //从工厂中创建一个链接
            connection  = connectionFactory.createConnection();
            //开启链接
            connection.start();
            //创建一个事务(这里通过参数可以设置事务的级别)
            session = connection.createSession(true,Session.SESSION_TRANSACTED);
        } catch (JMSException e) {
            e.printStackTrace();
        }
    }

    public void sendMessage(String disname){
        try {
            //创建一个消息队列
            Queue queue = session.createQueue(disname);
            //消息生产者
            MessageProducer messageProducer = null;
            if(threadLocal.get()!=null){
                messageProducer = threadLocal.get();
            }else{
                messageProducer = session.createProducer(queue);
                threadLocal.set(messageProducer);
            }
           while(true){
                Thread.sleep(1000);
                int num = count.getAndIncrement();
                //创建一条消息
                TextMessage msg = session.createTextMessage(Thread.currentThread().getName()+
                        "productor:我是大帅哥,我现在正在生产东西!,count:"+num);
                System.out.println(Thread.currentThread().getName()+
                        "productor:我是大帅哥,我现在正在生产东西!,count:"+num);
                //发送消息
                messageProducer.send(msg);
                //提交事务
                session.commit();
            }
        } catch (JMSException e) {
            e.printStackTrace();
        } catch (InterruptedException e) {
            e.printStackTrace();
        }
    }
}
2.TestMq:
package com.test;

public class TestMq {
    public static void main(String[] args){
        Producter producter = new Producter();
        producter.init();
        TestMq testMq = new TestMq();
        try {
            Thread.sleep(1000);
        } catch (InterruptedException e) {
            e.printStackTrace();
        }
        //Thread 1
        new Thread(testMq.new ProductorMq(producter)).start();
        //Thread 2
        new Thread(testMq.new ProductorMq(producter)).start();
        //Thread 3
        new Thread(testMq.new ProductorMq(producter)).start();
        //Thread 4
        new Thread(testMq.new ProductorMq(producter)).start();
        //Thread 5
        new Thread(testMq.new ProductorMq(producter)).start();
    }

    private class ProductorMq implements Runnable{
        Producter producter;
        public ProductorMq(Producter producter){
            this.producter = producter;
        }

        @Override
        public void run() {
            while(true){
                try {
                    producter.sendMessage("test");
                    Thread.sleep(10000);
                } catch (InterruptedException e) {
                    e.printStackTrace();
                }
            }
        }
    }
}
3.Comsumer:
package com.test;

import java.util.concurrent.atomic.AtomicInteger;

import javax.jms.Connection;
import javax.jms.ConnectionFactory;
import javax.jms.JMSException;
import javax.jms.MessageConsumer;
import javax.jms.Queue;
import javax.jms.Session;
import javax.jms.TextMessage;

import org.apache.activemq.ActiveMQConnection;
import org.apache.activemq.ActiveMQConnectionFactory;

public class Comsumer {

    private static final String USERNAME = ActiveMQConnection.DEFAULT_USER;

    private static final String PASSWORD = ActiveMQConnection.DEFAULT_PASSWORD;

    private static final String BROKEN_URL = ActiveMQConnection.DEFAULT_BROKER_URL;

    ConnectionFactory connectionFactory;

    Connection connection;

    Session session;

    ThreadLocal<MessageConsumer> threadLocal = new ThreadLocal<>();
    AtomicInteger count = new AtomicInteger();

    public void init(){
        try {
            connectionFactory = new ActiveMQConnectionFactory(USERNAME,PASSWORD,BROKEN_URL);
            connection  = connectionFactory.createConnection();
            connection.start();
            session = connection.createSession(false,Session.AUTO_ACKNOWLEDGE);
        } catch (JMSException e) {
            e.printStackTrace();
        }
    }


    public void getMessage(String disname){
        try {
            Queue queue = session.createQueue(disname);
            MessageConsumer consumer = null;

            if(threadLocal.get()!=null){
                consumer = threadLocal.get();
            }else{
                consumer = session.createConsumer(queue);
                threadLocal.set(consumer);
            }
            while(true){
                Thread.sleep(1000);
                TextMessage msg = (TextMessage) consumer.receive();
                if(msg!=null) {
                    msg.acknowledge();
                    System.out.println(Thread.currentThread().getName()+": Consumer:我是消费者,我正在消费Msg"+msg.getText()+"--->"+count.getAndIncrement());
                }else {
                    break;
                }
            }
        } catch (JMSException e) {
            e.printStackTrace();
        } catch (InterruptedException e) {
            e.printStackTrace();
        }
    }
}
4.TestConsumer:
package com.test;

public class TestConsumer {
    public static void main(String[] args){
        Comsumer comsumer = new Comsumer();
        comsumer.init();
        TestConsumer testConsumer = new TestConsumer();
        new Thread(testConsumer.new ConsumerMq(comsumer)).start();
        new Thread(testConsumer.new ConsumerMq(comsumer)).start();
        new Thread(testConsumer.new ConsumerMq(comsumer)).start();
        new Thread(testConsumer.new ConsumerMq(comsumer)).start();
    }

    private class ConsumerMq implements Runnable{
        Comsumer comsumer;
        public ConsumerMq(Comsumer comsumer){
            this.comsumer = comsumer;
        }

        @Override
        public void run() {
            while(true){
                try {
                    comsumer.getMessage("test");
                    Thread.sleep(10000);
                } catch (InterruptedException e) {
                    e.printStackTrace();
                }
            }
        }
    }
}
注意:如果你没有添加生产者消费者连接密码,则这行代码可以有两种写法:
QueueConnectionFactory factory = new ActiveMQConnectionFactory( ActiveMQConnection.DEFAULT_USER,
					ActiveMQConnection.DEFAULT_PASSWORD, ActiveMQConnection.DEFAULT_BROKER_URL);
// userName和password可以为任意值但不能只有其中的一个
QueueConnectionFactory factory = new ActiveMQConnectionFactory( "hehe",
					null, ActiveMQConnection.DEFAULT_BROKER_URL);
或者
QueueConnectionFactory factory = new ActiveMQConnectionFactory(ActiveMQConnection.DEFAULT_BROKER_URL);
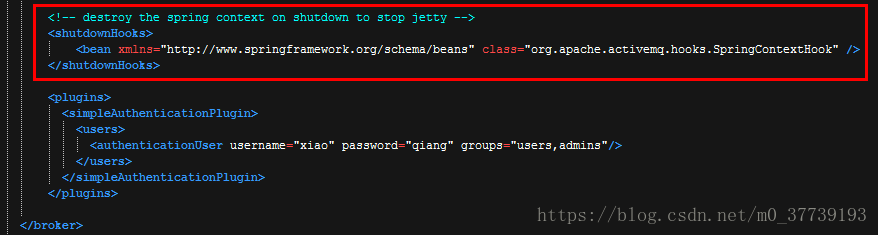
添加生产者消费者连接密码:在ActiveMQ的conf目录的activemq.xml中添加账号密码后重启mq,添加如下
<plugins>
	<simpleAuthenticationPlugin>
		<users>
			<authenticationUser username="zhangsan" password="123" groups="users,admins"/>
		</users>
	</simpleAuthenticationPlugin>
</plugins>
添加在active.xml的位置如下:
利用设置的账号,密码,访问ActiveMQ:
QueueConnectionFactory factory = new ActiveMQConnectionFactory( "xiao",
					"qiang", ActiveMQConnection.DEFAULT_BROKER_URL);
Session:
一旦从ConnectionFactory中获得一个Connection,就必须从Connection中创建一个或者多个Session。Session是一个发送或接收消息的线程,可以使用Session创建MessageProducer,MessageConsumer和Message。
Session可以被事务化,也可以不被事务化,通常,可以通过向Connection上的适当创建方法传递一个布尔参数对此进行设置。
Session createSession(boolean transacted, int acknowledgeMode);
其中transacted为使用事务标识,acknowledgeMode为签收模式。
transacted设置为false时:acknowledgeMode的值可为Session.AUTO_ACKNOWLEDGE,Session.CLIENT_ACKNOWLEDGE,DUPS_OK_ACKNOWLEDGE其中一个。
transacted设置为true时:acknowledgeMode的值忽略,被jms服务器设置为SESSION_TRANSACTED
Session.AUTO_ACKNOWLEDGE为自动确认,客户端发送和接收消息不需要做额外的工作。
Session.CLIENT_ACKNOWLEDGE为客户端确认。客户端接收到消息后,必须调用javax.jms.Message的acknowledge方法。jms服务器才会删除消息。
DUPS_OK_ACKNOWLEDGE允许副本的确认模式。一旦接收方应用程序的方法调用从处理消息处返回,会话对象就会确认消息的接收;而且允许重复确认。在需要考虑资源使用时,这种模式非常有效。
Destination:
Destination是一个客户端用来指定生产消息目标和消费消息来源的对象。
在PTP模式中,Destination被称作Queue即队列;在Pub/Sub模式,Destination被称作Topic即主题。在程序中可以使用多个Queue和Topic。
Java客户端:
ActiveMQSession方法:
Queue createQueue(String queueName);
TemporaryQueue createTemporaryQueue();
Topic createTopic(String topicName);
TemporaryTopic createTemporaryTopic();
例如:
Destination destination = session.createQueue(“TEST.FOO”);
或者
Destination destination = session.createTopic(“TEST.FOO”);


 772
772


 被折叠的 条评论
为什么被折叠?
被折叠的 条评论
为什么被折叠?
 到【灌水乐园】发言


