


1.下载ActivityMQ
下载ActiveMQ5.15.0
上传文件到CentOS系统。
解压:
tar -zxvf apache-activemq-5.15.0-bin.tar.gz查看目录:
[root@localhost apache-activemq-5.15.0]# cd /usr/yong.cao/dev/activemq/apache-activemq-5.15.0

[root@localhost apache-activemq-5.15.0]# ls
activemq-all-5.15.0.jar  conf  docs      lib      NOTICE      webapps
bin                      data  examples  LICENSE  README.txt  webapps-demo
2.设置ActiveMQ开机启动
新增activemq
cd /etc/init.d/
vi activemq
复制下面内容到activemq :
#!/bin/sh
#
# /etc/init.d/activemq
# chkconfig: 345 63 37
# description: activemq servlet container.
# processname: activemq 5.15.0

# Source function library.
#. /etc/init.d/functions
# source networking configuration.
#. /etc/sysconfig/network

#export JAVA_HOME=/
export CATALINA_HOME=/usr/yong.cao/dev/activemq/apache-activemq-5.15.0

case $1 in
    start)
        sh $CATALINA_HOME/bin/activemq start
    ;;
    stop)
        sh $CATALINA_HOME/bin/activemq stop
    ;;
    restart)
        sh $CATALINA_HOME/bin/activemq stop
        sleep 1
        sh $CATALINA_HOME/bin/activemq start
    ;;

esac
exit 0
设置可执行权限
chmod 777 activemq设置开机启动并启动activemq
chkconfig activemq on
service activemq start
成功后可以看到:
[root@localhost init.d]# chkconfig activemq on

[root@localhost init.d]# service activemq start
INFO: Loading '/usr/yong.cao/dev/activemq/apache-activemq-5.15.0//bin/env'
INFO: Using java '/bin/java'
INFO: Starting - inspect logfiles specified in logging.properties and log4j.properties to get details
INFO: pidfile created : '/usr/yong.cao/dev/activemq/apache-activemq-5.15.0//data/activemq.pid' (pid '7079')
设置开机启动或不启动activemq服务
chkconfig activemq on
chkconfig activemq off
3.访问测试
在访问前开启端口号:
firewall-cmd --zone=public --add-port=8161/tcp --permanent

#更新防火墙
firewall-cmd --complete-reload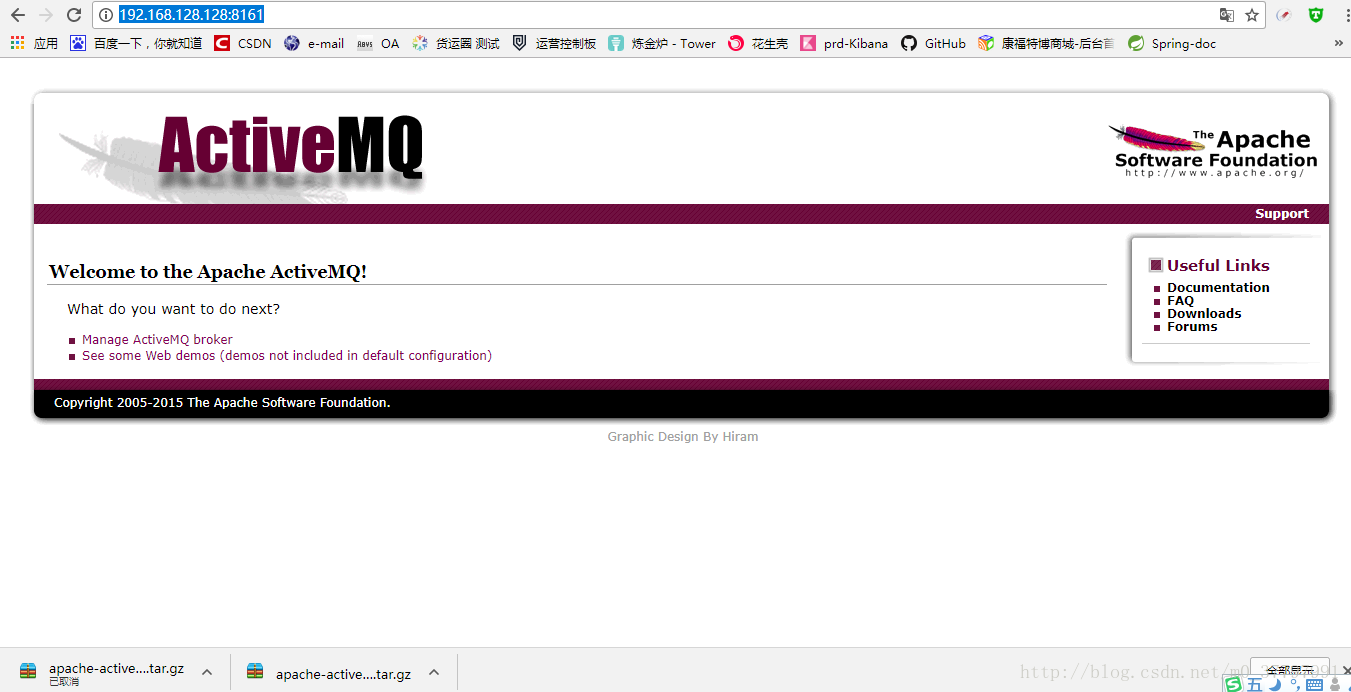


 4万+
4万+

 被折叠的 条评论
为什么被折叠?
被折叠的 条评论
为什么被折叠?
 到【灌水乐园】发言


