


 本文介绍了如何使用RocketMQ进行消息发送,包括在pom文件中引入依赖,设置application.yml,创建生产者和消费者。文章详细讲解了同步、异步和单向三种消息发送方式,并提供了Java代码示例。同时,提到了消费者组和消息过滤的概念,并给出了消费者实例。最后,展示了同步、异步和单向消息发送的效果。
目录
四、创建Consumer消费者(创建两个消费者,所属一个Topic)
RocketMQ 支持3 种消息发送方式: 同步 (sync)、异步(async)、单向(oneway)。
- 同步:发送者向 MQ 执行发送消息API 时,同步等待,直到消息服务器返回发送结果。
- 异步:发送者向MQ 执行发送消息API 时,指定消息发送成功后的回调函数,然后调用消息发送API 后,立即返回,消息发送者线程不阻塞,直到运行结束,消息发送成功或失败的回调任务在一个新的线程中返回。
- 单向:消息发送者向MQ 执行发送消息API 时,直接返回,不等待消息服务器的结果,也不注册回调函数,只管发,不管是否成功存储在消息服务器上。
前提:
运行项目需要具备RocketMQ环境,参考Docker搭建RocketMQ集群
一、pom文件引入依赖
<dependency>
    <groupId>org.apache.rocketmq</groupId>
    <artifactId>rocketmq-spring-boot-starter</artifactId>
    <version>2.2.2</version>
</dependency>
二、application.yml文件添加内容
rocketmq:
  name-server: IP:9876  #IP为rocketmq访问的地址
  producer:
    group: first1-group  #事务消息才会用到
三、创建producer生产者
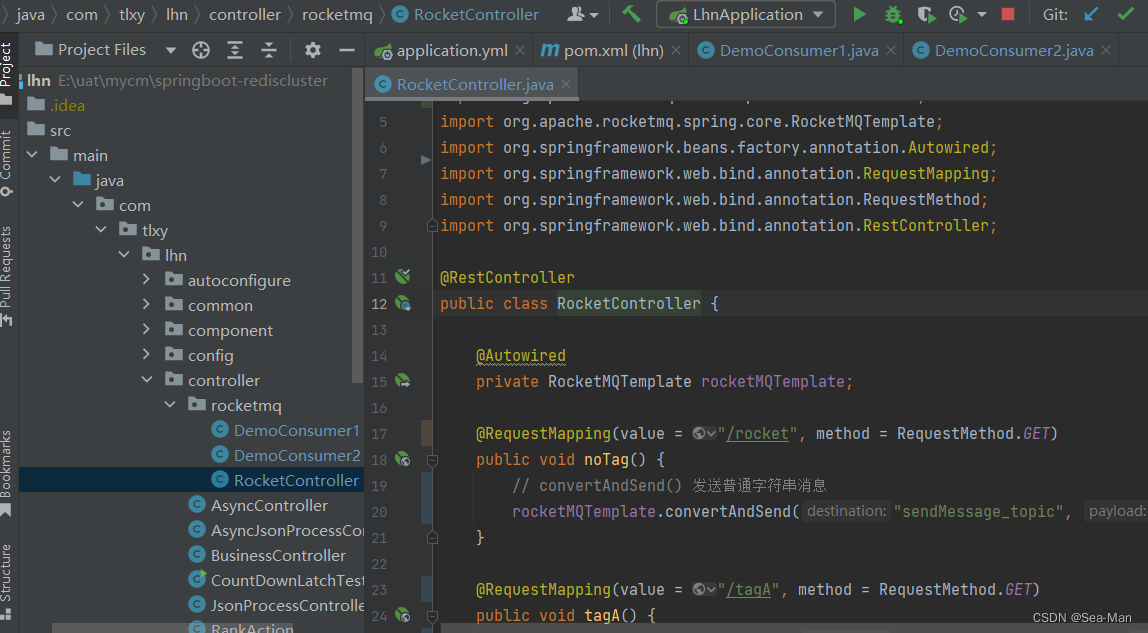
package com.tlxy.lhn.controller.rocketmq;

import org.apache.rocketmq.client.producer.SendCallback;
import org.apache.rocketmq.client.producer.SendResult;
import org.apache.rocketmq.spring.core.RocketMQTemplate;
import org.springframework.beans.factory.annotation.Autowired;
import org.springframework.web.bind.annotation.RequestMapping;
import org.springframework.web.bind.annotation.RequestMethod;
import org.springframework.web.bind.annotation.RestController;

@RestController
public class RocketController {

    @Autowired
    private RocketMQTemplate rocketMQTemplate;

    @RequestMapping(value = "/rocket", method = RequestMethod.GET)
    public void noTag() {
        // convertAndSend() 发送普通字符串消息
        rocketMQTemplate.convertAndSend("sendMessage_topic", "Hello Word");
    }

    @RequestMapping(value = "/tagA", method = RequestMethod.GET)
    public void tagA() {
        rocketMQTemplate.convertAndSend("sendMessage_topic:tagA", "hello world tagA");
    }

    @RequestMapping(value = "/tagB", method = RequestMethod.GET)
    public void tagB() {
        rocketMQTemplate.convertAndSend("sendMessage_topic:tagB", "hello world tagB");
    }

    @RequestMapping(value = "/syncSend", method = RequestMethod.GET)
    public void syncSend() {
        String json = "发送同步消息";
        SendResult sendResult = rocketMQTemplate.syncSend("sendMessage_topic:1", json);
        System.out.println(sendResult);
    }

    @RequestMapping(value = "/aSyncSend", method = RequestMethod.GET)
    public void aSyncSend() {
        String json = "发送异步消息";
        SendCallback callback = new SendCallback() {
            @Override
            public void onSuccess(SendResult sendResult) {
                System.out.println("发送消息成功");
            }

            @Override
            public void onException(Throwable throwable) {
                System.out.println("发送消息失败");
            }
        };
        rocketMQTemplate.asyncSend("sendMessage_topic", json, callback);
    }

    @RequestMapping(value = "/sendOneWay", method = RequestMethod.GET)
    public void sendOneWay() {
        rocketMQTemplate.sendOneWay("sendMessage_topic", "发送单向消息");
    }
}
四、创建Consumer消费者(创建两个消费者,所属一个Topic)
Consumer1:
package com.tlxy.lhn.controller.rocketmq;

import org.apache.rocketmq.spring.annotation.MessageModel;
import org.apache.rocketmq.spring.annotation.RocketMQMessageListener;
import org.apache.rocketmq.spring.core.RocketMQListener;
import org.springframework.stereotype.Component;

/**
 * topic 是主题
 * consumerGroup 是消费者组,一条消息只能被同一个消费者组里的一个消费者消费。
 * selectorExpression 是用于消息过滤的,以 TAG 方式为例:
 * 默认为 "*",表示不过滤,消费此 topic 下所有消息
 * 配置为 "tagA",表示只消费此 topic 下 TAG = tagA 的消息
 * 配置为 "tagA || tagB",表示消费此 topic 下 TAG = tagA 或  TAG = tagB 的消息,以此类推
 * 消费模式:默认 CLUSTERING ( CLUSTERING:负载均衡 )( BROADCASTING:广播机制 )
 */
@RocketMQMessageListener(topic = "sendMessage_topic",
        consumerGroup = "consumer-group-test1",
//        selectorExpression = "tagA || tagB",
        messageModel = MessageModel.CLUSTERING)
@Component
public class DemoConsumer1 implements RocketMQListener<String> {

    @Override
    public void onMessage(String s) {
        System.out.println("receive message1:" + s);
        try {
            Thread.sleep(5000);
        } catch (InterruptedException e) {
            throw new RuntimeException(e);
        }
        System.out.println("处理完成");
    }
}
Consumer2:
package com.tlxy.lhn.controller.rocketmq;

import org.apache.rocketmq.spring.annotation.MessageModel;
import org.apache.rocketmq.spring.annotation.RocketMQMessageListener;
import org.apache.rocketmq.spring.core.RocketMQListener;
import org.springframework.stereotype.Component;

/**
 * topic 是主题
 * consumerGroup 是消费者组,一条消息只能被同一个消费者组里的一个消费者消费。
 * selectorExpression 是用于消息过滤的,以 TAG 方式为例:
 * 默认为 "*",表示不过滤,消费此 topic 下所有消息
 * 配置为 "tagA",表示只消费此 topic 下 TAG = tagA 的消息
 * 配置为 "tagA || tagB",表示消费此 topic 下 TAG = tagA 或  TAG = tagB 的消息,以此类推
 * 消费模式:默认 CLUSTERING ( CLUSTERING:负载均衡 )( BROADCASTING:广播机制 )
 */
@RocketMQMessageListener(topic = "sendMessage_topic",
        consumerGroup = "consumer-group-test1",
        messageModel = MessageModel.CLUSTERING)
@Component
public class DemoConsumer2 implements RocketMQListener<String> {

    @Override
    public void onMessage(String s) {
        System.out.println("receive message2:" + s);
        try {
            Thread.sleep(8000);
        } catch (InterruptedException e) {
            throw new RuntimeException(e);
        }
        System.out.println("处理完成");
    }
}
五、启动项目测试
1、发送同步消息:
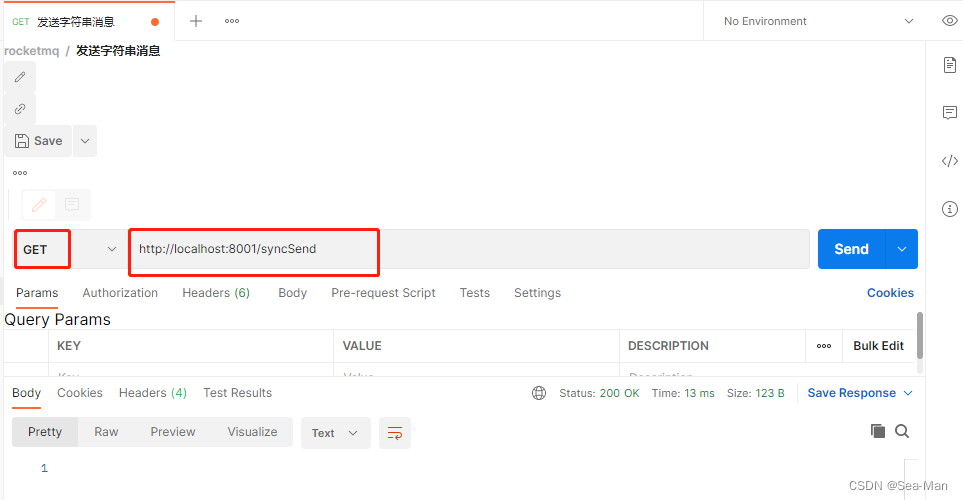
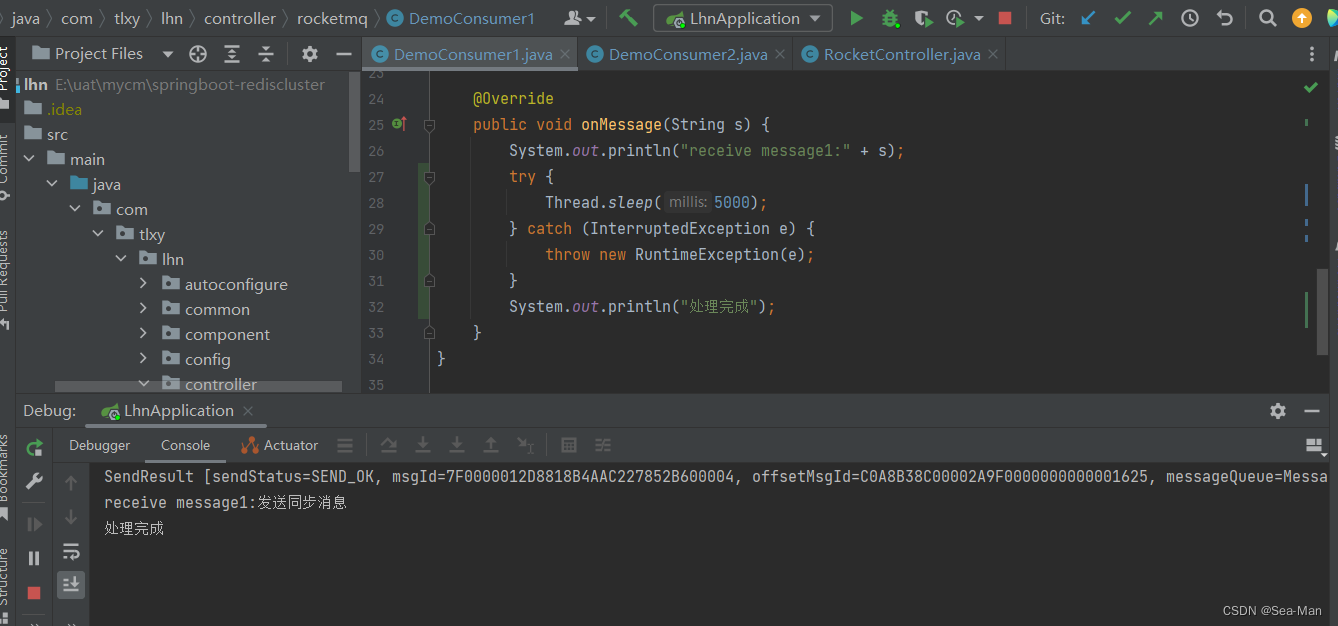
以上输出可以看到:同步消息发送后,消息发送到broker后就返回结果了,消费端还未处理完,两者互互不影响。
2、发送异步消息:
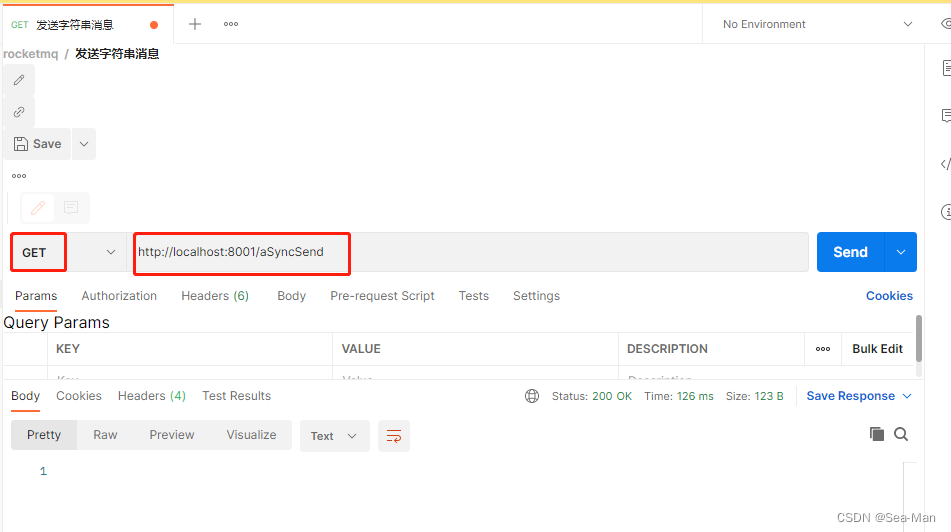
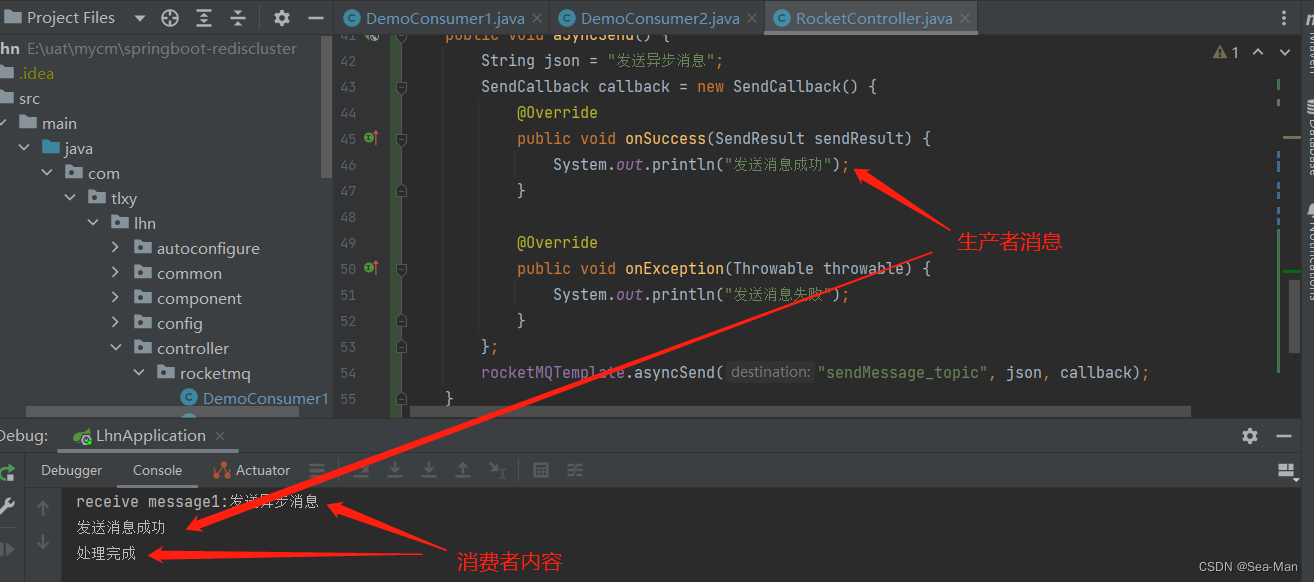
以上输出:发送者向MQ 执行发送消息API 时,指定消息发送成功后的回调函数,然后调用消息发送API 后,立即返回,消息发送者线程不阻塞,直到运行结束,消息发送成功或失败的回调任务在一个新的线程中返回。
3、发送单向消息:
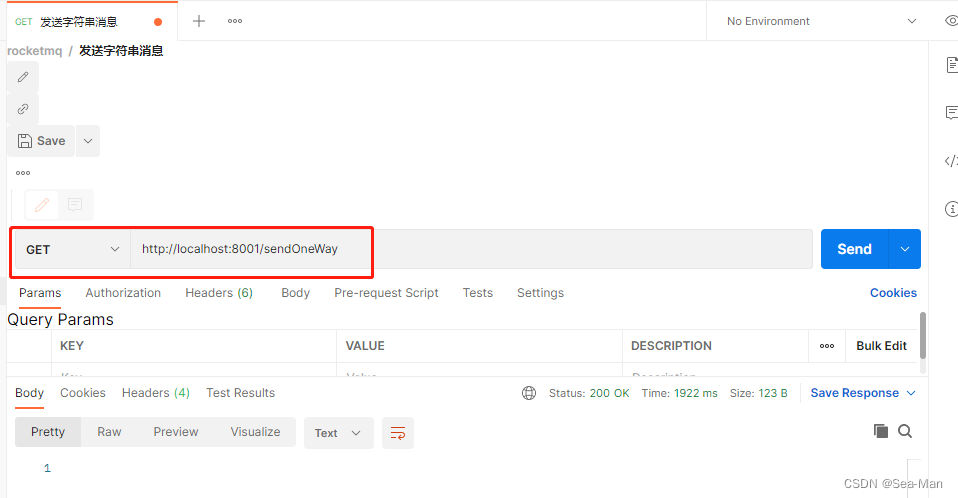
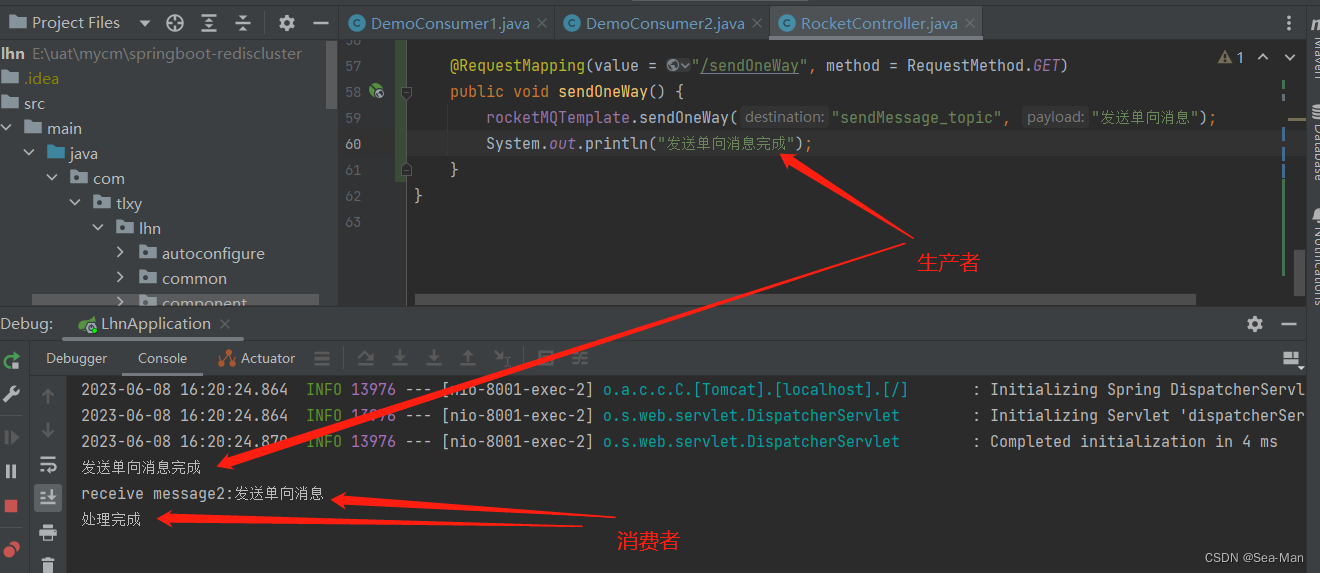
以上输出:消息发送者向MQ 执行发送消息API 时,直接返回,不等待消息服务器的结果,也不注册回调函数,只管发,不管是否成功存储在消息服务器上。


 被折叠的 条评论
为什么被折叠?
被折叠的 条评论
为什么被折叠?
 到【灌水乐园】发言


