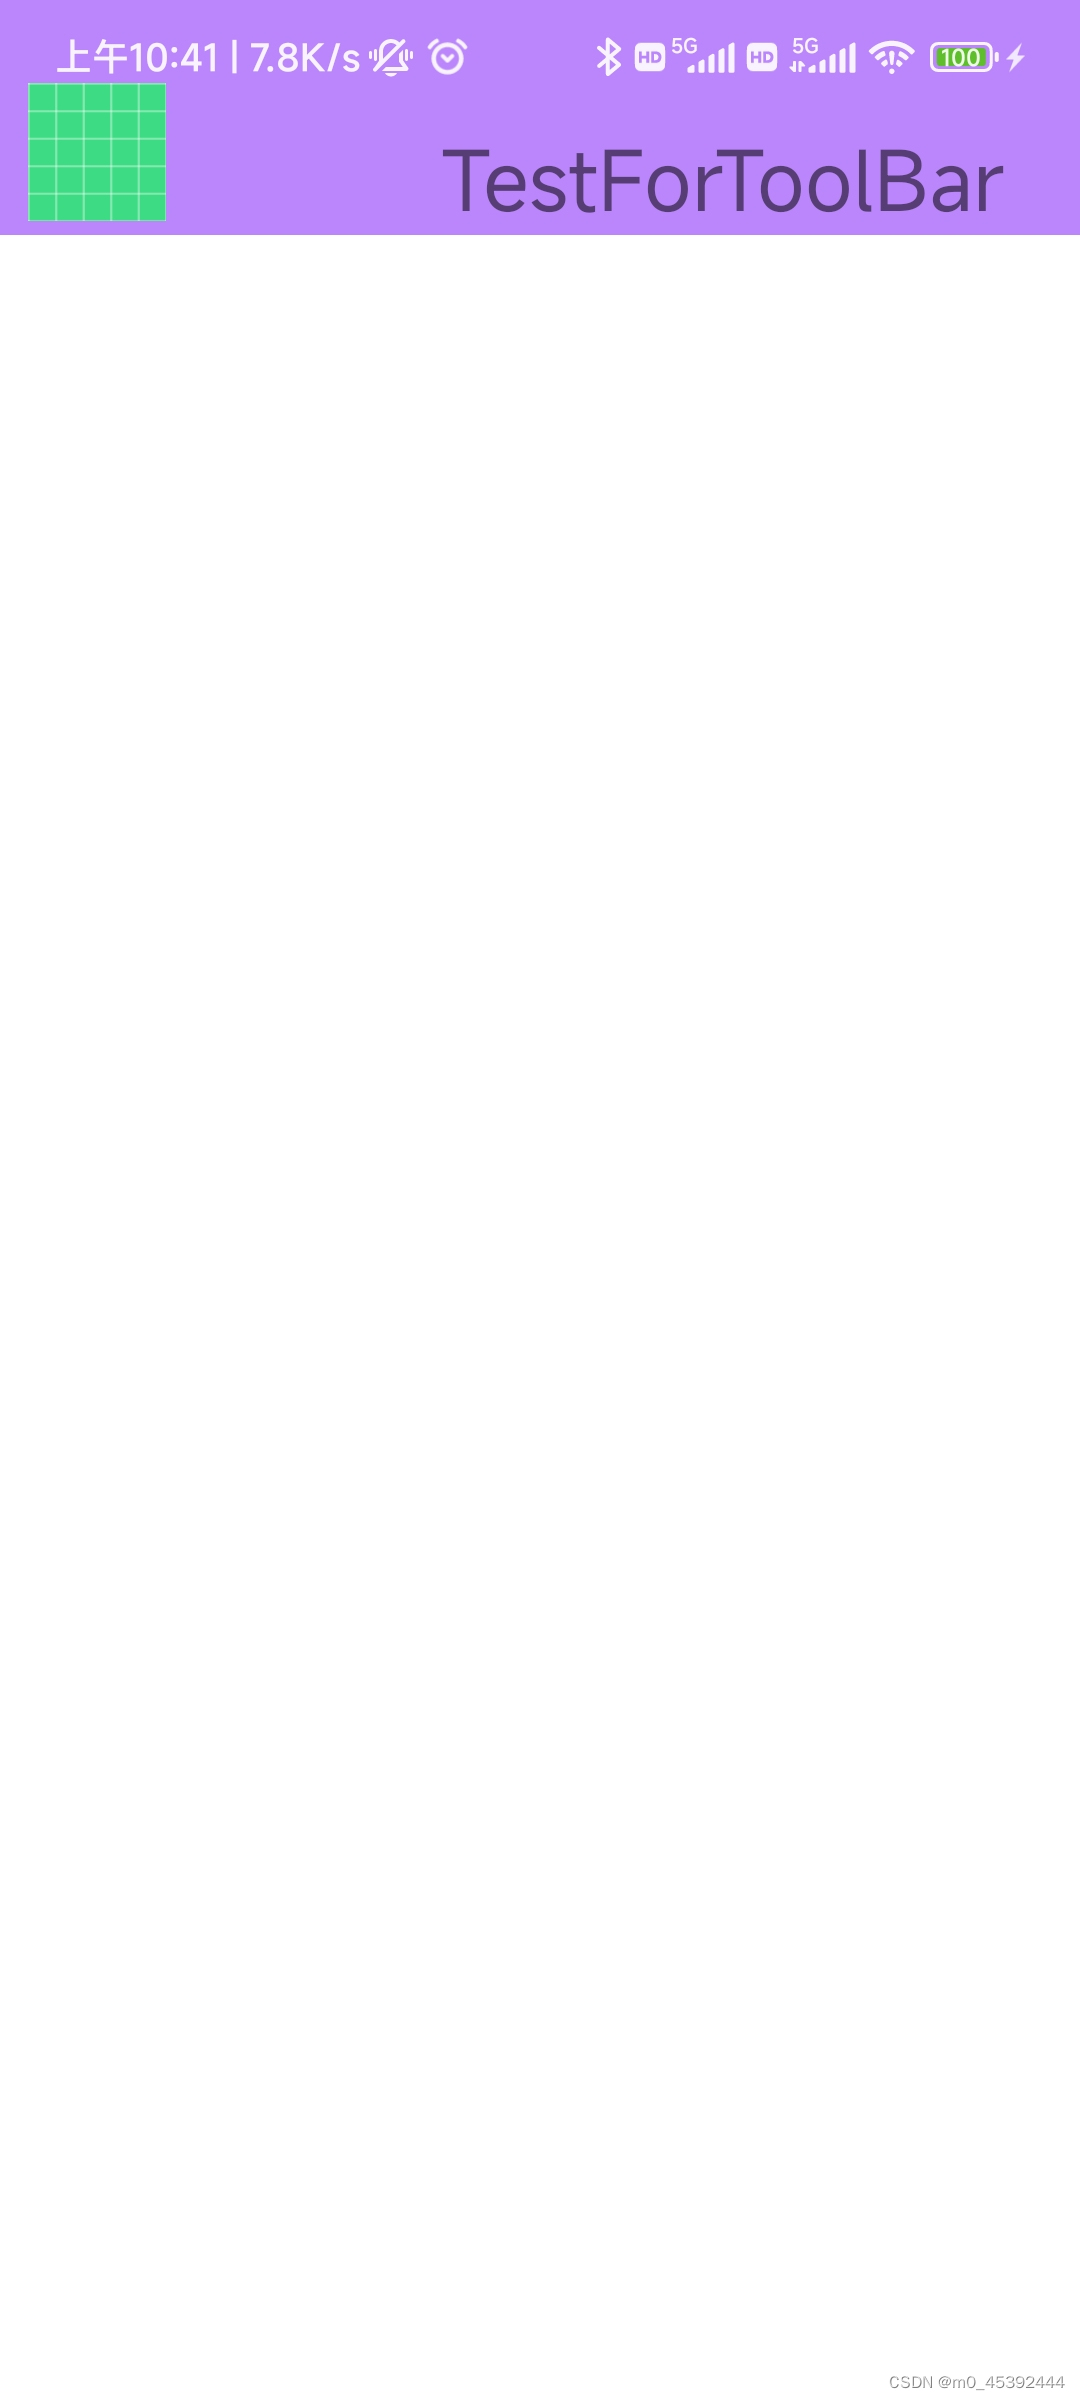
小白在开发一个app的时候,总是会发现状态栏颜色和app不一致,虽然不影响功能的使用,但看着却十分难受,所以来讲一下如何实现沉浸状态栏。
这里先讲一下沉浸状态栏实现的原理,我看了不少教程,很多都是在讲如何让状态栏跟随页面内容改变颜色,想要以改变状态栏颜色的方式实现沉浸状态栏。这种方法不能说不对,但效果十分有限,如果app顶部是图片或者一个有渐变色的控件,这个方法就不好用了。
所以我们只需要让状态栏透明并且控件延伸到状态栏就可以了。
首先我们要干掉默认的toolbar,在values下的style或themes文件中,将
<style name="Theme.ImmersionStatusBar" parent="Theme.MaterialComponents.DayNight.DarkActionBar">改为
<style name="Theme.ImmersionStatusBar" parent="Theme.MaterialComponents.DayNight.NoActionBar">即可。
之后我们在MainActivity文件里写个方法用来实现沉浸状态栏
    private fun immersion(){
        if (Build.VERSION.SDK_INT >= 21) {
            val decorView = window.decorView
            decorView.systemUiVisibility =
                View.SYSTEM_UI_FLAG_LAYOUT_FULLSCREEN or View.SYSTEM_UI_FLAG_LAYOUT_STABLE
            window.statusBarColor = Color.TRANSPARENT
        }
}(此处代码参考android 实现 app系统状态栏与toolbar图片完美衔接_android设置状态栏图片-CSDN博客)
然后在布局文件中添加一些内容,就会发现已经实现了沉浸状态栏
<?xml version="1.0" encoding="utf-8"?>
<androidx.constraintlayout.widget.ConstraintLayout xmlns:android="http://schemas.android.com/apk/res/android"
    xmlns:app="http://schemas.android.com/apk/res-auto"
    xmlns:tools="http://schemas.android.com/tools"
    android:layout_width="match_parent"
    android:layout_height="match_parent"
    tools:context=".MainActivity">


    <androidx.appcompat.widget.Toolbar
        android:id="@+id/toolbar"
        android:layout_width="match_parent"
        android:layout_height="wrap_content"
        android:background="@color/purple_200"
        app:contentInsetLeft="0dp"
        app:contentInsetStart="0dp"
        tools:ignore="MissingConstraints">

        <LinearLayout
            android:layout_width="match_parent"
            android:layout_height="match_parent"
            android:layout_marginLeft="0dp"
            android:layout_marginTop="30dp"
            android:orientation="horizontal">

            <ImageButton
                android:id="@+id/imgButton"
                android:layout_width="50dp"
                android:layout_height="50dp"
                android:layout_marginLeft="10dp"
                android:src="@drawable/ic_launcher_background" />

            <TextView
                android:layout_width="wrap_content"
                android:layout_height="wrap_content"
                android:layout_marginLeft="100dp"
                android:layout_marginTop="15dp"
                android:text="TestForToolBar"
                android:textSize="30dp" />


        </LinearLayout>

    </androidx.appcompat.widget.Toolbar>

</androidx.constraintlayout.widget.ConstraintLayout>
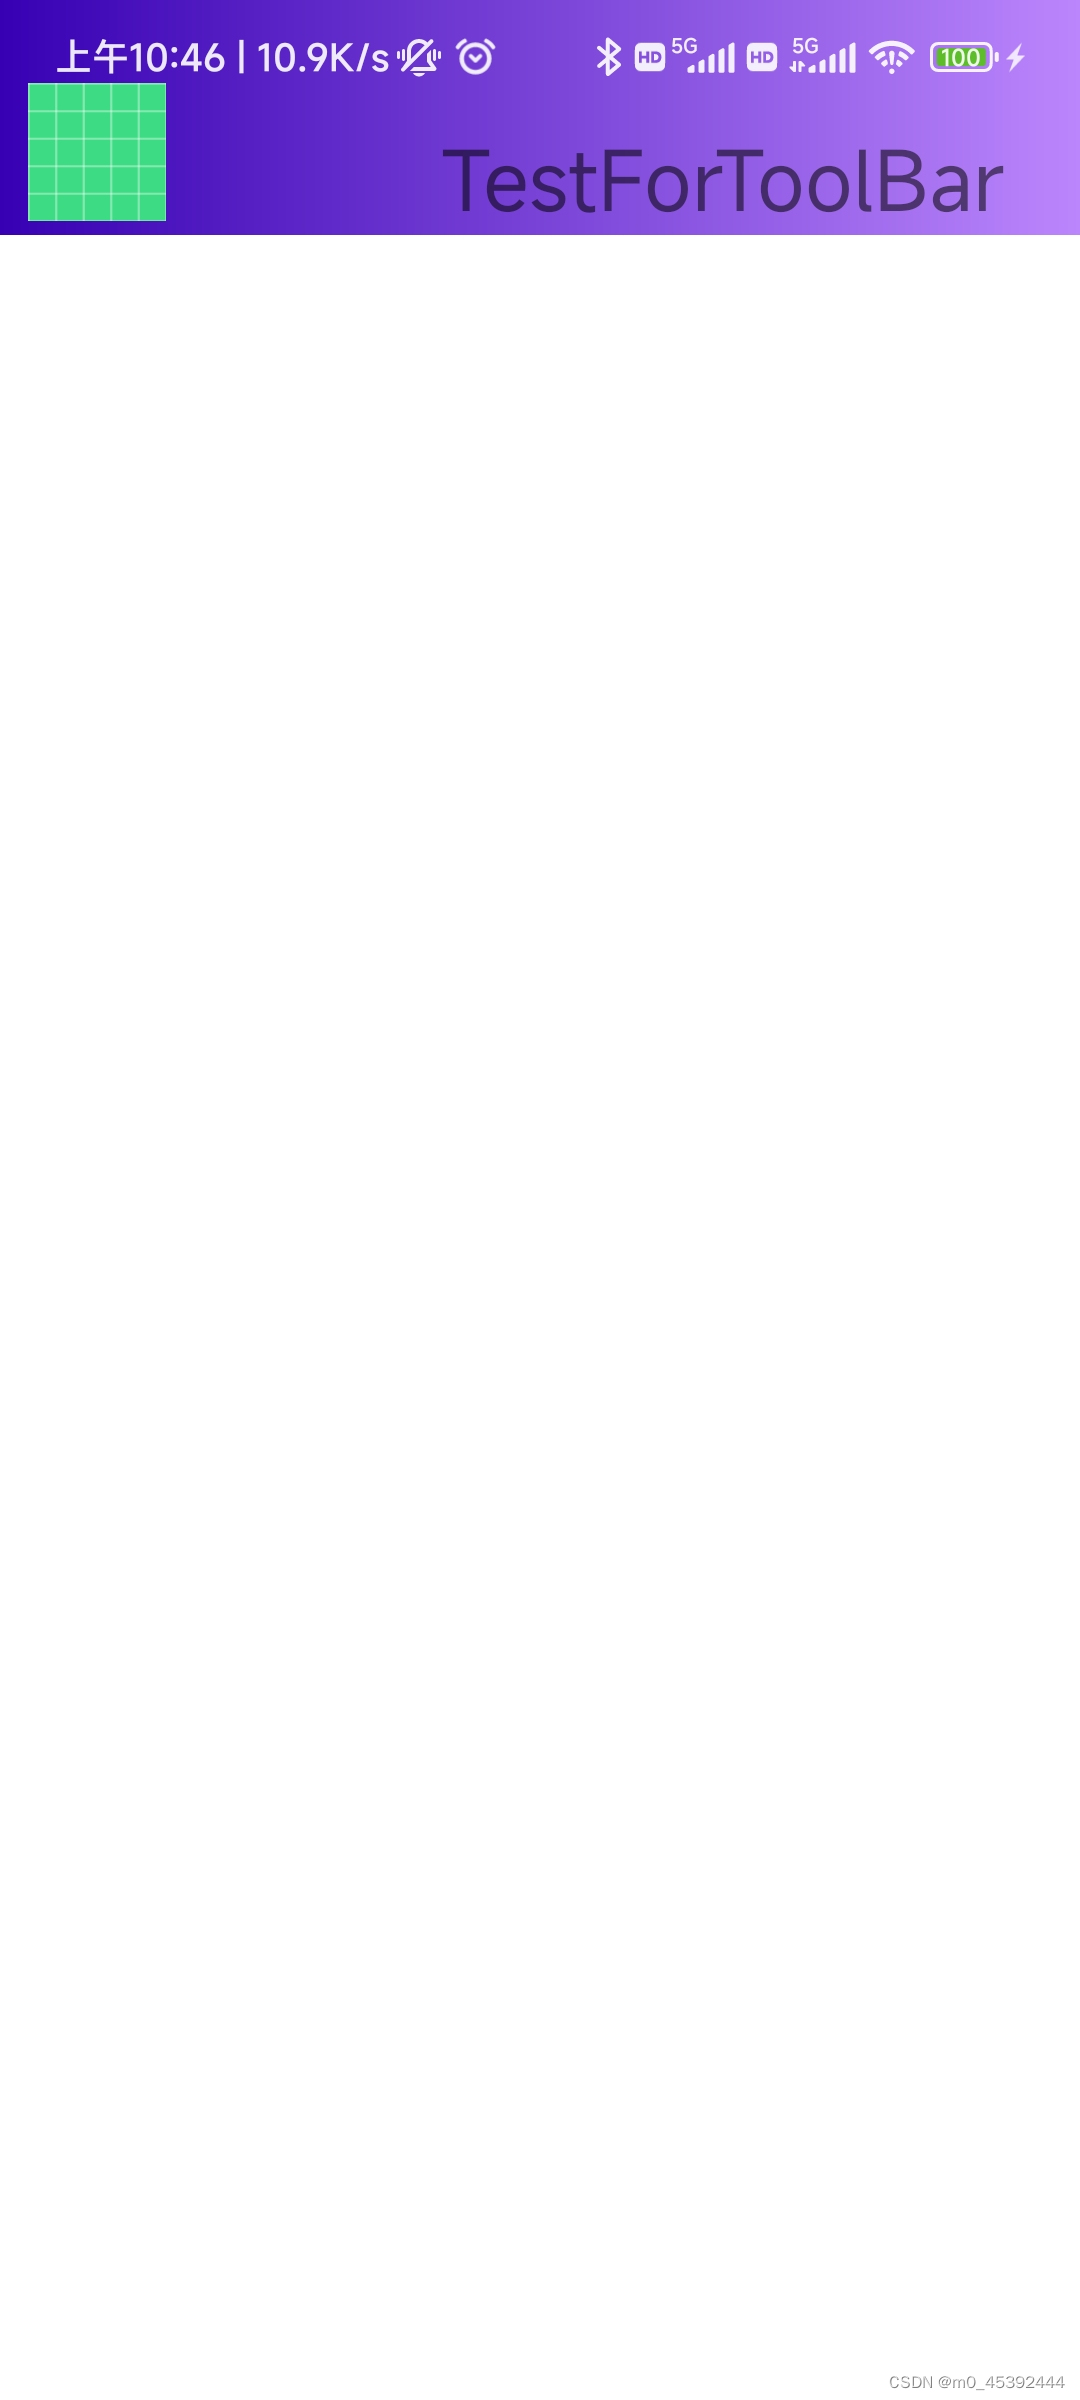
接下来让我们设置一个渐变色看看在复杂色彩下效果如何

可以发现,不管控件是什么颜色,都能在状态栏中显示。因为我们已经改变了ui的显示方式,让ui能够显示到屏幕的最顶端,同时设置了状态栏透明色,使得任何控件都能在状态栏中显示,从而实现了沉浸状态栏。


 2206
2206


 被折叠的 条评论
为什么被折叠?


