


前后端问题整理 持续更新
文章目录
- 前后端问题整理 持续更新
- 前端 Vue 篇
- @项目配置
- 1.node 版本过高问题 安装nvm 管理node版本
- 2.镜像证书无效问题
- 3.npm 版本问题
- 4.npm install 证书过期问题
- 5.yarn 命令无法使用问题
- 6.Vite Vue 项目搭建 npm run dev 错误 node 版本不一致
- 7.解决vite项目启动报错: Cannot find module @rollup/rollup-darwin-arm64
- 8.Vue + Ts 模块 ““vue-router““ 没有导出的成员 “createRouter“
- 9.useRoute useRouter 问题
- 10.cypress ES6 Moudle 问题
- 11.node 版本不契合yarn问题
- 12. 命令窗口安装完成yarn 后 使用 yarn 报错问题
- 13.无法找到模块“vuex”的声明文件
- 安装mock 插件时出现错误
- 前端 GO 篇
前端 Vue 篇
@项目配置
项目依赖
注意:没有安装vue-cli脚手架和vite的请提前安装, 该演示项目为vite 创建vue
3项目,有错误可在上方问题目录寻找
-----------------【创建vite+Vu3+Ts项目 CMD】-------------------
|-CMD 窗口初始化vite创建vue3项目
|-还可以使用vue官网的 npm create vue@latest 方式
npm init vite@latest
-------------------------------------------------------------
|-填写项目名  xxx cd 到项目文件夹下
-------------------------------------------------------------
npm install
-------------------------------------------------------------
npm run dev
-------------------------------------------------------------
|-全局安装 pnpm
npm install -g  pnpm
-------------------------------------------------------------
|-安装 yarn 可指定版本号 @1.22.22 --save
npm install yarn 若npm安装速度慢可用 yarn add +项目资源
#############################################################
|-项目内部安装依赖和开发所需要的包
|-需要安装nvm下面第一个问题最后有链接----
|-在vue2中,要用vuex的3版本 在vue3中,要用vuex的4版本
#############################################################
|-npm#
npm install vuex@3 --save
|-Yarn#
yarn add vuex@3 --save
-------------------------------------------------------------
|-安装Vue3版本的vuex和vue-router
npm install vuex@4 --save
npm install vue-router@4 --save
-------------------------------------------------------------
|-安装 element-plus 可指定版本号 @2.3.6 --save
npm install element-plus
-------------------------------------------------------------
|-安装 axios
npm install axios @types/axios --save
-------------------------------------------------------------
|-安装 typescript 【此项目已默认安装】
npm install -g typescript
-------------------------------------------------------------
|-安装 cypress 测试工具
npm install cypress --save-dev
#############################################################
|-配置 package.json
{
"scripts": {
"cypress:open": "cypress open"
}
}
|-使用 执行 以下任何一个命令都可以执行
npx cypress open
npm run cypress:open
yarn cypress open
pnpm cypress open
#############################################################
-------------------------------------------------------------
|-安装 vite 【此项目已安装】
npm install vite -D
-------------------------------------------------------------
|-安装 babel 在vue中使用jsx 配置完成可以把vue文件改为.js文件来编写
|-组件 【把 HTML 组件当做 JavaScript/TypeScript 代码片段处理】
|-Babel可以把使用ES6/ES7等“高级”语法编写的Javascript代码转换为
|-ES5/ES3的“通俗”语法(也可以把JSX语法转为Javascript)。
|-用于jsx向后兼容浏览器环境
|-这里也可以安装 eslint   npm install eslint --save-dev
|-ESLint 会在当前项目下生成 .babelrc 文件
|-执行初始化 ./node_modules/.bin/eslint --init
npm install @vue/babel-plugin-jsx -D
|-安装vitejs的vue-jsx
npm i @vitejs/plugin-vue-jsx -D
-------------------------------------------------------------
#############################################################
|-在 vite.config.ts 文件中挂载
注意不要引用错了变成babel的jsx了@vue/babel-plugin-jsx
-------------------------------------------------------------
import vueJsx from '@vitejs/plugin-vue-jsx'
export default defineConfig({
plugins: [ vueJsx()]
})
-------------------------------------------------------------
|-在 tsconfig.json 中配置:
{
// include 需要包含tsx
"include": ["src/*", "src/**/*.vue", "src/**/*.tsx", "src/**/*.jsx", "src/**/*.ts", "src/**/*.js"],
"compilerOptions": {
// 在.tsx文件里支持JSX
"jsx": "preserve",
}
}
-------------------------------------------------------------
|-安装了babel 所以配置 新建.babelrc文件 加入
{
"presets": ["@vue/babel-preset-app"],
"plugins": ["@vue/babel-plugin-jsx"]
}
文章答疑:blog.csdn.net/algor1234567/article/details/101921994
-------------------------------------------------------------
|-使用 在script标签上加lang='tsx'
import { defineComponent } from 'vue';
export default defineComponent({
setup(props){
return ()=>(
<div>
Hello,World
</div>
)
}
})
|-或者
export default {
render() {
return (
<div>
<h1>Hello, JSX in Vue 3!</h1>
</div>
);
},
};
#############################################################
-------------------------------------------------------------
|-安装ViteCDN插件加速优化项目体积
npm install vite-plugin-cdn-import --save-dev
|-参考文章 https://blog.csdn.net/air__Heaven/article/details/130514053
#############################################################
-------------------------------------------------------------
|-安装 vitejs/plugin-legacy 为你的 Vite 项目提供对旧版浏览器的支持
npm install --save-dev @vitejs/plugin-legacy
#############################################################
|-配置
// vite.config.js
import legacy from '@vitejs/plugin-legacy'
import { defineConfig } from 'vite'

export default defineConfig({
plugins: [
  legacy({
      targets: ['defaults', 'ie >= 11', 'chrome 52'],  //需要兼容的目标列表,可以设置多个
      additionalLegacyPolyfills: ['regenerator-runtime/runtime'],
      renderLegacyChunks:true,
      polyfills:[
         'es.symbol',
         'es.array.filter',
         'es.promise',
         'es.promise.finally',
         'es/map',
         'es/set',
         'es.array.for-each',
         'es.object.define-properties',
         'es.object.define-property',
         'es.object.get-own-property-descriptor',
         'es.object.get-own-property-descriptors',
         'es.object.keys',
         'es.object.to-string',
         'web.dom-collections.for-each',
         'esnext.global-this',
         'esnext.string.match-all'
     ]
  })
],
})
#############################################################
-------------------------------------------------------------
|-安装 mockjs 用于模拟测试后端接口返回数据
yarn add mockjs -S
-------------------------------------------------------------
|-安装 mock插件
npm i vite-plugin-mock -D
|-在vite.config.ts进行个人配置
-------------------------------------------------------------
#############################################################
import { viteMockServe } from 'vite-plugin-mock'

export default defineConfig({
plugins: [
viteMockServe({
mockPath: "./src/mock/source", // 解析刚刚user.ts的位置
localEnabled: true // 是否开启开发环境
})
]
})
|-新建mock/source/user.ts文件
|-引入
import { MockMethod } from 'vite-plugin-mock'
|-这里博主使用了自己定义的数据生成测试的MyTools.js[其中将类型改为any,后缀改为ts]
|-MyTools.js CDN 链接 http://sb075u42m.sabkt.gdipper.com/MyTools.js
|-这里我们可以自行定义interface文件 用到就import进来 这里用于演示
import tools from '@/utils/MyTools'
import { user_dto } from '@/interface/user/userFormDto'
export default [
{
 url: '/api/user/login', // 注意,这里只能是string格式
 method: 'get',
 response: () => {
   return {
     code:200,
     data:tools.RdObjToAny(user_dto,1),
     msg:"请求成功"
   }
 }
}
] as MockMethod[] // 这里其实就是定义数据格式的,参考typescript的官方文档
|-然后在前端任意页面引入 import {login} from "@/api/user/api" 进行调用
#############################################################
-------------------------------------------------------------
|-安装 types/node 获取正确的代码提示和类型检查。
npm install @types/node --save-dev
#############################################################
|-根目录下 vite.config.ts 文件中配置路径别名
import { resolve } from 'path';
|-在plugins下
resolve: {
// 设置文件./src路径为 @
alias: [
{
find: '@',
replacement: resolve(__dirname, './src')
}
]
}
-------------------------------------------------------------
|-根目录下 tsconfig.json 文件中配置 在compilerOptions中
//配置 @
"baseUrl": ".",
"paths": {
	"@/*": ["src/*"]
}
#############################################################
|-使用vite-ssr插件进行ssr渲染、 SSR用于服务端渲染
1.node 版本过高问题 安装nvm 管理node版本
环境 Win11 , Vue3 项目
npm ERR! code EPERM
npm ERR! syscall open
npm ERR! path P:\download\nodejs\node_cache\_cacache\tmp\3f8845b0
npm ERR! errno -4048
npm ERR! Error: EPERM: operation not permitted, open 'P:\download\nodejs\node_cache\_cacache\tmp\3f8845b0'
npm ERR!  [Error: EPERM: operation not permitted, open 'P:\download\nodejs\node_cache\_cacache\tmp\3f8845b0'] {
npm ERR!   errno: -4048,
npm ERR!   code: 'EPERM',
npm ERR!   syscall: 'open',
npm ERR!   path: 'P:\\download\\nodejs\\node_cache\\_cacache\\tmp\\3f8845b0'
npm ERR! }
npm ERR!
npm ERR! The operation was rejected by your operating system.
npm ERR! It's possible that the file was already in use (by a text editor or antivirus),
npm ERR! or that you lack permissions to access it.
npm ERR!
npm ERR! If you believe this might be a permissions issue, please double-check the
npm ERR! permissions of the file and its containing directories, or try running
npm ERR! the command again as root/Administrator.

npm ERR! Log files were not written due to an error writing to the directory: P:\download\nodejs\node_cache\_logs
npm ERR! You can rerun the command with `--loglevel=verbose` to see the logs in your terminal
解决方案
1:对node进行环境变量配置会生成一个文件
在C盘>用户>你的用户名>一个隐藏文件 .npmrc
.node_repl_history 删除
2:然后重新下个低版本的node就可以了使用命令
Linux rm -rf /Users/用户名/.npmrcLinux rm -rf node 文件地址Windows del /Users/用户名/.npmrcWindows rd node文件地址3: 下载nvm node版本管理工具 对node 进行管理 —在此前先卸载掉当前node 及环境变量配置 相关文件
2.镜像证书无效问题
Get "https://npm.taobao.org/mirrors/node/index.json": tls: failed to verify certificate: x509: certificate has expired or is not yet valid:
解决方案
找到nvm安装目录,找到setting.txt,将镜像源改成:
node_mirror: https://npm.taobao.org/mirrors/node/
npm_mirror: https://npm.taobao.org/mirrors/npm/
//如果镜像过期 使用新的mirror镜像
node_mirror: https://npmmirror.com/mirrors/node/
npm_mirror: https://registry.npmmirror.com/mirrors/npm/
nvm install <version>        //安装指定版本的 Node.js。
#例如,nvm install 16.20.0 将安装 Node.js 的 16.20.0 版本。

nvm use <version>            //切换使用指定版本的 Node.js。
#例如,nvm use 16.20.0 将设置当前会话中使用 Node.js 的 16.20.0 版本。

nvm list                     //列出已安装的所有 Node.js 版本。
#例如,nvm list 它将显示已安装的版本列表,并在当前使用的版本旁边加上一个箭头标记。

nvm alias <name> <version>   //创建一个别名以便更方便地引用特定的 Node.js 版本。
#例如,nvm alias default 16.20.0 将创建一个名为 "default" 的别名,指向 Node.js 的 16.20.0 版本。

nvm uninstall <version>      //卸载指定的 Node.js 版本。
#例如,nvm uninstall 16.20.0 将卸载 Node.js 的 16.20.0 版本。

nvm current                  //显示当前正在使用的 Node.js 版本。
#例如,nvm current 将显示正使用的V16.20.0 版本

nvm use default              //切换到默认的 Node.js 版本(由 nvm alias 命令设置的别名)。
#例如,nvm use default 将切换到刚刚设置default别名的16.20.0版本

nvm exec <version> <command> //在指定版本的 Node.js 环境中执行特定的命令。
#例如,nvm exec 16.20.0 node app.js 将使用 Node.js 的 16.20.0 版本来运行 app.js 文件。
3.npm 版本问题
npm ERR! code CERT_HAS_EXPIRED
npm ERR! errno CERT_HAS_EXPIRED
npm ERR! request to https://registry.npm.taobao.org/postcss-modules-values/download/postcss-modules-values-4.0.0.tgz failed, reason: certificate has expired

npm ERR! A complete log of this run can be found in:
npm ERR!     C:\Users\Honke\AppData\Local\npm-cache\_logs\2024-03-27T10_57_16_465Z-debug-0.log
PS F:\individual\Agoprojects\My-Project\.NET_Projects\OnlineLearning-project\OnlineLearning_UI\learning\src> npm update
npm ERR! code ERESOLVE
npm ERR! ERESOLVE unable to resolve dependency tree
npm ERR!
npm ERR! While resolving: learning@0.1.0
npm ERR! Found: vue@3.4.21
npm ERR! node_modules/vue
npm ERR!   vue@"^3.0.0" from the root project
npm ERR!
npm ERR! Could not resolve dependency:
npm ERR! peer vue@"^2.6.4" from vuetify@2.7.2
npm ERR! node_modules/vuetify
npm ERR!   vuetify@"^2.5.8" from the root project
npm ERR!
npm ERR! Fix the upstream dependency conflict, or retry
npm ERR! this command with --force, or --legacy-peer-deps
npm ERR! to accept an incorrect (and potentially broken) dependency resolution.
npm ERR!
npm ERR! See C:\Users\Honke\AppData\Local\npm-cache\eresolve-report.txt for a full report.

npm ERR! A complete log of this run can be found in:
npm ERR!     C:\Users\Honke\AppData\Local\npm-cache\_logs\2024-03-27T10_59_26_498Z-debug-0.log
解决方案
在终端输入
npm install --legacy-peer-deps
4.npm install 证书过期问题
npm ERR! code CERT_HAS_EXPIRED
npm ERR! errno CERT_HAS_EXPIRED
npm ERR! request to https://registry.npm.taobao.org/postcss-modules-values/download/postcss-modules-values-4.0.0.tgz failed, reason: certificate has expired

npm ERR! A complete log of this run can be found in:
npm ERR!     C:\Users\Honke\AppData\Local\npm-cache\_logs\2024-03-27T11_02_02_406Z-debug-0.log
解决方案
查看自己的下载源
npm config get registry发现我们之前配置了下载镜像源为https开头的,
https://registry.npm.taobao.org/执行命令清除npm缓存
npm cache clean --force执行命令取消ssl验证
npm config set strict-ssl false再次执行npm install ***,还不行可以尝试设置你的npm镜像源为http开头的,不使用https
npm config set registry http://registry.npm.taobao.orgnpm config list 清空缓存:npm cache clean --force !!!注意:此处修改的镜像用的是npm本身,一般国内用户还是建议使用淘宝镜像,所以推荐还是设置成用淘宝镜像,执行:npm config set registry https://registry.npmmirror.com 【推荐】
5.yarn 命令无法使用问题
yarn : 无法加载文件 P:\download\nodejs\yarn.ps1,因为在此系统上禁止运行脚本。有关详细信息,请参阅 https:/go.microsoft.com/fwlink/?LinkID=135170 中的 about_Execution_Pol
icies。
所在位置 行:1 字符: 1
+ yarn -v
+ ~~~~
    + CategoryInfo          : SecurityError: (:) [],PSSecurityException
    + FullyQualifiedErrorId : UnauthorizedAccess
解决方案
1.首先在windows搜索windows PowerSell,然后以管理员身份运行ISE
2.执行命令:
set-ExecutionPolicy RemoteSigned,没有报错就说明ok了,3.记得添加本地项目node_moudles下的yarn/bin路径为环境变量
6.Vite Vue 项目搭建 npm run dev 错误 node 版本不一致
  Cannot find module @rollup/rollup-win32-x64-msvc. npm has a bug related to optional dependencies (https://github.com/npm/cli/issues/4828). Please try `npm i` again after
 removing both package-lock.json and node_modules directory.
解决方案
安装 pnpm
npm install -g pnpm再执行
npm install然后执行
npm run dev若不行的话应该就是版本问题
vite+vue项目 要求
node -v v19.19 官网下载
npm -v v8.17
pnpm -v v8.11
使用nvm 下载 node 契合的版本然后切换node 版本
nvm install 19.9.0
7.解决vite项目启动报错: Cannot find module @rollup/rollup-darwin-arm64
环境 Win11 ,Vite+ Vue3 项目
解决方案
报错信息:Error: Cannot find module @rollup/rollup-darwin-arm64. npm has a bug related to optional dependencies (https://github.com/npm/cli/issues/4828). Please try npm i again after removing both package-lock.json and node_modules directory.
---------------------------------------------------------------------
或者是这样
throw new Error(
Error: Cannot find module @rollup/rollup-win32-x64-msvc. npm has a bug related to optional dependencies (https://github.com/npm/cli/issues/4828). Please try `npm i` again after removing both package-lock.json and node_modules directory.
 at requireWithFriendlyError (F:\work\myvitepro\node_modules\rollup\dist\native.js:88:9)
 at Object.<anonymous> (F:\work\myvitepro\node_modules\rollup\dist\native.js:97:76)
 ... 3 lines matching cause stack trace ...
 at Function.Module._load (node:internal/modules/cjs/loader:909:12)
 at ModuleWrap.<anonymous> (node:internal/modules/esm/translators:169:29)
 at ModuleJob.run (node:internal/modules/esm/module_job:193:25)
 at async Promise.all (index 0)
 at async ESMLoader.import (node:internal/modules/esm/loader:530:24) {
[cause]: Error: Cannot find module '@rollup/rollup-win32-x64-msvc'
Require stack:
  - F:\work\myvitepro\node_modules\rollup\dist\native.js
      at Function.Module._resolveFilename (node:internal/modules/cjs/loader:1026:15)
      at Function.Module._load (node:internal/modules/cjs/loader:871:27)
      at Module.require (node:internal/modules/cjs/loader:1098:19)
      at require (node:internal/modules/cjs/helpers:108:18)
      at requireWithFriendlyError (F:\work\myvitepro\node_modules\rollup\dist\native.js:70:10)
      at Object.<anonymous> (F:\work\myvitepro\node_modules\rollup\dist\native.js:97:76)
      at Module._compile (node:internal/modules/cjs/loader:1196:14)
      at Object.Module._extensions..js (node:internal/modules/cjs/loader:1250:10)
      at Module.load (node:internal/modules/cjs/loader:1074:32)
      at Function.Module._load (node:internal/modules/cjs/loader:909:12) {
    code: 'MODULE_NOT_FOUND',
    requireStack: [ 'F:\\work\\myvitepro\\node_modules\\rollup\\dist\\native.js' ]
  }
}
这是个老问题了,报错里已经给出了提示,原因是package-lock.json这个文件里面出现了错误的module。
只需要删除掉package-lock.json然后重新执行npm i就可以了
也有可能是vite版本不兼容导致的 可以安装指定vite版本 npm i @vite4.4.0
若执行过程中报错 code EUNSUPPORTEDPROTOCOL
则执行npm update 更新npm 匹配与node版本一致的npm版本
8.Vue + Ts 模块 ““vue-router““ 没有导出的成员 “createRouter“
解决方案
然后尝试卸载vue-router
npm uninstall vue-router重新安装 vue-router 4.x的版本
npm install vue-router@next -S
9.useRoute useRouter 问题
解决方案
在配置路由时 注意这两个对象的书写 useRouter是路由配置 useRoute是路由对象
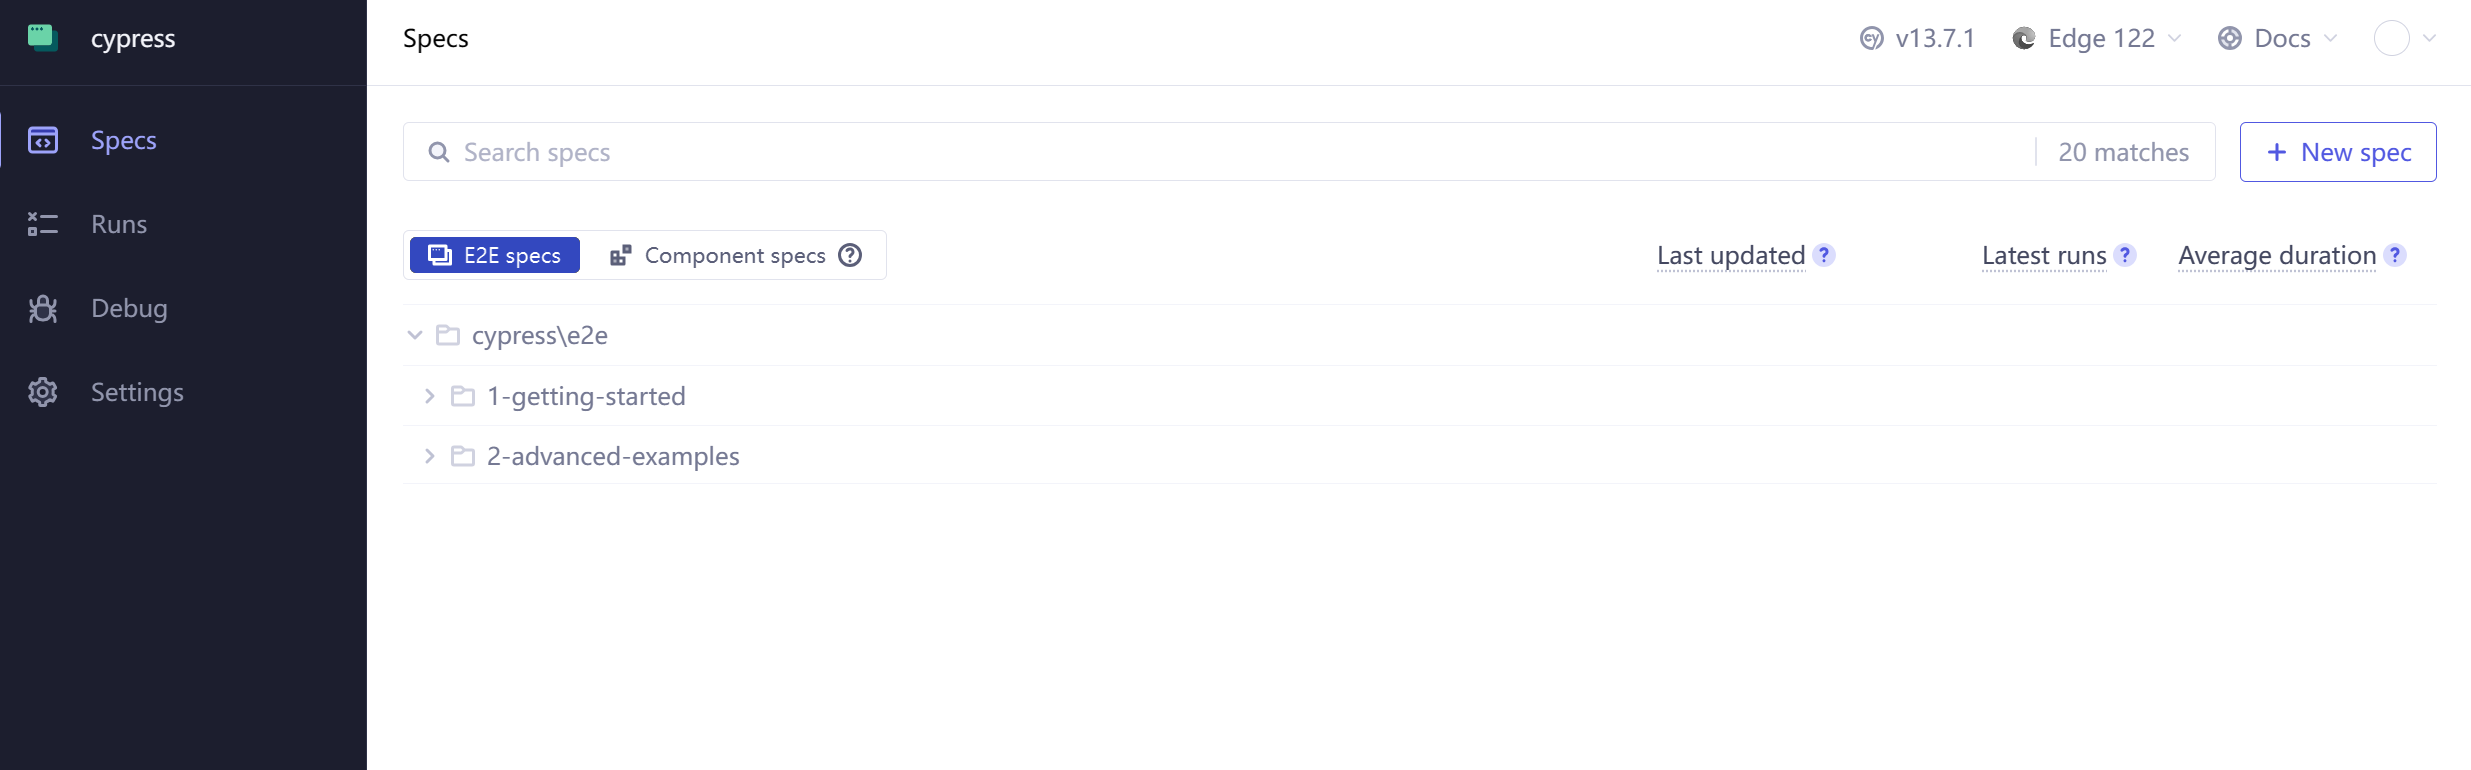
10.cypress ES6 Moudle 问题
解决方案
把cypress.config.js 改为 cypress.config.cjs
cypress.config.cjsconst { defineConfig } = require('cypress') module.exports = defineConfig({ e2e: { // setupNodeEvents(on, config) { // // implement node event listeners here // } //服务地址 baseUrl: 'http://127.0.0.1:5173/' } })运行结果
11.node 版本不契合yarn问题
error commander@12.0.0: The engine "node" is incompatible with this module. Expected version ">=18". Got "14.21.3" error Found incompatible module.
————————————————
解决方案
安装 nvm 使用 nvm use node版本号切换node版本
12. 命令窗口安装完成yarn 后 使用 yarn 报错问题
error Couldn't find package "@vue/runtime-dom@3.4.21" required by "vue@^3.4.21" on the "npm" registry.
解决方案
1.此问题前置内容:已经成功切换yarn 对应要求的node版本
2.再次使用yarn 命令时出现的错误
3.采用清空缓存的方式进行解决
npm cache clean --force
13.无法找到模块“vuex”的声明文件
解决方案
在vite-env.s.ts中加入以下配置
declare module "vuex" {
 export * from "vuex/types/index.d.ts";
 export * from "vuex/types/helpers.d.ts";
 export * from "vuex/types/logger.d.ts";
 export * from "vuex/types/vue.d.ts";
}
安装mock 插件时出现错误
解决方案
1.npm audit fix 报错
npm audit fix
mockjs  *
Severity: high
mockjs vulnerable to Prototype Pollution via the Util.extend function - https://github.com/advisories/GHSA-mh8j-9jvh-gjf6
No fix available
node_modules/mockjs
vite-plugin-mock  *
Depends on vulnerable versions of mockjs
node_modules/vite-plugin-mock

2 high severity vulnerabilities
依次执行
npm install -g nrmnrm lsnrm use npmnpm audit fix6.或者删除node_moudles 重新下载
前端 GO 篇
1.go : 无法将“go”项识别为 cmdlet、函数、脚本文件或可运行程序的名称
解决方案
在VS Code终端(PowerShell实例)中运行以下命令,使当前的PowerShell实例从计算机加载最新的路径变量。
$env:Path = [System.Environment]::GetEnvironmentVariable("Path","Machine")如运行下载资源包太慢 可切换源
go env -w GOPROXY=http://mirrors.aliyun.com/goproxy/
2.go mod tidy报错:zip: not a valid zip file
解决方案
更换GOPROXY为七牛云的go代理(有效)
go env -w GOPROXY="https://goproxy.cn,direct"
3.go run main.go 运行报错
failed to initialize database, got error dial tcp 127.0.0.1:3306: connectex: No connection could be made because the target machine actively refused it.
dial tcp 127.0.0.1:3306: connectex: No connection could be made because the target machine actively refused it
解决方案
没有数据库连接


 175
175

 被折叠的 条评论
为什么被折叠?
被折叠的 条评论
为什么被折叠?
 到【灌水乐园】发言


