


文章目录
React高阶组件的使用 (HOC)
一、高阶组件的概念
1、高阶组件是一个函数,接收要包装的组件,返回增强后的组件,参数传入一个组件,以 with 开头
2、复用状态根逻辑,这里指的逻辑就是改变高阶组件里面状态的逻辑
3、返回一个增强后的组件,渲染增强后的组件即可
二、封装一个高阶组件
const withMouse = (Module) => {
   class Wrapper extends Component {
    state = {
      x:0,
      y:0
    }
    handleMousemove = (e) => {
      const {pageX,pageY} = e
      this.setState({
        x:pageX,
        y:pageY
      })
    }

    // 绑定鼠标移动事件
    componentDidMount() {
      window.addEventListener('mousemove',this.handleMousemove)
    }
    // 移除鼠标移动事件
    componentWillUnmount() {
      window.removeEventListener('mousemove',this.handleMousemove)
    }

    render() {
      return (
       <Module {...this.state}/>
      )
    }
  }
  // 设置 displayName 为了调试的时候找组件命名清晰
  Wrapper.displayName = `WithMouse${getDisplayName(Module)}`
  function getDisplayName(Module) {
    return Module.displayName || Module.name || 'Component'
  }
  return Wrapper
}
1、下面我们来使用一下,看看效果
// 有图片的小猫,复用高阶组件的状态根逻辑
const Cat = (props) => {
console.log(' props', props)
  return (
  	<img
      src={catImg}
      style={{
        position: 'absolute',
        top: props.y - 60,
        left: props.x -60
      }}
      alt=""
    />
  )
}
// 复用1:
// 返回的增强后的组件
const CatWithMouse = withMouse(Cat)
// 渲染增强后的组件
<CatWithMouse/>

2、再次复用,请看左上角复用,根之前复用的一起渲染
// 没有图片的文字,同样复用高阶组件的状态根逻辑
const Position = ({ x, y }) => {
return (
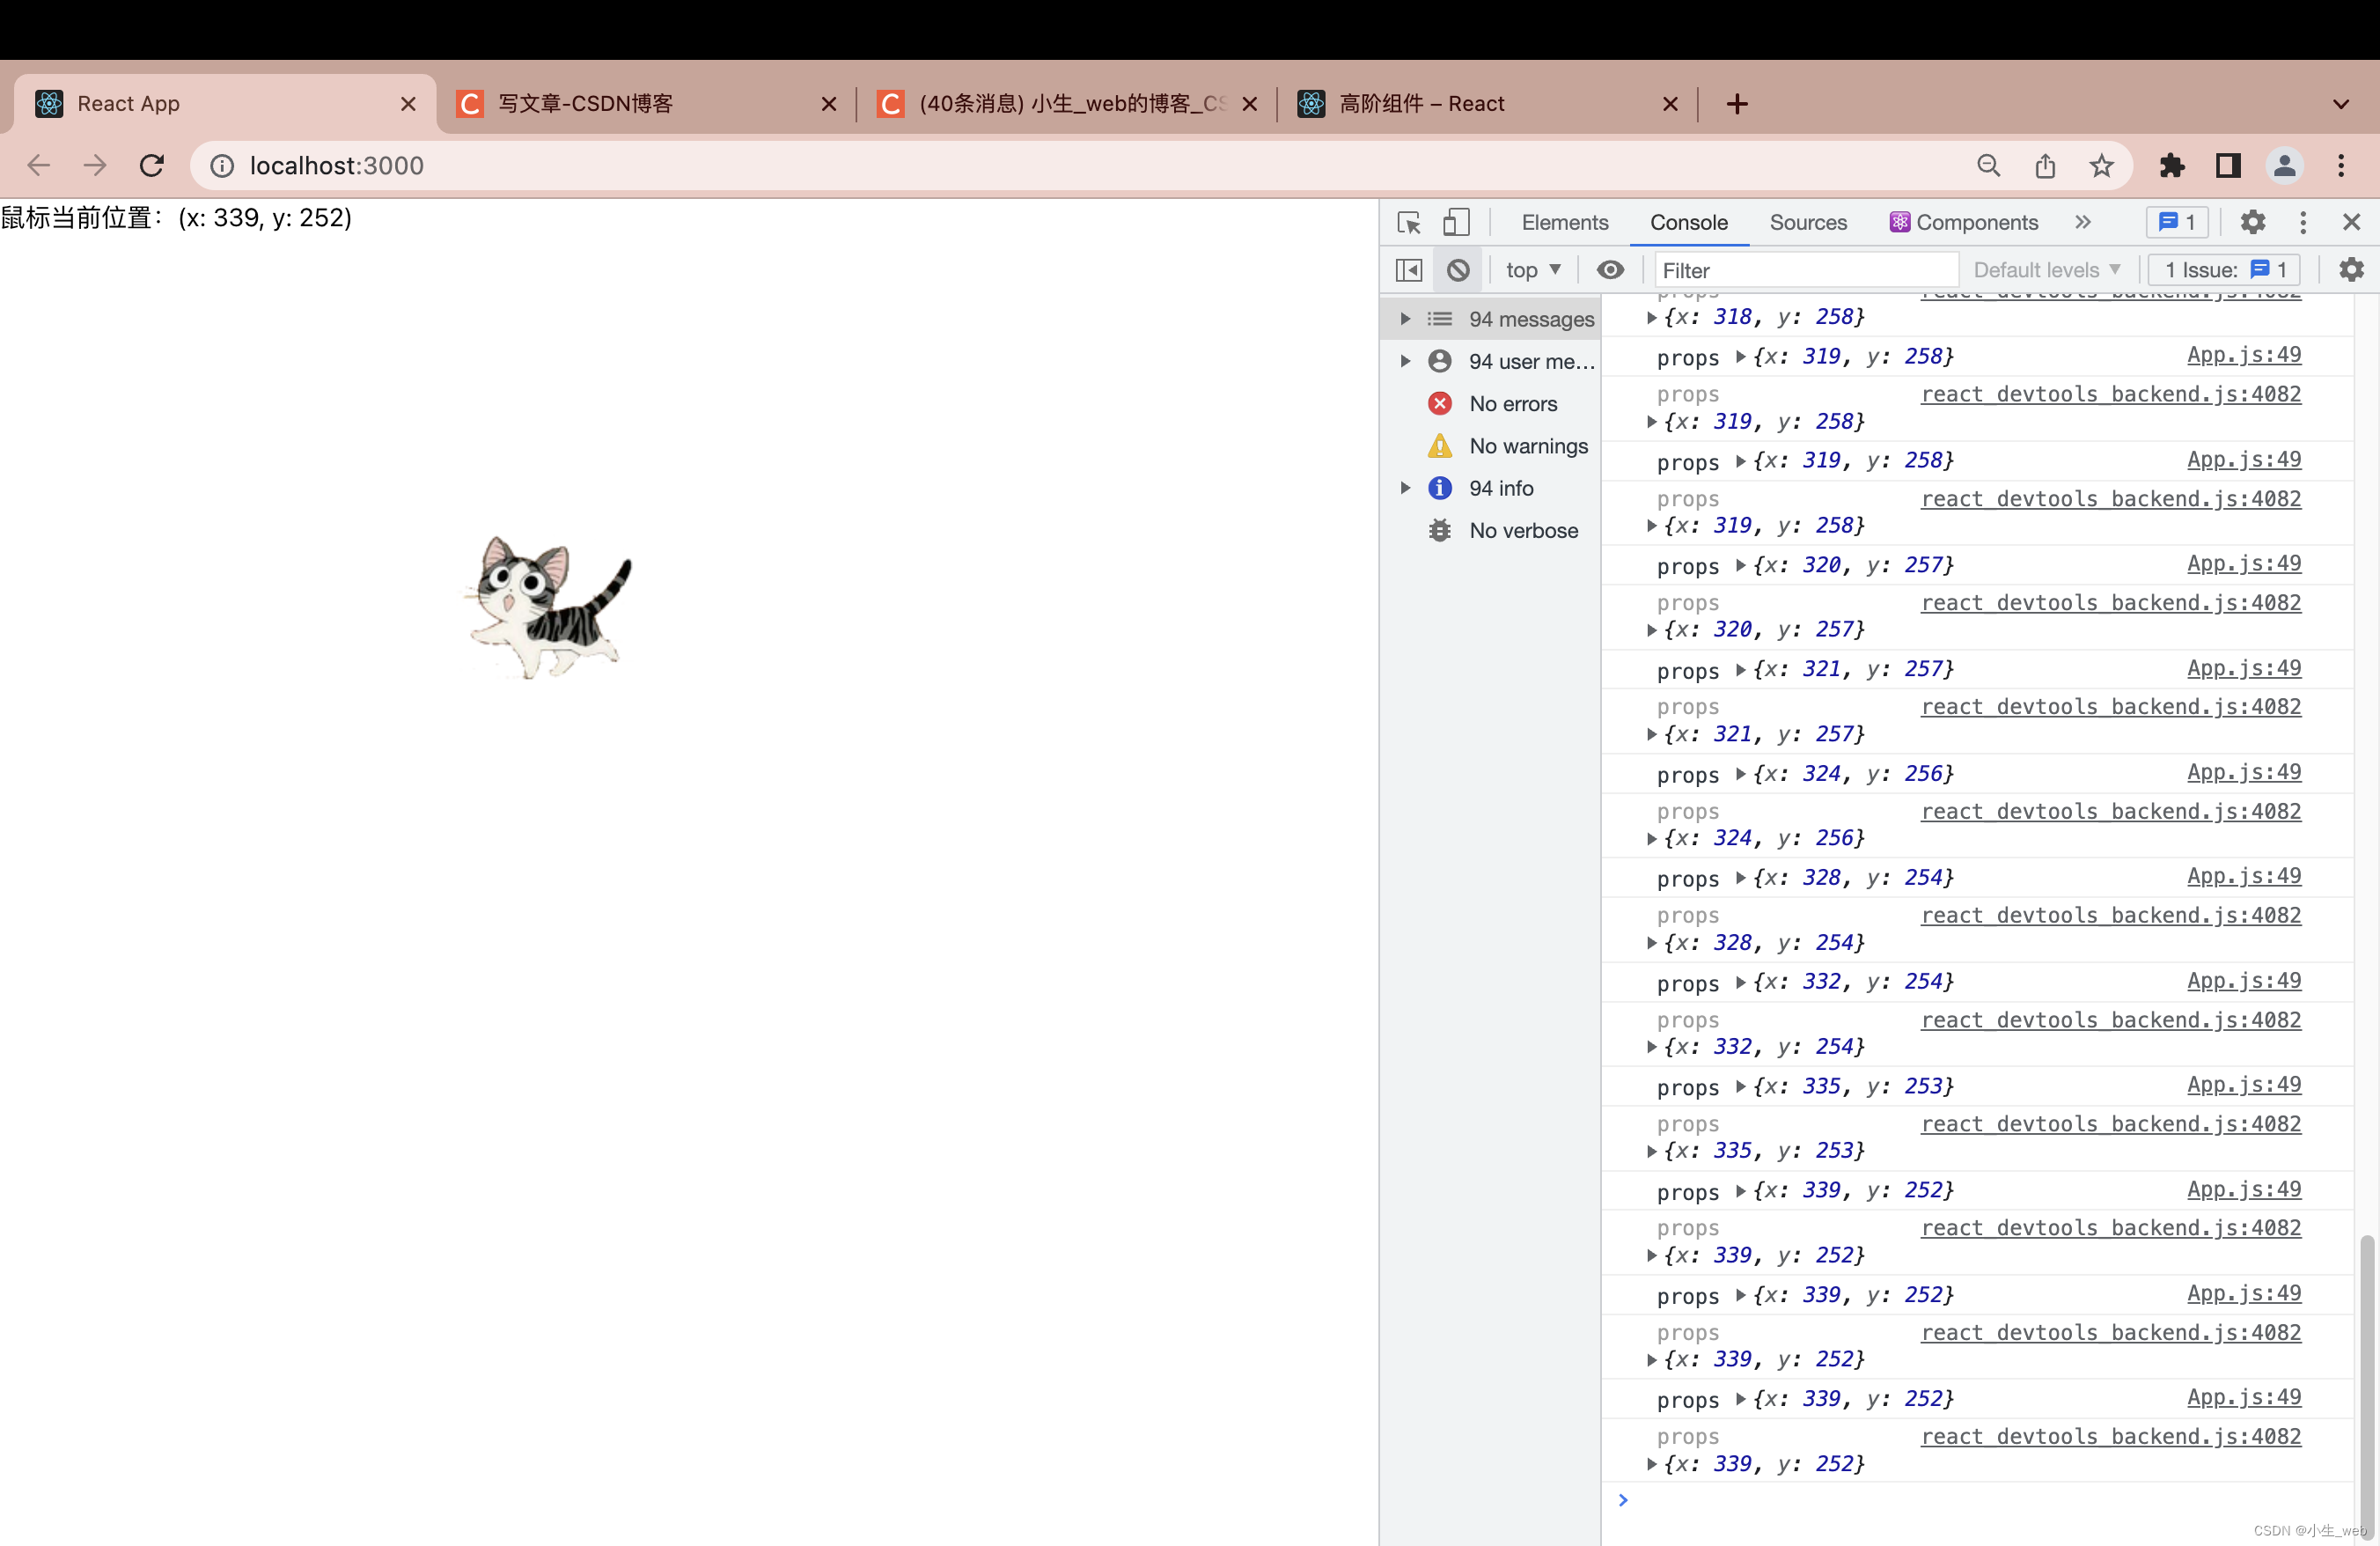
<div>鼠标当前位置:(x: {x}, y: {y})</div>
)
}
// 复用2:
// 使用高阶组件包装后,组件内部就可以通过 props 来获取鼠标位置
const PositionWithMouse = withMouse(Position)
三、还有一种情况,高阶组件复用后再次进行一个父子通讯,有自身的一个状态
1、直接上完整代码吧,这样看着明白些,这里 App 最后 index 组件倒入进行渲染的
/**
 * 高阶组件的使用:
 * 1、参数传入一个组件
 * 2、复用状态根改变该状态的逻辑
 * 3、返回一个增强后的组件
 * @returns
 */
// 高阶组件以 with 开头
import { Component } from 'react'
import catImg from './images/cat.png'
const withMouse = (Module) => {
  class Wrapper extends Component {
    state = {
      x: 0,
      y: 0
    }
    handleMousemove = (e) => {
      const { pageX, pageY } = e
      this.setState({
        x: pageX,
        y: pageY
      })
    }

    // 绑定鼠标移动事件
    componentDidMount() {
      window.addEventListener('mousemove', this.handleMousemove)
    }
    // 移除鼠标移动事件
    componentWillUnmount() {
      window.removeEventListener('mousemove', this.handleMousemove)
    }

    render() {
      const { oneselState } = this.props
      return (
        <Module {...this.state} oneselState={oneselState} />
      )
    }
  }
  // 设置 displayName 为了调试的时候找组件命名清晰
  Wrapper.displayName = `WithMouse${getDisplayName(Module)}`
  function getDisplayName(Module) {
    return Module.displayName || Module.name || 'Component'
  }
  return Wrapper
}
// 有图片的小猫,复用高阶组件的状态根逻辑
const Cat = (props) => {
  // console.log(' props', props)
  // 这里的 props 是有自身的状态的,上面进行了传递(需要高阶组件转发,否则收不到数据)
  return (
    <img
      src={catImg}
      style={{
        position: 'absolute',
        top: props.y - 60,
        left: props.x - 60
      }}
      alt=""
    />
  )
}
// 没有图片的文字,同样复用高阶组件的状态根逻辑
const Position = (props) => {
  // console.log(' props', props)
  // 这里的 props 是没有  oneselState="小猫自身的状态" 这个自身状态的数据的,因为上面没有传
  const { x, y } = props
  return (
    <div>鼠标当前位置:(x: {x}, y: {y})</div>
  )
}
// 复用1:
// 返回的增强后的组件
const CatWithMouse = withMouse(Cat)
// 复用2:
// 使用高阶组件包装后,组件内部就可以通过 props 来获取鼠标位置
const PositionWithMouse = withMouse(Position)
export default function App() {
  return (
    <>
      <CatWithMouse oneselState="小猫自身的状态" />
      <PositionWithMouse />
    </>
  )
}


 1095
1095


 被折叠的 条评论
为什么被折叠?
被折叠的 条评论
为什么被折叠?
 到【灌水乐园】发言


