


简介
资源链接:https://download.csdn.net/download/m0_46573428/87796553
详细信息请看:https://blog.csdn.net/m0_46573428/article/details/130071302
这一部分的网页结构相对简单,主要是css的内容和router-link的跳转。
效果如下。
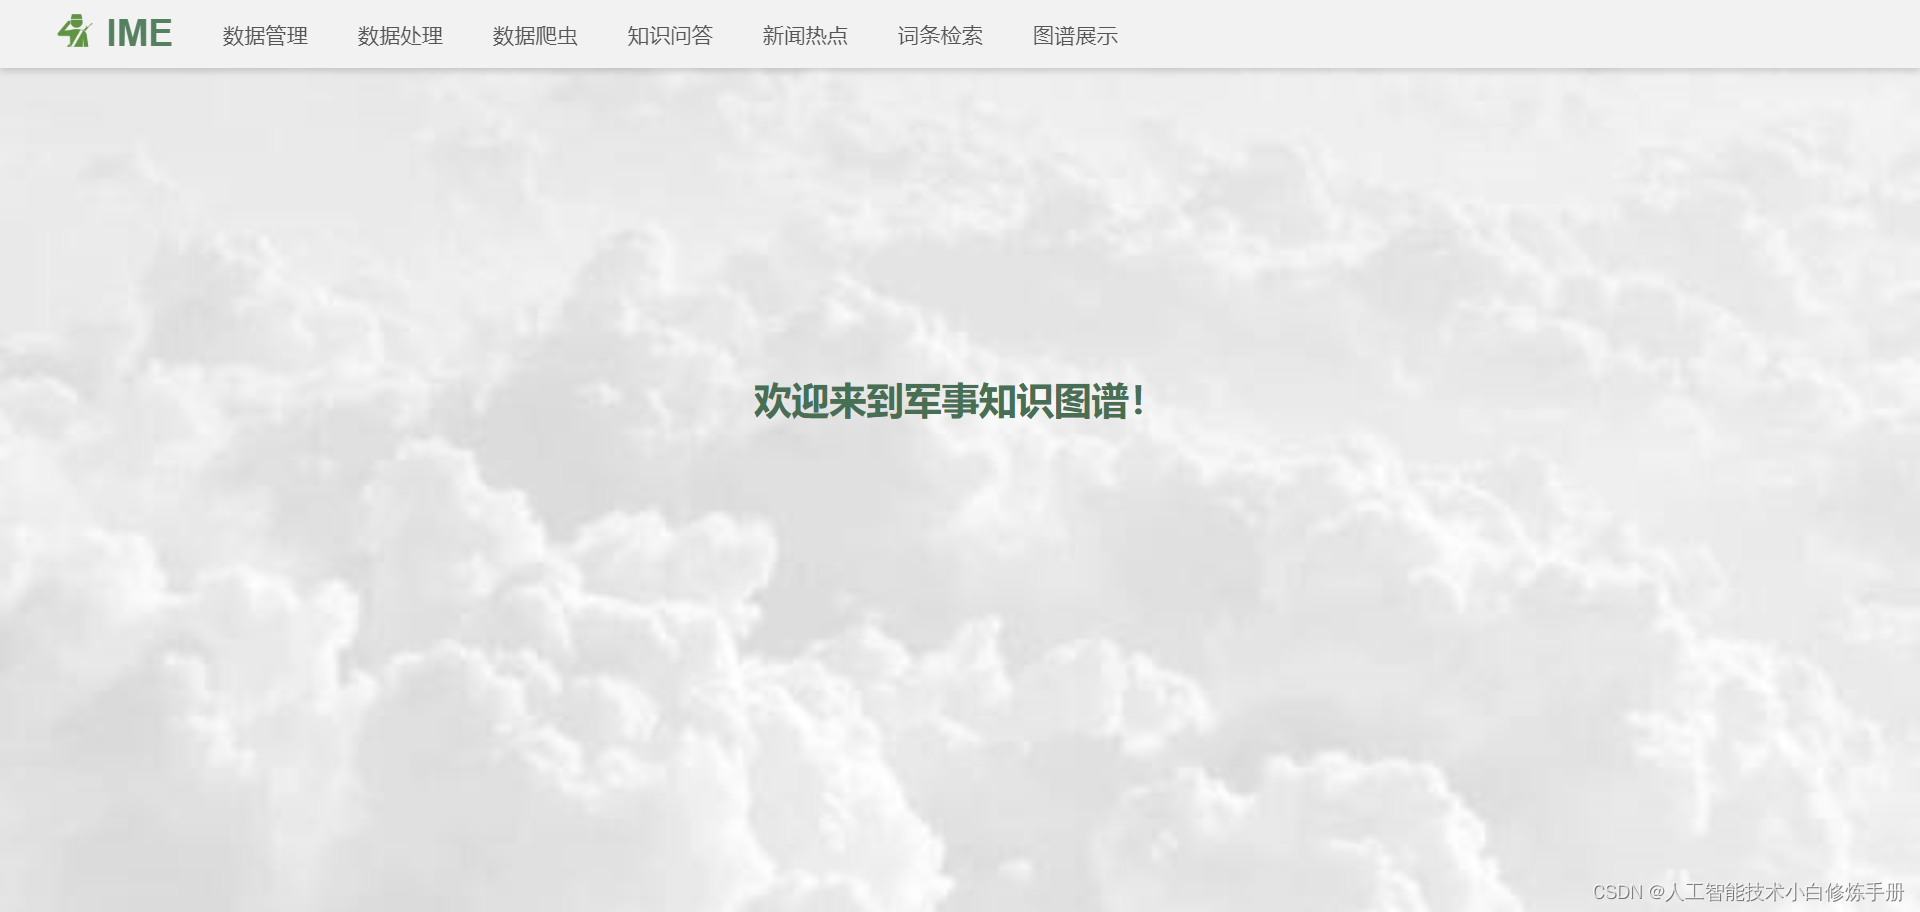
主要的CSS效果
所有的tab通过li来排列。【float: left;】使所有tab横向排列。
.tab {
    float: left;
    height: 60px;
    line-height: 60px;
    text-align: center;
    padding-left: 20px;
    padding-right: 20px;
}
移动到tab上,会有上横线出现。
.tab:hover {
    border-top: #486E53 solid 3px;
}
点击选中后字体会加粗。
.tab_all>a>li:hover {
    color: #486E53;
}
页面跳转
通过router-link进行页面跳转。
<router-link to="/VisualInterface" active-class="_active" class="tab"
          >图谱展示</router-link>
<router-view></router-view>
主要代码
App.vue
<template>
  <div>
    <router-link to="/"></router-link>
    <!-- 顶部导航栏 -->
    <div id="header">
      <!-- Logo -->
      <div class="logo">
        <img src="./assets/logo.png" alt="logo" />
        <h1>IME</h1>
      </div>

      <!-- Tab -->
      <div class="tab_all">
        <router-link
          to="/DataManagement"
          active-class="_active"
          class="tab"
          style="margin-left: 20px"
          >数据管理</router-link
        >
        <router-link to="/DataProcessing" active-class="_active" class="tab"
          >数据处理</router-link
        >
        <router-link to="/Crawl" active-class="_active" class="tab"
          >数据爬虫</router-link
        >
        <router-link to="/Query" active-class="_active" class="tab"
          >知识问答</router-link
        >
        <router-link to="/News" active-class="_active" class="tab"
          >新闻热点</router-link
        >
        <router-link to="/Search" active-class="_active" class="tab"
          >词条检索</router-link
        >
        <router-link to="/VisualInterface" active-class="_active" class="tab"
          >图谱展示</router-link
        >
      </div>
    </div>
    <router-view></router-view>
  </div>
</template>

<script>
export default {
  name: "App",
  components: {},
  methods: {},
};
</script>
index.css
#app {
    font-family: Avenir, Helvetica, Arial, sans-serif;
    -webkit-font-smoothing: antialiased;
    -moz-osx-font-smoothing: grayscale;
    color: #2c3e50;
}

* {
    margin: 0;
    padding: 0;
    color: #555;
    font-size: 17px;
    /* background-size: 100% 100%; */
}

body {
    background-image: url('./assets/background.jpg');
    background-size: cover;
    /* height: 1200px; */
}

a {
    text-decoration: none;
}

._active {
    font-weight: bolder;
    color: #486E53;
}

#header {
    z-index: 1;
    float: left;
    position: fixed;
    height: 55px;
    width: 100%;
    background: #F2F2F2;
    border-bottom: none;
    box-shadow: 0px 3px 5px rgb(0 0 0 / 14%);
}

#header>div>img {
    float: left;
    height: 30px;
    width: auto;
    padding: 10px 10px 15px 15px;
    margin-left: 30px;
}

#header>div>h1 {
    float: left;
    font-size: 30px;
    margin: 10px 0px 0px 0px;
    color: #558161;
}

#header>div>div {
    float: left;
    width: 8%;
    height: 100%;
    text-align: center;
    /* line-height: 100%; */
}

#header>div>div>span {
    color: #486E53;
    line-height: 60px;
}

.tab {
    float: left;
    height: 60px;
    line-height: 60px;
    text-align: center;
    padding-left: 20px;
    padding-right: 20px;
}

.tab:hover {
    border-top: #486E53 solid 3px;
}

.tab_all>a>li:hover {
    color: #486E53;
}

.side_nav {
    height: 600px;
    width: 250px;
    background-color: rgba(250, 250, 250, 0.6);
    box-sizing: border-box;
    border-width: 1px;
    border-style: solid;
    border-color: rgba(242, 242, 242, 1);
    border-radius: 10px;
    box-shadow: none;
}

.side_tab {
    padding: 20px;
}

.side_tab:hover span {
    color: #486E53;
    cursor: pointer;
}

.side_tab:hover {
    border-left: 5px solid #486E53;
}

./assets/logo.png


 7595
7595


 被折叠的 条评论
为什么被折叠?
被折叠的 条评论
为什么被折叠?
 到【灌水乐园】发言


