


目标检测得到的目标框快速绘制
由于代码产生的结果没有在图片上进行展示,难以验证结果的准确性,需要绘制在图片上进行展示确保结果的准确性
于是就编写了下面的代码, 且可以让相同的类型绘制相同的颜色。
import cv2
import colorsys


img = cv2.imread('11.jpg')

result_dict = {'cls': [0, 1, 8, 11, 11, 11, 11], 'pro': [0.93, 0.976, 0.992, 0.996, 0.99, 0.99, 0.987], 'x': [965, 1055, 1004, 219, 516, 0, 377], 'y': [180, 745, 291, 46, 3, 140, 0], 'w': [84, 267, 97, 233, 48, 264, 168], 'h': [255, 308, 182, 158, 55, 256, 120]}

num_classes = 20
hsv_tuples = [(x / num_classes, 1., 1.) for x in range(num_classes)]
colors = list(map(lambda x: colorsys.hsv_to_rgb(*x), hsv_tuples))
colors = list(map(lambda x: (int(x[0] * 255), int(x[1] * 255), int(x[2] * 255)), colors))


cls_li = []
for i in range(len(result_dict["cls"])):
    cls, x, y, w, h = result_dict["cls"][i], result_dict["x"][i], result_dict["y"][i], result_dict["w"][i], result_dict["h"][i]
    left_top = (x, y)
    right_bottom = (x + w, y + h)

    cv2.rectangle(img, left_top, right_bottom, color=colors[int(cls)], thickness=3)
    cv2.putText(img, 'key', (0, 0), cv2.FONT_HERSHEY_COMPLEX_SMALL, 2, (255, 0, 0))

cv2.imwrite("xx1.jpg", img)
# cv2.waitKey()
# cv2.destroyAllWindows()
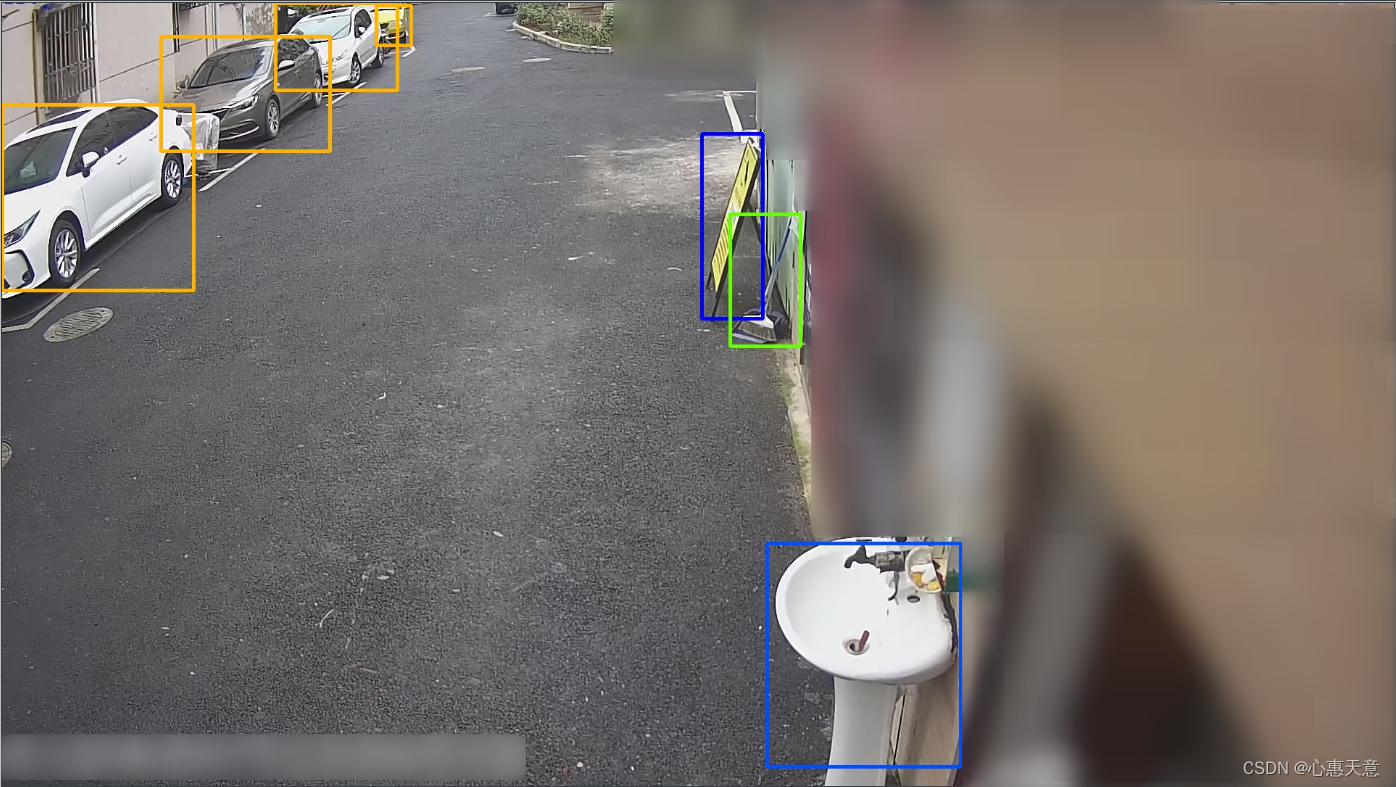
结果如图所示


 3644
3644


 被折叠的 条评论
为什么被折叠?
被折叠的 条评论
为什么被折叠?
 到【灌水乐园】发言


