


SpringCloud-Feign使用接口方式调用服务
前言
什么是Feign
Feign是声明式的web sevice客户端,它让微服务之间的调用变得更加简单了,类似于controller调用service。SpringCloud集成了Ribbon和Eureka,可在使用Feign提供负载均衡的http客户端。
调用微服务访问有两种方法:
- 微服务名字(Ribbon)
我们在Ribbon中,客户端从注册中心获取服务就是通过访问微服务的名字来获取的。
- 接口和注解(Feign)
我们只需要创建一个接口并使用注解的方式来配置它(类似于以前Dao接口上标注Mapper注解,现在是一个微服务接口上面标注一个Feign注解) - Feign集成了Ribbon
使用Feign接口方式调用服务
导包
在接口服务中导入feign的依赖
  <!--feign-->
        <dependency>
            <groupId>org.springframework.cloud</groupId>
            <artifactId>spring-cloud-starter-feign</artifactId>
            <version>1.4.6.RELEASE</version>
        </dependency>
在接口服务中编写Service层

DeptClientService
package com.cjh.springcloud.service;

import com.cjh.springcloud.pojo.Dept;
import org.springframework.cloud.openfeign.FeignClient;
import org.springframework.stereotype.Component;
import org.springframework.web.bind.annotation.GetMapping;
import org.springframework.web.bind.annotation.PathVariable;
import org.springframework.web.bind.annotation.PostMapping;

import java.util.List;

@Component
@FeignClient(value = "SPRINGCLOUD-PROVIDER-DEPT")
public interface DeptClientService {

    @GetMapping("/dept/get/{id}")
    public Dept queryById(@PathVariable("id") Long id);

    @GetMapping("/dept/list")
    public List<Dept> queryAll();

    @PostMapping("/dept/add")
    public boolean addDept(Dept dept);
}
这里我们使用Feign的注解即可完成调用。
使用@Component让它可以被Spring调用
使用@FeignClient(value = "SPRINGCLOUD-PROVIDER-DEPT")让他被Feign识别。
消费者调用服务
我们创建一个新的module
springcloud-consumer-dept-feign
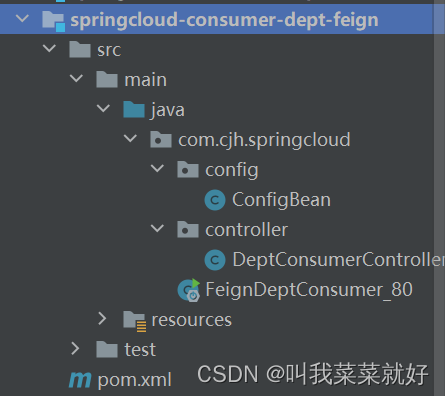
用这个来区别之前用RestTemplate的方式调用服务。
我们只需要修改Controller的内容
DeptConsumerController
package com.cjh.springcloud.controller;

import com.cjh.springcloud.pojo.Dept;
import com.cjh.springcloud.service.DeptClientService;
import org.springframework.beans.factory.annotation.Autowired;
import org.springframework.web.bind.annotation.PathVariable;
import org.springframework.web.bind.annotation.RequestMapping;
import org.springframework.web.bind.annotation.RestController;


import java.util.List;

@RestController
public class DeptConsumerController {


    @Autowired
    private DeptClientService deptClientServic = null;


    @RequestMapping("/consumer/dept/add")
    public boolean add(Dept dept) {
        return this.deptClientServic.addDept(dept);
    }

    @RequestMapping("/consumer/dept/list")
    public List<Dept> list() {
        return this.deptClientServic.queryAll();
    }


    @RequestMapping("/consumer/dept/get/{id}")
    public Dept get(@PathVariable("id") Long id) {
       return  this.deptClientServic.queryById(id);
    }

}
这样就是面向接口编程了,非常的简洁明了。
对比之前的:
package com.cjh.springcloud.controller;
import com.cjh.springcloud.pojo.Dept;
import org.springframework.beans.factory.annotation.Autowired;
import org.springframework.stereotype.Controller;
import org.springframework.web.bind.annotation.PathVariable;
import org.springframework.web.bind.annotation.RequestMapping;
import org.springframework.web.bind.annotation.RestController;
import org.springframework.web.client.RestTemplate;
import java.util.List;
@RestController
public class DeptConsumerController {
//理解:消费者,不应该有service层
//RestTemplate
//(url,实体:Map,Class<T> responseType)
@Autowired
private RestTemplate restTemplate; //提供多种便捷访问远程http服务的方法,简单的restful服务模板
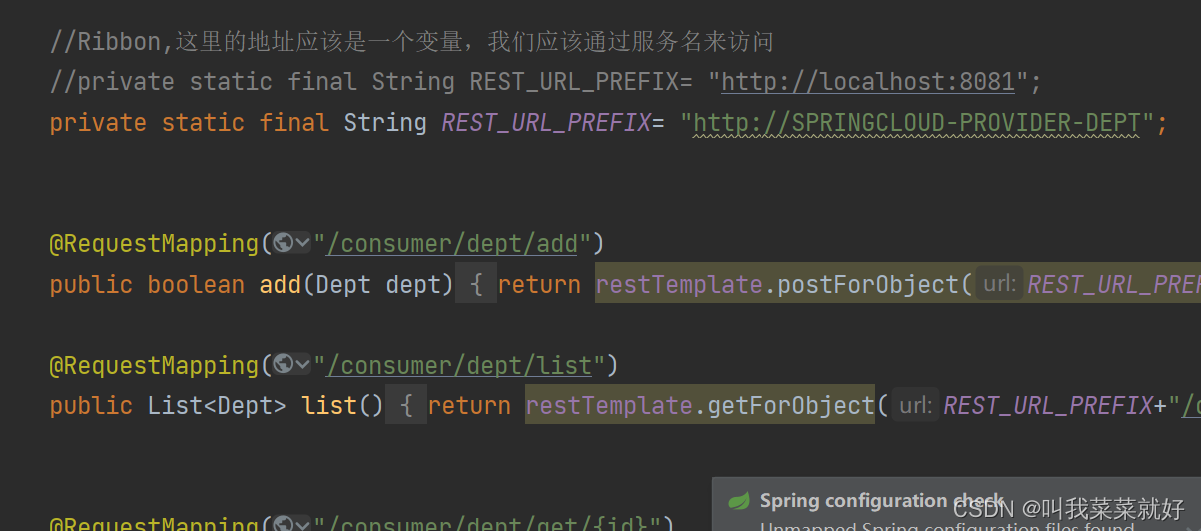
//Ribbon,这里的地址应该是一个变量,我们应该通过服务名来访问
//private static final String REST_URL_PREFIX= "http://localhost:8081";
private static final String REST_URL_PREFIX= "http://SPRINGCLOUD-PROVIDER-DEPT";
@RequestMapping("/consumer/dept/add")
public boolean add(Dept dept){
return restTemplate.postForObject(REST_URL_PREFIX+"/dept/add",dept,Boolean.class);
}
@RequestMapping("/consumer/dept/list")
public List<Dept> list(){
return restTemplate.getForObject(REST_URL_PREFIX+"/dept/list",List.class);
}
@RequestMapping("/consumer/dept/get/{id}")
public Dept get(@PathVariable("id") Long id){
return restTemplate.getForObject(REST_URL_PREFIX+"/dept/get/"+id,Dept.class);
}
}
很明显,使用Feign接口方式来调用服务更加简介、简单,这也是开发人员的规范。
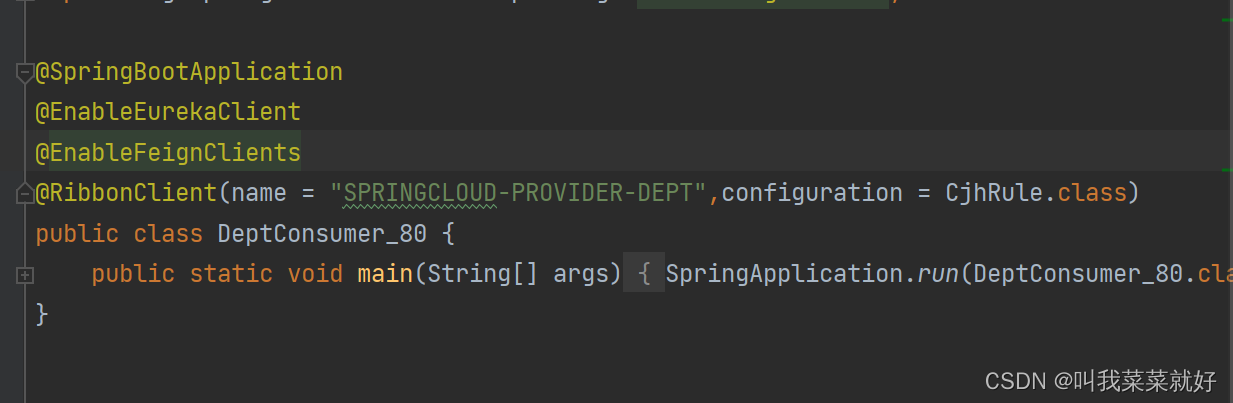
启动类配置
我们要把Feign开启,只需要添加一个注解@EnableFeignClients即可,需要配置要扫描的包
package com.cjh.springcloud;

import org.springframework.boot.SpringApplication;
import org.springframework.boot.autoconfigure.SpringBootApplication;
import org.springframework.cloud.netflix.eureka.EnableEurekaClient;
import org.springframework.cloud.openfeign.EnableFeignClients;
import org.springframework.context.annotation.ComponentScan;

@SpringBootApplication
@EnableEurekaClient
@EnableFeignClients(basePackages = {"com.cjh.springcloud"})
public class FeignDeptConsumer_80 {
    public static void main(String[] args) {
        SpringApplication.run(FeignDeptConsumer_80.class,args);
    }
}
注意:import org.springframework.cloud.openfeign.EnableFeignClients;
导入的路径是这一个。
总结
使用Feign之后,代码可读性变高了,但是性能变低了,原因封装多了一层东西。


 1740
1740


 被折叠的 条评论
为什么被折叠?
被折叠的 条评论
为什么被折叠?
 到【灌水乐园】发言


