


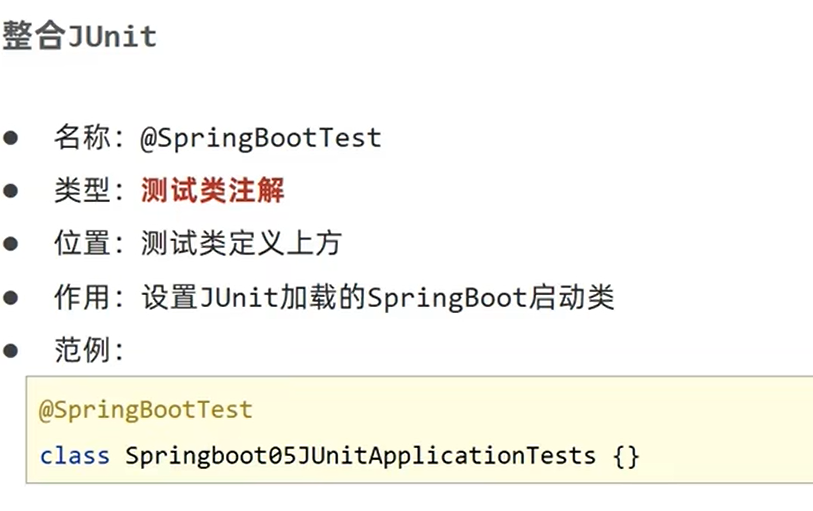
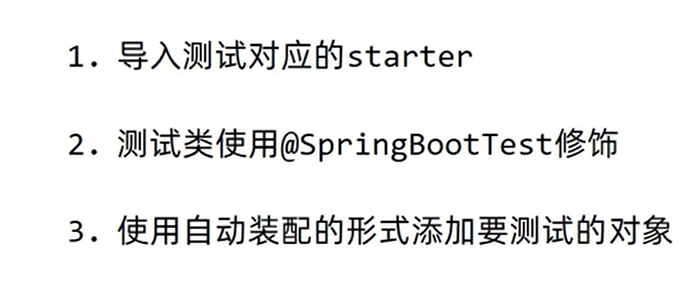
整合junit
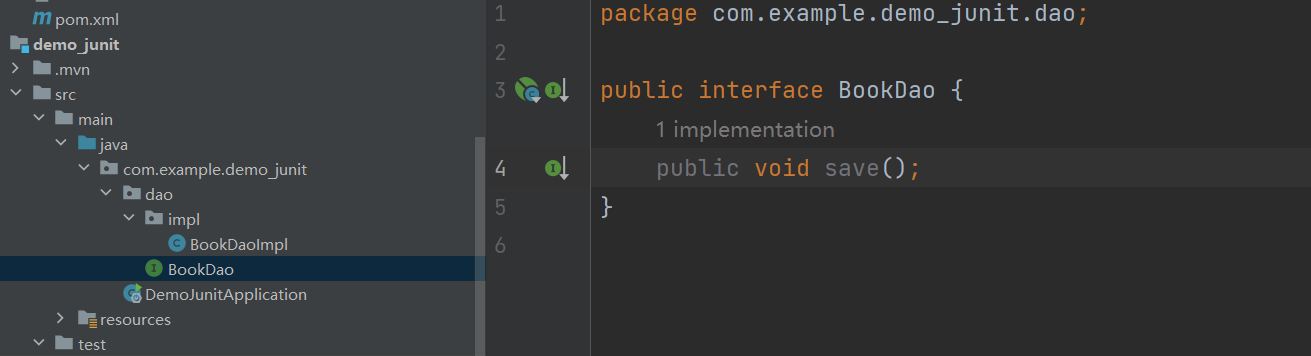
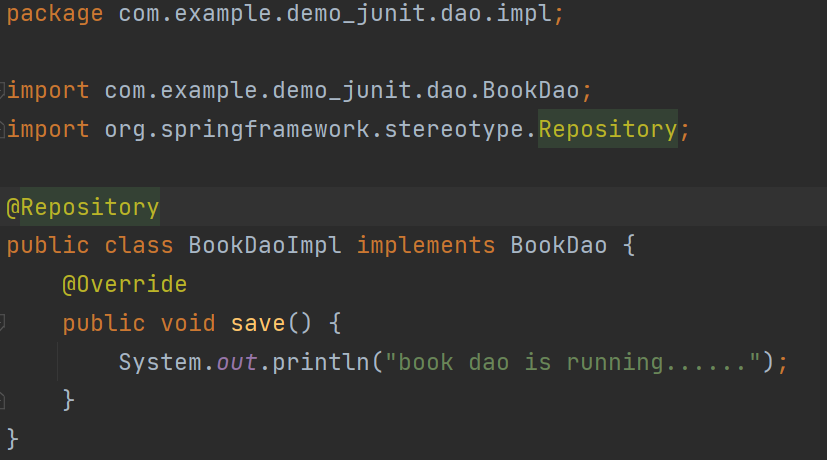
创建一个DAO类和接口
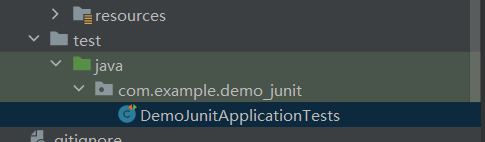
进行boot测试:
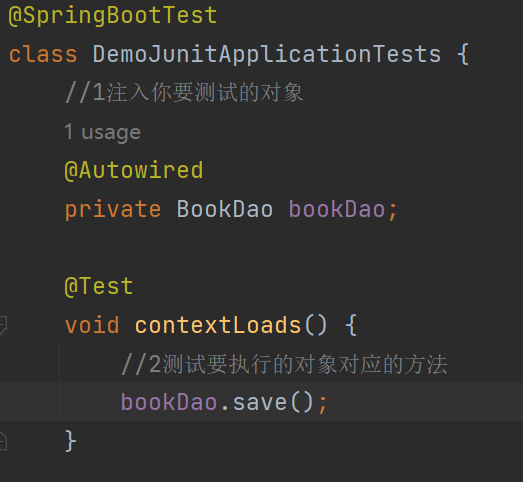
点击运行contextLoads测试方法
运行结果:

总结:
整合Mybatis
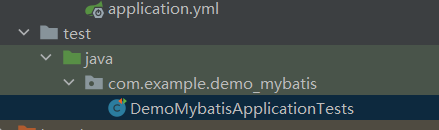
创建一个新模块
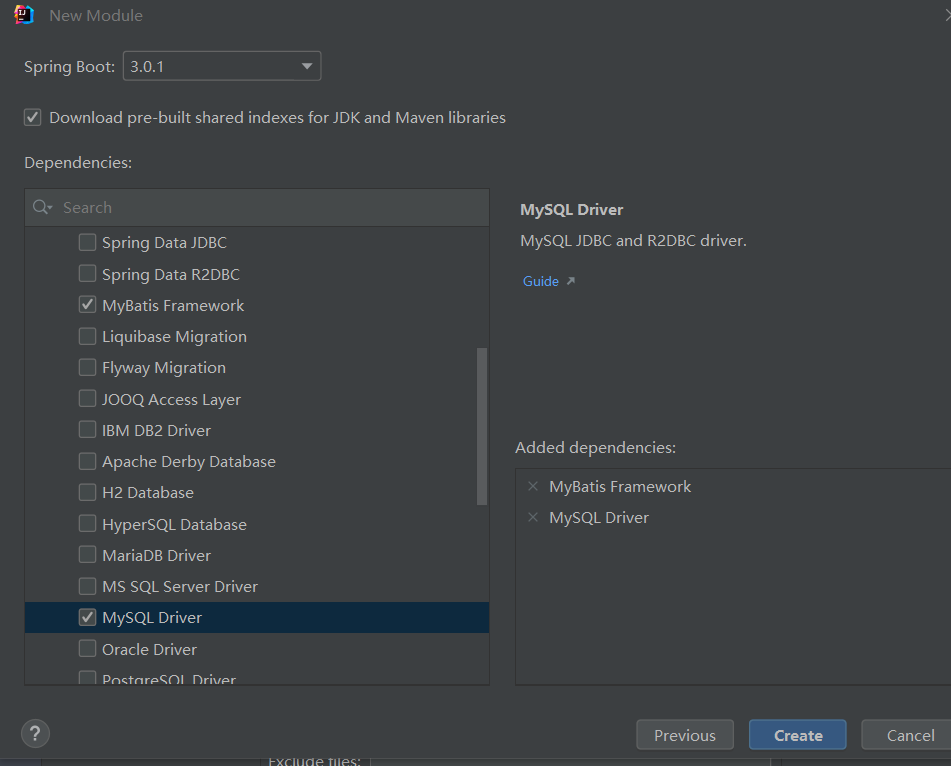
实现在数据库里放置数据(数据名称为ssm_db):

在yml中配置相关信息,设置数据源参数:
spring:
datasource:
driver-class-name: com.mysql.jdbc.Driver
url: jdbc:mysql://localhost:3306/ssm_db
username: root
password: 123456
创建一个实体类Book:
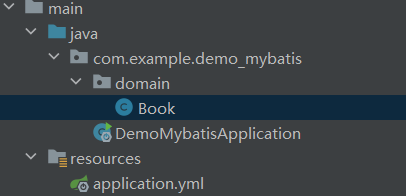
设置属性:
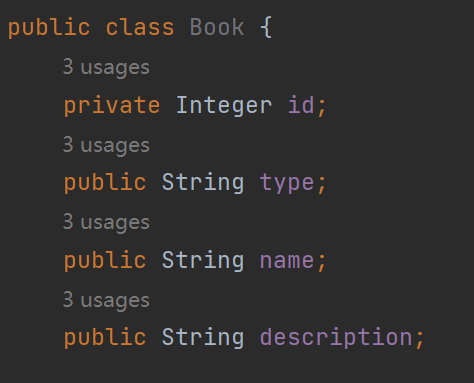
再添加相应的get,set,toString方法
再创建BookDao接口,定义数据层接口与映射配置


测试类中注入dao接口,测试功能:
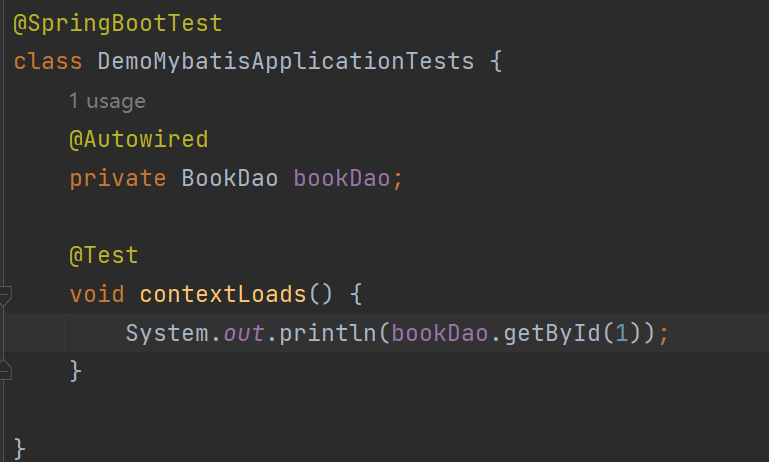
运行contextLoads():

但是会有一行红字:Loading class `com.mysql.jdbc.Driver'. This is deprecated. The new driver class is `com.mysql.cj.jdbc.Driver'. The driver is automatically registered via the SPI and manual loading of the driver class is generally unnecessary.
把yml配置文件里的com.mysql.jdbc.Driver(这个驱动过时了)改成com.mysql.cj.jdbc.Driver即可


 2224
2224


 被折叠的 条评论
为什么被折叠?
被折叠的 条评论
为什么被折叠?
 到【灌水乐园】发言


