


Spring Boot 可以打包为 war 或 jar 文件,以两种方式发布应用
一、SpringBoot 打包为 war
将我们上篇文章写的 dubbo 项目打包成 war 文件
- pom.xml
在 pom.xml 文件中配置内嵌 Tomcat 对 jsp 的解析包
<!--处理 jsp 的依赖-->
<dependency>
    <groupId>org.apache.tomcat.embed</groupId>
    <artifactId>tomcat-embed-jasper</artifactId>
</dependency>
- 指定 jsp 文件编译目录
<resources>
   <resource>
       <directory>src/main/webapp</directory>
       <targetPath>META-INF/resources</targetPath>
       <includes>
           <include>**/*.*</include>
       </includes>
   </resource>
</resources>
- 打包后的 war 文件名称
<!--指定打包后的 war 文件名称-->
<finalName> myweb </finalName>
- 完整的 build 标签内容
<build>
    <finalName> myweb </finalName>
    <resources>
        <!--mybatis 他的 xml 文件放置 src/main/java 目录-->
        <resource>
            <directory>src/main/java</directory>
            <includes>
                <include>**/*.xml</include>
            </includes>
        </resource>

        <!--指定 resources 下面的所有资源-->
        <resource>
            <directory>src/main/resources</directory>
            <includes>
                <include>**/*.*</include>
            </includes>
        </resource>

        <resource>
            <directory>src/main/webapp</directory>
            <targetPath>META-INF/resources</targetPath>
            <includes>
                <include>**/*.*</include>
            </includes>
        </resource>
    </resources>
    <plugins>
        <plugin>
            <groupId>org.springframework.boot</groupId>
            <artifactId>spring-boot-maven-plugin</artifactId>
            <version>2.2.6.RELEASE</version>
        </plugin>
    </plugins>
</build>
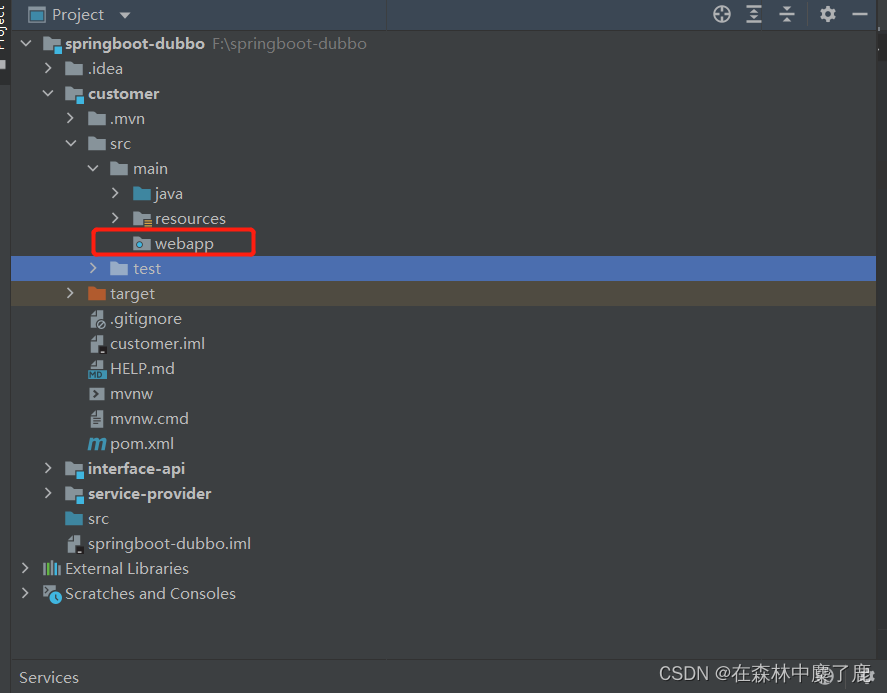
- 创建 webappp 目录
我们新建普通webapp目录,然后指定 webapp 是 web 的应用目录

- 创建 jsp 文件
<%@ page contentType="text/html;charset=UTF-8" language="java" %>
<html>
<head>
    <title>jsp</title>
</head>
<body>
    显示 controller 中的数据 ${data};
</body>
</html>
- 创建 JspWarController
package com.example.customer.controller;

import org.springframework.stereotype.Controller;
import org.springframework.web.bind.annotation.RequestMapping;
import org.springframework.web.servlet.ModelAndView;

@Controller
public class JspWarController {

    @RequestMapping("/index")
    public ModelAndView index() {
        ModelAndView mv = new ModelAndView();
        mv.addObject("data", "SpringBoot web 应用打包为 war");
        mv.setViewName("index");
        return mv;
    }
}
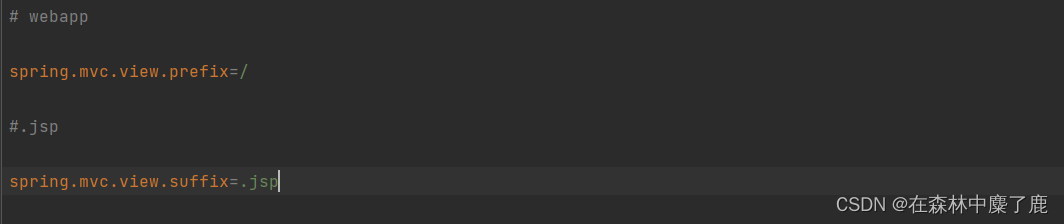
- 设置视图解析器
我们在 application.properties 中配置视图解析器
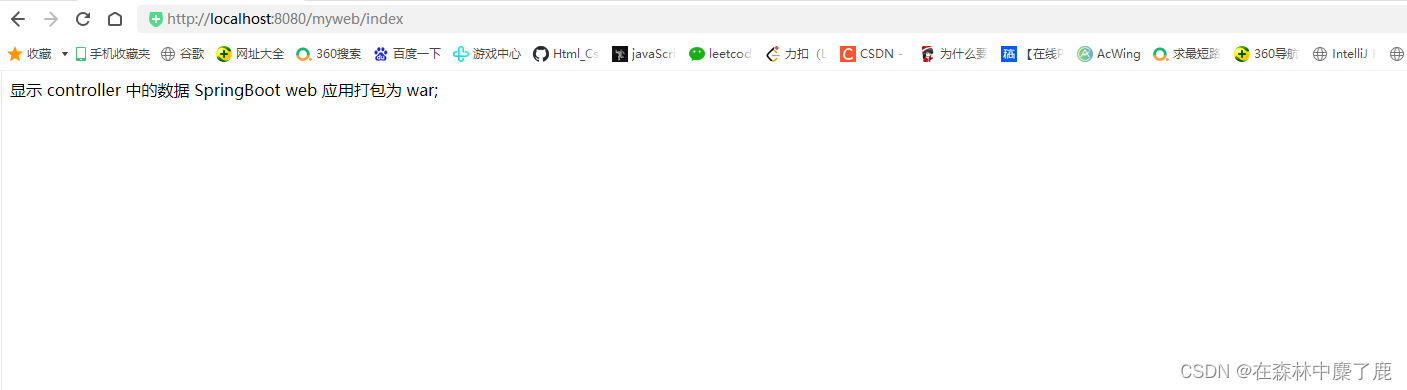
- 启动主类,在浏览器访问地址 index
访问浏览器,地址 index
- 主启动类继承 SpringBootServletInitializer
继承 SpringBootServletInitializer 可以使用外部 tomcat。
SpringBootServletInitializer 就是原有的 web.xml 文件的替代。
使用了嵌入式 servlet,默认是不支持 jsp。
package com.example.customer;

import org.apache.dubbo.config.spring.context.annotation.EnableDubbo;
import org.springframework.boot.SpringApplication;
import org.springframework.boot.autoconfigure.SpringBootApplication;
import org.springframework.boot.builder.SpringApplicationBuilder;
import org.springframework.boot.web.servlet.support.SpringBootServletInitializer;

@SpringBootApplication
@EnableDubbo
public class CustomerApplication extends SpringBootServletInitializer {

    public static void main(String[] args) {
        SpringApplication.run(CustomerApplication.class, args);
    }

    @Override
    protected SpringApplicationBuilder configure(SpringApplicationBuilder builder) {
        return builder.sources(CustomerApplication.class);
    }
}
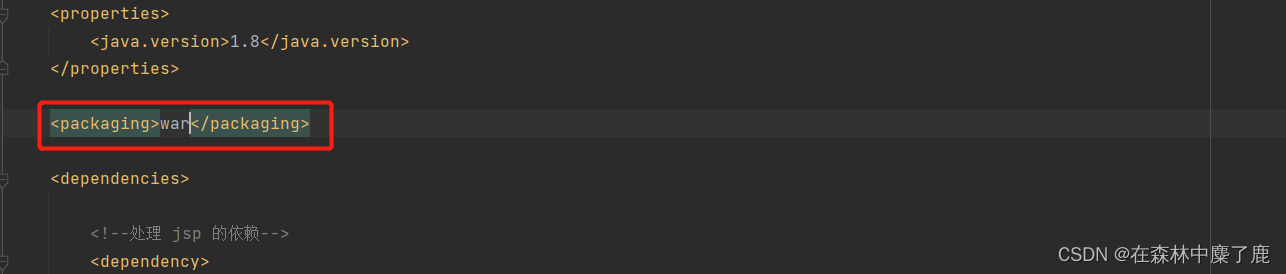
- 指定项目 package 是 war
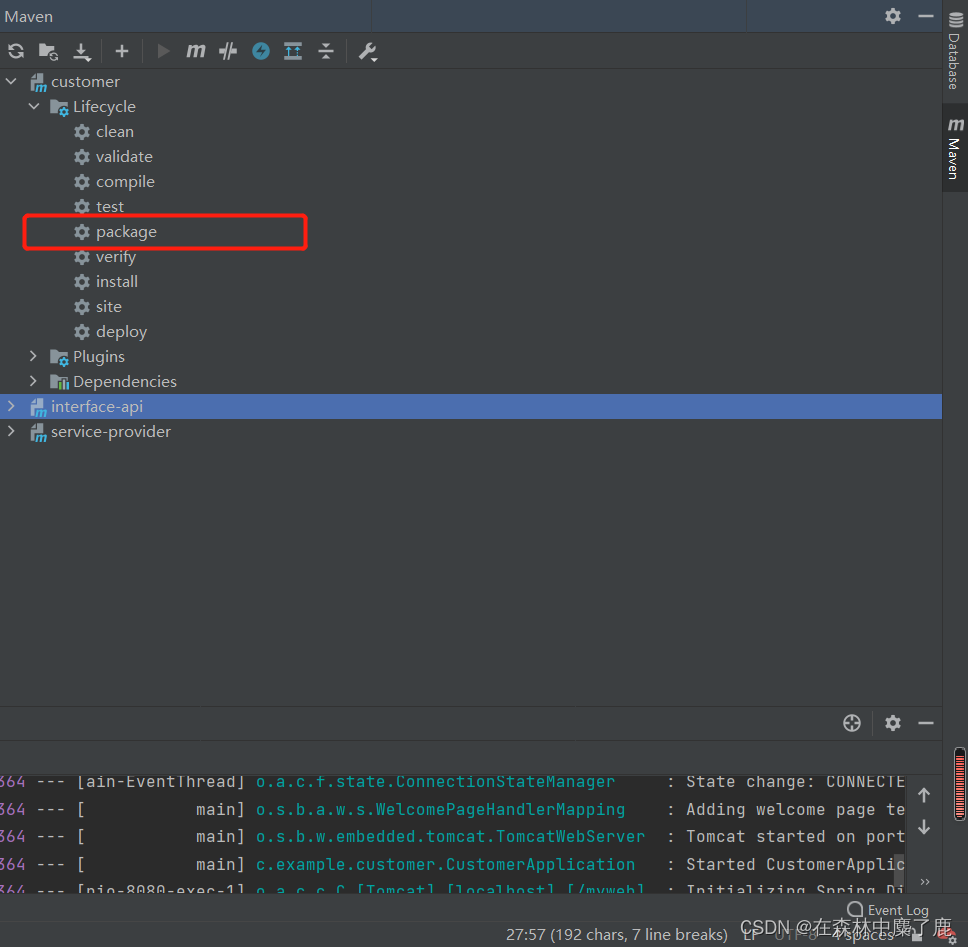
- maven package 打包

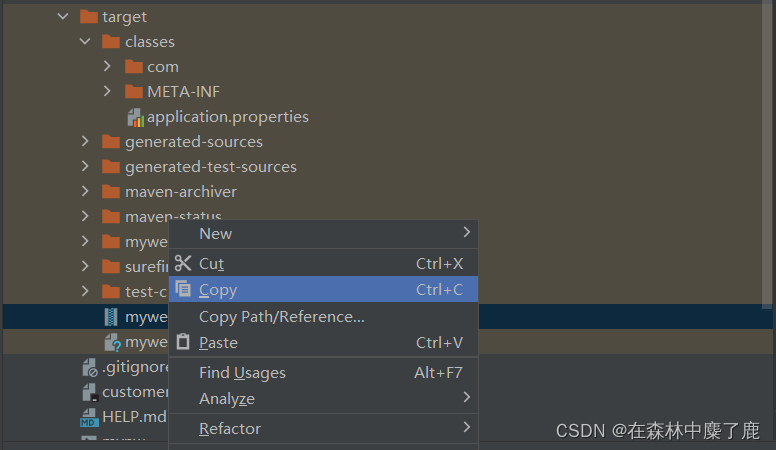
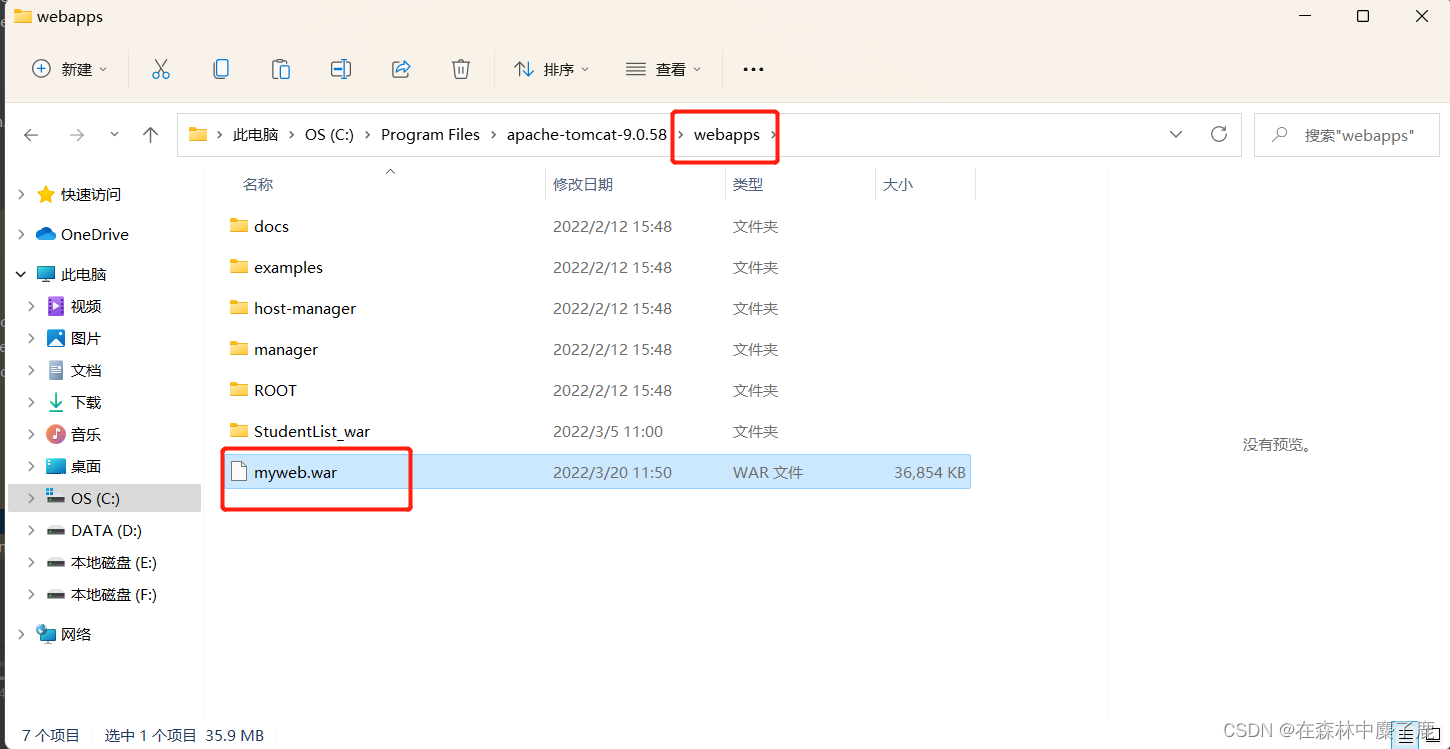
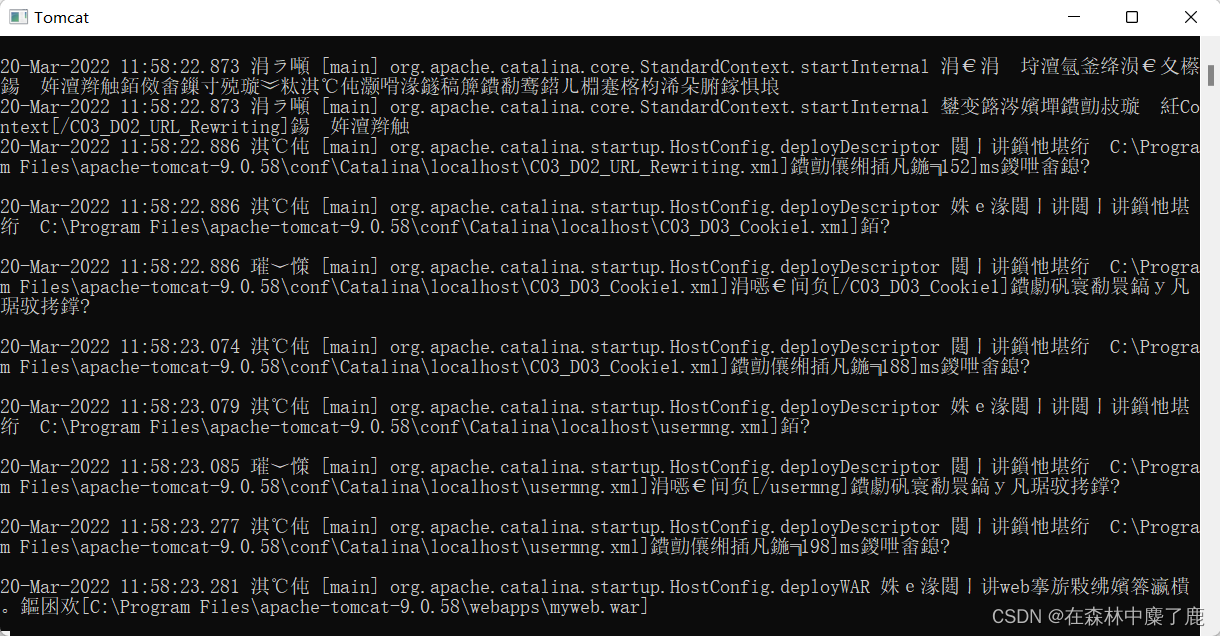
- 发布打包后的 war 到 tomcat
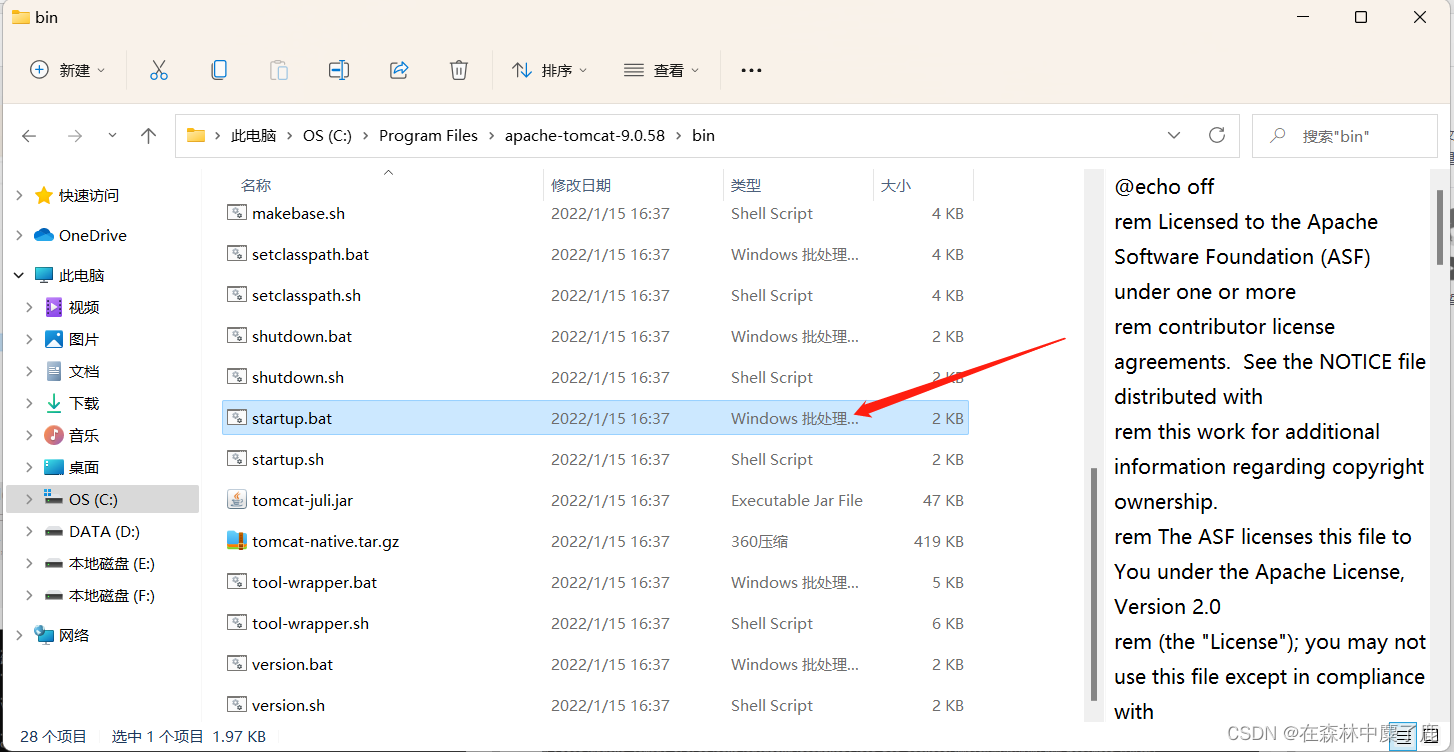
target 目录下的 war 文件拷贝到 tomcat 服务器 webapps 目录中,启动 tomcat
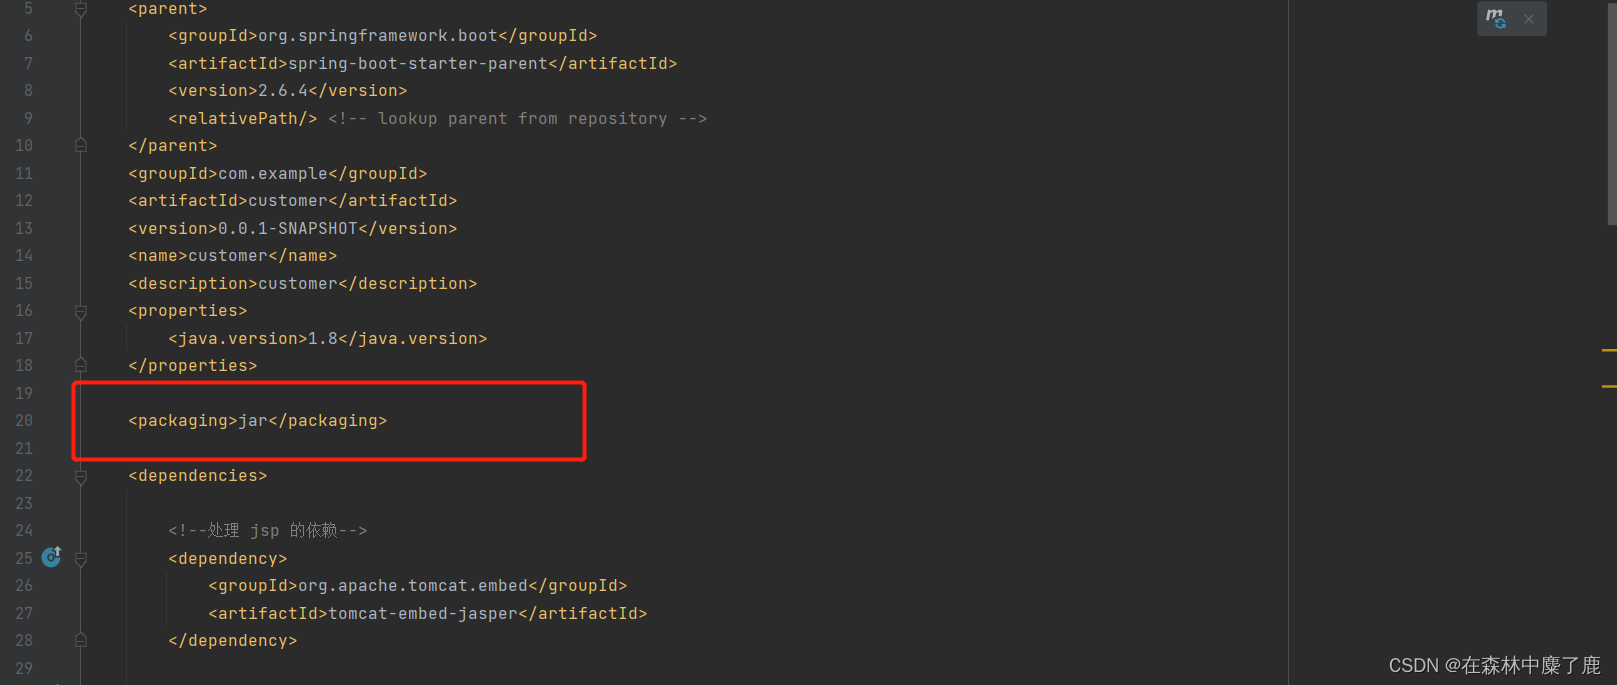
二、SpringBoot 打包为 jar
前面步骤几乎与打包为 war 相同,我们需要在 pom.xml 中更改打包类型即可
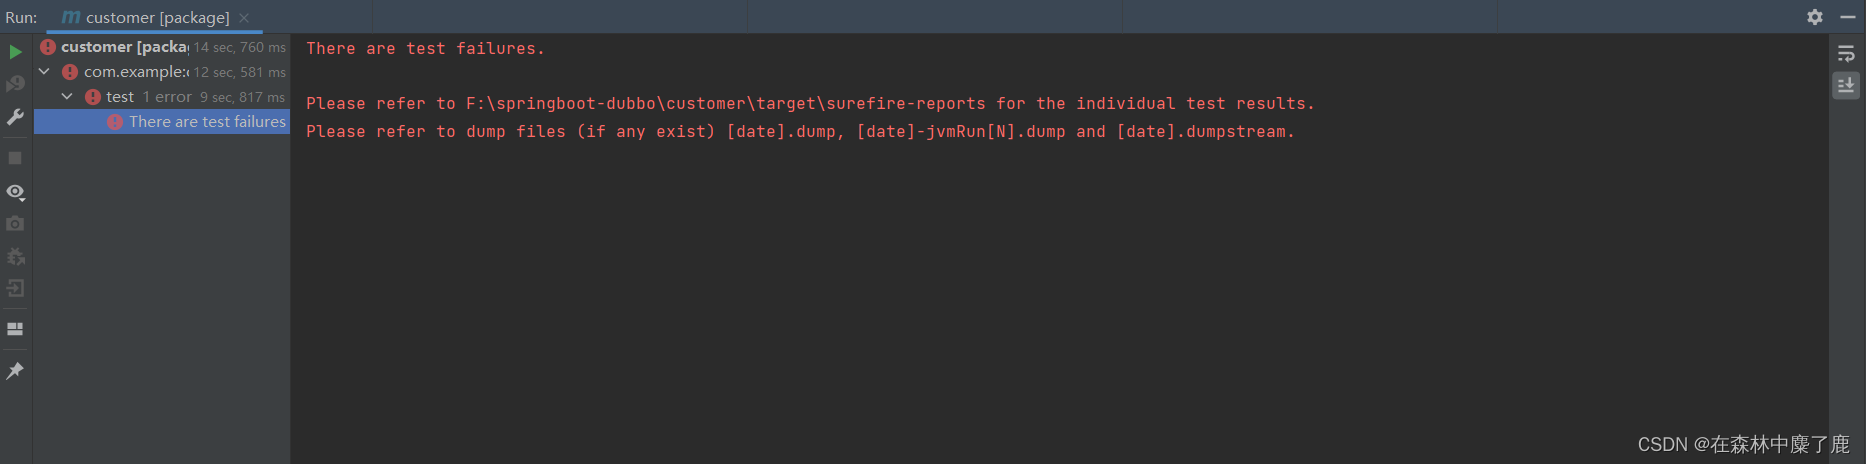
会出现以下错误,我们将 test 目录中代码注释掉即可


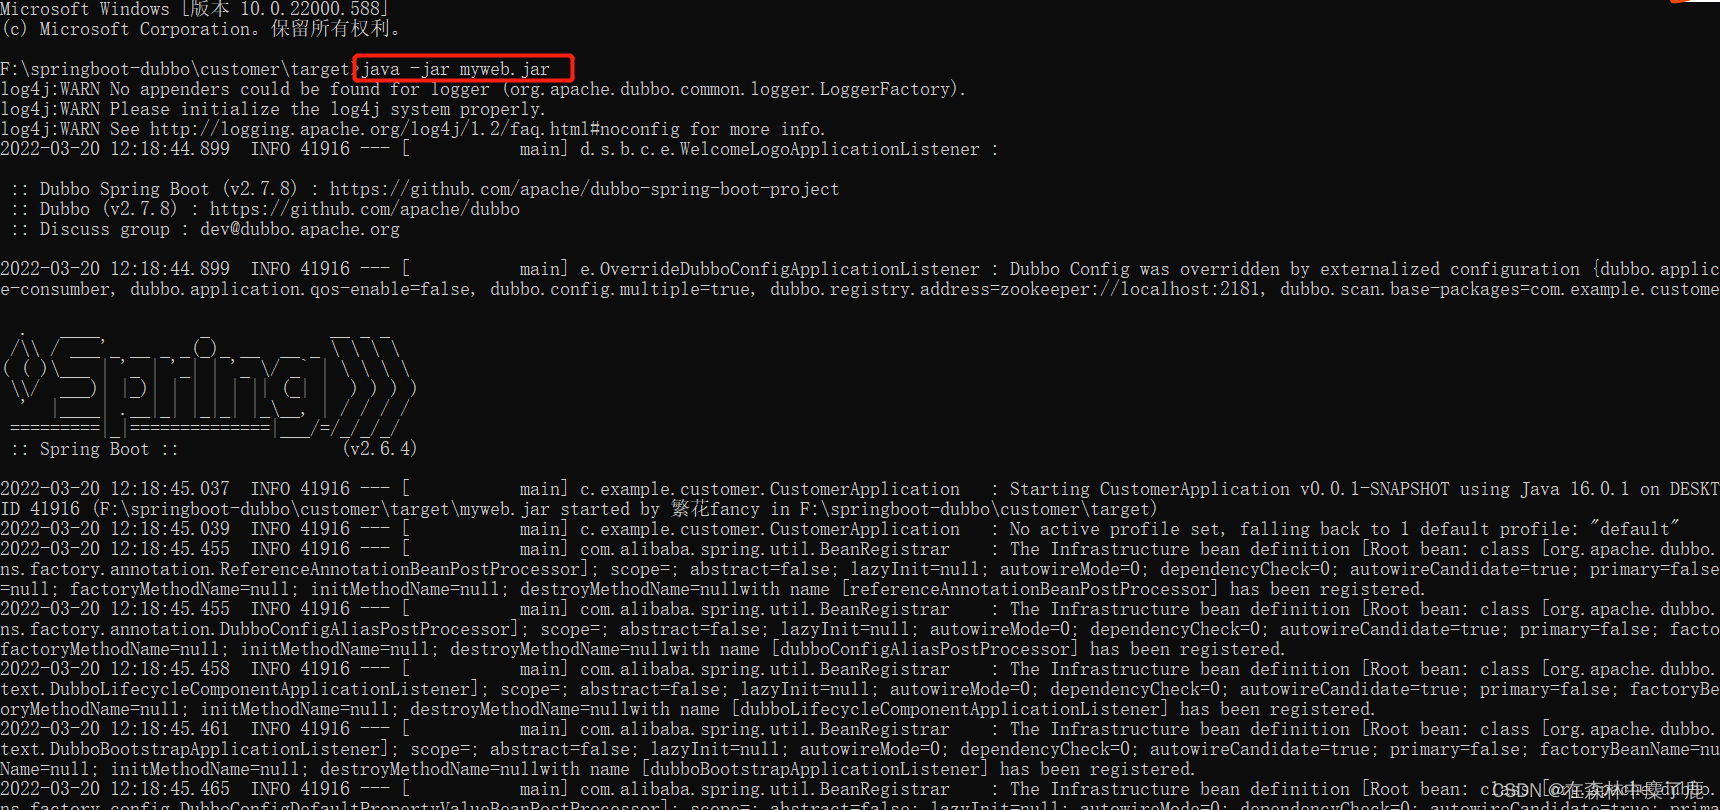
- 执行 jar,启动内置的 tomcat
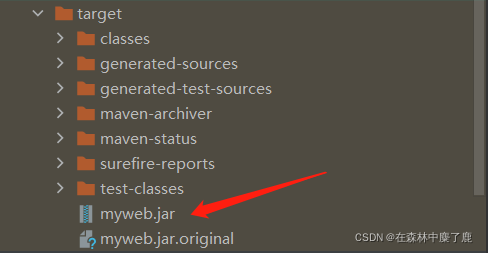
java –jar mybootjar.jar 启动 tomcat ,浏览器访问 web 应用
三、Spring Boot 部署和运行方式总结
➢ 在 IDEA 中直接运行 Spring Boot 程序的 main 方法(开发阶段)
➢ 用 maven 将 Spring Boot 安装为一个 jar 包,使用 Java 命令运行 java -jar springboot-xxx.jar
可以将该命令封装到一个 Linux 的一个 shell 脚本中(上线部署)
◼ 写一个 shell 脚本:
#!/bin/sh
java -jar xxx.jar
◼ 赋权限 chmod 777 run.sh
◼ 启动 shell 脚本: ./run.sh
➢ 使用 SpringBoot 的 maven 插件将 Springboot 程序打成 war 包,单独部署在 tomcat 中运行(上线部署常用)


 3769
3769


 被折叠的 条评论
为什么被折叠?
被折叠的 条评论
为什么被折叠?
 到【灌水乐园】发言


