


一 、创建父项目

点击Create

删掉其他的文件,留下pom.xml
删掉配置
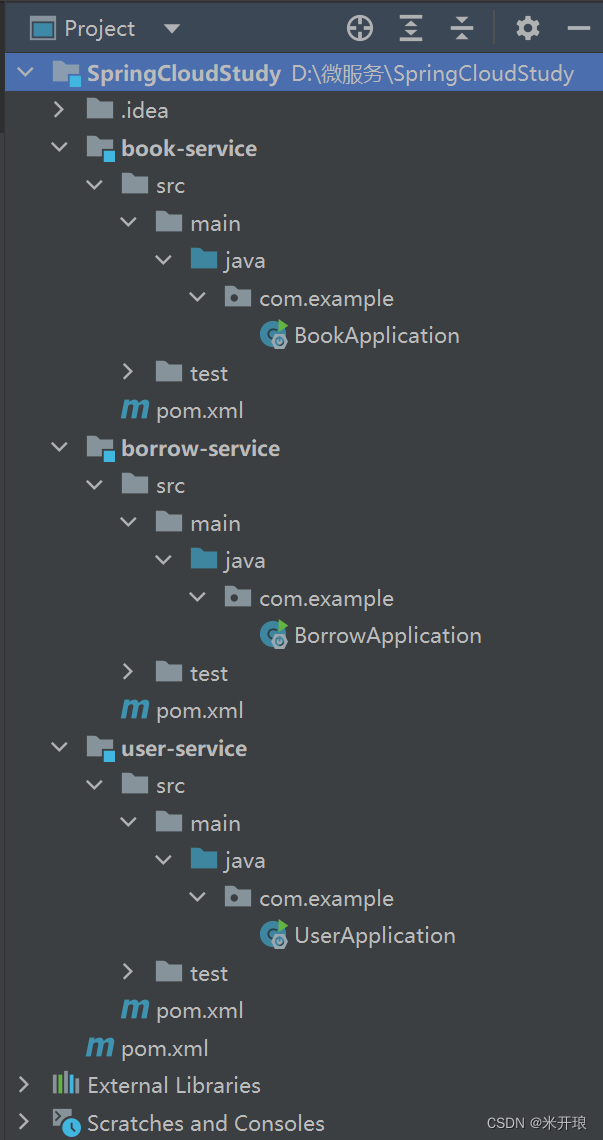
二、创建子项目user-service

 点击create
同样方式创建子项目book-service和borrow-service

三、在子项目中创建springboot的启动主类
import org.springframework.boot.SpringApplication;
import org.springframework.boot.autoconfigure.SpringBootApplication;

@SpringBootApplication
public class UserApplication {
    public static void main(String[] args) {
        SpringApplication.run(UserApplication.class,args);
    }
}
import org.springframework.boot.SpringApplication;
import org.springframework.boot.autoconfigure.SpringBootApplication;
@SpringBootApplication
public class BorrowApplication {
public static void main(String[] args) {
SpringApplication.run(BorrowApplication.class,args);
}
}
import org.springframework.boot.SpringApplication;
import org.springframework.boot.autoconfigure.SpringBootApplication;

@SpringBootApplication
public class BookApplication {
    public static void main(String[] args) {
        SpringApplication.run(BookApplication.class,args);
    }
}
四、创建配置文件
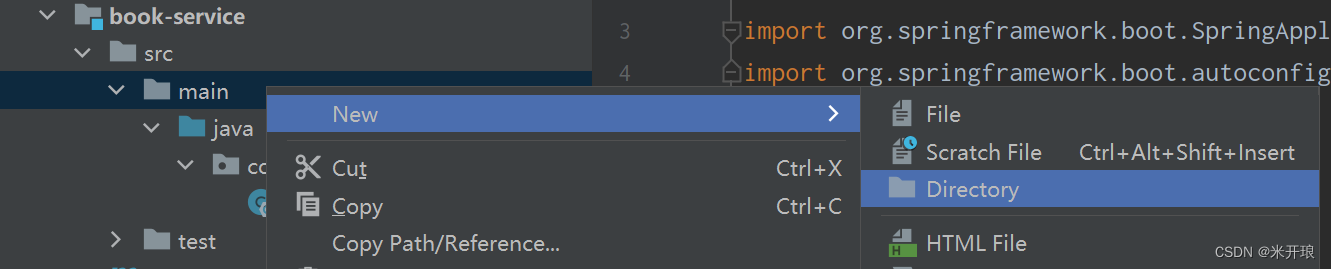
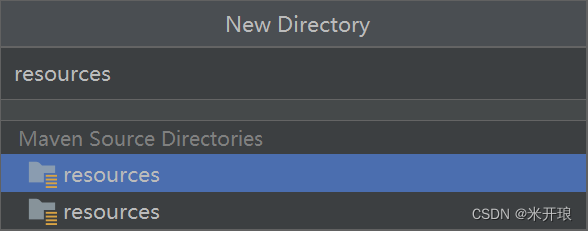
如果没有Maven Source Directory选项可以在创建好的resource右击→Mark Directory as→Resources Root

在三个子模块新建application.yml

配置端口
三个服务三个不同的端口
server:
  port: 8081
五、启动三个子项目
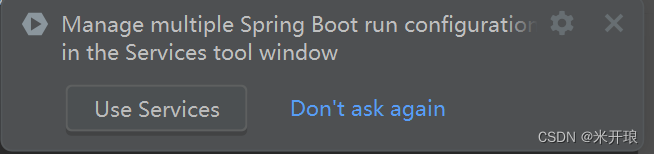
右下角出现提示点击Use Service
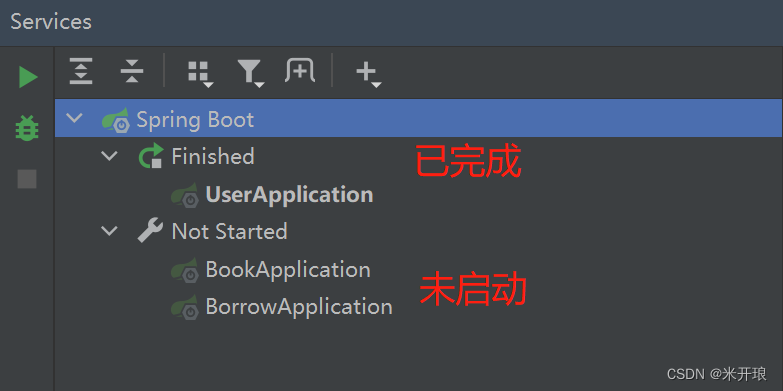
启动全部
六、添加依赖(pom.xml)
子项目中
        <dependency>
            <groupId>org.springframework.boot</groupId>
            <artifactId>spring-boot-starter-web</artifactId>
        </dependency>
父项目中
        <dependency>
            <groupId>org.projectlombok</groupId>
            <artifactId>lombok</artifactId>
            <version>1.18.24</version>
        </dependency>

        <dependency>
            <groupId>mysql</groupId>
            <artifactId>mysql-connector-java</artifactId>
            <version>8.0.28</version>
        </dependency>
添加完之后刷新maven
七、重新启动项目
点击enable annotation processing

启动成功后会显示刚刚配置的端口

八、创建数据库
db_user
CREATE TABLE `db_user` (
  `uid` int(11) NOT NULL AUTO_INCREMENT,
  `name` varchar(255) COLLATE utf8mb4_unicode_520_ci NOT NULL,
  `age` int(11) NOT NULL,
  `sex` enum('男','女') COLLATE utf8mb4_unicode_520_ci NOT NULL,
  PRIMARY KEY (`uid`)
) ENGINE=InnoDB DEFAULT CHARSET=utf8mb4 COLLATE=utf8mb4_unicode_520_ci;
db_book
CREATE TABLE `db_book` (
  `bid` int(11) NOT NULL AUTO_INCREMENT,
  `title` varchar(255) COLLATE utf8mb4_unicode_520_ci DEFAULT NULL,
  `desc` varchar(255) COLLATE utf8mb4_unicode_520_ci DEFAULT NULL,
  PRIMARY KEY (`bid`)
) ENGINE=InnoDB DEFAULT CHARSET=utf8mb4 COLLATE=utf8mb4_unicode_520_ci;
db_borrow
CREATE TABLE `db_borrow` (
  `id` int(11) NOT NULL AUTO_INCREMENT,
  `uid` int(11) DEFAULT NULL,
  `bid` int(11) DEFAULT NULL,
  PRIMARY KEY (`id`),
  UNIQUE KEY `unique_bid_uid` (`uid`,`bid`),
  KEY `f_bid` (`bid`),
  CONSTRAINT `f_bid` FOREIGN KEY (`bid`) REFERENCES `db_book` (`bid`),
  CONSTRAINT `f_uid` FOREIGN KEY (`uid`) REFERENCES `db_user` (`uid`)
) ENGINE=InnoDB DEFAULT CHARSET=utf8mb4 COLLATE=utf8mb4_unicode_520_ci;
自己造一些数据
九、父项目中引入依赖
    <!--版本管理-->
    <dependencyManagement>
        <dependencies>
            <dependency>
                <groupId>org.mybatis.spring.boot</groupId>
                <artifactId>mybatis-spring-boot-starter</artifactId>
                <version>2.2.2</version>
            </dependency>
        </dependencies>
    </dependencyManagement>
子项目中
        <dependency>
            <groupId>org.mybatis.spring.boot</groupId>
            <artifactId>mybatis-spring-boot-starter</artifactId>
        </dependency>
数据库配置
spring:
  datasource:
    driver-class-name: com.mysql.cj.jdbc.Driver
    url: jdbc:mysql://localhost:3306/数据库?useUnicode=true&useSSL=false&characterEncoding=utf8&serverTimezone=GMT%2b8
    username: root
    password: root
十、用户查询
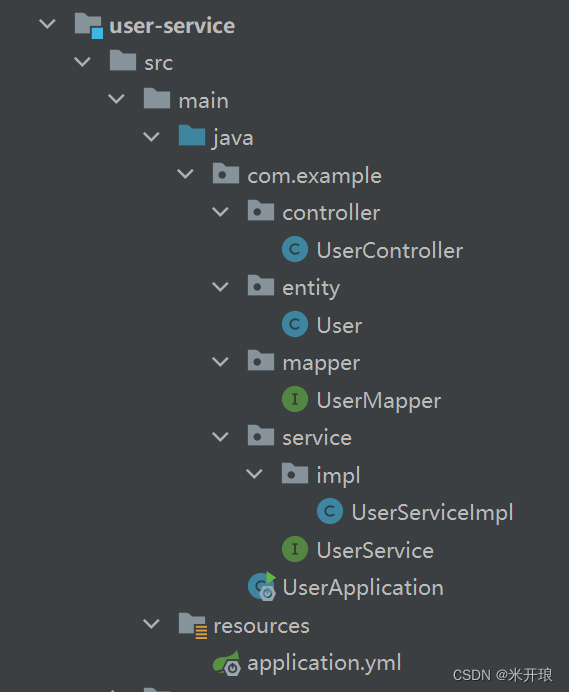
user-service结构如下
User
@Data
public class User {
    int uid;
    String name;
    String sex;
    String age;
}
UserController
@RestController
public class UserController {
    @Resource
    UserService userService;

    @RequestMapping("/user/{uid}")
    public User findUserById(@PathVariable("uid") int uid){
        return userService.getUserById(uid);
    }
}
UserService
public interface UserService {
    User getUserById(int uid);
}
UserServiceImpl
@Service
public class UserServiceImpl implements UserService {

    @Resource
    UserMapper userMapper;

    @Override
    public User getUserById(int uid) {
        return userMapper.getUserById(uid);
    }
}
UserMapper
@Mapper
public interface UserMapper {
    @Select("select  * from db_user where uid = #{uid}")
    User getUserById(int uid);
}
启动user-service
浏览器访问 http://localhost:8081/user/1
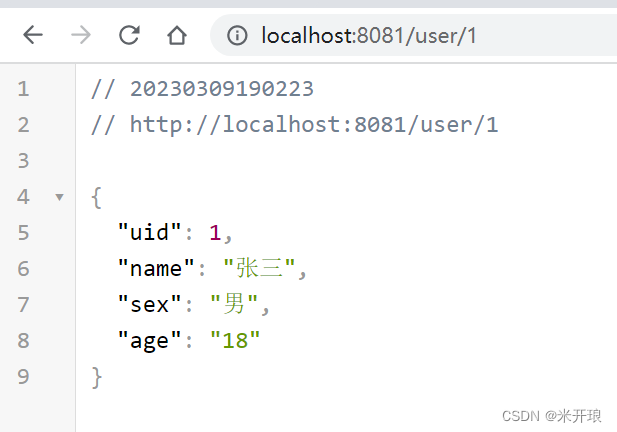
成功
这里省略其book-service,一样的写法
十一、borrow-service服务
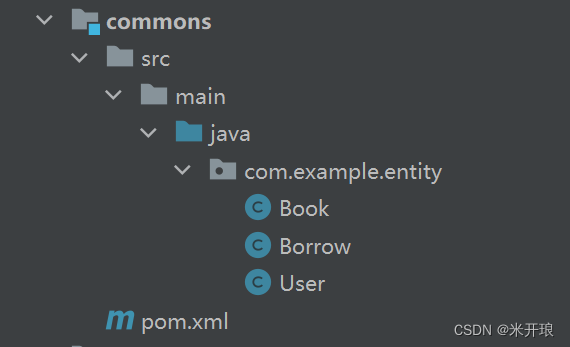
1、创建一个commons模块用于管理实体类
2、在commons模块创建entity,将book和user实体类放入,删掉book-service和user-service的entiy
3、在book-service、user-service、borrow-service的pom导入commons依赖
        <dependency>
            <groupId>com.example</groupId>
            <artifactId>commons</artifactId>
            <version>0.0.1-SNAPSHOT</version>
        </dependency>
4、borrow-service代码
创建UserBorrowDetail实体类
@Data
@AllArgsConstructor
public class UserBorrowDetail {
    User user;
    List<Book> bookList;
}
BorrowMapper
@Mapper
public interface BorrowMapper {

    @Select("select * from db_borrow where uid = #{uid};")
    List<Borrow> getBorrowByUid(int uid);
    @Select("select * from db_borrow where bid = #{bid};")
    List<Borrow> getBorrowByBid(int bid);
    @Select("select * from db_borrow where bid =#{bid} and uid = #{uid}")
    Borrow getBorrow(int uid,int bid);
}
BorrowService
public interface BorrowService {
    UserBorrowDetail getUserBorrowDetailByUid(int uid);
}
BorrowServiceImpl
拿到借阅关联信息,调用其他服务
@Service
public class BorrowServiceImpl implements BorrowService {
    @Resource
    BorrowMapper borrowMapper;

    @Override
    public UserBorrowDetail getUserBorrowDetailByUid(int uid) {
        List<Borrow> borrows = borrowMapper.getBorrowByUid(uid);
        //RestTemplate支持多种方式远程调用
        RestTemplate template = new RestTemplate();
        //调用getForObject请求其他服务,将结果自动进行封装
        User user = template.getForObject("http://localhost:8081/user/" + uid, User.class);

        List<Book> bookList = borrows
                .stream()
                .map(b -> template.getForObject("http://localhost:8082/book/" + b.getBid(),Book.class))
                .collect(Collectors.toList());
        return new UserBorrowDetail(user,bookList);
    }
}
BorrowController
@RestController
public class BorrowController {
    @Resource
    BorrowService borrowService;

    @RequestMapping("/borrow/{uid}")
    UserBorrowDetail findUserBorrows(@PathVariable("uid") int uid){
        return borrowService.getUserBorrowDetailByUid(uid);
    }
}
同时运行三个服务访问 http://localhost:8083/borrow/1

调用成功
此入门项目是我向b站青空の霞光学习的项目,仅用做学习使用,具体微服务知识体系可前去学习


 939
939


 被折叠的 条评论
为什么被折叠?
被折叠的 条评论
为什么被折叠?
 到【灌水乐园】发言


