


作者:OHJ小白
此文章是swagger的基础搭建,希望这篇文章可以帮到你学习swagger搭建
一、Swagger是什么?
使用Swagger你只需要按照它的规范去定义接口及接口相关的信息,再通过Swagger衍生出来的一系列项目和工具,就可以做到生成各种格式的接口文档,以及在线接口调试页面等等,这不但可以方便前端人员查看接口与后端进行联调,还可以让后端人员自己进行接口的调试,大大增加开发的效率。
swagger官网: API Documentation & Design Tools for Teams | Swagger
knife4j是为Java MVC框架集成Swagger生成Api文档的增强解决方案,可以让接口文档页面变得更美观和功能变强大
官网文档地址:Knife4j · 集Swagger2及OpenAPI3为一体的增强解决方案. | Knife4j
二、使用步骤
1.引入依赖
依赖如下(示例):
<!-- knife4j,Swagger的增强文档 -->
<dependency>
    <groupId>com.github.xiaoymin</groupId>
	<artifactId>knife4j-spring-boot-starter</artifactId>
	<version>3.0.3</version>
</dependency>
2.代码
代码如下(示例):
package com.example.server.web.config;

import com.github.xiaoymin.knife4j.spring.annotations.EnableKnife4j;
import org.springframework.context.annotation.Bean;
import org.springframework.context.annotation.Configuration;
import springfox.documentation.builders.ApiInfoBuilder;
import springfox.documentation.builders.PathSelectors;
import springfox.documentation.builders.RequestHandlerSelectors;
import springfox.documentation.service.ApiInfo;
import springfox.documentation.service.Contact;
import springfox.documentation.spi.DocumentationType;
import springfox.documentation.spring.web.plugins.Docket;
import springfox.documentation.swagger2.annotations.EnableSwagger2;

@Configuration
@EnableSwagger2
@EnableKnife4j
public class SwaggerConfig {

    @Bean
    public Docket createRestApi() {
        return new Docket(DocumentationType.OAS_30)
                .useDefaultResponseMessages(false)
                .apiInfo(apiInfo())
                .select()
                .apis(RequestHandlerSelectors.basePackage("com.example.server.web.controller"))
                .paths(PathSelectors.any())
                .build();
    }

    private ApiInfo apiInfo() {
        return new ApiInfoBuilder()
                .description("knife4j在线API接口文档")
                .contact(new Contact("YHJ","#", "2733247927@qq.com"))
                .version("v3.0.0")
                .title("knife4j在线API接口文档")
                .build();
    }
}
3.配置基本信息
Docket:摘要对象,通过对象配置描述文件的信息。
apiInfo:设置描述文件中信息。参数类型ApiInfo
select():返回ApiSelectorBuilder对象,通过对象调用build()可以创建Docket对象
ApiInfoBuilder:ApiInfo构建器。
apis:设置哪个包中内容被扫描
paths:可以设置满足什么样规则的url被生成接口文档。可以使用正则表达式进行匹配。 PathSelectors.any ()是代表匹配所有URL。
useDefaultResponseMessages:实际开发中,大多数都是自定义状态码的;所以,就可以通过 useDefaultResponseMessages(false) 关闭默认状态码
4.常用注解
@Api:加载Controller类上,表示对类的说明(用法:@Api(tags = {"xxx"}),这样swagger上面才会显示你写的信息)
@ApiModel:添加在实体类上,实体类的描述信息
@ApiModelProperty:添加实体类的属性上,属性的描述信息
@ApiOperation:一般添加在方法上,描述方法的作用
@ApiImplicitParams:表示一组参数说明
@ApiImplicitParam:用在@ApiImplicitParams注解中,指定一个请求参数的各个方面的属性
@ApiParam:描述方法的参数的信息
5.访问文档首页
http://localhost:8080/doc.html

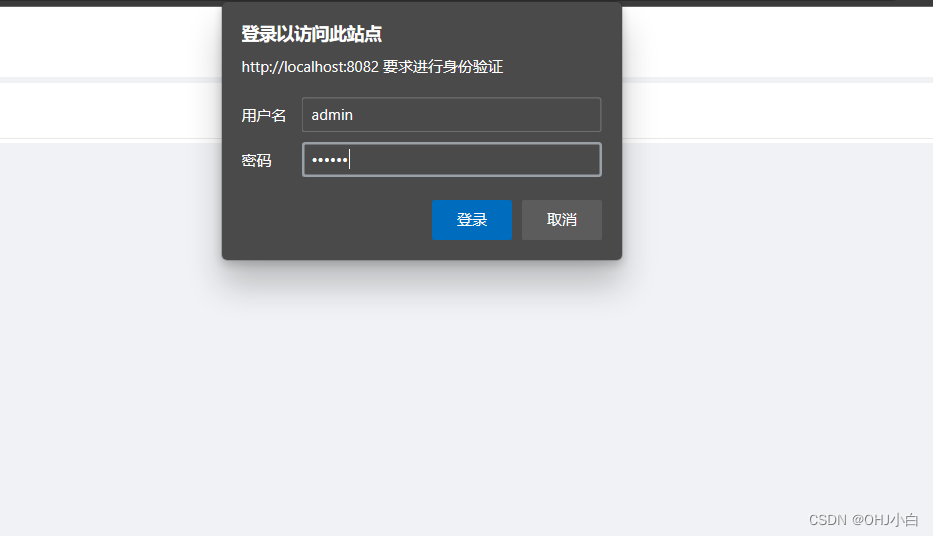
6、是否开启密码模式等配置
swagger还可以开启密码登录模式,只需要在application.yaml里面写上
knife4j:
  enable: true  #开启增强功能
  basic:
    enable: true    #开启密码模式
    username: admin   #用户名
    password: 123456  #密码
如图:
注意事项
若访问文档首页的时候出现404,则需要检查自己的项目存不存在WebMvcConfigurationSupport类或者WebMvcConfigurer接口,若存在先在启动类上加@EnableWebMvc,还需要加上此配置:
@SpringBootApplication
public class SwaggerBootstrapUiDemoApplication  implements WebMvcConfigurer{

    @Override
    public void addResourceHandlers(ResourceHandlerRegistry registry) {
        registry.addResourceHandler("doc.html").addResourceLocations("classpath:/META-INF/resources/");
        registry.addResourceHandler("/webjars/**").addResourceLocations("classpath:/META-INF/resources/webjars/");
    }
}
官方的说明是:如果你是使用的老的版本SpringBoot,通过继承WebMvcConfigurationSupport来扩展SpringBoot相关的配置,则把以上配置加在相应的addResourceHandlers方法中即可官方的说明是:如果你是使用的老的版本SpringBoot,通过继承WebMvcConfigurationSupport来扩展SpringBoot相关的配置,则把以上配置加在相应的addResourceHandlers方法中即可


 7219
7219


 被折叠的 条评论
为什么被折叠?
被折叠的 条评论
为什么被折叠?
 到【灌水乐园】发言


