


先自我介绍一下,小编浙江大学毕业,去过华为、字节跳动等大厂,目前阿里P7
深知大多数程序员,想要提升技能,往往是自己摸索成长,但自己不成体系的自学效果低效又漫长,而且极易碰到天花板技术停滞不前!
因此收集整理了一份《2024年最新Linux运维全套学习资料》,初衷也很简单,就是希望能够帮助到想自学提升又不知道该从何学起的朋友。


既有适合小白学习的零基础资料,也有适合3年以上经验的小伙伴深入学习提升的进阶课程,涵盖了95%以上运维知识点,真正体系化!
由于文件比较多,这里只是将部分目录截图出来,全套包含大厂面经、学习笔记、源码讲义、实战项目、大纲路线、讲解视频,并且后续会持续更新
如果你需要这些资料,可以添加V获取:vip1024b (备注运维)

正文
3、构建k8s
3.1、下载k8s软件
3.1.1、snap下载
// snap下载
# snap install kubeadm --classic

# snap install kubectl --classic

# snap install kubelet --classic

// 查看kubelet服务状态
# systemctl status snap.kubelet.daemon.service

# cd /etc/systemd/system
# mv snap.kubelet.daemon.service kubelet.service
# systemctl disable snap.kubelet.daemon.service
# systemctl enable kubelet.service
# reboot

apt install conntrack
apt install socat


// 关机
# shutdown -h 0
3.1.2、apt下载
// apt下载
// 从社区获取apt下载源包含k8s1.29版本,用aliyun也可以,但版本号最高为k8s1.28
# curl -fsSL https://pkgs.k8s.io/core:/stable:/v1.29/deb/Release.key | gpg --dearmor -o /etc/apt/keyrings/kubernetes-apt-keyring.gpg

# echo 'deb [signed-by=/etc/apt/keyrings/kubernetes-apt-keyring.gpg] https://pkgs.k8s.io/core:/stable:/v1.29/deb/ /' | tee /etc/apt/sources.list.d/kubernetes.list

// 更新apt源
# apt update

// 查看新源里面有什么版本的kubeadm
# apt-cache policy kubeadm
kubeadm:
  Installed: (none)
  Candidate: 1.28.2-00
  Version table:
     1.28.2-00 500
        500 https://pkgs.k8s.io/core:/stable:/v1.28/deb  Packages
     1.28.2-00 500
        500 https://pkgs.k8s.io/core:/stable:/v1.28/deb  Packages
     1.28.2-00 500
        500 https://pkgs.k8s.io/core:/stable:/v1.28/deb  Packages
     1.28.2-00 500
        500 https://pkgs.k8s.io/core:/stable:/v1.28/deb  Packages
// 发现最新版是1.28.2-00

// 进行安装
# apt install kubeadm kubectl kubelet
// 保持版本不被自动升级
# apt-mark hold kubeadm kubectl kubelet

// 关机
# shutdown -h 0
3.2、复制虚拟机master1
在virtualbox里面复制一个虚拟机,取名k8s_master1,修改IP地址
在virtualbox里面复制一个虚拟机,取名k8s_worker1,修改IP地址
# hostnamectl hostname master1
// 各个worker虚拟机还需要修改IP地址,并将各自的IP和机器名称加入/etc/hosts


// 在master1上做初始化
# kubeadm init --kubernetes-version=v1.29.3 --image-repository registry.aliyuncs.com/google_containers --pod-network-cidr=10.244.0.0/16 --service-cidr=10.96.0.0/16

# kubeadm init --kubernetes-version=v1.29.3 --image-repository registry.aliyuncs.com/google_containers --pod-network-cidr=10.244.0.0/16 --service-cidr=10.96.0.0/16 --apiserver-advertise-address=10.0.1.11

// 一次成功!
# kubeadm init --image-repository registry.aliyuncs.com/google_containers --pod-network-cidr=10.244.0.0/16 --service-cidr=10.96.0.0/16 --apiserver-advertise-address=10.0.1.11
[init] Using Kubernetes version: v1.29.3
[preflight] Running pre-flight checks
[preflight] Pulling images required for setting up a Kubernetes cluster
[preflight] This might take a minute or two, depending on the speed of your internet connection
[preflight] You can also perform this action in beforehand using 'kubeadm config images pull'
[certs] Using certificateDir folder "/etc/kubernetes/pki"
[certs] Generating "ca" certificate and key
[certs] Generating "apiserver" certificate and key
[certs] apiserver serving cert is signed for DNS names [kubernetes kubernetes.default kubernetes.default.svc kubernetes.default.svc.cluster.local master1] and IPs [10.96.0.1 10.0.1.11]
[certs] Generating "apiserver-kubelet-client" certificate and key
[certs] Generating "front-proxy-ca" certificate and key
[certs] Generating "front-proxy-client" certificate and key
[certs] Generating "etcd/ca" certificate and key
[certs] Generating "etcd/server" certificate and key
[certs] etcd/server serving cert is signed for DNS names [localhost master1] and IPs [10.0.1.11 127.0.0.1 ::1]
[certs] Generating "etcd/peer" certificate and key
[certs] etcd/peer serving cert is signed for DNS names [localhost master1] and IPs [10.0.1.11 127.0.0.1 ::1]
[certs] Generating "etcd/healthcheck-client" certificate and key
[certs] Generating "apiserver-etcd-client" certificate and key
[certs] Generating "sa" key and public key
[kubeconfig] Using kubeconfig folder "/etc/kubernetes"
[kubeconfig] Writing "admin.conf" kubeconfig file
[kubeconfig] Writing "super-admin.conf" kubeconfig file
[kubeconfig] Writing "kubelet.conf" kubeconfig file
[kubeconfig] Writing "controller-manager.conf" kubeconfig file
[kubeconfig] Writing "scheduler.conf" kubeconfig file
[etcd] Creating static Pod manifest for local etcd in "/etc/kubernetes/manifests"
[control-plane] Using manifest folder "/etc/kubernetes/manifests"
[control-plane] Creating static Pod manifest for "kube-apiserver"
[control-plane] Creating static Pod manifest for "kube-controller-manager"
[control-plane] Creating static Pod manifest for "kube-scheduler"
[kubelet-start] Writing kubelet environment file with flags to file "/var/lib/kubelet/kubeadm-flags.env"
[kubelet-start] Writing kubelet configuration to file "/var/lib/kubelet/config.yaml"
[kubelet-start] Starting the kubelet
[wait-control-plane] Waiting for the kubelet to boot up the control plane as static Pods from directory "/etc/kubernetes/manifests". This can take up to 4m0s
[apiclient] All control plane components are healthy after 4.503238 seconds
[upload-config] Storing the configuration used in ConfigMap "kubeadm-config" in the "kube-system" Namespace
[kubelet] Creating a ConfigMap "kubelet-config" in namespace kube-system with the configuration for the kubelets in the cluster
[upload-certs] Skipping phase. Please see --upload-certs
[mark-control-plane] Marking the node master1 as control-plane by adding the labels: [node-role.kubernetes.io/control-plane node.kubernetes.io/exclude-from-external-load-balancers]
[mark-control-plane] Marking the node master1 as control-plane by adding the taints [node-role.kubernetes.io/control-plane:NoSchedule]
[bootstrap-token] Using token: yyjh09.6he5wfuvsgpclctr
[bootstrap-token] Configuring bootstrap tokens, cluster-info ConfigMap, RBAC Roles
[bootstrap-token] Configured RBAC rules to allow Node Bootstrap tokens to get nodes
[bootstrap-token] Configured RBAC rules to allow Node Bootstrap tokens to post CSRs in order for nodes to get long term certificate credentials
[bootstrap-token] Configured RBAC rules to allow the csrapprover controller automatically approve CSRs from a Node Bootstrap Token
[bootstrap-token] Configured RBAC rules to allow certificate rotation for all node client certificates in the cluster
[bootstrap-token] Creating the "cluster-info" ConfigMap in the "kube-public" namespace
[kubelet-finalize] Updating "/etc/kubernetes/kubelet.conf" to point to a rotatable kubelet client certificate and key
[addons] Applied essential addon: CoreDNS
[addons] Applied essential addon: kube-proxy

Your Kubernetes control-plane has initialized successfully!

To start using your cluster, you need to run the following as a regular user:

  mkdir -p $HOME/.kube
  sudo cp -i /etc/kubernetes/admin.conf $HOME/.kube/config
  sudo chown $(id -u):$(id -g) $HOME/.kube/config

Alternatively, if you are the root user, you can run:

  export KUBECONFIG=/etc/kubernetes/admin.conf

You should now deploy a pod network to the cluster.
Run "kubectl apply -f [podnetwork].yaml" with one of the options listed at:
  https://kubernetes.io/docs/concepts/cluster-administration/addons/

Then you can join any number of worker nodes by running the following on each as root:

kubeadm join 10.0.1.11:6443 --token yyjh09.6he5wfuvsgpclctr \
        --discovery-token-ca-cert-hash sha256:ea410f8b9757ca344212ff3e906ec9eb44f1902b5ee7a24bdb9c3fe9d8621d5a

// 安装成功了!检查一下
# kubectl get node
E0319 11:28:28.217021    8109 memcache.go:265] couldn't get current server API group list: Get "http://localhost:8080/api?timeout=32s": dial tcp 127.0.0.1:8080: connect: connection refused
E0319 11:28:28.217430    8109 memcache.go:265] couldn't get current server API group list: Get "http://localhost:8080/api?timeout=32s": dial tcp 127.0.0.1:8080: connect: connection refused
E0319 11:28:28.219640    8109 memcache.go:265] couldn't get current server API group list: Get "http://localhost:8080/api?timeout=32s": dial tcp 127.0.0.1:8080: connect: connection refused
E0319 11:28:28.219773    8109 memcache.go:265] couldn't get current server API group list: Get "http://localhost:8080/api?timeout=32s": dial tcp 127.0.0.1:8080: connect: connection refused
E0319 11:28:28.222284    8109 memcache.go:265] couldn't get current server API group list: Get "http://localhost:8080/api?timeout=32s": dial tcp 127.0.0.1:8080: connect: connection refused
The connection to the server localhost:8080 was refused - did you specify the right host or port?

// 按照成功提示信息执行如下命令
# mkdir -p $HOME/.kube
# cp -i /etc/kubernetes/admin.conf $HOME/.kube/config
# chown $(id -u):$(id -g) $HOME/.kube/config

// 重新检查
# kubectl get node
NAME      STATUS     ROLES           AGE   VERSION
master1   NotReady   control-plane   11m   v1.29.3

# kubectl get pod -A
NAMESPACE     NAME                              READY   STATUS    RESTARTS   AGE
kube-system   coredns-857d9ff4c9-sl62g          0/1     Pending   0          12m
kube-system   coredns-857d9ff4c9-z6jjq          0/1     Pending   0          12m
kube-system   etcd-master1                      1/1     Running   0          12m
kube-system   kube-apiserver-master1            1/1     Running   0          12m
kube-system   kube-controller-manager-master1   1/1     Running   0          12m
kube-system   kube-proxy-5l598                  1/1     Running   0          12m
kube-system   kube-scheduler-master1            1/1     Running   0          12m


// 在worker节点上按照master1上初始化成功之后的提示操作
# kubeadm join 10.0.1.11:6443 --token yyjh09.6he5wfuvsgpclctr \
        --discovery-token-ca-cert-hash sha256:ea410f8b9757ca344212ff3e906ec9eb44f1902b5ee7a24bdb9c3fe9d8621d5a

// 按照成功提示信息执行如下命令
# mkdir -p $HOME/.kube
# cp -i /etc/kubernetes/kubelet.conf $HOME/.kube/config
# chown $(id -u):$(id -g) $HOME/.kube/config

// 检查节点加入情况
# kubectl get node
NAME      STATUS     ROLES           AGE    VERSION
master1   NotReady   control-plane   91m    v1.29.3
worker1   NotReady   <none>          7m3s   v1.29.3
4、构建网络
// 用helm来安装calico,首先检查系统有没有安装helm
# helm
Command 'helm' not found, but can be installed with:
snap install helm

// 没有安装,按照提示安装
# snap install helm
error: This revision of snap "helm" was published using classic confinement and thus may perform
       arbitrary system changes outside of the security sandbox that snaps are usually confined to,
       which may put your system at risk.

       If you understand and want to proceed repeat the command including --classic.
root@master1:~# snap install helm --classic
helm 3.14.3 from Snapcrafters✪ installed


# Installing

1. Add the projectcalico helm repository.
helm repo add projectcalico https://projectcalico.docs.tigera.io/charts
1. Create the tigera-operator namespace.
kubectl create namespace tigera-operator
1. Install the helm chart into the `tigera-operator` namespace.
helm install calico projectcalico/tigera-operator --namespace tigera-operator
// 检查
kubectl get pod -A
NAMESPACE NAME READY STATUS RESTARTS AGE
calico-system calico-kube-controllers-fbb8d4c9c-nqd9k 0/1 Pending 0 28s
calico-system calico-node-7v465 0/1 Init:0/2 0 28s
calico-system calico-node-dbmx9 0/1 Init:1/2 0 28s
calico-system calico-typha-8b695c9cc-v2vsf 1/1 Running 0 28s
calico-system csi-node-driver-64mpv 0/2 ContainerCreating 0 28s
calico-system csi-node-driver-q5jm5 0/2 ContainerCreating 0 28s
kube-system coredns-857d9ff4c9-sl62g 0/1 Pending 0 100m
kube-system coredns-857d9ff4c9-z6jjq 0/1 Pending 0 100m
kube-system etcd-master1 1/1 Running 0 100m
kube-system kube-apiserver-master1 1/1 Running 0 100m
kube-system kube-controller-manager-master1 1/1 Running 0 100m
kube-system kube-proxy-5l598 1/1 Running 0 100m
kube-system kube-proxy-798fq 1/1 Running 0 17m
kube-system kube-scheduler-master1 1/1 Running 0 100m
tigera-operator tigera-operator-748c69cf45-gdhdg 1/1 Running 0 39s
// 一直重复检查,直到左右pod处于Running状态
kubectl get pod -A
NAMESPACE NAME READY STATUS RESTARTS AGE
calico-apiserver calico-apiserver-67dd77d667-4c4vf 0/1 Running 0 29s
calico-apiserver calico-apiserver-67dd77d667-8glv5 0/1 Running 0 29s
calico-system calico-kube-controllers-fbb8d4c9c-nqd9k 1/1 Running 0 2m11s
calico-system calico-node-7v465 1/1 Running 0 2m11s
calico-system calico-node-dbmx9 1/1 Running 0 2m11s
calico-system calico-typha-8b695c9cc-v2vsf 1/1 Running 0 2m11s
calico-system csi-node-driver-64mpv 2/2 Running 0 2m11s
calico-system csi-node-driver-q5jm5 2/2 Running 0 2m11s
kube-system coredns-857d9ff4c9-sl62g 1/1 Running 0 102m
kube-system coredns-857d9ff4c9-z6jjq 1/1 Running 0 102m
kube-system etcd-master1 1/1 Running 0 102m
kube-system kube-apiserver-master1 1/1 Running 0 102m
kube-system kube-controller-manager-master1 1/1 Running 0 102m
kube-system kube-proxy-5l598 1/1 Running 0 102m
kube-system kube-proxy-798fq 1/1 Running 0 18m
kube-system kube-scheduler-master1 1/1 Running 0 102m
tigera-operator tigera-operator-748c69cf45-gdhdg 1/1 Running 0 2m22s
// 检查node状态# kubectl get node
NAME STATUS ROLES AGE VERSION
master1 Ready control-plane 102m v1.29.3
worker1 Ready 18m v1.29.3
// worker1的校色标签为,修改为worker
kubectl label node worker1 node-role.kubernetes.io/worker=worker
node/worker1 labeled
#### 5、测试与监控


##### 5.1、部署ngins进行测试


编写nginx.yaml
apiVersion: apps/v1
kind: Deployment
metadata:
name: nginxweb
spec:
selector:
matchLabels:
app: nginxweb1
replicas: 2
template:
metadata:
labels:
app: nginxweb1
spec:
containers:
- name: nginxwebc
image: nginx:latest
imagePullPolicy: IfNotPresent
ports:
- containerPort: 80
apiVersion: v1
kind: Service
metadata:
name: nginxweb-service
spec:
externalTrafficPolicy: Cluster
selector:
app: nginxweb1
ports:
- protocol: TCP
port: 80
targetPort: 80
nodePort: 30080
type: NodePort
kubectl delete -f nginx.yaml
deployment.apps “nginxweb” deleted
service “nginxweb-service” deleted
kubectl get all
NAME READY STATUS RESTARTS AGE
pod/nginxweb-64c569cccc-rj47x 1/1 Running 0 2m59s
pod/nginxweb-64c569cccc-wppsh 1/1 Running 0 2m59s
NAME TYPE CLUSTER-IP EXTERNAL-IP PORT(S) AGE
service/kubernetes ClusterIP 10.96.0.1 443/TCP 3h13m
service/nginxweb-service NodePort 10.96.240.49 80:30080/TCP 2m59s
NAME READY UP-TO-DATE AVAILABLE AGE
deployment.apps/nginxweb 2/2 2 2 2m59s
NAME DESIRED CURRENT READY AGE
replicaset.apps/nginxweb-64c569cccc 2 2 2 2m59s
curl 10.96.240.49
最全的Linux教程,Linux从入门到精通
======================
-
linux从入门到精通(第2版)
-
Linux系统移植
-
Linux驱动开发入门与实战
-
LINUX 系统移植 第2版
-
Linux开源网络全栈详解 从DPDK到OpenFlow
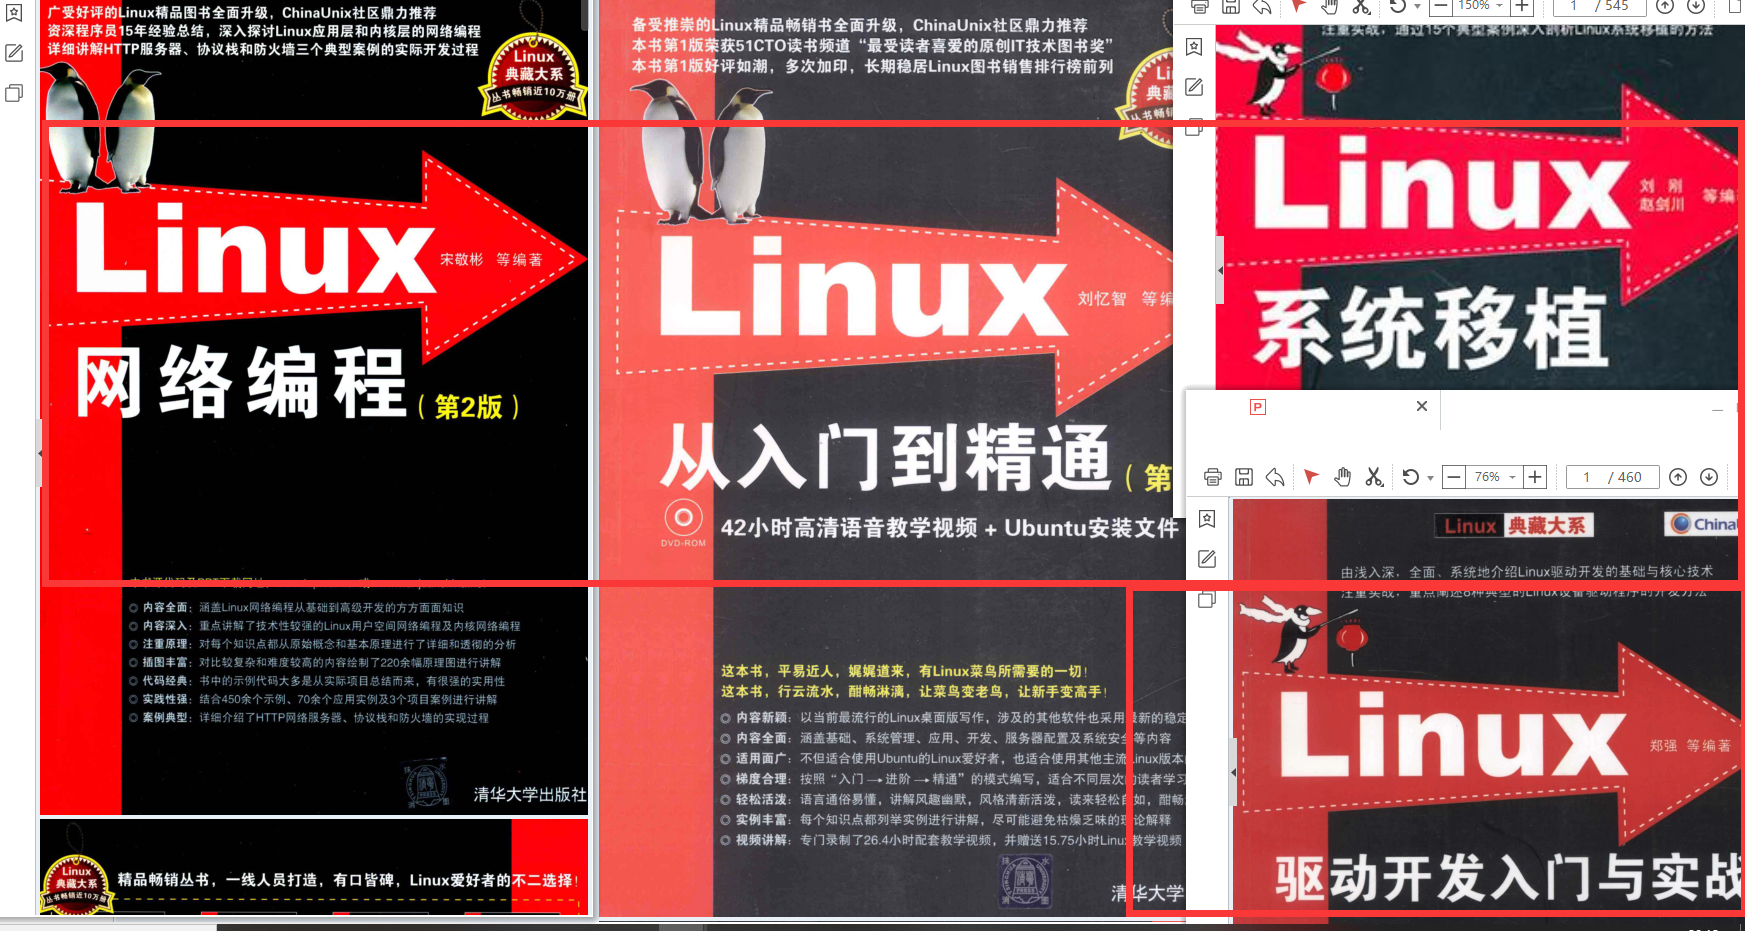
第一份《Linux从入门到精通》466页
====================
内容简介
====
本书是获得了很多读者好评的Linux经典畅销书**《Linux从入门到精通》的第2版**。本书第1版出版后曾经多次印刷,并被51CTO读书频道评为“最受读者喜爱的原创IT技术图书奖”。本书第﹖版以最新的Ubuntu 12.04为版本,循序渐进地向读者介绍了Linux 的基础应用、系统管理、网络应用、娱乐和办公、程序开发、服务器配置、系统安全等。本书附带1张光盘,内容为本书配套多媒体教学视频。另外,本书还为读者提供了大量的Linux学习资料和Ubuntu安装镜像文件,供读者免费下载。

本书适合广大Linux初中级用户、开源软件爱好者和大专院校的学生阅读,同时也非常适合准备从事Linux平台开发的各类人员。
需要《Linux入门到精通》、《linux系统移植》、《Linux驱动开发入门实战》、《Linux开源网络全栈》电子书籍及教程的工程师朋友们劳烦您转发+评论
网上学习资料一大堆,但如果学到的知识不成体系,遇到问题时只是浅尝辄止,不再深入研究,那么很难做到真正的技术提升。
需要这份系统化的资料的朋友,可以添加V获取:vip1024b (备注运维)

一个人可以走的很快,但一群人才能走的更远!不论你是正从事IT行业的老鸟或是对IT行业感兴趣的新人,都欢迎加入我们的的圈子(技术交流、学习资源、职场吐槽、大厂内推、面试辅导),让我们一起学习成长!
mg_convert/9d4aefb6a92edea27b825e59aa1f2c54.png)
本书适合广大Linux初中级用户、开源软件爱好者和大专院校的学生阅读,同时也非常适合准备从事Linux平台开发的各类人员。
需要《Linux入门到精通》、《linux系统移植》、《Linux驱动开发入门实战》、《Linux开源网络全栈》电子书籍及教程的工程师朋友们劳烦您转发+评论
网上学习资料一大堆,但如果学到的知识不成体系,遇到问题时只是浅尝辄止,不再深入研究,那么很难做到真正的技术提升。
需要这份系统化的资料的朋友,可以添加V获取:vip1024b (备注运维)
[外链图片转存中…(img-gwi8o4Pc-1713230754951)]
一个人可以走的很快,但一群人才能走的更远!不论你是正从事IT行业的老鸟或是对IT行业感兴趣的新人,都欢迎加入我们的的圈子(技术交流、学习资源、职场吐槽、大厂内推、面试辅导),让我们一起学习成长!


 4604
4604

 被折叠的 条评论
为什么被折叠?
被折叠的 条评论
为什么被折叠?
 到【灌水乐园】发言


