


1. 安装必要的环境
yum -y install gcc gcc-c++ automake pcre pcre-devel zlib zlib-devel openssl openssl-devel perl-devel perl-ExtUtils-Embed autoconf libxslt-devel libxml2 gd-devel perl-ExtUtils-Embed GeoIP GeoIP-devel GeoIP-data gd-devel gperftools-devel libxml2-devel.x86_64 libxslt-devel.x86_64 gd-devel redhat-rpm-config.noarch
1.1 安装libmaxminddb插件
1,wget https://github.com/maxmind/libmaxminddb/releases/download/1.3.2/libmaxminddb-1.3.2.tar.gz
2,tar -xf libmaxminddb-1.3.2.tar.gz,
3,cd libmaxminddb-1.3.2/
4,./configure,
5,make && make install
6,echo /usr/local/lib >> /etc/ld.so.conf.d/local.conf,
7,ldconfig
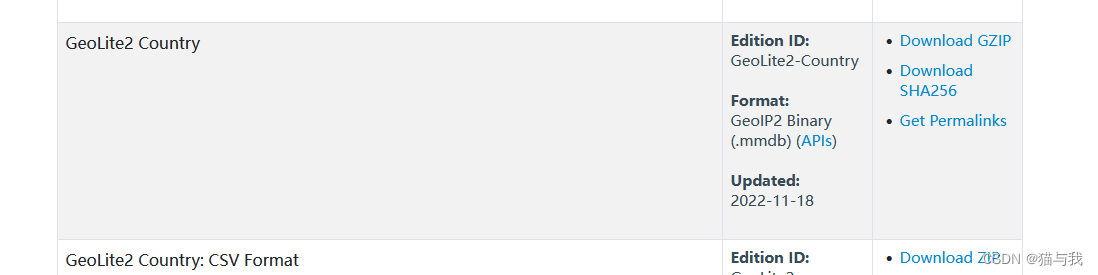
1.2 获取 GeoLite2 City 和GeoLite2 Country文件
https://www.maxmind.com/en/accounts/792269/geoip/downloads 这是这两个文件所在的网址 需要注册登录才行
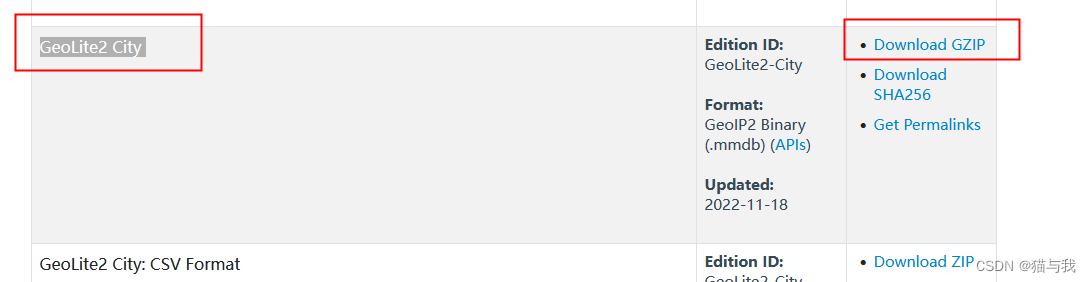
然后将这两个包上传到服务器并解压
###创建存储目录
mkdir /etc/nginx/Geoip2
### 解压下载好的文件
tar -xf GeoLite2-City_20221118.tar.gz
tar -xf GeoLite2-Country_20221118.tar.gz### 将各自文件夹中的GeoLite2-City.mmdb,GeoLite2-Country.mmdb移到/etc/nginx/Geoip2中
mv GeoLite2-City_20221118/GeoLite2-City.mmdb /etc/nginx/GeoIP2/
mv GeoLite2-Country_20221118/GeoLite2-Country.mmdb /etc/nginx/GeoIP2/
1.3 获取 ngx_http_geoip2_module模块
git clone https://github.com/leev/ngx_http_geoip2_module.git
## 将克隆下来的ngx_http_geoip2_module移动到/usr/local下 与初始化nginx中的--add-module=/usr/local/ngx_http_geoip2_module对应
2. 下载nginx1.20版本 ,低版本不行,因为模块需要1.18版本以上
1, wget http://nginx.org/download/nginx-1.20.1.tar.gz
2,tar -xf nginx-1.20.1.tar.gz
3,cd nginx-1.20.1
4,./configure --prefix=/usr/share/nginx --sbin-path=/usr/sbin/nginx --modules-path=/usr/lib64/nginx/modules --conf-path=/etc/nginx/nginx.conf --error-log-path=/var/log/nginx/error.log --http-log-path=/var/log/nginx/access.log --http-client-body-temp-path=/var/lib/nginx/tmp/client_body --http-proxy-temp-path=/var/lib/nginx/tmp/proxy --http-fastcgi-temp-path=/var/lib/nginx/tmp/fastcgi --http-uwsgi-temp-path=/var/lib/nginx/tmp/uwsgi --http-scgi-temp-path=/var/lib/nginx/tmp/scgi --pid-path=/run/nginx.pid --lock-path=/run/lock/subsys/nginx --user=nginx --group=nginx --with-compat --with-debug --with-file-aio --with-google_perftools_module --with-http_addition_module --with-http_auth_request_module --with-http_dav_module --with-http_degradation_module --with-http_flv_module --with-http_gunzip_module --with-http_gzip_static_module --with-http_image_filter_module=dynamic --with-http_mp4_module --with-http_perl_module=dynamic --with-http_random_index_module --with-http_realip_module --with-http_secure_link_module --with-http_slice_module --with-http_ssl_module --with-http_stub_status_module --with-http_sub_module --with-http_v2_module --with-http_xslt_module=dynamic --with-mail=dynamic --with-mail_ssl_module --with-pcre --with-pcre-jit --with-stream=dynamic --with-stream_ssl_module --with-stream_ssl_preread_module --with-threads --with-cc-opt='-O2 -g -pipe -Wall -Wp,-D_FORTIFY_SOURCE=2 -fexceptions -fstack-protector-strong --param=ssp-buffer-size=4 -grecord-gcc-switches -specs=/usr/lib/rpm/redhat/redhat-hardened-cc1 -m64 -mtune=generic' --with-ld-opt='-Wl,-z,relro -specs=/usr/lib/rpm/redhat/redhat-hardened-ld -Wl,-E' --add-module=/usr/local/ngx_http_geoip2_module --with-stream ## 以上插件我是按照yum安装的nginx必备的插件
5, make && make install
3,测试nginx的可用性
/usr/sbin/nginx -t
nginx: the configuration file /etc/nginx/nginx.conf syntax is ok
nginx: configuration file /etc/nginx/nginx.conf test is successful ## 显示这些即为正常
nginx -V
提示有ngx_http_geoip2_module插件即可

4,修改nginx主配置文件的内容
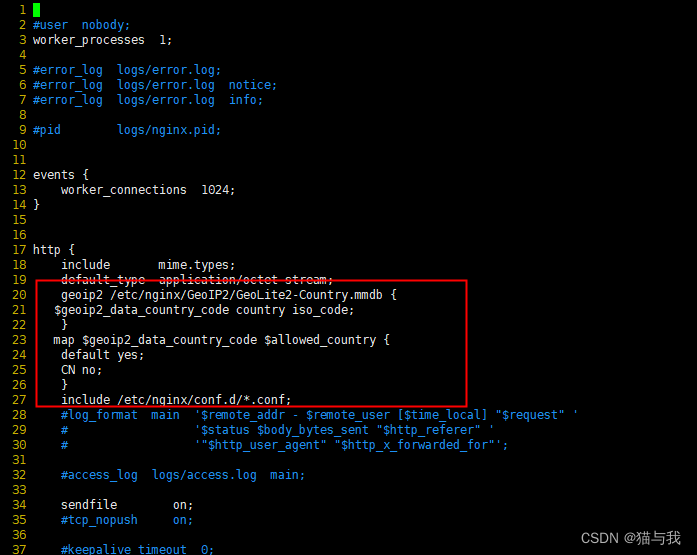
在http下面 添加上Geoip2 的路径 这里说明 如果是default会加移限制 ,如果是CN则放行
geoip2 /etc/nginx/GeoIP2/GeoLite2-Country.mmdb {
$geoip2_data_country_code country iso_code;
}
map $geoip2_data_country_code $allowed_country {
default yes;
CN no;
}
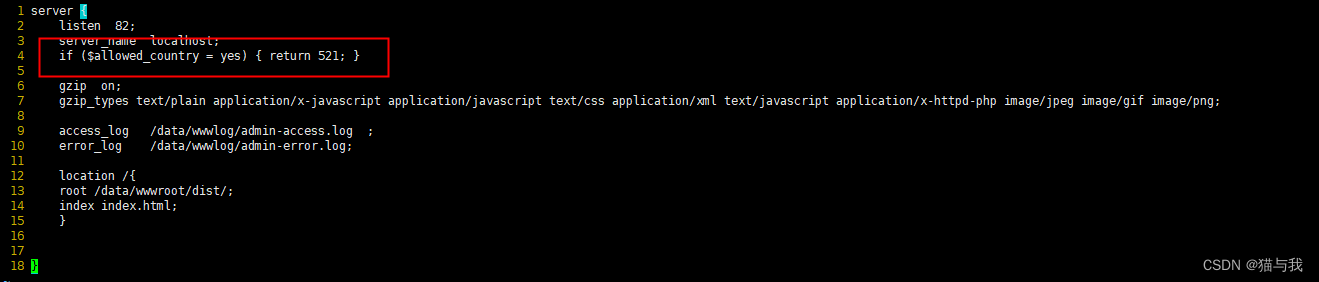
然后在其他前端conf配置文件中加上if条件限制
vim /etc/nginx/conf.d/admin.conf
加上 if ($allowed_country = yes) { return 521; } 后面的返回码可以自己定义
5,测试效果 模拟国外浏览器访问和国内浏览器访问

国内浏览器成功访问
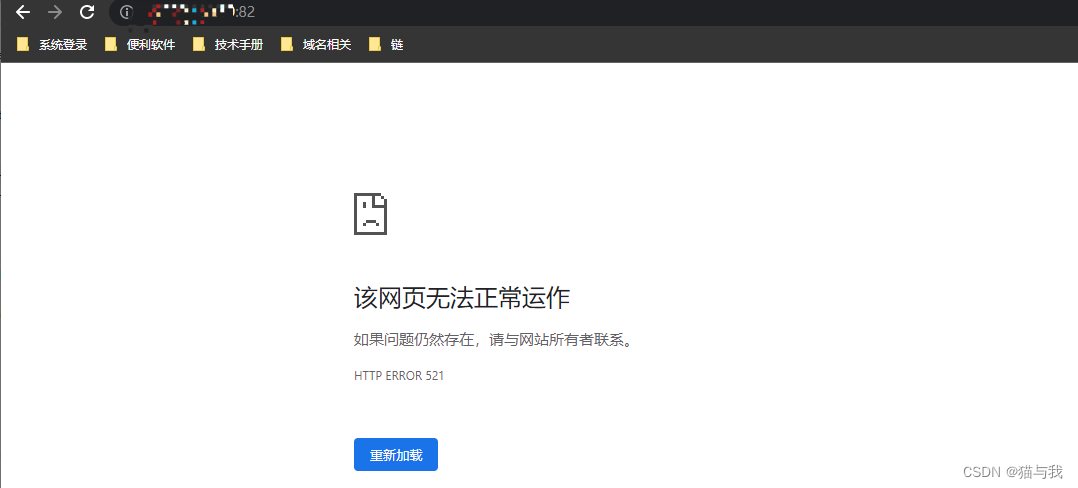
国外浏览器访问 被限制
以上就是nginx利用 ngx_http_geoip2_module模块进行限制的全部过程啦


 848
848

 被折叠的 条评论
为什么被折叠?
被折叠的 条评论
为什么被折叠?
 到【灌水乐园】发言


