


4.1 理解
4.1.1 前置说明
-
React 本身只关注于界面, 并不包含发送 ajax 请求的代码
-
前端应用需要通过 ajax 请求与后台进行交互(json 数据)
-
react 应用中需要集成第三方 ajax 库(或自己封装)
4.1.2 常用的 ajax 请求库
-
jQuery: 比较重, 如果需要另外引入不建议使用
-
axios: 轻量级, 建议使用
-
封装 XmlHttpRequest 对象的 ajax
-
promise 风格
-
可以用在浏览器端和 node 服务器端
-
4.2. axios
4.2.1. 文档
https://github.com/axios/axios
4.3 React配置代理
4.3.1 方法一
在package.json中追加如下配置
"proxy":"http://localhost:5000"
说明:
-
优点:配置简单,前端请求资源时可以不加任何前缀。
-
缺点:不能配置多个代理。
-
工作方式:上述方式配置代理,当请求了3000不存在的资源时,那么该请求会转发给5000 (优先匹配前端资源)
4.3.2 方法二
- 第一步:创建代理配置文件
在src下创建配置文件:src/setupProxy.js
- 编写setupProxy.js配置具体代理规则:
const {createProxyMiddleware} = require('http-proxy-middleware')

module.exports = function(app) {
  app.use(
    createProxyMiddleware('/api1', {  //api1是需要转发的请求(所有带有/api1前缀的请求都会转发给5000)
      target: 'http://localhost:5000', //配置转发目标地址(能返回数据的服务器地址)
      changeOrigin: true, //控制服务器接收到的请求头中host字段的值
      /*
        changeOrigin设置为true时,服务器收到的请求头中的host为:localhost:5000
        changeOrigin设置为false时,服务器收到的请求头中的host为:localhost:3000
        changeOrigin默认值为false,但我们一般将changeOrigin值设为true
      */
      pathRewrite: {'^/api1': ''} //去除请求前缀,保证交给后台服务器的是正常请求地址(必须配置)
    }),
    createProxyMiddleware('/api2', {
      target: 'http://localhost:5001',
      changeOrigin: true,
      pathRewrite: {'^/api2': ''}
    })
  )
}
说明:
-
优点:可以配置多个代理,可以灵活的控制请求是否走代理。
-
缺点:配置繁琐,前端请求资源时必须加前缀。
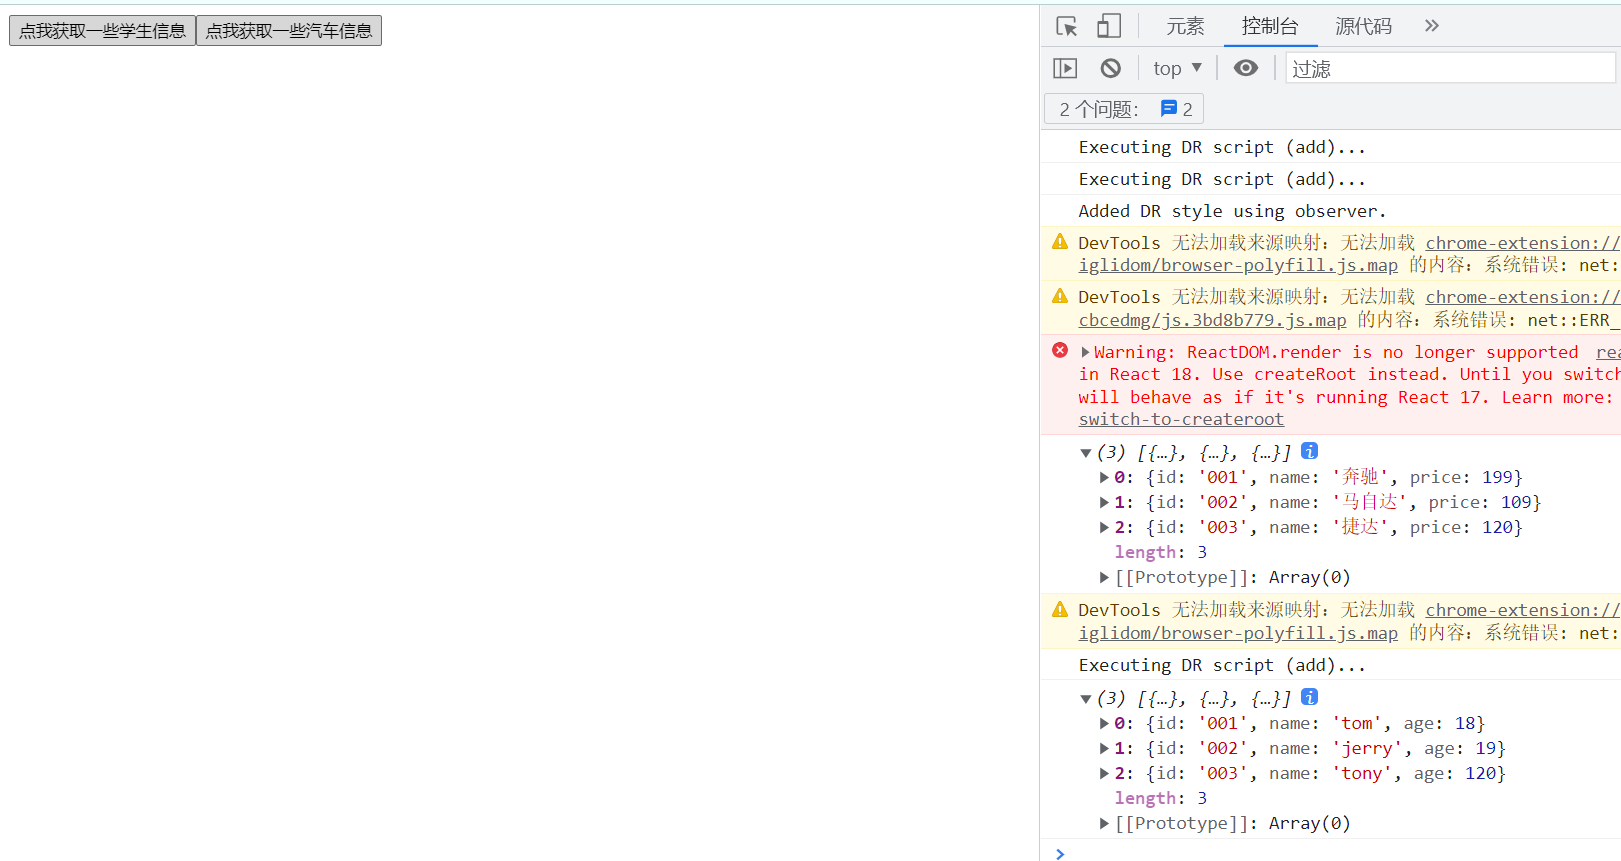
4.3.3 代码
代码:
getMsg = () => {
  // axios.get('http://localhost:5000/students').then(res=>{console.log(res.data)},err=>{console.log(err.message)})
  axios({
    method: 'get',
    url: '/api1/students'
  }).then(
    (res) => { console.log(res.data) },
    (err) => { console.log(err.message) }
  )
}
getCarMsg = ()=>{
  axios({
    url:'/api2/cars',
    method:'get'
  }).then(
    (res)=>{console.log(res.data)},
    (err)=>{console.log(err.message)}
  )
}
效果:
4.4 案例—github 用户搜索
请求地址: https://api.github.com/search/users?q=xxxxxx
4.5 消息订阅-发布机制
-
工具库: PubSubJS
-
下载: npm install pubsub-js --save
-
使用:
- import PubSub from ‘pubsub-js’ //引入
import PubSub from 'pubsub-js'
- PubSub.subscribe(‘delete’, function(data){ }); //订阅
componentDidMount =()=>{
  this.token = PubSub.subscribe('updateState',(_,stateObj)=>{
    console.log('list订阅的消息更新了',stateObj)
    this.setState(stateObj)
  })
}
componentWillUnmount = ()=>{
  PubSub.unsubscribe(this.token)
}
- PubSub.publish(‘delete’, data) //发布消息
PubSub.publish('updateState', { isFirst: false, isLoading: true })
代码:
List代码:
import React, { Component } from 'react'
import './index.css'
import PubSub from 'pubsub-js'

export default class List extends Component {
  state={
    users:[],
    isFirst:true,
    isLoading:false,
    err:''
  }
  componentDidMount =()=>{
    this.token = PubSub.subscribe('updateState',(_,stateObj)=>{
      console.log('list订阅的消息更新了',stateObj)
      this.setState(stateObj)
    })
  }
  componentWillUnmount = ()=>{
    PubSub.unsubscribe(this.token)
  }
  render() {
    const { users ,isFirst,isLoading,err} = this.state//html_url,avatar_url,login

    return (
      <div  className="row">
        {
          isFirst?<h2>输入关键词,点击搜索</h2>:
          isLoading?<h2>Loading</h2>:
          err?<h2>{err}</h2>:
          users.map((user) => {
            return (<div key={user.id} className="card">
              <a href={user.html_url} target="_blank" rel="noreferrer">
                <img alt='avatar' src={user.avatar_url} style={{ width: '100px' }} />
              </a>
              <p className="card-text">{user.login}</p>
            </div>)
          })
        }
      </div>
    )
  }
}
Search代码:
import axios from 'axios'
import React, { Component } from 'react'
import PubSub from 'pubsub-js'
export default class Search extends Component {
render() {
return (
<section className="jumbotron">
<h3 className="jumbotron-heading">搜索github用户</h3>
<div>
<input ref={c => { this.input = c }} type="text" placeholder="输入关键词搜索" />
<button onClick={this.search}>搜索</button>
</div>
</section>
)
}
search = () => {
const { input } = this
console.log(input.value)
// this.props.updateAppState({isFirst:false,isLoading:true})
PubSub.publish('updateState', { isFirst: false, isLoading: true })
axios({
method: 'get',
url: `https://api.github.com/search/users?q=${input.value}`
}).then(
(res) => {
console.log(res.data)
// this.props.updateAppState({users:res.data.items,isLoading:false,err:""})
PubSub.publish('updateState', { users: res.data.items, isLoading: false, err: "" })
},
(err) => {
console.log(err.message)
// this.props.updateAppState({err:err.message,isLoading:false})
PubSub.publish('updateState', { err: err.message, isLoading: false })
}
)
input.value = ''
}
}
4.6 扩展:Fetch
4.6.1. 文档
4.6.2. 特点
- fetch: 原生函数,不再使用 XmlHttpRequest 对象提交 ajax 请求
- 老版本浏览器可能不支持
4.6.3 代码
简单写法:
//fetch的简单写法
try{
  const res = await fetch(`https://api.github.com/search/users?q=${input.value}`)
  let data = await res.json()
  PubSub.publish('updateState', { users: data.items, isLoading: false, err: "" })
  //console.log('easyeasyeasy',data.items)
}
catch(e){
  PubSub.publish('updateState', { err: e.message, isLoading: false })
  //console.log('wwwwwwwwwwwwwwwwwwwww',e)
}
复杂写法:
        //fetch的复杂写法
fetch('https://api.github.com/search/users?q=nino')
  .then(
  	(res) => { console.log('success') ;return res.json()},
  	(err) => { console.log('error',err);return err }
  )
  .then(
  	(res) => { console.log(res.items) },
  	(err) => { console.log(err.message) }
	)


 被折叠的 条评论
为什么被折叠?
被折叠的 条评论
为什么被折叠?
 到【灌水乐园】发言


