


一、环境准备
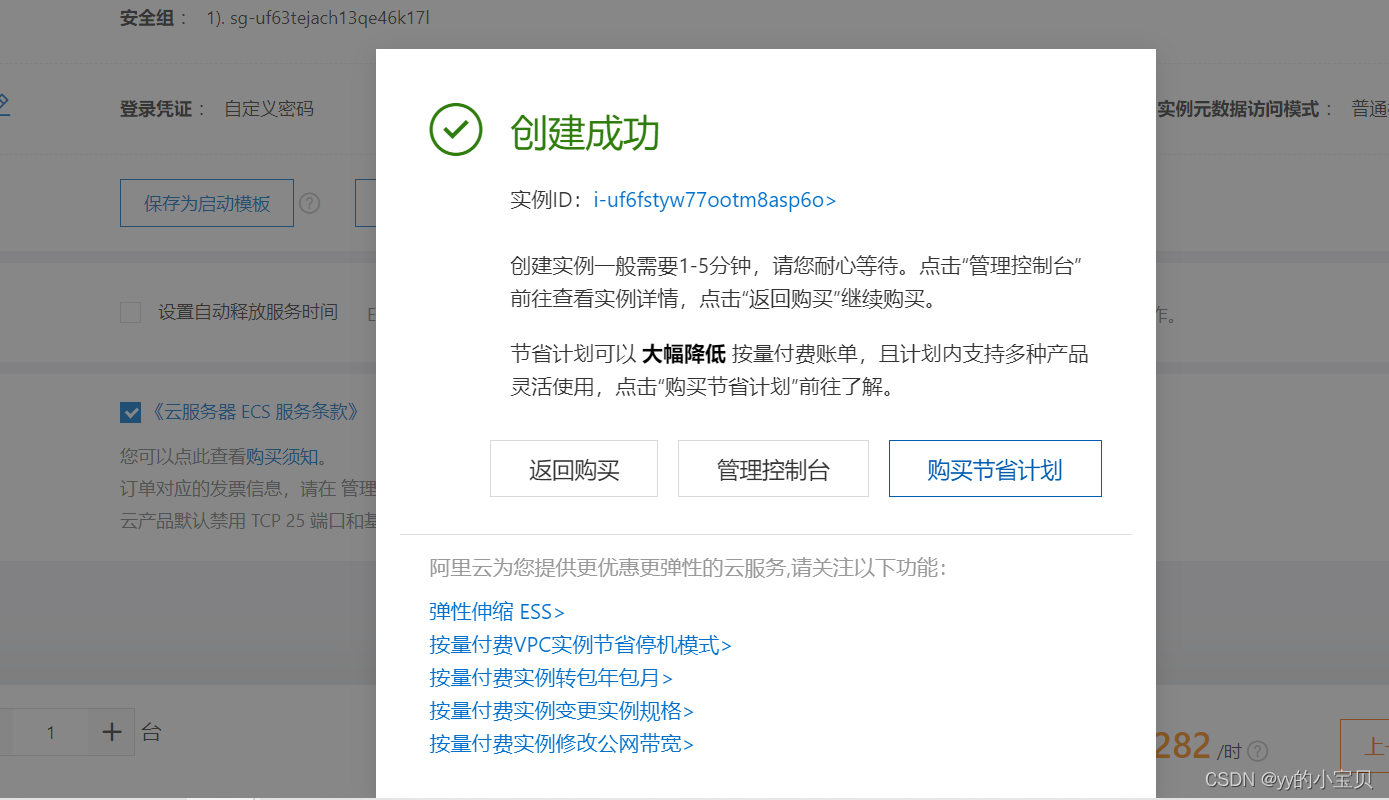
阿里云申请一台ECS服务器,OS:CentOS 7.9

root/RedHat@123
IP:139.224.209.17
二、服务安装
安装Cloudreve:

下载:
[root@iZuf6fstyw77ootm8asp6oZ ~]# wget -c https://github.com/cloudreve/Cloudreve/releases/download/3.5.3/cloudreve_3.5.3_linux_amd64.tar.gz解压:
[root@iZuf6fstyw77ootm8asp6oZ ~]# ls
cloudreve_3.5.3_linux_amd64.tar.gz
[root@iZuf6fstyw77ootm8asp6oZ ~]# tar xf cloudreve_3.5.3_linux_amd64.tar.gz
[root@iZuf6fstyw77ootm8asp6oZ ~]# ll
total 59148
-rwxr-xr-x 1 1001  116 40006320 Apr 30 10:47 cloudreve
-rw-r--r-- 1 root root 20556566 Apr 30 11:01 cloudreve_3.5.3_linux_amd64.tar.gz
[root@iZuf6fstyw77ootm8asp6oZ ~]# ./cloudreve

   ___ _                 _
  / __\ | ___  _   _  __| |_ __ _____   _____
 / /  | |/ _ \| | | |/ _  | '__/ _ \ \ / / _ \
/ /___| | (_) | |_| | (_| | | |  __/\ V /  __/
\____/|_|\___/ \__,_|\__,_|_|  \___| \_/ \___|

   V3.5.3  Commit #0e5683b  Pro=false
================================================

[Info]    2022-07-10 11:09:49 初始化数据库连接
[Info]    2022-07-10 11:09:49 开始进行数据库初始化...
[Info]    2022-07-10 11:09:49 初始管理员账号:admin@cloudreve.org
[Info]    2022-07-10 11:09:49 初始管理员密码:ghhiFYqt
[Info]    2022-07-10 11:09:50 开始执行数据库脚本 [UpgradeTo3.4.0]
[Info]    2022-07-10 11:09:50 数据库初始化结束
[Info]    2022-07-10 11:09:50 初始化任务队列,WorkerNum = 10
[Info]    2022-07-10 11:09:50 初始化定时任务...
[Info]    2022-07-10 11:09:50 当前运行模式:Master
[Info]    2022-07-10 11:09:50 开始监听 :5212
初始管理员账号:admin@cloudreve.org
初始管理员密码:ghhiFYqt
三、开放端口 5212:

四、登录服务:


五、对象存储OSS
开通对象存储:

创建Bucket:


登录https://ram.console.aliyun.com 创建RAM账号,并授权:


ID:LTAI5t5d9wP4XisqLMJnL6n6
secret:dXmM5ASxx7UTFgmp1MUEs3nNhmVfcE

六、安装ossfs挂载OSS
下载软件:
[root@iZuf6fstyw77ootm8asp6oZ ~]# wget -c https://github.com/aliyun/ossfs/releases/download/v1.80.5/ossfs_1.80.5_centos7.0_x86_64.rpm
安装:
[root@iZuf6fstyw77ootm8asp6oZ ~]# yum localinstall ossfs_1.80.5_centos7.0_x86_64.rpm
配置账号访问信息:
echo BucketName:yourAccessKeyId:yourAccessKeySecret > /etc/passwd-ossfs
[root@iZuf6fstyw77ootm8asp6oZ ~]# echo lyssb:LTAI5t5d9wP4XisqLMJnL6n6:dXmM5ASxx7UTFgmp1MUEs3nNhmVfcE > /etc/passwd-ossfs
[root@iZuf6fstyw77ootm8asp6oZ ~]# chmod 640 /etc/passwd-ossfs
挂载OSS:
创建挂载点:mkdir /oss
挂载:ossfs BucketName mountfolder -o url=Endpoint
ossfs lyssb /oss -o url=oss-cn-hangzhou.aliyuncs.com
[root@iZuf6fstyw77ootm8asp6oZ ~]# mkdir /oss
[root@iZuf6fstyw77ootm8asp6oZ ~]# ossfs lyssb /oss -o url=oss-cn-hangzhou.aliyuncs.com
[root@iZuf6fstyw77ootm8asp6oZ ~]# df -h
Filesystem      Size  Used Avail Use% Mounted on
devtmpfs        461M     0  461M   0% /dev
tmpfs           471M     0  471M   0% /dev/shm
tmpfs           471M  468K  471M   1% /run
tmpfs           471M     0  471M   0% /sys/fs/cgroup
/dev/vda1        40G  2.3G   36G   6% /
tmpfs            95M     0   95M   0% /run/user/0
ossfs           256T     0  256T   0% /oss
永久挂载:vim /etc/init.d/ossfs
#!/bin/bash
#
# ossfs Automount Aliyun OSS Bucket in the specified direcotry.
#
# chkconfig: 2345 90 10
# description: Activates/Deactivates ossfs configured to start at boot time.
ossfs BucketName mountfolder -o url=Endpoint -o allow_other

[root@iZuf6fstyw77ootm8asp6oZ ~]# chmod +x /etc/init.d/ossfs
[root@iZuf6fstyw77ootm8asp6oZ ~]# chkconfig --add ossfs
[root@iZuf6fstyw77ootm8asp6oZ ~]# chkconfig ossfs on
七、添加存储策略

和管理员关联


 2052
2052


 被折叠的 条评论
为什么被折叠?
被折叠的 条评论
为什么被折叠?
 到【灌水乐园】发言


