


前言:
大家好,我是良辰丫,在上一篇文章中我们学习了更简单的方式存储Bean对象,这一篇文章我将带领大家一起学习更简单的获取Bean对象.💌💌💌
🧑个人主页:良辰针不戳
📖所属专栏:javaEE进阶篇之框架学习
🍎励志语句:生活也许会让我们遍体鳞伤,但最终这些伤口会成为我们一辈子的财富。
💦期待大家三连,关注,点赞,收藏。
💌作者能力有限,可能也会出错,欢迎大家指正。
💞愿与君为伴,共探Java汪洋大海。
目录
1. 属性注入
1.1 初识属性注入
属性注⼊是使⽤ @Autowired 实现的,我们接下来将 Service 类注⼊到 Controller 类中。
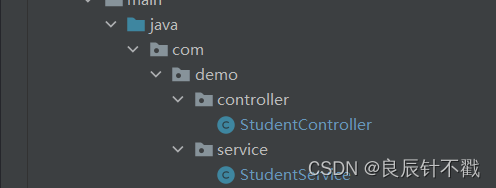
为以后我们的类注解分层能更好的学习,我们通过两个包来进行注入.
- 创建一个包service,包里面添加一个类.
- 创建一个包controller,这个包中也添加相应的类.
StudentService类
package com.demo.service;
import org.springframework.stereotype.Service;
@Service
public class StudentService {
    public void say(){
        System.out.println("hello,我是StudentService");
    }
}
StudentController类
package com.demo.controller;
import com.demo.service.StudentService;
import org.springframework.beans.factory.annotation.Autowired;
import org.springframework.stereotype.Controller;

@Controller
public class StudentController {
//使用属性注入获取Bean
    @Autowired
    private StudentService studentService;
    public void say(){
        studentService.say();
    }
}
main方法
public static void main(String[] args) {
//得到上下文对象
ApplicationContext context =
new ClassPathXmlApplicationContext("spring.xml");
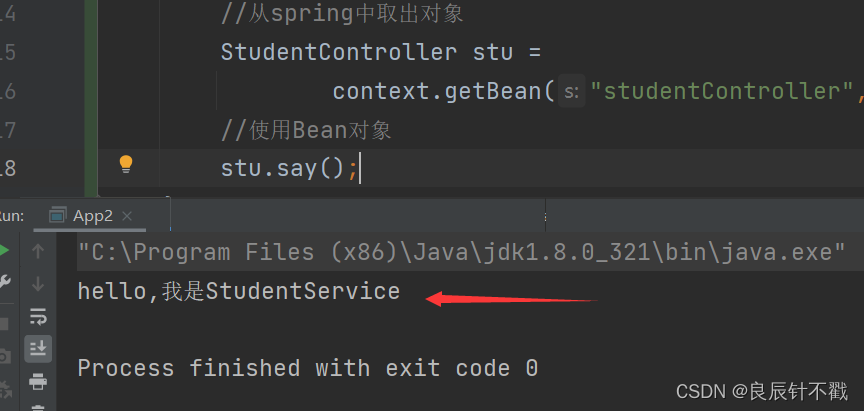
//从spring中取出对象
StudentController stu =
context.getBean("studentController",StudentController.class);
//使用Bean对象
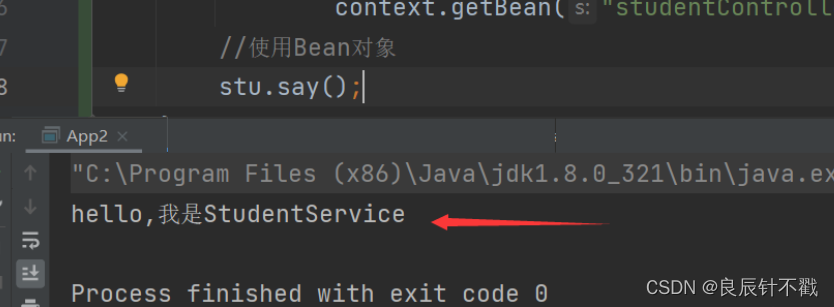
stu.say();
}
运行结果
1.2 属性注入的优缺点
1. 属性注入的优点 :
实现简单,使用简单,只需要给变量上添加一个注解(@Autowired),就可以在不 new 对象的情况下,直接获得注入的对象了( DI 的功劳).
1. 属性注入的缺点 :
在我们的专业版idea中,官方是不建议咱们使用属性注入的,有时候甚至idea会提醒我们不要使用属性注入.

那么,我们接下来看看属性注入的三个缺点.
- 功能性问题:无法注入一个不可变的对象(final 修饰的对象);
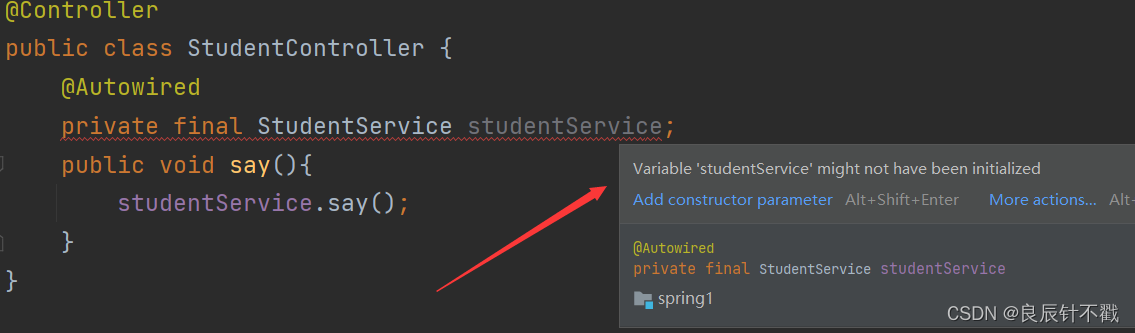
- 在 Java 中 final 对象(不可变)要么直接赋值,要么在构造方法中赋值,所以当使用属性注入 final 对象时,它不符合 Java 中 final 的使用规范,所以就不能注入成功了。(javaJDK的约束性)
- 当然,如果我们想要去注入一个不可变的对象,通过构造方法注入就可以了.
- 通用性问题:只能适应于 IoC 容器;
属性注入的范围具有局限性,只适合于IoC容器,因此,属性注入的通用性是比较差的.
- 设计原则问题:更容易违背单一设计原则。
- 使用属性注入是比较简单的,我们可以很容易的在一个类中注入多个对象,但是这些对象可能会违背原则,因为很多对象没有必要去注入.
- 到底是什么意思呢?使用简单还不好吗?使用起来简单容易被程序员不小心滥用,一条语句就注入,可能会出现不必要的麻烦.
2. set注入
2.1 初识set注入
写各种注入代码的时候可千万不要忘了写注解,注解在框架中是非常重要的.留个心眼.
package com.demo.service;

import org.springframework.stereotype.Service;

@Service
public class StudentService {

    public void say(){
        System.out.println("hello,我是StudentService");
    }
}
package com.demo.controller;

import com.demo.service.StudentService;
import org.springframework.beans.factory.annotation.Autowired;
import org.springframework.stereotype.Controller;

@Controller
public class StudentController2 {
    //set方法注入
    private StudentService studentService;
    @Autowired
    public void setStudentService(StudentService studentService) {
        this.studentService = studentService;
    }
    public void say(){
        studentService.say();
    }
}
    public static void main(String[] args) {
        //得到上下文对象
        ApplicationContext context =
                new ClassPathXmlApplicationContext("spring.xml");
        //从spring中取出对象
        StudentController2 stu =
                context.getBean("studentController2",StudentController2.class);
        //使用Bean对象
        stu.say();
    }
1.2 set注入的优缺点
- 与属性注入想比,set注入比属性注入,麻烦很多,它的优点是更加符合单一设计原则,针对对象方法级别.
- 缺点主要有两点
①不能注入不可变对象,即不能被final等关键词修饰.
②注入对象可被修改,set方法是普通的set方法,可以被重复调用,在被调用的时候就存在修改的风险.
3. 构造方法注入
3.1 初识构造方法注入
构造⽅法注⼊是在类的构造⽅法中实现注⼊.
package com.demo.service;

import org.springframework.stereotype.Service;

@Service
public class StudentService {

    public void say(){
        System.out.println("hello,我是StudentService");
    }
}
package com.demo.controller;
import com.demo.service.StudentService;
import org.springframework.beans.factory.annotation.Autowired;
import org.springframework.stereotype.Controller;

@Controller
public class StudentController {

    private StudentService studentService;
    @Autowired
    public StudentController(StudentService studentService){
        this.studentService = studentService;
    }
    public void say(){
        studentService.say();
    }
}
    public static void main(String[] args) {
        //得到上下文对象
        ApplicationContext context =
                new ClassPathXmlApplicationContext("spring.xml");
        //从spring中取出对象
        StudentController stu =
                context.getBean("studentController",StudentController.class);
        //使用Bean对象
        stu.say();
    }
3.2 构造方法注入的优缺点
优点 :
- 当一个类只有一个构造方法的时候,可以省略@Autowired
- 可以注入一个不可变的对象,因为在 Java 中 final 对象(不可变)要么直接赋值,要么在构造方法中赋值,构造方法的特殊性.
- 注入的对象不会被修改,有两点原因.
①加了final.
②构造方法随着类只加载一次,与set不同,set可以执行多次,很容易被修改. - 注入的对象会被完全初始化,这是构造方法的特性,构造方法在类加载好的时候自身也初始化好了.
- 通用性更好,因为当一个类只有一个构造方法的时候,可以省略@Autowired,那么就
可以在非spring容器中执行.
缺点 :
没有属性注入简单.
构造方法注入是官方推荐的做法,但是在日常生活中,属性注入还是主流,因为属性注入写起来比较简单,非常受程序员爱戴.
4. @Resource与@Autowired的区别
相同点 : 都可以实现依赖注入.
不同点 :
- 功能支持不同,@Autowired支持属性注入,set注入,构造方法注入;@Resource不支持构造方法注入,官方只是给出不支持构造方法,没有给出原因.
- 来源不同,@Autowired来自spring框架,@Resource来自JDK.
- 参数支持不同,@Resource支持更多参数设置,如name参数,根据名称获取Bean对象;而@Autowired只支持required参数.
5. 同一个类中包含多个Bean对象会报错
package com.demo;

import org.springframework.context.annotation.Bean;
import org.springframework.stereotype.Controller;

@Controller
public class StuBean {
    //@Bean(name = {"stu1","stu2"})
    @Bean
    public Student student1() {
        // 伪代码,构建对象
        Student stu = new Student();
        stu.setId(1);
        stu.setName("叶良辰");
        return stu;
    }
    @Bean
    public Student student2() {
        // 伪代码,构建对象
        Student stu = new Student();
        stu.setId(2);
        stu.setName("花无缺");
        return stu;
    }
    public void say(){
        System.out.println();
    }
}
package com.demo;

public class Student {
    private int id;
    private String name;

    public int getId() {
        return id;
    }

    public String getName() {
        return name;
    }

    public void setId(int id) {
        this.id = id;
    }

    public void setName(String name) {
        this.name = name;
    }

    @Override
    public String toString() {
        return "com.demo.Student{" +
                "id=" + id +
                ", name='" + name + '\'' +
                '}';
    }
}
package com.demo.controller;
import com.demo.StuBean;
import com.demo.Student;
import com.demo.service.StudentService;
import org.springframework.beans.factory.annotation.Autowired;
import org.springframework.stereotype.Controller;

@Controller
public class StudentController {
    @Autowired
    //private StuBean stuBean;
    private Student student;

    public void say(){
        System.out.println(student.toString());
    }
}
 public static void main(String[] args) {
        //得到上下文对象
        ApplicationContext context =
                new ClassPathXmlApplicationContext("spring.xml");
        //从spring中取出对象
        StudentController stu =
                context.getBean("studentController",StudentController.class);
        //使用Bean对象
        stu.say();
    }
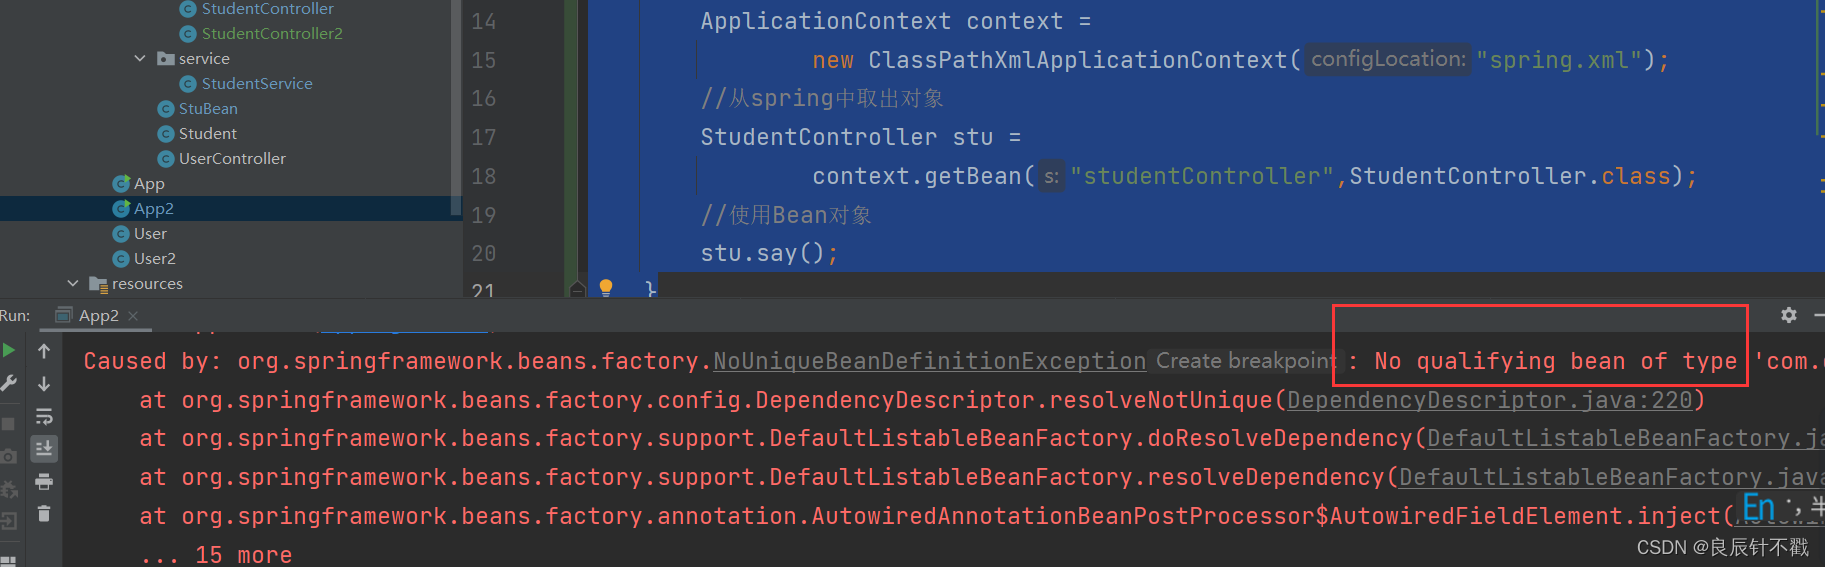
我们会惊奇的发现报错了,因为有两个student,一个student1和一个student2,那么这个时候我们就可以使用@Resource(name = “student1”),通过name来制定我们要取出哪个对象.
package com.demo.controller;
import com.demo.StuBean;
import com.demo.Student;
import com.demo.service.StudentService;
import org.springframework.beans.factory.annotation.Autowired;
import org.springframework.stereotype.Controller;

import javax.annotation.Resource;

@Controller
public class StudentController {
    @Resource(name = "student1")
    //private StuBean stuBean;
    private Student student;

    public void say(){
        System.out.println(student.toString());
    }
}
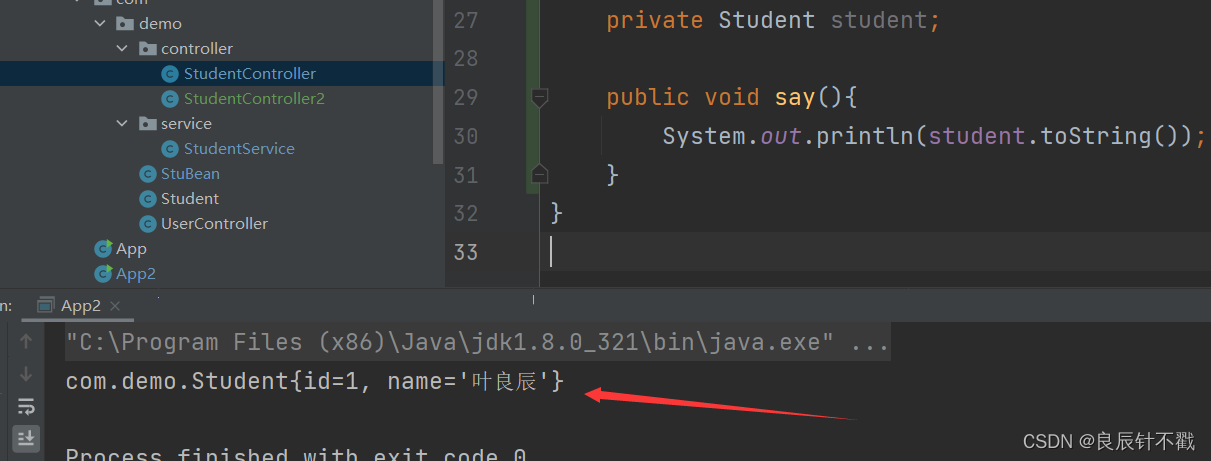
功夫不负有心人呀,我们的程序终于执行成功了.
其实,还有一些解决方案,我们来看一看.
1. 直接把我们引入的Student名字改为我们的属性名,比如student.
其实这种方式不太好,也不太推荐大家使用.
package com.demo.controller;
import com.demo.StuBean;
import com.demo.Student;
import com.demo.service.StudentService;
import org.springframework.beans.factory.annotation.Autowired;
import org.springframework.stereotype.Controller;

import javax.annotation.Resource;

@Controller
public class StudentController {
    @Autowired
    //private StuBean stuBean;
    private Student student1;
    public void say(){
        System.out.println(student1.toString());
    }
}
2. @Autowired和 @Qualifier两种注解结合使用
package com.demo.controller;
import com.demo.StuBean;
import com.demo.Student;
import com.demo.service.StudentService;
import org.springframework.beans.factory.annotation.Autowired;
import org.springframework.beans.factory.annotation.Qualifier;
import org.springframework.stereotype.Controller;

import javax.annotation.Resource;

@Controller
public class StudentController {
    @Autowired
    @Qualifier(value = "student1")
    private Student student;

    public void say(){
        System.out.println(student.toString());
    }
}


 932
932


 被折叠的 条评论
为什么被折叠?
被折叠的 条评论
为什么被折叠?
 到【灌水乐园】发言


