


<template>
<el-calendar>
<template #date-cell="{ data }">
<p :class="data.isSelected ? 'is-selected' : ''">
{{ data.day.split("-").slice(1).join("-") }}
{{ data.isSelected ? "✔️" : "" }}
</p>
<div v-for="(i, index) in dayTime" :key="index">
<div v-if="data.day == i" class="budge"></div>
</div>
</template>
</el-calendar>
</template>
<script setup>
import { ref } from "vue";
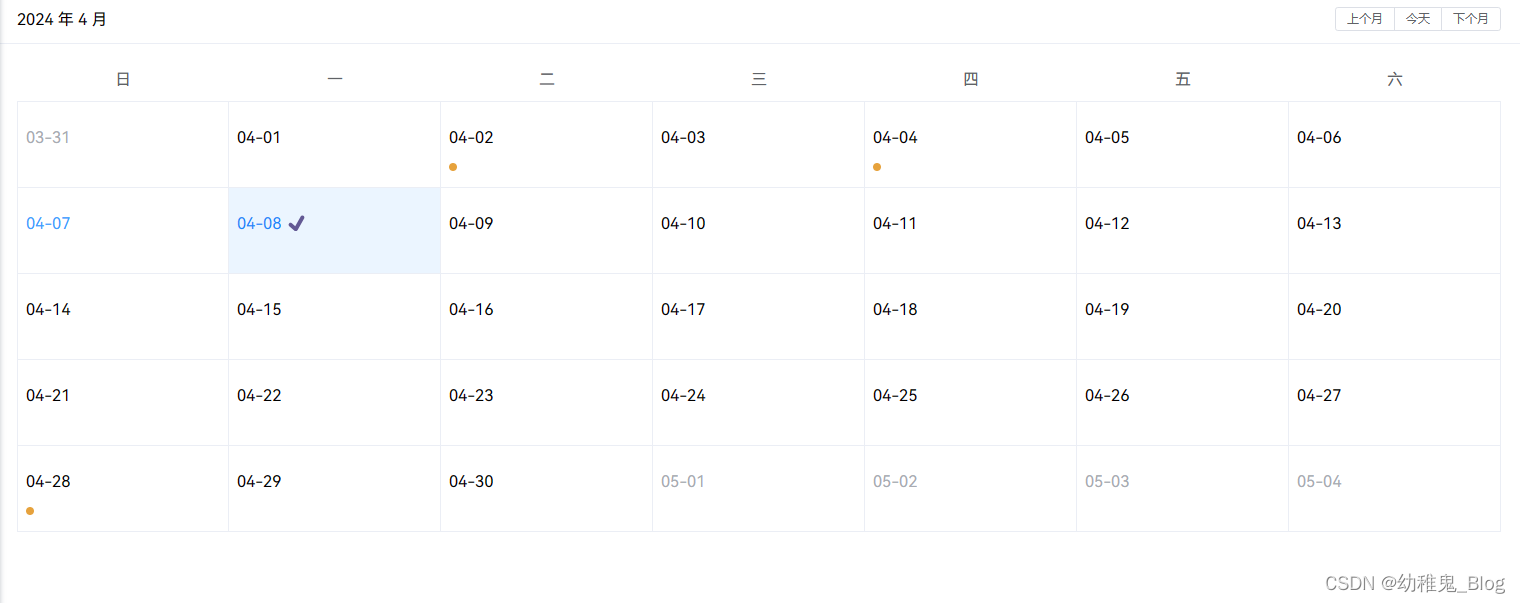
const dayTime = ref(["2024-04-28", "2024-04-04", "2024-04-02"]);
</script>
<style>
.is-selected {
color: #1989fa;
}
.budge {
width: 8px;
height: 8px;
background: #e6a23c;
border-radius: 50%;
/* margin: 0 auto; */
margin-top: 10px;
}
</style>
在这个示例中,我们使用了 <script setup> 语法来编写逻辑部分,通过 ref 来定义响应式数据。在 renderCell 方法中判断日期是否需要打点,并设置相应的样式。这样就可以在 Element Plus 的 Calendar 组件中实现日历打点的效果。


 7576
7576


 被折叠的 条评论
为什么被折叠?
被折叠的 条评论
为什么被折叠?
 到【灌水乐园】发言


