


最全的Linux教程,Linux从入门到精通
======================
-
linux从入门到精通(第2版)
-
Linux系统移植
-
Linux驱动开发入门与实战
-
LINUX 系统移植 第2版
-
Linux开源网络全栈详解 从DPDK到OpenFlow
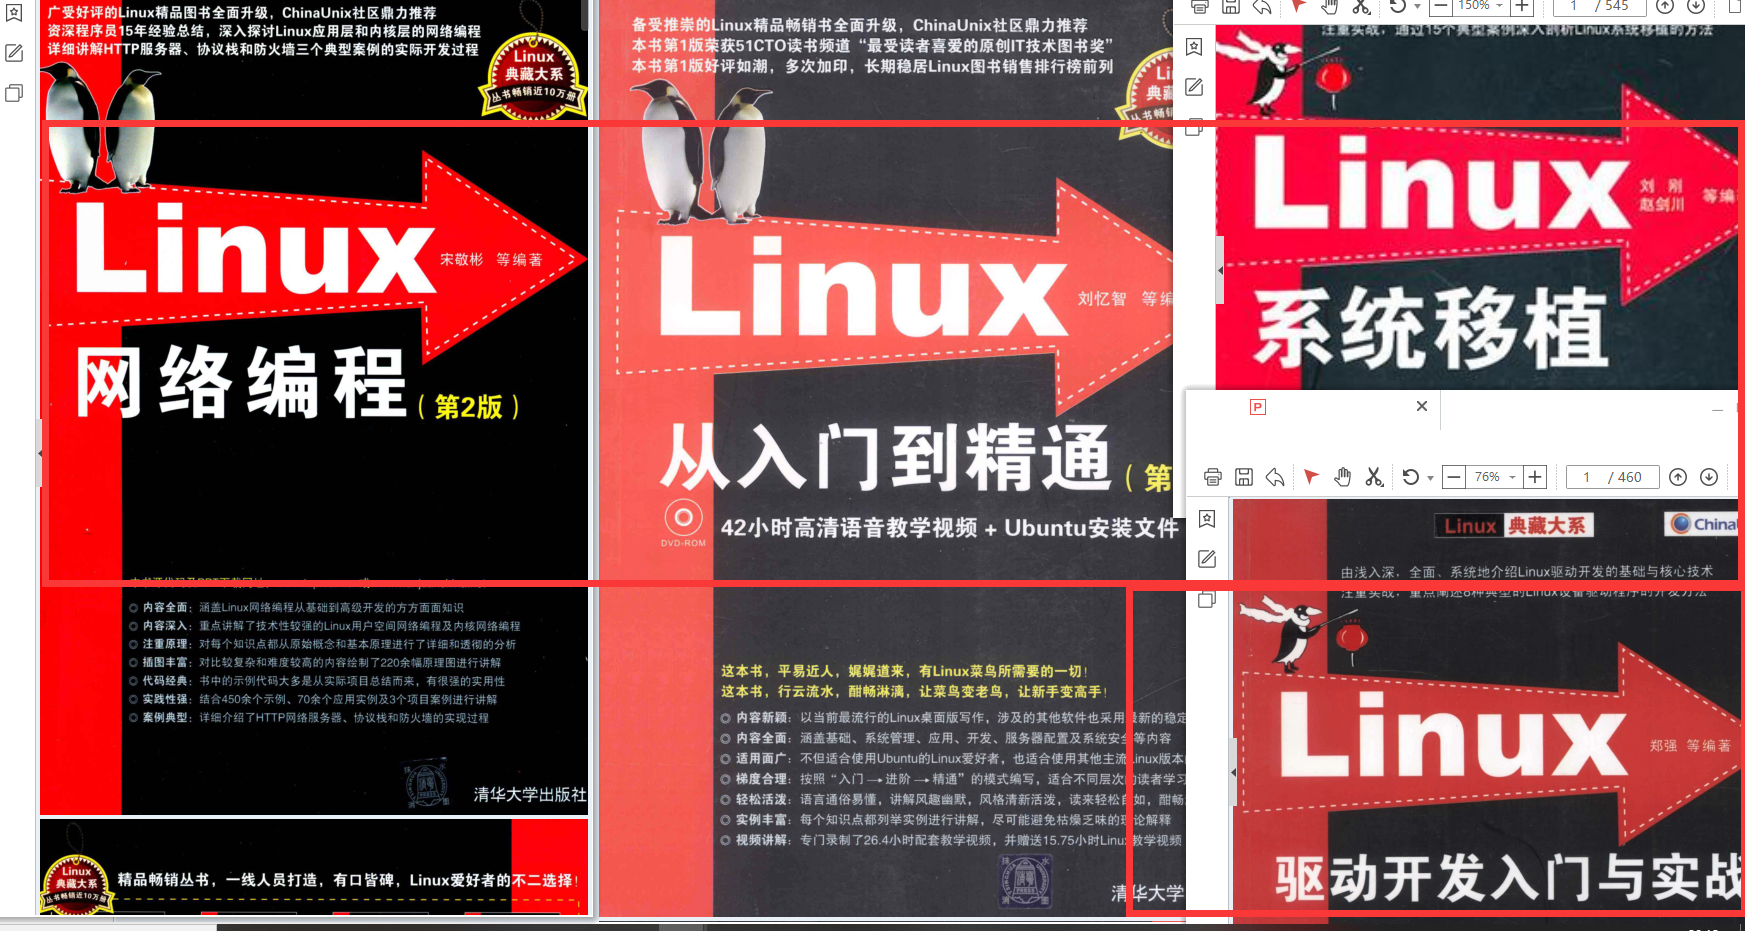
第一份《Linux从入门到精通》466页
====================
内容简介
====
本书是获得了很多读者好评的Linux经典畅销书**《Linux从入门到精通》的第2版**。本书第1版出版后曾经多次印刷,并被51CTO读书频道评为“最受读者喜爱的原创IT技术图书奖”。本书第﹖版以最新的Ubuntu 12.04为版本,循序渐进地向读者介绍了Linux 的基础应用、系统管理、网络应用、娱乐和办公、程序开发、服务器配置、系统安全等。本书附带1张光盘,内容为本书配套多媒体教学视频。另外,本书还为读者提供了大量的Linux学习资料和Ubuntu安装镜像文件,供读者免费下载。

本书适合广大Linux初中级用户、开源软件爱好者和大专院校的学生阅读,同时也非常适合准备从事Linux平台开发的各类人员。
需要《Linux入门到精通》、《linux系统移植》、《Linux驱动开发入门实战》、《Linux开源网络全栈》电子书籍及教程的工程师朋友们劳烦您转发+评论
网上学习资料一大堆,但如果学到的知识不成体系,遇到问题时只是浅尝辄止,不再深入研究,那么很难做到真正的技术提升。
一个人可以走的很快,但一群人才能走的更远!不论你是正从事IT行业的老鸟或是对IT行业感兴趣的新人,都欢迎加入我们的的圈子(技术交流、学习资源、职场吐槽、大厂内推、面试辅导),让我们一起学习成长!
* C语言中,open打开文件,返回的是`FILE *` ,struct FILE结构体 — 内部封装了fd,还包含了该文件**fd对应的语言层的缓冲区结构!**(远在天边,近在眼前)


我们可以看看FILE结构体:
//在/usr/include/libio.h
struct _IO_FILE {
int _flags; /* High-order word is _IO_MAGIC; rest is flags. */
#define _IO_file_flags _flags
//缓冲区相关
/* The following pointers correspond to the C++ streambuf protocol. */
/* Note: Tk uses the _IO_read_ptr and _IO_read_end fields directly. */
char* _IO_read_ptr; /* Current read pointer */
char* _IO_read_end; /* End of get area. */
char* _IO_read_base; /* Start of putback+get area. */
char* _IO_write_base; /* Start of put area. */
char* _IO_write_ptr; /* Current put pointer. */
char* _IO_write_end; /* End of put area. */
char* _IO_buf_base; /* Start of reserve area. */
char* _IO_buf_end; /* End of reserve area. */
/* The following fields are used to support backing up and undo. */
char *_IO_save_base; /* Pointer to start of non-current get area. */
char *_IO_backup_base; /* Pointer to first valid character of backup area */
char *_IO_save_end; /* Pointer to end of non-current get area. */
struct _IO_marker *_markers;
struct _IO_FILE *_chain;
int _fileno; //封装的文件描述符
#if 0
int _blksize;
#else
int _flags2;
#endif
_IO_off_t _old_offset; /* This used to be _offset but it’s too small. */
#define __HAVE_COLUMN /* temporary */
/* 1+column number of pbase(); 0 is unknown. */
unsigned short _cur_column;
signed char _vtable_offset;
char _shortbuf[1];
/* char* _save_gptr; char* _save_egptr; */
_IO_lock_t *_lock;
#ifdef _IO_USE_OLD_IO_FILE
};
所以在C语言上,进行写入的时候放进缓冲区,定期刷新
C语言打开的FILE是文件流。C++中的cout 是类;里面必定包含了 fd、buffer(缓冲区)
#### 🌏设计用户层缓冲区的代码 ~ 实战
##### 💢`struct file`的设计

struct MyFILE_{
int fd; //文件描述符
char buffer[1024]; //缓冲区
int end; //当前缓冲区的结尾
};
##### 💢主函数


open文件 —— fputs输入 —— fclose关闭,接口函数都要我们逐一实现
int main()
{
MyFILE *fp = fopen_(“./log.txt”, “r”);
if(fp = NULL)
{
printf(“open file error”);
return 0;
}
 fputs\_("hello world error", fp);
 fclose\_(fp);
}
我们发现:C语言的接口一旦打开成功,全部都要带上`FILE*`结构,原因很简单,因为什么数据都在这个FILE结构体中
FILE *fopen(const char *path, const char *mode);
//以下全是要带FILE*
int fputc(int c, FILE *stream);
int fclose(FILE *fp);
size_t fread(void *ptr, size_t size, size_t nmemb, FILE *stream);
##### 💢接口实现
**💦fputs**

//此处刷新策略还没定 全部放进缓冲区
void fputs\_(const char \*message, MyFILE \*fp)
{
  assert(message);
  assert(fp);

  strcpy(fp->buffer + fp->end, message);//abcde\0
  fp->end += strlen(message);
}
运行结果:

上面覆盖了`\0`,strcpy会在结尾时候自动添加\0
若要往显示器上打印:变成**行刷新**
if(fp->fd == 0)
{
    //标准输入
}
else if(fp->fd == 1)
{
    //标准输出
    if(fp->buffer[fp->end-1] =='\n' )
    {
        //fprintf(stderr, "fflush: %s", fp->buffer); //2
        write(fp->fd, fp->buffer, fp->end);
        fp->end = 0;
    }
}
else if(fp->fd == 2)
{
    //标准错误
}
else
{
    //其他文件
}
}
测试用例:
fputs_(“one:hello world error”, fp);
fputs_(“two:hello world error\n”, fp);
fputs_(“three:hello world error”, fp);
fputs_(“four:hello world error\n”, fp);
结果:当遇到\n,才刷新

**💦fflush刷新**
当end!=0 ,就刷新进内核
内核刷新进外设,这就要用一个函数`syncfs`
#include <unistd.h>
//将缓冲区缓存提交到磁盘
int syncfs(int fd);
具体实现:
void fflush(MyFILE \*fp)
{
  assert(fp);
  if(fp->end != 0)
  {
    //暂且认为刷新了 ——其实是把数据写到 内核
    write(fp->fd, fp->buffer, fp->end);
    syncfs(fp->fd); //将数据写入到磁盘
    fp->end = 0;
  }
}
**💦fclose**
 关闭之前要先刷新
void fclose(MyFILE *fp)
{
assert(fp);
fflush(fp);
close(fp->fd);
free(fp);
}
##### 💢附源码
#include <stdio.h>
#include <string.h>
#include <unistd.h>
#include <sys/types.h>
#include <sys/stat.h>
#include <fcntl.h>
#include <assert.h>
#include <stdlib.h>
#define NUM 1024
struct MyFILE_{
int fd; //文件描述符
char buffer[1024]; // 缓冲区
int end; //当前缓冲区的结尾
};
typedef struct MyFILE_ MyFILE;//类型重命名
MyFILE *fopen_(const char *pathname, const char *mode)
{
assert(pathname);
assert(mode);
MyFILE \*fp = NULL;//什么也没做,最后返回NULL

if(strcmp(mode, "r") == 0)
{
}
else if(strcmp(mode, "r+") == 0)
{

}
else if(strcmp(mode, "w") == 0)
{

    int fd = open(pathname, O_WRONLY | O_TRUNC | O_CREAT, 0666);
    if(fd >= 0)
    {
        fp = (MyFILE\*)malloc(sizeof(MyFILE));
        memset(fp, 0, sizeof(MyFILE));
        fp->fd = fd;
    }
}
else if(strcmp(mode, "w+") == 0)
{

}
else if(strcmp(mode, "a") == 0)
{

}
else if(strcmp(mode, "a+") == 0)
{

}
else{
    //什么都不做
}

return fp;
}
//是不是应该是C标准库中的实现!
void fputs_(const char *message, MyFILE *fp)
{
assert(message);
assert(fp);
strcpy(fp->buffer+fp->end, message); //abcde\0
fp->end += strlen(message);

//for debug
printf("%s\n", fp->buffer);

//暂时没有刷新, 刷新策略是谁来执行的呢?用户通过执行C标准库中的代码逻辑,来完成刷新动作
//这里效率提高,体现在哪里呢??因为C提供了缓冲区,那么我们就通过策略,减少了IO的执行次数(不是数据量)
if(fp->fd == 0)
{
    //标准输入
}
else if(fp->fd == 1)
{
    //标准输出
    if(fp->buffer[fp->end-1] =='\n' )
    {
        //fprintf(stderr, "fflush: %s", fp->buffer); //2
        write(fp->fd, fp->buffer, fp->end);
        fp->end = 0;
    }
}
else if(fp->fd == 2)
{
    //标准错误
}
else
{
    //其他文件
}
}
void fflush_(MyFILE *fp)
{
assert(fp);
if(fp->end != 0)
{
    //暂且认为刷新了--其实是把数据写到了内核
    write(fp->fd, fp->buffer, fp->end);
    syncfs(fp->fd); //将数据写入到磁盘
    fp->end = 0;
}
}
void fclose_(MyFILE *fp)
{
assert(fp);
fflush_(fp);
close(fp->fd);
free(fp);
}
int main()
{
close(1);
MyFILE *fp = fopen_(“./log.txt”, “w”);
if(fp == NULL)
{
printf(“open file error”);
return 1;
}
 fputs\_("one:hello world error", fp);
 fputs\_("two:hello world error", fp);
 fputs\_("three:hello world error", fp);
 fputs\_("four:hello world error", fp);
 fclose(fp);
最全的Linux教程,Linux从入门到精通
======================
-
linux从入门到精通(第2版)
-
Linux系统移植
-
Linux驱动开发入门与实战
-
LINUX 系统移植 第2版
-
Linux开源网络全栈详解 从DPDK到OpenFlow
第一份《Linux从入门到精通》466页
====================
内容简介
====
本书是获得了很多读者好评的Linux经典畅销书**《Linux从入门到精通》的第2版**。本书第1版出版后曾经多次印刷,并被51CTO读书频道评为“最受读者喜爱的原创IT技术图书奖”。本书第﹖版以最新的Ubuntu 12.04为版本,循序渐进地向读者介绍了Linux 的基础应用、系统管理、网络应用、娱乐和办公、程序开发、服务器配置、系统安全等。本书附带1张光盘,内容为本书配套多媒体教学视频。另外,本书还为读者提供了大量的Linux学习资料和Ubuntu安装镜像文件,供读者免费下载。
本书适合广大Linux初中级用户、开源软件爱好者和大专院校的学生阅读,同时也非常适合准备从事Linux平台开发的各类人员。
需要《Linux入门到精通》、《linux系统移植》、《Linux驱动开发入门实战》、《Linux开源网络全栈》电子书籍及教程的工程师朋友们劳烦您转发+评论
网上学习资料一大堆,但如果学到的知识不成体系,遇到问题时只是浅尝辄止,不再深入研究,那么很难做到真正的技术提升。
一个人可以走的很快,但一群人才能走的更远!不论你是正从事IT行业的老鸟或是对IT行业感兴趣的新人,都欢迎加入我们的的圈子(技术交流、学习资源、职场吐槽、大厂内推、面试辅导),让我们一起学习成长!


 389
389

 被折叠的 条评论
为什么被折叠?
被折叠的 条评论
为什么被折叠?
 到【灌水乐园】发言


