


Vue.use = function (plugin: Function | Object) {
// 拿到 installPlugins
const installedPlugins = (this._installedPlugins || (this._installedPlugins = []))
// 保证不会重复注册
if (installedPlugins.indexOf(plugin) > -1) {
return this
}
// 获取第一个参数 plugins 以外的参数
const args = toArray(arguments, 1)
// 将 Vue 实例添加到参数
args.unshift(this)
// 执行 plugin 的 install 方法 每个 insatll 方法的第一个参数都会变成 Vue,不需要额外引入
if (typeof plugin.install === ‘function’) {
plugin.install.apply(plugin, args)
} else if (typeof plugin === ‘function’) {
plugin.apply(null, args)
}
// 最后用 installPlugins 保存
installedPlugins.push(plugin)
return this
}
}
可以看到 Vue 的 use 方法会接受一个 plugin 参数,然后使用 installPlugins 数组 保存已经注册过的 plugin。首先保证 plugin 不被重复注册,然后将 Vue 从函数参数中取出,将整个 Vue 作为 plugin 的install 方法的第一个参数,这样做的好处就是不需要麻烦的另外引入 Vue,便于操作。接着就去判断 plugin 上是否存在 install 方法。存在则将赋值后的参数传入执行 ,最后将所有的存在 install 方法的 plugin 交给 installPlugins维护。
install
了解清楚 Vue.use 的结构之后,可以得出 Vue 注册插件其实就是在执行插件的 install 方法,参数的第一项就是 Vue,所以我们将代码定位到 vue-router 源码中的 src/install.js 源码地址 (https://github.com/vuejs/vue-router/blob/dev/src/install.js)
// 保存 Vue 的局部变量
export let _Vue
export function install (Vue) {
// 如果已安装
if (install.installed && _Vue === Vue) return
install.installed = true
// 局部变量保留传入的 Vue
_Vue = Vue
const isDef = v => v !== undefined
const registerInstance = (vm, callVal) => {
let i = vm.$options._parentVnode
if (isDef(i) && isDef(i = i.data) && isDef(i = i.registerRouteInstance)) {
i(vm, callVal)
}
}
// 全局混入钩子函数 每个组件都会有这些钩子函数,执行就会走这里的逻辑
Vue.mixin({
beforeCreate () {
if (isDef(this.$options.router)) {
// new Vue 时传入的根组件 router router对象传入时就可以拿到 this.$options.router
// 根 router
this._routerRoot = this
this._router = this.$options.router
this._router.init(this)
// 变成响应式
Vue.util.defineReactive(this, ‘_route’, this._router.history.current)
} else {
// 非根组件访问根组件通过$parent
this._routerRoot = (this.KaTeX parse error: Expected 'EOF', got '&' at position 8: parent &̲& this.parent._routerRoot) || this
}
registerInstance(this, this)
},
destroyed () {
registerInstance(this)
}
})
// 原型加入 r o u t e r 和 router 和 router 和 route
Object.defineProperty(Vue.prototype, ‘$router’, {
get () { return this._routerRoot._router }
})
Object.defineProperty(Vue.prototype, ‘$route’, {
get () { return this._routerRoot._route }
})
// 全局注册
Vue.component(‘RouterView’, View)
Vue.component(‘RouterLink’, Link)
// 获取合并策略
const strats = Vue.config.optionMergeStrategies
// use the same hook merging strategy for route hooks
strats.beforeRouteEnter = strats.beforeRouteLeave = strats.beforeRouteUpdate = strats.created
}
可以看到这段代码核心部分就是在执行 install 方法时使用 mixin 的方式将每个组件都混入 beforeCreate,destroyed 这两个生命周期钩子。在 beforeCreate 函数中会去判断当前传入的 router 实例是否是根组件,如果是,则将 _routerRoot 赋值为当前组件实例、_router 赋值为传入的VueRouter 实例对象,接着执行 init 方法初始化 router,然后将 this_route 响应式化。非根组件的话 _routerRoot 指向 $parent 父实例。然后执行 registerInstance(this,this) 方法,该方法后会,接着原型加入 $router 和 $route,最后注册 RouterView 和 RouterLink,这就是整个 install 的过程。
小结
Vue.use(plugin) 实际上在执行 plugin上的 install 方法,insatll 方法有个重要的步骤:
-
使用
mixin在组件中混入beforeCreate,destory这俩个生命周期钩子 -
在
beforeCreate这个钩子进行初始化。 -
全局注册
router-view,router-link组件
VueRouter
接着就是这个最重要的 class : VueRouter。这一部分代码比较多,所以不一一列举,挑重点分析。vueRouter源码地址 (https://github.com/vuejs/vue-router/blob/v3.1.2/src/index.js)。
构造函数
constructor (options: RouterOptions = {}) {
this.app = null
this.apps = []
// 传入的配置项
this.options = options
this.beforeHooks = []
this.resolveHooks = []
this.afterHooks = []
this.matcher = createMatcher(options.routes || [], this)
// 一般分两种模式 hash 和 history 路由 第三种是抽象模式
let mode = options.mode || ‘hash’
// 判断当前传入的配置是否能使用 history 模式
this.fallback = mode === ‘history’ && !supportsPushState && options.fallback !== false
// 降级处理
if (this.fallback) {
mode = ‘hash’
}
if (!inBrowser) {
mode = ‘abstract’
}
this.mode = mode
// 根据模式实例化不同的 history,history 对象会对路由进行管理 继承于history class
switch (mode) {
case ‘history’:
this.history = new HTML5History(this, options.base)
break
case ‘hash’:
this.history = new HashHistory(this, options.base, this.fallback)
break
case ‘abstract’:
this.history = new AbstractHistory(this, options.base)
break
default:
if (process.env.NODE_ENV !== ‘production’) {
assert(false, invalid mode: ${mode})
}
}
}
首先在初始化 vueRouter 整个对象时定义了许多变量,app 代表 Vue 实例,options 代表传入的配置参数,然后就是路由拦截有用的 hooks 和重要的 matcher (后文会写到)。构造函数其实在做两件事情: 1. 确定当前路由使用的 mode;2. 实例化对应的 history 对象。
init
接着完成实例化 vueRouter 之后,如果这个实例传入后,也就是刚开始说的将 vueRouter 实例在初始化 Vue 时传入,它会在执行 beforeCreate 时执行 init 方法
init (app: any) {
…
this.apps.push(app)
// 确保后面的逻辑只走一次
if (this.app) {
return
}
// 保存 Vue 实例
this.app = app
const history = this.history
// 拿到 history 实例之后,调用 transitionTo 进行路由过渡
if (history instanceof HTML5History) {
history.transitionTo(history.getCurrentLocation())
} else if (history instanceof HashHistory) {
const setupHashListener = () => {
history.setupListeners()
}
history.transitionTo(
history.getCurrentLocation(),
setupHashListener,
setupHashListener
)
}
}
init 方法传入 Vue 实例,保存到 this.apps 当中。Vue实例 会取出当前的 this.history,如果是哈希路由,先走 setupHashListener 函数,然后调一个关键的函数 transitionTo 路由过渡,这个函数其实调用了 this.matcher.match 去匹配。
小结
首先在 vueRouter 构造函数执行完会完成路由模式的选择,生成 matcher ,然后初始化路由需要传入 vueRouter 实例对象,在组件初始化阶段执行 beforeCreate 钩子,调用 init 方法,接着拿到 this.history 去调用 transitionTo 进行路由过渡。
Matcher
之前在 vueRouter 的构造函数中初始化了 macther,本节将详细分析下面这句代码到底在做什么事情,以及 match 方法在做什么 源码地址 (https://github.com/vuejs/vue-router/blob/dev/src/create-matcher.js)。
this.matcher = createMatcher(options.routes || [], this)
首先将代码定位到create-matcher.js
export function createMatcher (
routes: Array,
router: VueRouter
): Matcher {
// 创建映射表
const { pathList, pathMap, nameMap } = createRouteMap(routes)
// 添加动态路由
function addRoutes(routes){…}
// 计算新路径
function match (
raw: RawLocation,
currentRoute?: Route,
redirectedFrom?: Location
): Route {…}
// … 后面的一些方法暂不展开
return {
match,
addRoutes
}
}
createMatcher 接受俩参数,分别是 routes,这个就是我们平时在 router.js 定义的路由表配置,然后还有一个参数是 router 他是 new vueRouter 返回的实例。
createRouteMap
下面这句代码是在创建一张 path-record,name-record 的映射表,我们将代码定位到 create-route-map.js 源码地址 (https://github.com/vuejs/vue-router/blob/dev/src/create-route-map.js)
export function createRouteMap (
routes: Array,
oldPathList?: Array,
oldPathMap?: Dictionary,
oldNameMap?: Dictionary
): {
pathList: Array,
pathMap: Dictionary,
nameMap: Dictionary
} {
// 记录所有的 path
const pathList: Array = oldPathList || []
// 记录 path-RouteRecord 的 Map
const pathMap: Dictionary = oldPathMap || Object.create(null)
// 记录 name-RouteRecord 的 Map
const nameMap: Dictionary = oldNameMap || Object.create(null)
// 遍历所有的 route 生成对应映射表
routes.forEach(route => {
addRouteRecord(pathList, pathMap, nameMap, route)
})
// 调整优先级
for (let i = 0, l = pathList.length; i < l; i++) {
if (pathList[i] === ‘*’) {
pathList.push(pathList.splice(i, 1)[0])
l–
i–
}
}
return {
pathList,
pathMap,
nameMap
}
}
createRouteMap 需要传入路由配置,支持传入旧路径数组和旧的 Map 这一步是为后面递归和 addRoutes 做好准备。首先用三个变量记录 path,pathMap,nameMap,接着我们来看 addRouteRecord 这个核心方法。这一块代码太多了,列举几个重要的步骤
// 解析路径
const pathToRegexpOptions: PathToRegexpOptions =
route.pathToRegexpOptions || {}
// 拼接路径
const normalizedPath = normalizePath(path, parent, pathToRegexpOptions.strict)
// 记录路由信息的关键对象,后续会依此建立映射表
const record: RouteRecord = {
path: normalizedPath,
regex: compileRouteRegex(normalizedPath, pathToRegexpOptions),
// route 对应的组件
components: route.components || { default: route.component },
// 组件实例
instances: {},
name,
parent,
matchAs,
redirect: route.redirect,
beforeEnter: route.beforeEnter,
meta: route.meta || {},
props: route.props == null
? {}
: route.components
? route.props
: { default: route.props }
}
使用 recod 对象 记录路由配置有利于后续路径切换时计算出新路径,这里的 path 其实是通过传入父级 record 对象的path和当前 path 拼接出来的 。然后 regex 使用一个库将 path 解析为正则表达式。如果 route 有子节点就递归调用 addRouteRecord
// 如果有 children 递归调用 addRouteRecord
route.children.forEach(child => {
const childMatchAs = matchAs
? cleanPath(${matchAs}/${child.path})
: undefined
addRouteRecord(pathList, pathMap, nameMap, child, record, childMatchAs)
})
最后映射两张表,并将 record·path 保存进 pathList,nameMap 逻辑相似就不列举了
if (!pathMap[record.path]) {
pathList.push(record.path)
pathMap[record.path] = record
}
废了这么大劲将 pathList 和 pathMap 和 nameMap 抽出来是为啥呢? 首先 pathList 是记录路由配置所有的 path,然后 pathMap 和 nameMap 方便我们传入 path 或者 name 快速定位到一个 record,然后辅助后续路径切换计算路由的。
addRoutes
这是在 vue2.2.0 之后新添加的 api ,或许很多情况路由并不是写死的,需要动态添加路由。有了前面的 createRouteMap 的基础上我们只需要传入 routes 即可,他就能在原基础上修改
function addRoutes (routes) {
createRouteMap(routes, pathList, pathMap, nameMap)
}
并且看到在 createMathcer 最后返回了这个方法,所以我们就可以使用这个方法
return {
match,
addRoutes
}
match
function match (
raw: RawLocation,
currentRoute?: Route,
redirectedFrom?: Location
): Route {
…
}
接下来就是 match 方法,它接收 3 个参数,其中 raw 是 RawLocation 类型,它可以是一个 url 字符串,也可以是一个 Location 对象;currentRoute 是 Route 类型,它表示当前的路径;redirectedFrom 和重定向相关。match 方法返回的是一个路径,它的作用是根据传入的 raw 和当前的路径 currentRoute 计算出一个新的路径并返回。至于他是如何计算出这条路径的,可以详细看一下如何计算出location的 normalizeLocation 方法和 _createRoute 方法。
小结
-
createMatcher: 根据路由的配置描述建立映射表,包括路径、名称到路由record的映射关系, 最重要的就是createRouteMap这个方法,这里也是动态路由匹配和嵌套路由的原理。 -
addRoutes: 动态添加路由配置 -
match: 根据传入的raw和当前的路径currentRoute计算出一个新的路径并返回。
路由模式
vue-router 支持三种路由模式(mode):hash、history、abstract,其中 abstract 是在非浏览器环境下使用的路由模式 源码地址 (https://github.com/vuejs/vue-router/blob/dev/src/index.js)。
这一部分在前面初始化 vueRouter 对象时提到过,首先拿到配置项的模式,然后根据当前传入的配置判断当前浏览器是否支持这种模式,默认 IE9 以下会降级为 hash。然后根据不同的模式去初始化不同的 history 实例。
// 一般分两种模式 hash 和 history 路由 第三种是抽象模式不常用
let mode = options.mode || ‘hash’
// 判断当前传入的配置是否能使用 history 模式
this.fallback = mode === ‘history’ && !supportsPushState && options.fallback !== false
// 降级处理
if (this.fallback) {
mode = ‘hash’
}
if (!inBrowser) {
mode = ‘abstract’
}
this.mode = mode
// 根据模式实例化不同的 history history 对象会对路由进行管理 继承于 history class
switch (mode) {
case ‘history’:
this.history = new HTML5History(this, options.base)
break
case ‘hash’:
this.history = new HashHistory(this, options.base, this.fallback)
break
case ‘abstract’:
this.history = new AbstractHistory(this, options.base)
break
default:
if (process.env.NODE_ENV !== ‘production’) {
assert(false, invalid mode: ${mode})
}
}
小结
vue-router 支持三种路由模式,hash、history和 abstract。默认为 hash,如果当前浏览器不支持 history则会做降级处理,然后完成 history 的初始化。
路由切换
切换 url 主要是调用了
push 方法,下面以哈希模式为例,分析push方法实现的原理 。push 方法切换路由的实现原理 源码地址 (https://github.com/vuejs/vue-router/blob/dev/src/history/hash.js)
首先在 src/index.js 下找到 vueRouter 定义的 push 方法
push (location: RawLocation, onComplete?: Function, onAbort?: Function) {
// $flow-disable-line
if (!onComplete && !onAbort && typeof Promise !== ‘undefined’) {
return new Promise((resolve, reject) => {
this.history.push(location, resolve, reject)
})
} else {
this.history.push(location, onComplete, onAbort)
}
}
接着我们需要定位到 history/hash.js。这里首先获取到当前路径然后调用了 transitionTo 做路径切换,在回调函数当中执行 pushHash 这个核心方法。
push (location: RawLocation, onComplete?: Function, onAbort?: Function) {
const { current: fromRoute } = this
// 路径切换的回调函数中调用 pushHash
this.transitionTo(
location,
route => {
pushHash(route.fullPath)
handleScroll(this.router, route, fromRoute, false)
onComplete && onComplete(route)
},
onAbort
)
}
而 pushHash 方法在做完浏览器兼容判断后调用的 pushState 方法,将 url 传入
export function pushState (url?: string, replace?: boolean) {
const history = window.history
try {
// 调用浏览器原生的 history 的 pushState 接口或者 replaceState 接口,pushState 方法会将 url 入栈
if (replace) {
history.replaceState({ key: _key }, ‘’, url)
} else {
_key = genKey()
history.pushState({ key: _key }, ‘’, url)
}
} catch (e) {
window.locationreplace ? ‘replace’ : ‘assign’
}
}
可以发现,push 底层调用了浏览器原生的 history 的 pushState 和 replaceState 方法,不是 replace 模式 会将 url 推历史栈当中。
另外提一嘴拼接哈希的原理
源码位置 (https://github.com/vuejs/vue-router/blob/dev/src/history/hash.js)
初始化 HashHistory 时,构造函数会执行 ensureSlash 这个方法
export class HashHistory extends History {
constructor (router: Router, base: ?string, fallback: boolean) {
…
ensureSlash()
}
…
}
这个方法首先调用 getHash,然后执行 replaceHash()
function ensureSlash (): boolean {
const path = getHash()
if (path.charAt(0) === ‘/’) {
return true
}
replaceHash(‘/’ + path)
return false
}
下面是这几个方法
export function getHash (): string {
const href = window.location.href
const index = href.indexOf(‘#’)
return index === -1 ? ‘’ : href.slice(index + 1)
}
// 真正拼接哈希的方法
小编13年上海交大毕业,曾经在小公司待过,也去过华为、OPPO等大厂,18年进入阿里一直到现在。
深知大多数初中级前端工程师,想要提升技能,往往是自己摸索成长或者是报班学习,但自己不成体系的自学效果低效又漫长,而且极易碰到天花板技术停滞不前!
因此收集整理了一份《2024年Web前端开发全套学习资料》送给大家,初衷也很简单,就是希望能够帮助到想自学提升又不知道该从何学起的朋友,同时减轻大家的负担。

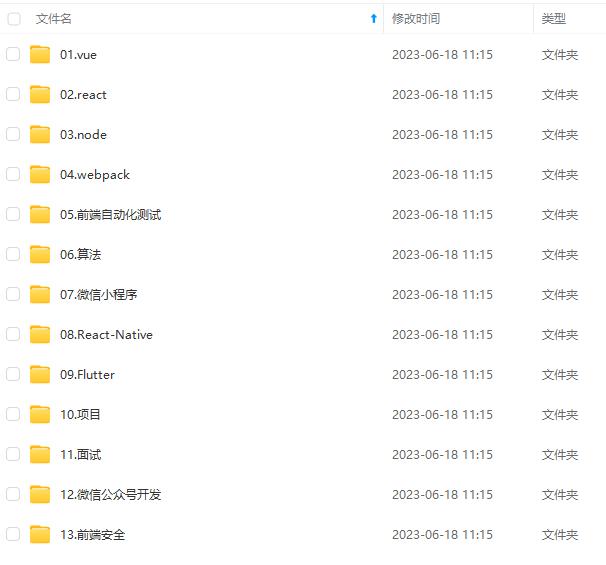
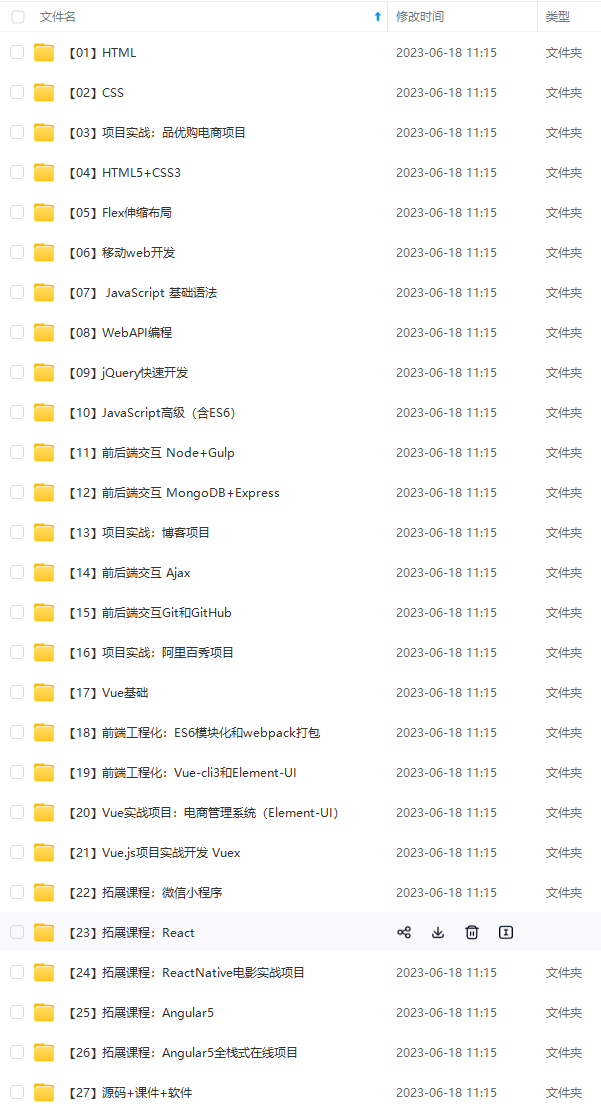
由于文件比较大,这里只是将部分目录截图出来,每个节点里面都包含大厂面经、学习笔记、源码讲义、实战项目、讲解视频
如果你觉得这些内容对你有帮助,可以添加下面V无偿领取!(备注:前端)

总结
三套“算法宝典”
开源分享:【大厂前端面试题解析+核心总结学习笔记+真实项目实战+最新讲解视频】
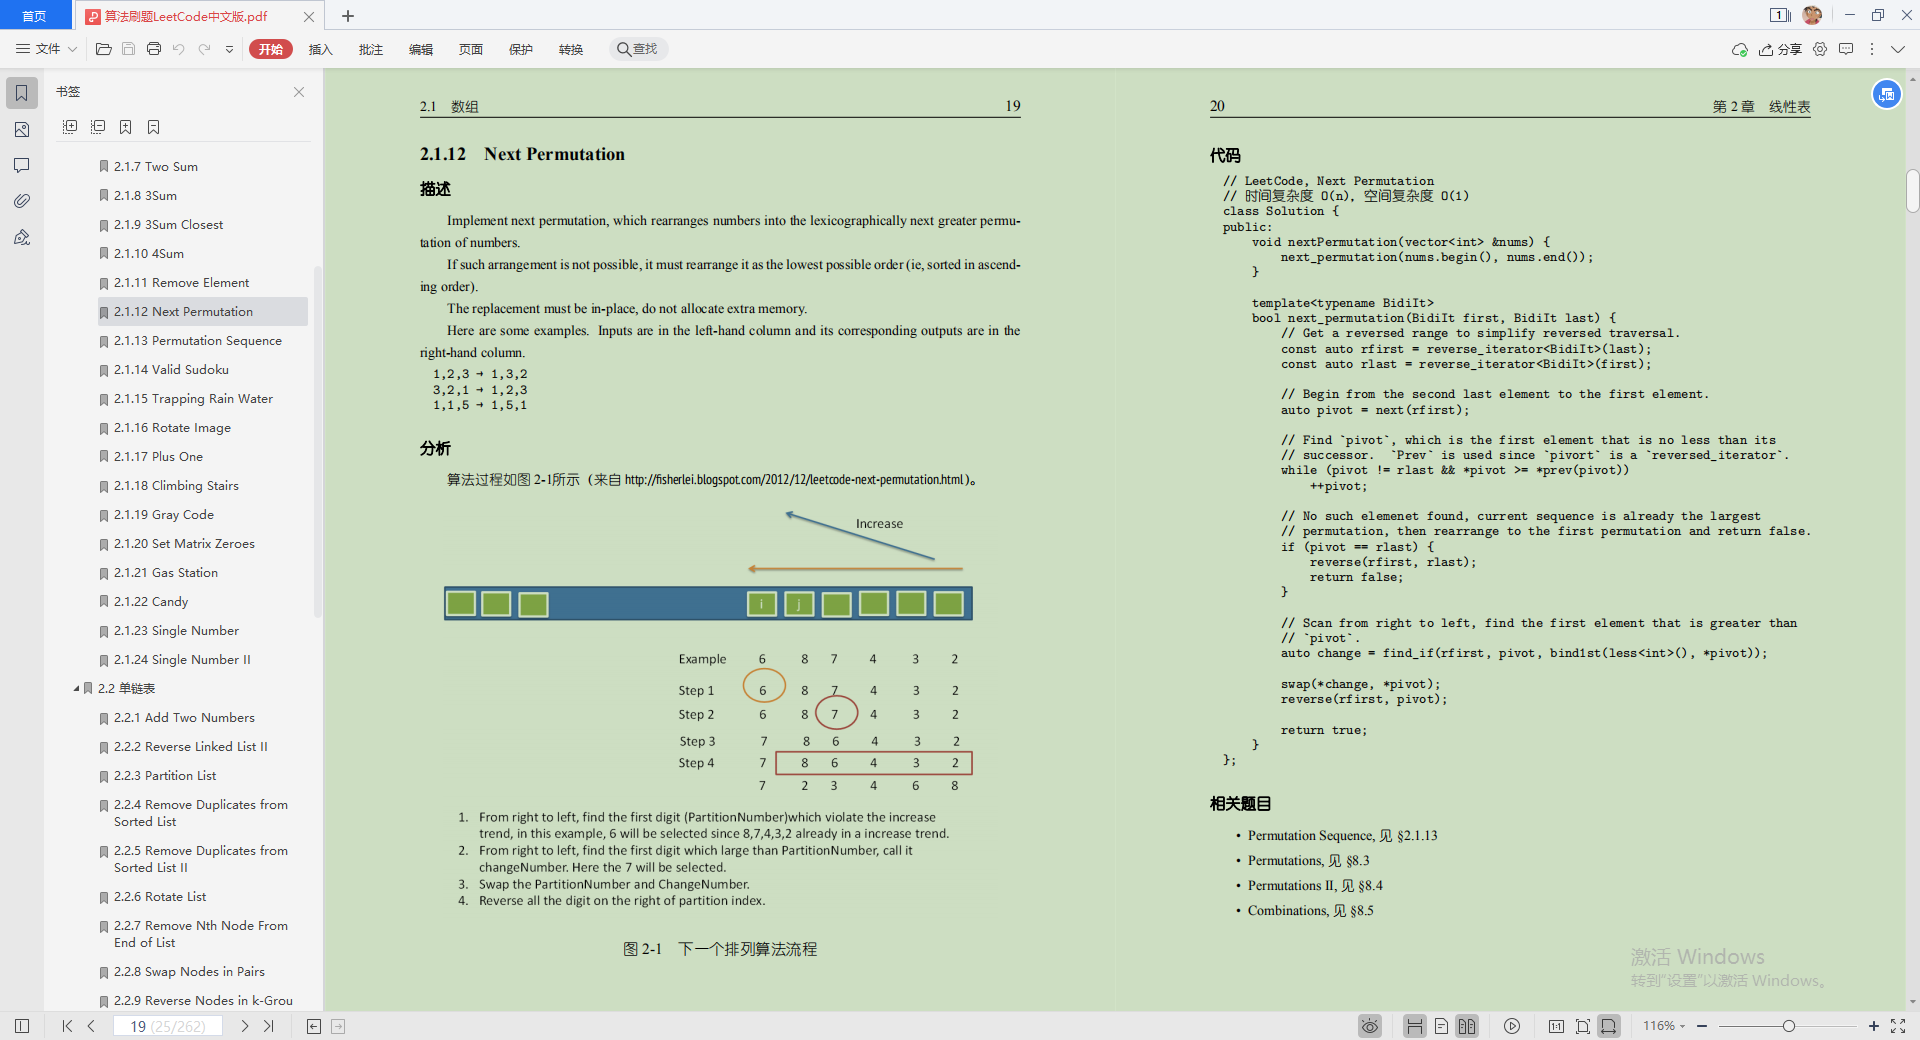
算法刷题LeetCode中文版(为例)
人与人存在很大的不同,我们都拥有各自的目标,在一线城市漂泊的我偶尔也会羡慕在老家踏踏实实开开心心养老的人,但是我深刻知道自己想要的是一年比一年有进步。
最后,我想说的是,无论你现在什么年龄,位于什么城市,拥有什么背景或学历,跟你比较的人永远都是你自己,所以明年的你看看与今年的你是否有差距,不想做咸鱼的人,只能用尽全力去跳跃。祝愿,明年的你会更好!
由于篇幅有限,下篇的面试技术攻克篇只能够展示出部分的面试题,详细完整版以及答案解析,有需要的可以关注
ce(index + 1)
}
// 真正拼接哈希的方法
小编13年上海交大毕业,曾经在小公司待过,也去过华为、OPPO等大厂,18年进入阿里一直到现在。
深知大多数初中级前端工程师,想要提升技能,往往是自己摸索成长或者是报班学习,但自己不成体系的自学效果低效又漫长,而且极易碰到天花板技术停滞不前!
因此收集整理了一份《2024年Web前端开发全套学习资料》送给大家,初衷也很简单,就是希望能够帮助到想自学提升又不知道该从何学起的朋友,同时减轻大家的负担。
[外链图片转存中…(img-4c3brFPR-1710696249787)]
[外链图片转存中…(img-2l9mpHMu-1710696249787)]
[外链图片转存中…(img-nSBXd57W-1710696249788)]
[外链图片转存中…(img-6bjwThEC-1710696249788)]
由于文件比较大,这里只是将部分目录截图出来,每个节点里面都包含大厂面经、学习笔记、源码讲义、实战项目、讲解视频
如果你觉得这些内容对你有帮助,可以添加下面V无偿领取!(备注:前端)
[外链图片转存中…(img-nuLBEjtm-1710696249788)]
总结
三套“算法宝典”
开源分享:【大厂前端面试题解析+核心总结学习笔记+真实项目实战+最新讲解视频】
算法刷题LeetCode中文版(为例)
人与人存在很大的不同,我们都拥有各自的目标,在一线城市漂泊的我偶尔也会羡慕在老家踏踏实实开开心心养老的人,但是我深刻知道自己想要的是一年比一年有进步。
最后,我想说的是,无论你现在什么年龄,位于什么城市,拥有什么背景或学历,跟你比较的人永远都是你自己,所以明年的你看看与今年的你是否有差距,不想做咸鱼的人,只能用尽全力去跳跃。祝愿,明年的你会更好!


 2363
2363


 被折叠的 条评论
为什么被折叠?
被折叠的 条评论
为什么被折叠?
 到【灌水乐园】发言


