


private BCryptPasswordEncoder passwordEncoder;
/**
* 当我们执行登录操作时,底层会通过过滤器等对象,调用这个方法.
* @param username 这个参数为页面输出的用户名
* @return 一般是从数据库基于用户名查询到的用户信息
* @throws UsernameNotFoundException
*/
@Override
public UserDetails loadUserByUsername(String username)
throws UsernameNotFoundException {
//1.基于用户名从数据库查询用户信息
//User user=userMapper.selectUserByUsername(username);
if(!“jack”.equals(username))//假设这是从数据库查询的信息
throw new UsernameNotFoundException(“user not exists”);
//2.将用户信息封装到UserDetails对象中并返回
//假设这个密码是从数据库查询出来的
String encodedPwd=passwordEncoder.encode(“123456”);
//假设这个权限信息也是从数据库查询到的
//假如分配权限的方式是角色,编写字符串时用"ROLE_"做前缀
List grantedAuthorities =
AuthorityUtils.commaSeparatedStringToAuthorityList(
“ROLE_admin,ROLE_normal,sys:res:retrieve,sys:res:create”);
//这个user是SpringSecurity提供的UserDetails接口的实现,用于封装用户信息
//后续我们也可以基于需要自己构建UserDetails接口的实现
User user=new User(username,encodedPwd,grantedAuthorities);
return user;
}
}
1
2
3
4
5
6
7
8
9
10
11
12
13
14
15
16
17
18
19
20
21
22
23
24
25
26
27
28
29
30
31
32
说明,这里的User对象会交给SpringSecurity框架,框架提取出密码信息,然后与用户输入的密码进行匹配校验.
第三步:启动服务进行登陆,访问测试。

自定义登陆页面
第一步:定义登陆页面(直接在static目录下创建即可),关键代码如下:
Please sign in
Sign in
注意:请求的url暂时为”/login”,请求方式必须为post方式,请求的参数暂时必须为username,password。这些规则默认在UsernamePasswordAuthenticationFilter中进行了定义。
第二步:修改安全配置类,让其实现接口,并重写相关config方法,进行登陆设计,代码如下:
@Configuration
public class SecutiryConfig extends WebSecurityConfigurerAdapter {
@Bean
public PasswordEncoder passwordEncoder(){
return new BCryptPasswordEncoder();
}
@Override
protected void configure(HttpSecurity http) throws Exception {
//super.configure(http);
//关闭跨域攻击,不关闭容易出错
http.csrf().disable();
//自定义登陆表单
http.formLogin()
//设置登陆页面
.loginPage("/login.html")
//设置登陆请求处理地址(对应form表单中的action),登陆时会访问UserDetailService对象
.loginProcessingUrl("/login")
//设置请求用户名参数为username(默认就是username,可以自己修改,需要与表单同步)
.usernameParameter(“username”)
//请求请求密码参数为password(默认就是password,可以自己修改,需要与表单同步)
.passwordParameter(“password”)
//设置登陆成功跳转页面(默认为/index.html)
.defaultSuccessUrl("/index.html")
//登陆失败访问的页面(默认为/login.html?error)
.failureUrl("/login.html?error");
//认证设计
http.authorizeRequests()
//设置要放行的咨询
.antMatchers("/login.html").permitAll()
//设置需要认证的请求(除了上面的要放行,其它都要进行认证)
.anyRequest().authenticated();
}
}
登陆成功和失败处理器
现在的很多系统都采用的是前后端分离设计,我们登陆成功以后可能会跳转到前端系统的某个地址,或者返回一个json数据,我们可以自己定义登录成功的处理操作,例如:
定义登陆成功处理器:
方案1:可以直接执行重定向的处理器,例如
package com.cy.jt.auth.config.authentication;
public class RedirectAuthenticationSuccessHandler implements AuthenticationSuccessHandler {
//定义要跳转的url
private String redirectUrl;
public RedirectAuthenticationSuccessHandler(String redirectUrl){
this.redirectUrl=redirectUrl;
}
@Override
public void onAuthenticationSuccess(HttpServletRequest httpServletRequest,HttpServletResponse httpServletResponse,
Authentication authentication)
throws IOException, ServletException {
httpServletResponse.sendRedirect(redirectUrl);
}
}
方案2:可以直接返回JSON数据的处理器,例如:
package com.cy.jt.security.config.handler;
/**处理登录失败
* 0)Default-默认
* 1)Authentication-认证
* 2)Failure-失败
* 3)Handler-处理器
* */
public class DefaultAuthenticationFailureHandler implements AuthenticationFailureHandler {
@Override
public void onAuthenticationFailure(
HttpServletRequest httpServletRequest,
HttpServletResponse httpServletResponse,
AuthenticationException e) throws IOException, ServletException {
//1.设置响应数据的编码
httpServletResponse.setCharacterEncoding(“utf-8”);
//2.告诉客户端响应数据的类型,以及客户端以怎样的编码进行显示
httpServletResponse.setContentType(“application/json;charset=utf-8”);
//3.获取一个输出流对象
PrintWriter out=httpServletResponse.getWriter();
//4.向客户端输出一个json格式字符串
//4.1构建一个map对象
Map<String,Object> map=new HashMap<>();
map.put(“state”,“500”);
map.put(“msg”,“username or password error”);
//4.2基于jackson中的ObjectMapper对象将一个对象转换为json格式字符串
String jsonStr= new ObjectMapper().writeValueAsString(map);
out.println(jsonStr);
out.flush();
}
}
定义登陆失败处理器:
方案1:登陆失败重定向到页面,例如
package com.cy.jt.auth.config.authentication;
public class RedirectAuthenticationFailureSuccessHandler implements AuthenticationFailureHandler {
private String redirectUrl;
public RedirectAuthenticationFailureSuccessHandler(String redirectUrl){
this.redirectUrl=redirectUrl;
}
@Override
public void onAuthenticationFailure(HttpServletRequest httpServletRequest, HttpServletResponse httpServletResponse, AuthenticationException e) throws IOException, ServletException {
httpServletResponse.sendRedirect(redirectUrl);
}
}
方案2:定义登陆失败处理器,例如:
package com.cy.jt.security.config.handler;
/**处理登录失败
* 0)Default-默认
* 1)Authentication-认证
* 2)Failure-失败
* 3)Handler-处理器
* */
public class DefaultAuthenticationFailureHandler
implements AuthenticationFailureHandler {
@Override
public void onAuthenticationFailure(
HttpServletRequest httpServletRequest,
HttpServletResponse httpServletResponse,
AuthenticationException e) throws IOException, ServletException {
//1.设置响应数据的编码
httpServletResponse.setCharacterEncoding(“utf-8”);
//2.告诉客户端响应数据的类型,以及客户端以怎样的编码进行显示
httpServletResponse.setContentType(“application/json;charset=utf-8”);
//3.获取一个输出流对象
PrintWriter out=httpServletResponse.getWriter();
//4.向客户端输出一个json格式字符串
//4.1构建一个map对象
Map<String,Object> map=new HashMap<>();
map.put(“state”,“500”);
map.put(“msg”,“username or password error”);
//4.2基于jackson中的ObjectMapper对象将一个对象转换为json格式字符串
String jsonStr= new ObjectMapper().writeValueAsString(map);
out.println(jsonStr);
out.flush();
}
}
修改配置类,设置登陆成功与失败处理器。
@Configuration
public class SecutiryConfig extends WebSecurityConfigurerAdapter {
@Bean
public PasswordEncoder passwordEncoder(){
return new BCryptPasswordEncoder();
}
@Override
protected void configure(HttpSecurity http) throws Exception {
//super.configure(http);
//关闭跨域攻击,不关闭容易出错
http.csrf().disable();
//自定义登陆表单
http.formLogin()
//设置登陆页面
.loginPage("/login.html")
//设置登陆请求处理地址(对应form表单中的action),登陆时会访问UserDetailService对象
.loginProcessingUrl("/login")
//设置请求用户名参数为username(默认就是username,可以自己修改,需要与表单同步)
.usernameParameter(“username”)
//请求请求密码参数为password(默认就是password,可以自己修改,需要与表单同步)
.passwordParameter(“password”)
//设置登陆成功跳转页面(默认为/index.html)
.successHandler(new RedirectAuthenticationSuccessHandler(“你的url”))
//登陆失败访问的页面(默认为/login.html?error)
.failureHandler(new RedirectAuthenticationFailureHandler(“你的url”))
//认证设计
http.authorizeRequests()
//设置要放行的咨询
.antMatchers("/login.html").permitAll()
//设置需要认证的请求(除了上面的要放行,其它都要进行认证)
.anyRequest().authenticated();
}
}
第四步:启动服务进行访问测试(分别用正确和错误的账号进行测试)。
放行静态资源
在SecurityManager配置类中的configure(HttpSecurity http)方法中我们可以通过对anMatchers方法定义要放行静态资源,例如:
.authorizeRequests() //设置请求的授权
.antMatchers( //配置下列路径的授权
“/index.html”,
“/js/*”,
“/css/*”,
“/img/**”,
“/bower_components/**”,
“/login.html”
).permitAll() //设置上述所有路径不需要登录就能访问(放行)
其中:
“*”用于匹配0个或多个字符
“**”用于匹配0个或多个目录及字符
登出设计及实现
在SecurityManager配置类中的configure(HttpSecurity http)方法中,添加登出配置,例如
http.logout() //开始设置登出信息
.logoutUrl("/logout") //登出路径
.logoutSuccessUrl("/login.html?logout");//设置登出后显示的页面
SpringSecurity授权逻辑实现
修改授权配置类
在权限配置类上添加启用全局方法访问控制注解,例如:
package com.cy.auth.config;
//这个配置类是配置Spring-Security的,
//prePostEnabled= true表示启动权限管理功能
@EnableGlobalMethodSecurity(prePostEnabled = true)
@Configuration
public class SpringSecurityConfigurer extends WebSecurityConfigurerAdapter {
……
}
定义资源Controller
定义一个ResourceController类,作为资源访问对象,例如
package com.cy.jt.auth.controller;
@RestController
public class ResourceController {
@PreAuthorize(“hasAuthority(‘sys:res:create’)”)
@RequestMapping("/doCreate")
public String doCreate(){
return “add resource”;
}
@PreAuthorize(“hasAuthority(‘sys:res:update’)”)
@RequestMapping(“doUpdate”)
public String doUpdate(){
return “update resource”;
}
@PreAuthorize(“hasAuthority(‘sys:res:delete’)”)
@RequestMapping("/doDelete")
public String doDelete(){
return “delete resource”;
}
@PreAuthorize(“hasAuthority(‘sys:res:retrieve’)”)
写在最后
可能有人会问我为什么愿意去花时间帮助大家实现求职梦想,因为我一直坚信时间是可以复制的。我牺牲了自己的大概十个小时写了这片文章,换来的是成千上万的求职者节约几天甚至几周时间浪费在无用的资源上。
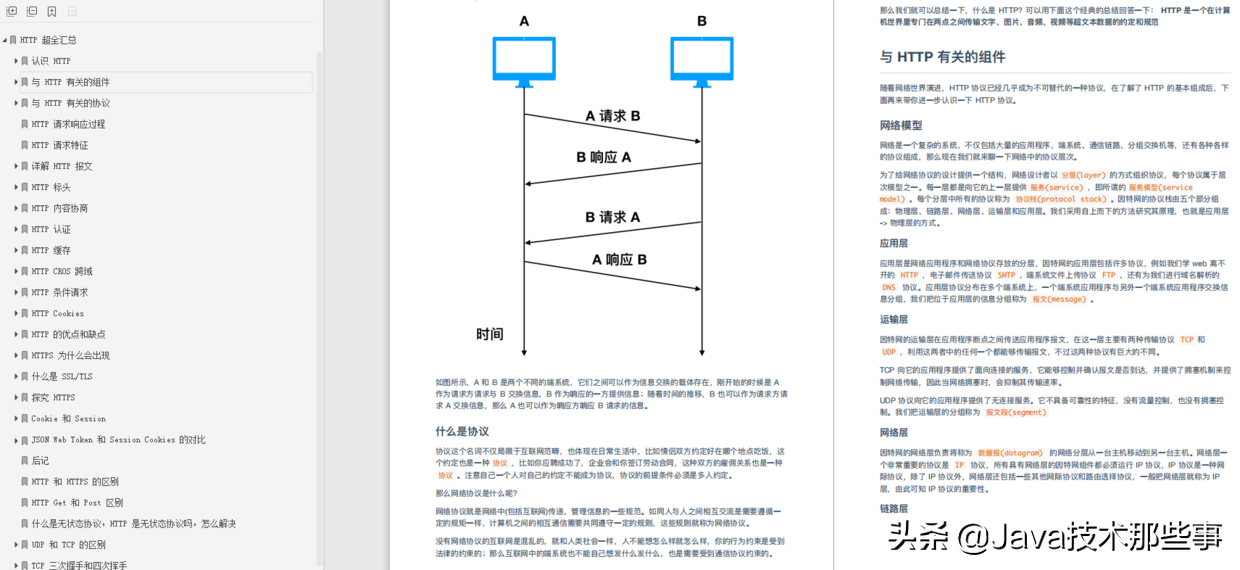
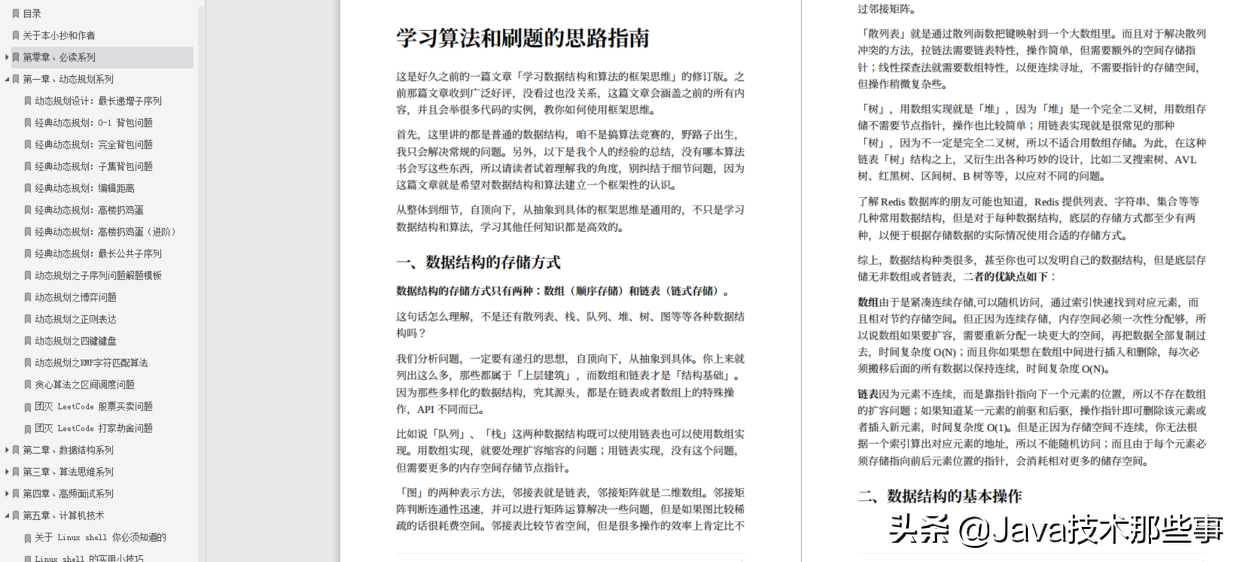
上面的这些(算法与数据结构)+(Java多线程学习手册)+(计算机网络顶级教程)等学习资源我都在这里公开分享出来
以上我的经历希望能够给大家带来帮助,需要这些资料的朋友可以戳这里,就可以免费拿到了
stMapping(“doUpdate”)
public String doUpdate(){
return “update resource”;
}
@PreAuthorize(“hasAuthority(‘sys:res:delete’)”)
@RequestMapping("/doDelete")
public String doDelete(){
return “delete resource”;
}
@PreAuthorize(“hasAuthority(‘sys:res:retrieve’)”)
写在最后
可能有人会问我为什么愿意去花时间帮助大家实现求职梦想,因为我一直坚信时间是可以复制的。我牺牲了自己的大概十个小时写了这片文章,换来的是成千上万的求职者节约几天甚至几周时间浪费在无用的资源上。
[外链图片转存中…(img-tlK7mMG3-1628633290806)]
[外链图片转存中…(img-tTb2s2Hm-1628633290809)]
上面的这些(算法与数据结构)+(Java多线程学习手册)+(计算机网络顶级教程)等学习资源我都在这里公开分享出来
以上我的经历希望能够给大家带来帮助,需要这些资料的朋友可以戳这里,就可以免费拿到了


 115
115


 被折叠的 条评论
为什么被折叠?
被折叠的 条评论
为什么被折叠?
 到【灌水乐园】发言


