


1. Nginx概述

Nginx 与 Apache 的区别?
轻量级,nginx比apache 占用更少的内存及资源;
静态处理,Nginx 静态处理性能比 Apache 高 ;
Nginx可以实现无缓存的反向代理加速,提高网站运行速度;
Nginx的性能和可伸缩性不依赖于硬件,Apache依赖于硬件;
Nginx支持热部署,启动速度迅速,可以在不间断服务的情况下,对软件版本或者配置进行升级;
nginx是异步进程,多个连接可以对应一个进程 ;apache是同步多进程,一个连接对应一个进程;
Nginx高度模块化,编写模块相对简单,且组件比Apache少
高并发下nginx 能保持低资源低消耗高性能;
Nginx 配置简洁, Apache配置复杂;
2. 编译安装Nginx服务
(1)关闭防火墙,将安装nginx所需软件包传到/opt目录下
[root@localhost ~]# systemctl stop firewalld
[root@localhost ~]# systemctl disable firewalld
[root@localhost ~]# setenforce 0
[root@localhost ~]# systemctl stop firewalld
[root@localhost ~]# systemctl disable firewalld
[root@localhost ~]# setenforce 0

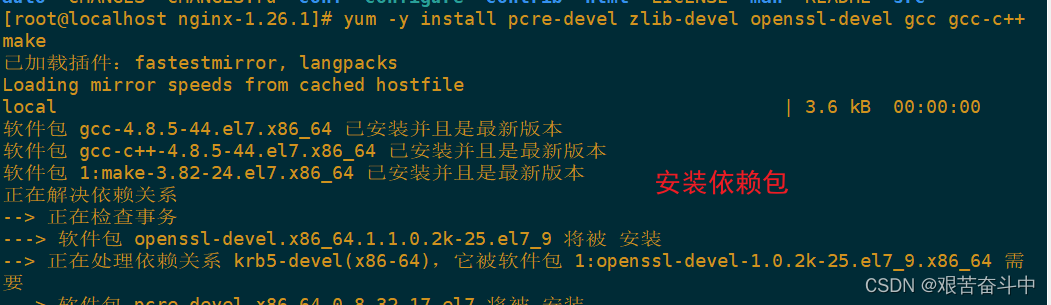
 (2) 安装依赖包
#nginx的配置及运行需要pcre、zlib、openssl等软件包的支持,因此需要安装这些软件的开发包,以便提供相应的库和头文件。
yum -y install pcre-devel zlib-devel openssl-devel gcc gcc-c++ make
(3) 创建运行用户、组
.创建运行用户、组(Nginx 服务程序默认以 nobody 身份运行,建议为其创建专门的用户账号,以便更准确地控制其访问权限)
useradd -M -s /sbin/nologin nginx
![]()
(4) 编译安装Nginx
cd /opt
tar zxvf nginx-1.12.0.tar.gz -C /opt/

cd nginx-1.12.0/
./configure \
--prefix=/usr/local/nginx \							#指定nginx的安装路径
--user=nginx \										#指定用户名
--group=nginx \										#指定组名
--with-http_stub_status_module						#启用 http_stub_status_module 模块以支持状态统计
--with-http_ssl_module                                 #https模块

make -j 2
make install
ln -s /usr/local/nginx/sbin/nginx /usr/local/sbin/  #让系统识别nginx的操作命令

( 5 )检查、启动、重启、停止 nginx服务
检查配置文件是否配置正确
nginx -t绝对路径启动nginx服务
/usr/local/nginx/sbin/nginx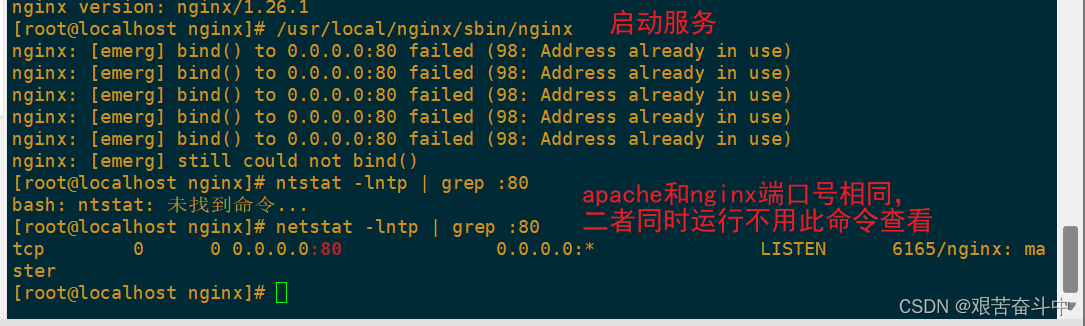
停止nginx服务
cat /usr/local/nginx/logs/nginx.pid		#先查看nginx的PID号
kill -3 <PID号>
kill -s QUIT <PID号>
killall -3 nginx
killall -s QUIT nginx
#重载
kill -1 <PID号>
kill -s HUP <PID号>
killall -1 nginx
killall -s HUP nginx

查看pid号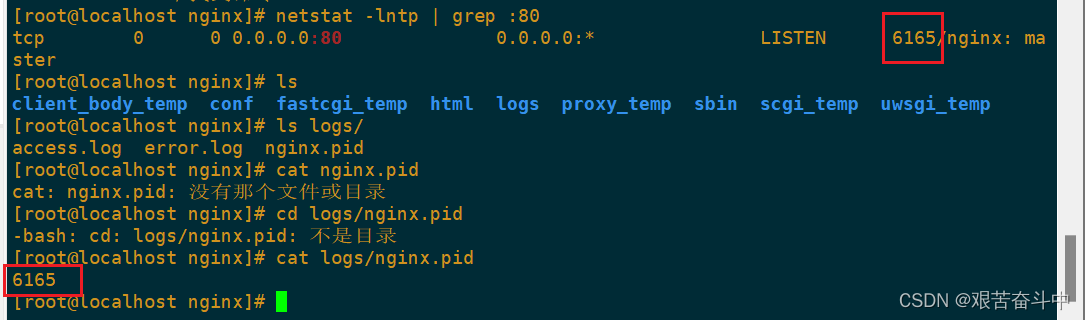
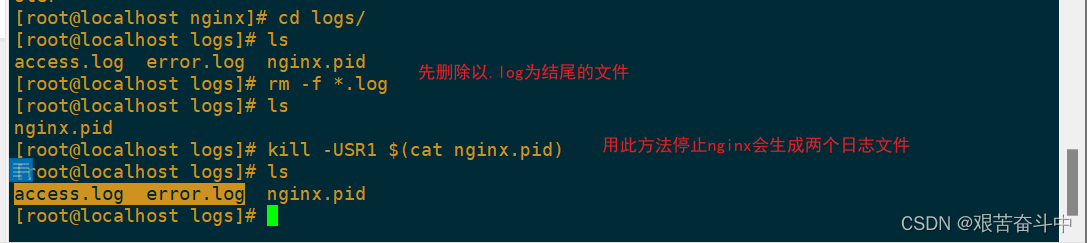
日志分割,重新打开日志文件
kill -USR1 <PID号>
平滑升级
kill -USR2 <PID号>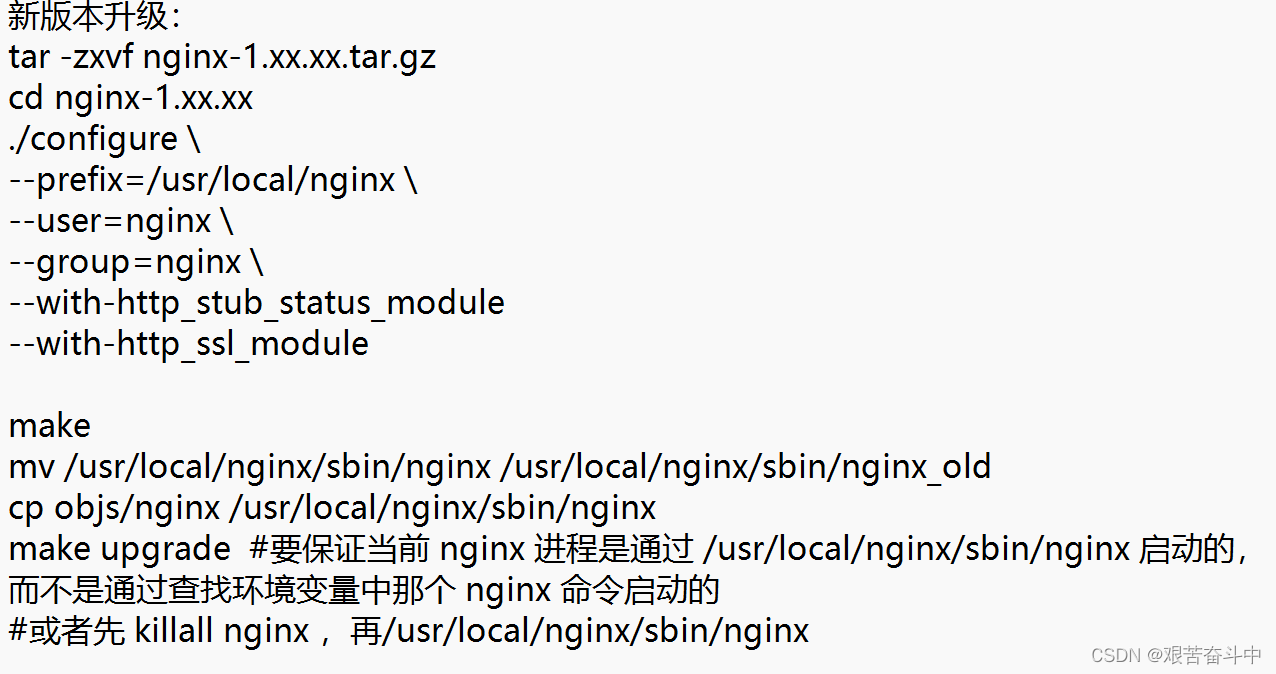
新版本升级
[root@localhost /opt]# tar -xf nginx-1.26.1.tar.gz
[root@localhost /opt]# cd nginx-1.26.1
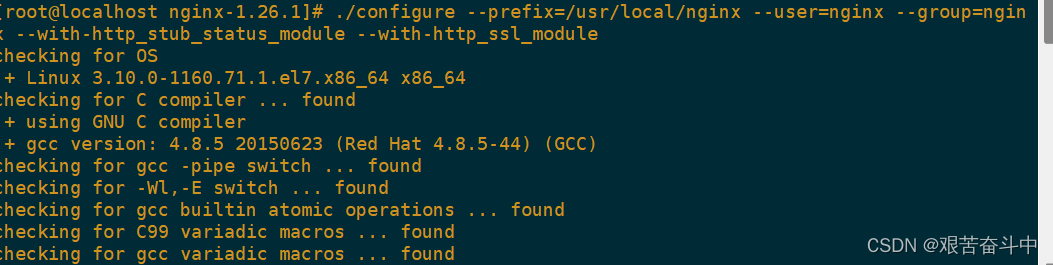
./ configure \
-prefix=/usr/local/nginx \
--user=nginx \
--group=nginx \
--with-http_stub_status_module
--with-http_ssl_module
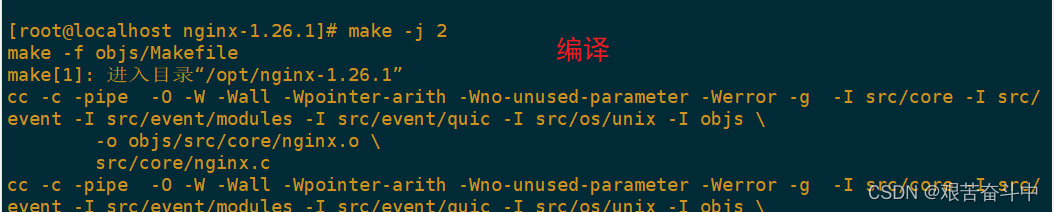
[root@localhost /opt/nginx-1.26.1]# make -j2
[root@localhost /opt/nginx-1.26.1]# ls
auto CHANGES CHANGES.ru conf configure contrib html LICENSE Makefile man objs README src
[root@localhost /opt/nginx-1.26.1]# ls objs/
autoconf.err Makefile nginx nginx.8 ngx_auto_config.h ngx_auto_headers.h ngx_modules.c ngx_modules.o src
[root@localhost /opt/nginx-1.26.1]# cd /usr/local/nginx/sbin/
[root@localhost /usr/local/nginx/sbin]# ls
nginx
[root@localhost /usr/local/nginx/sbin]# mv nginx nginx_old
[root@localhost /usr/local/nginx/sbin]# ls
nginx_old
[root@localhost /usr/local/nginx/sbin]# cd -
/opt/nginx-1.26.1
[root@localhost /opt/nginx-1.26.1]# cp /opt/nginx-1.26.1/objs/nginx ./
[root@localhost /usr/local/nginx/sbin]# ls
nginx nginx_old
[root@localhost /usr/local/nginx/sbin]# cd /opt/nginx-1.26.1/
[root@localhost /opt/nginx-1.26.1]# ls
auto CHANGES CHANGES.ru conf configure contrib html LICENSE Makefile man objs README src
[root@localhost /opt/nginx-1.26.1]# make upgrade
/usr/local/nginx/sbin/nginx -t
nginx: the configuration file /usr/local/nginx/conf/nginx.conf syntax is ok
nginx: configuration file /usr/local/nginx/conf/nginx.conf test is successful
kill -USR2 `cat /usr/local/nginx/logs/nginx.pid`
sleep 1
test -f /usr/local/nginx/logs/nginx.pid.oldbin
kill -QUIT `cat /usr/local/nginx/logs/nginx.pid.oldbin`
[root@localhost /opt/nginx-1.26.1]# nginx -v
nginx version: nginx/1.26.1
(6)添加Nginx系统服务
方法一:
vim /etc/init.d/nginx
#!/bin/bash
#chkconfig: - 99 20
#description:Nginx Service Control Script
COM="/usr/local/nginx/sbin/nginx"
PID="/usr/local/nginx/logs/nginx.pid"
case "$1" in
start)
  $COM
;;

stop)
  kill -s QUIT $(cat $PID)
;;

restart)
  $0 stop
  $0 start
;;

reload)
  kill -s HUP $(cat $PID)
;;

*)
echo "Usage: $0 {start|stop|restart|reload}"
exit 1

esac
exit 0


chmod +x /etc/init.d/nginx
chkconfig --add nginx							#添加为系统服务
systemctl stop nginx
systemctl start nginx
方法二:
vim /lib/systemd/system/nginx.service
[Unit]
Description=nginx
After=network.target
[Service]
Type=forking
PIDFile=/usr/local/nginx/logs/nginx.pid
ExecStart=/usr/local/nginx/sbin/nginx
ExecReload=/bin/kill -s HUP $MAINPID
ExecStop=/bin/kill -s QUIT $MAINPID
PrivateTmp=true
[Install]
WantedBy=multi-user.target

通过yum获取到nginx.service


 6800
6800

 被折叠的 条评论
为什么被折叠?
被折叠的 条评论
为什么被折叠?
 到【灌水乐园】发言


