app简单控件了解——按钮——第一种按钮点击方式——在布局中添加onClick属性(此方法已经被废弃)...

如何为按钮添加监听方式总结

 
本文概述:
  • 本文介绍了,在Android中为控件添加监听的三种常见方式

    • 设置控件的onClick属性
    • 采用匿名内部类
    • MainActivity 实现 View.OnClickListener 接口


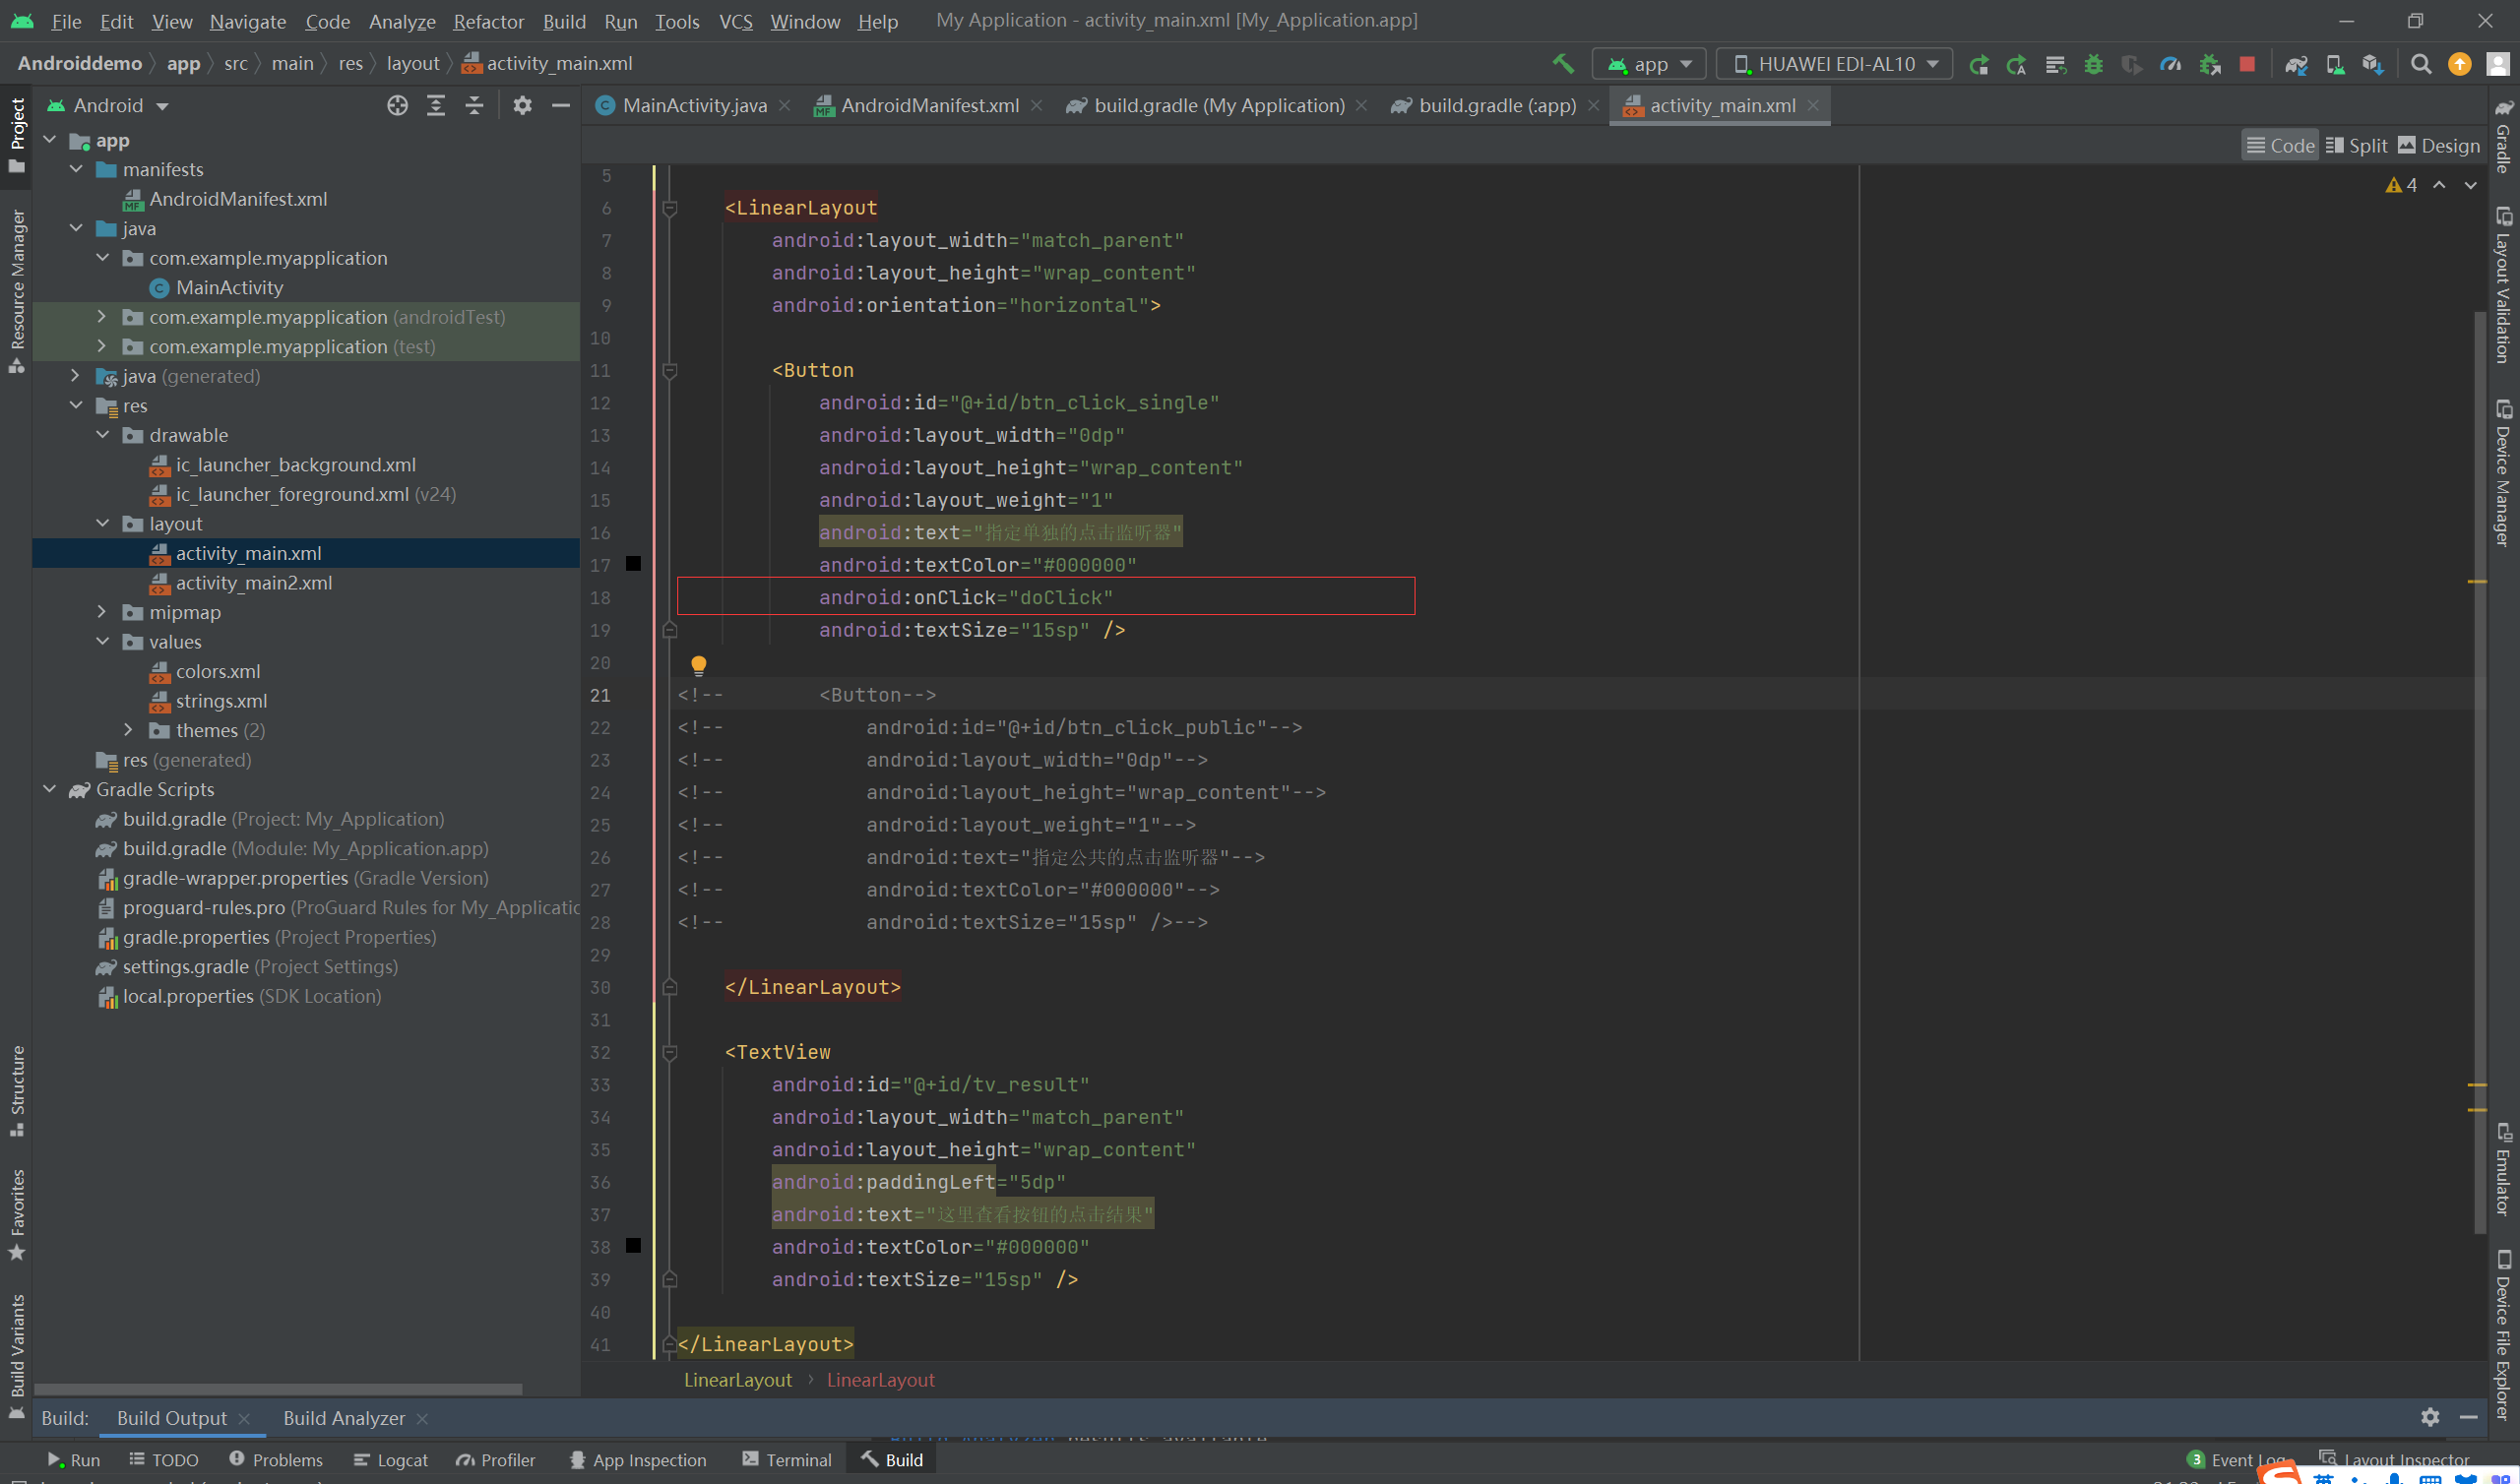
示例:布局代码:指定控件的onClick属性(已经被废弃掉了)

<LinearLayout xmlns:android="http://schemas.android.com/apk/res/android"
    android:layout_width="match_parent"
    android:layout_height="match_parent"
    android:orientation="vertical">

    <LinearLayout
        android:layout_width="match_parent"
        android:layout_height="wrap_content"
        android:orientation="horizontal">

        <Button
            android:id="@+id/btn_click_single"
            android:layout_width="0dp"
            android:layout_height="wrap_content"
            android:layout_weight="1"
            android:text="指定单独的点击监听器"
            android:textColor="#000000"
            android:onClick="doClick"
            android:textSize="15sp" />

<!--        <Button-->
<!--            android:id="@+id/btn_click_public"-->
<!--            android:layout_width="0dp"-->
<!--            android:layout_height="wrap_content"-->
<!--            android:layout_weight="1"-->
<!--            android:text="指定公共的点击监听器"-->
<!--            android:textColor="#000000"-->
<!--            android:textSize="15sp" />-->

    </LinearLayout>

    <TextView
        android:id="@+id/tv_result"
        android:layout_width="match_parent"
        android:layout_height="wrap_content"
        android:paddingLeft="5dp"
        android:text="这里查看按钮的点击结果"
        android:textColor="#000000"
        android:textSize="15sp" />

</LinearLayout>

package com.example.myapplication;

import android.support.v7.app.AppCompatActivity;
import android.os.Bundle;
import android.view.View;
import android.widget.Button;
import android.widget.TextView;

public class MainActivity extends AppCompatActivity
{
    private TextView tv_result; // 声明一个文本视图实例

    @Override
    protected void onCreate(Bundle savedInstanceState)
    {
        super.onCreate(savedInstanceState);
        setContentView(R.layout.activity_main);

    }
        public void doClick(View view)
        {
            tv_result = findViewById(R.id.tv_result); // 获取名叫tv_result的文本视图

            tv_result.setText("您点击了此按钮_yes"); // 设置文本视图的文本内容
        }


}

  • 0
    点赞
  • 0
    收藏
    觉得还不错? 一键收藏
  • 0
    评论
以下是一个使用MATLAB App Designer的示例代码,其包含一个按钮件和一个下拉框件。当单按钮时,它将打开一个文件选择对话框,用户可以选择一个数据文件。然后,根据下拉框选择的方法,在第一个坐标区绘制数据的图形,在第二个坐标区绘制方法的图形。 ```matlab classdef MyApp < matlab.apps.AppBase % Properties that correspond to app components properties (Access = public) UIFigure matlab.ui.Figure SelectFileButton matlab.ui.control.Button MethodDropDown matlab.ui.control.DropDown Axes1 matlab.ui.control.UIAxes Axes2 matlab.ui.control.UIAxes end % Properties that correspond to app data properties (Access = public) Data % data from selected file end % Callbacks that handle component events methods (Access = private) % Button pushed function: SelectFileButton function SelectFileButtonPushed(app, event) % open file dialog and select data file [filename, pathname] = uigetfile({'*.txt';'*.csv'}, 'Select Data File'); if isequal(filename,0) || isequal(pathname,0) % user cancelled file selection return; end % read data from file data = dlmread(fullfile(pathname, filename)); app.Data = data; % plot data in Axes1 plot(app.Axes1, data(:,1), data(:,2)); end % Value changed function: MethodDropDown function MethodDropDownValueChanged(app, event) % get selected method method = app.MethodDropDown.Value; % plot method in Axes2 switch method case 'Method 1' plot(app.Axes2, app.Data(:,1), app.Data(:,2).^2); case 'Method 2' plot(app.Axes2, app.Data(:,1), app.Data(:,2).^3); otherwise error('Unknown method selected'); end end end % App initialization and construction methods (Access = private) % Create UIFigure and components function createComponents(app) % Create UIFigure app.UIFigure = uifigure; app.UIFigure.Position = [100 100 640 480]; app.UIFigure.Name = 'My App'; % Create SelectFileButton app.SelectFileButton = uibutton(app.UIFigure, 'push'); app.SelectFileButton.ButtonPushedFcn = createCallbackFcn(app, @SelectFileButtonPushed, true); app.SelectFileButton.Position = [30 440 100 22]; app.SelectFileButton.Text = 'Select File'; % Create MethodDropDown app.MethodDropDown = uidropdown(app.UIFigure); app.MethodDropDown.Items = {'Method 1', 'Method 2'}; app.MethodDropDown.ValueChangedFcn = createCallbackFcn(app, @MethodDropDownValueChanged, true); app.MethodDropDown.Position = [170 440 100 22]; app.MethodDropDown.Value = 'Method 1'; % Create Axes1 app.Axes1 = uiaxes(app.UIFigure); title(app.Axes1, 'Data'); xlabel(app.Axes1, 'X'); ylabel(app.Axes1, 'Y'); app.Axes1.Position = [30 60 250 350]; % Create Axes2 app.Axes2 = uiaxes(app.UIFigure); title(app.Axes2, 'Method'); xlabel(app.Axes2, 'X'); ylabel(app.Axes2, 'Y'); app.Axes2.Position = [330 60 250 350]; end end % App creation and deletion methods (Access = public) % Construct app function app = MyApp % Create UIFigure and components createComponents(app) % Initialize data app.Data = []; % Show the figure after all components are created app.UIFigure.Visible = 'on'; end end end ```

“相关推荐”对你有帮助么?

  • 非常没帮助
  • 没帮助
  • 一般
  • 有帮助
  • 非常有帮助
提交
评论
添加红包

请填写红包祝福语或标题

红包个数最小为10个

红包金额最低5元

当前余额3.43前往充值 >
需支付:10.00
成就一亿技术人!
领取后你会自动成为博主和红包主的粉丝 规则
hope_wisdom
发出的红包
实付
使用余额支付
点击重新获取
扫码支付
钱包余额 0

抵扣说明:

1.余额是钱包充值的虚拟货币,按照1:1的比例进行支付金额的抵扣。
2.余额无法直接购买下载,可以购买VIP、付费专栏及课程。

余额充值