


文章目录
一、Redis概述
Redis是一个开源(BSD许可)的、内存中的数据结构存储系统,它可以用作数据库、缓存和消息中间件,并提供多种语言的API。
Redis支持多种类型的数据结构,如 字符串(strings)、散列(hashes)、列表(lists)、集合(sets)、有序集合(sorted sets)与范围查询、bitmaps、 hyperloglogs 和 地理空间(geospatial)、索引半径查询。
Redis 内置了复制(replication),LUA脚本(Lua scripting),LRU驱动事件(LRU eviction),事务(transactions) 和不同级别的磁盘持久化(persistence), 并通过 Redis哨兵(Sentinel)和自动 分区(Cluster)提供高可用性(high availability)。
Redis官网与在线教程
官网:https://redis.io/
中文网站:http://www.redis.cn/
在线教程:https://www.redis.net.cn/tutorial/3502.html
二、使用Spring Boot 整合 Redis
(一)搭建Redis环境
(二)下载和安装Redis可视化管理工具
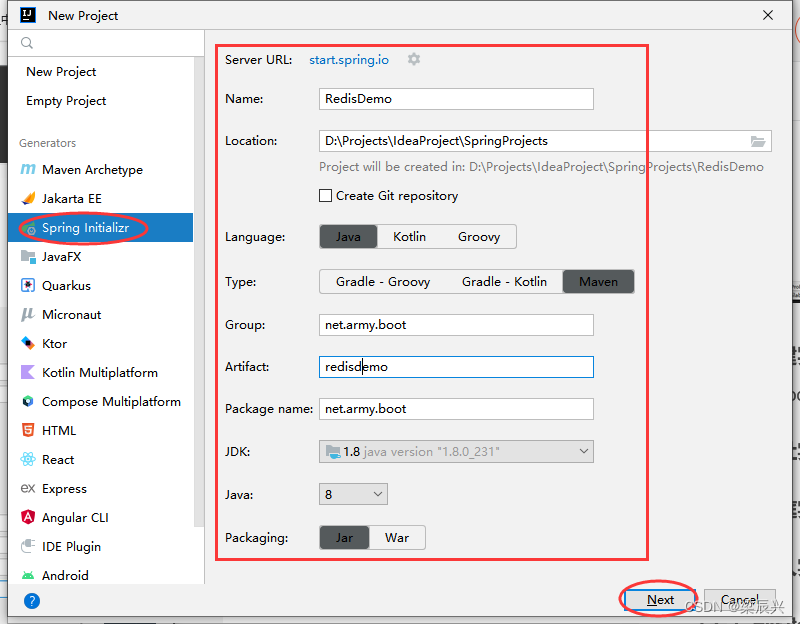
(三)创建Spring Boot项目RedisDemo
设置项目配置
添加项目依赖
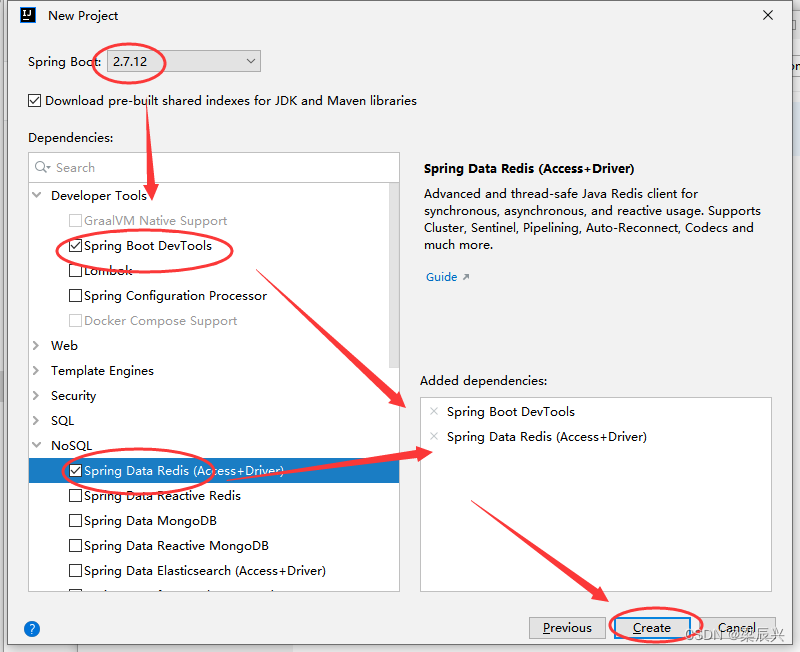
完成项目初始化

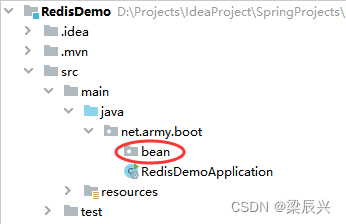
(四)创建实体类
在net.army.boot包里创建bean子包
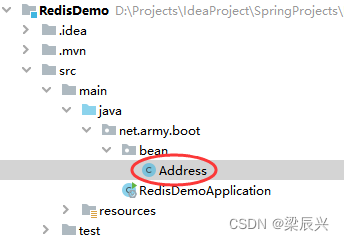
1、创建地址实体类 - Address
在net.army.boot.bean包里创建地址实体类Address
package net.army.boot.bean;

import org.springframework.data.redis.core.index.Indexed;

/**
 * 功能:地址实体类
 * 日期:2023年06月16日
 * 作者:梁辰兴
 */
public class Address {
    @Indexed
    private String country; //国家
    @Indexed
    private String city; //城市

    public Address(String country, String city) {
        this.country = country;
        this.city = city;
    }

    public String getCountry() {
        return country;
    }

    public void setCountry(String country) {
        this.country = country;
    }

    public String getCity() {
        return city;
    }

    public void setCity(String city) {
        this.city = city;
    }

    @Override
    public String toString() {
        return "Address{" +
                "country='" + country + '\'' +
                ", city='" + city + '\'' +
                '}';
    }
}
注意:索引类Indexed不要导入错误 - import org.springframework.data.redis.core.index.Indexed;
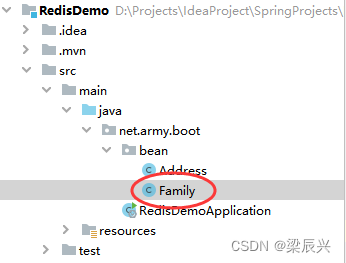
2、创建家庭实体类 - Family
在net.army.boot.bean包里创建家庭实体类Family
package net.army.boot.bean;

import org.springframework.data.redis.core.index.Indexed;

/**
 * 功能:家庭实体类
 * 日期:2023年06月16日
 * 作者:梁辰兴
 */
public class Family {
    @Indexed
    private String type; //成员类型
    @Indexed
    private String name; //成员名

    public Family(String type, String name) {
        this.type = type;
        this.name = name;
    }

    public String getType() {
        return type;
    }

    public void setType(String type) {
        this.type = type;
    }

    public String getName() {
        return name;
    }

    public void setName(String name) {
        this.name = name;
    }

    @Override
    public String toString() {
        return "Family{" +
                "type='" + type + '\'' +
                ", name='" + name + '\'' +
                '}';
    }
}
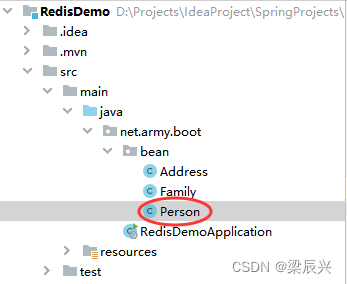
3、创建个人实体类 - Person
在net.army.boot.bean包里创建个人实体类Person
package net.army.boot.bean;

import org.springframework.data.annotation.Id;
import org.springframework.data.redis.core.RedisHash;
import org.springframework.data.redis.core.index.Indexed;

import java.util.List;

/**
 * 功能:个人实体类
 * 日期:2023年06月16日
 * 作者:梁辰兴
 */
@RedisHash("persons")
public class Person {
    @Id  //主键
    private String id;
    //生成二级索引,方便查询
    @Indexed
    private String firstName; //名
    @Indexed
    private String lastName; //姓
    private Address address; //家庭地址
    private List<Family> familyList; //家庭成员

    public Person(String id, String firstName, String lastName, Address address, List<Family> familyList) {
        this.id = id;
        this.firstName = firstName;
        this.lastName = lastName;
        this.address = address;
        this.familyList = familyList;
    }

    public String getId() {
        return id;
    }

    public void setId(String id) {
        this.id = id;
    }

    public String getFirstName() {
        return firstName;
    }

    public void setFirstName(String firstName) {
        this.firstName = firstName;
    }

    public String getLastName() {
        return lastName;
    }

    public void setLastName(String lastName) {
        this.lastName = lastName;
    }

    public Address getAddress() {
        return address;
    }

    public void setAddress(Address address) {
        this.address = address;
    }

    public List<Family> getFamilyList() {
        return familyList;
    }

    public void setFamilyList(List<Family> familyList) {
        this.familyList = familyList;
    }

    @Override
    public String toString() {
        return "Person{" +
                "id='" + id + '\'' +
                ", firstName='" + firstName + '\'' +
                ", lastName='" + lastName + '\'' +
                ", address=" + address +
                ", familyList=" + familyList +
                '}';
    }
}
说明:注解@RedisHash(“persons”),表明在redis数据库中开启一个persons的内存空间,所有person操作相关的数据均保存在此空间(redis是内存数据库)。
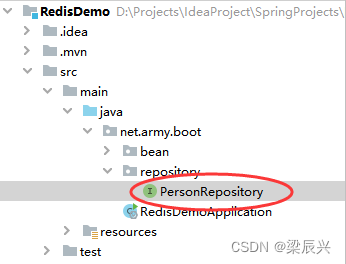
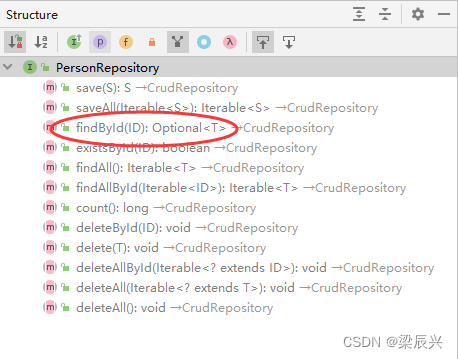
(五)创建仓库接口 - PersonRepository
在net.army.boot包里创建repository子包,再在子包下创建PersonRepository接口
package net.army.boot.repository;

import net.army.boot.bean.Person;
import org.springframework.data.repository.CrudRepository;

/**
 * 功能:个人仓库接口
 * 日期:2023年06月16日
 * 作者:梁辰兴
 */
public interface PersonRepository extends CrudRepository<Person, String> {
}
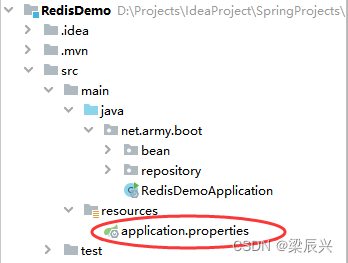
(六)在全局配置文件配置Redis属性
spring.redis.port=6379
spring.redis.host=127.0.0.1
spring.redis.password=
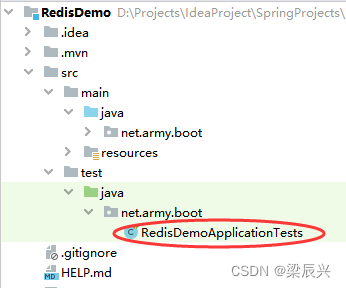
(七)在测试类里编写测试方法
点开测试类RedisDemoApplicationTests
注入PersonRepository实例
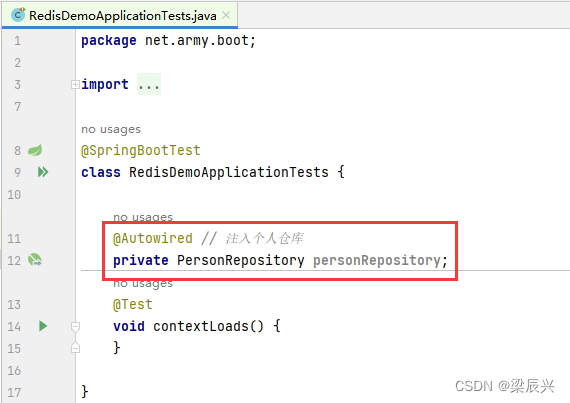
@Autowired // 注入个人仓库
private PersonRepository personRepository;
1、创建测试方法testAddPerson()
@Test
public void testAddPerson() {
// 添加第一个人
Address address = new Address("中国", "泸州");
Family family1 = new Family("儿子", "张晓刚");
Family family2 = new Family("女儿", "张晓霞");
List<Family> familyList = new ArrayList<Family>();
familyList.add(family1);
familyList.add(family2);
Person person = new Person("1", "无忌", "张", address, familyList);
personRepository.save(person);
// 添加第二个人
address = new Address("中国", "上海");
family1 = new Family("儿子", "李功晨");
family2 = new Family("女儿", "李晓丽");
familyList = new ArrayList<Family>();
familyList.add(family1);
familyList.add(family2);
person = new Person("2", "承鹏", "李", address, familyList);
personRepository.save(person);
// 添加第三个人
address = new Address("中国", "北京");
family1 = new Family("儿子", "唐玉海");
family2 = new Family("女儿", "唐雨涵");
familyList = new ArrayList<Family>();
familyList.add(family1);
familyList.add(family2);
person = new Person("3", "大明", "唐", address, familyList);
personRepository.save(person);
// 添加第四个人
address = new Address("中国", "北京");
family1 = new Family("儿子", "张大明");
family2 = new Family("女儿", "张丽丽");
familyList = new ArrayList<Family>();
familyList.add(family1);
familyList.add(family2);
person = new Person("4", "文勇", "张", address, familyList);
personRepository.save(person);
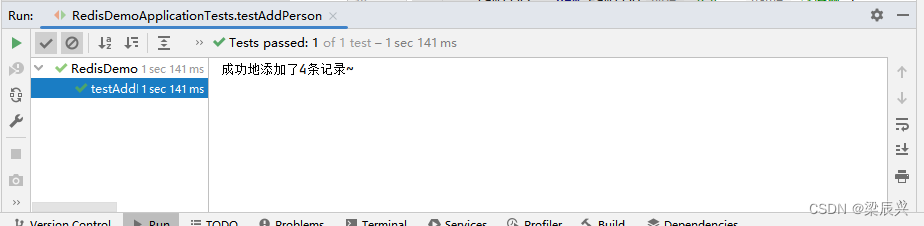
System.out.println("成功地添加了4条记录~");
}
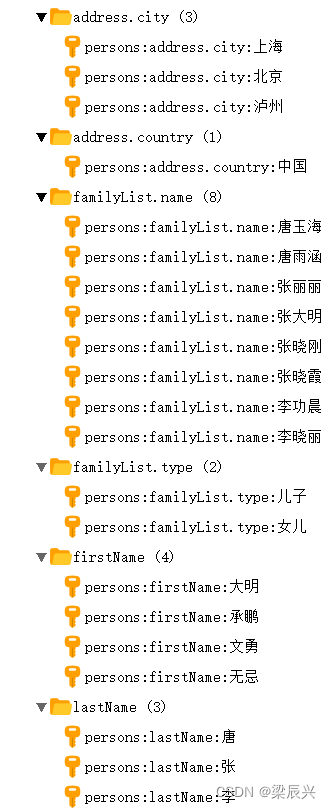
运行测试方法,查看结果
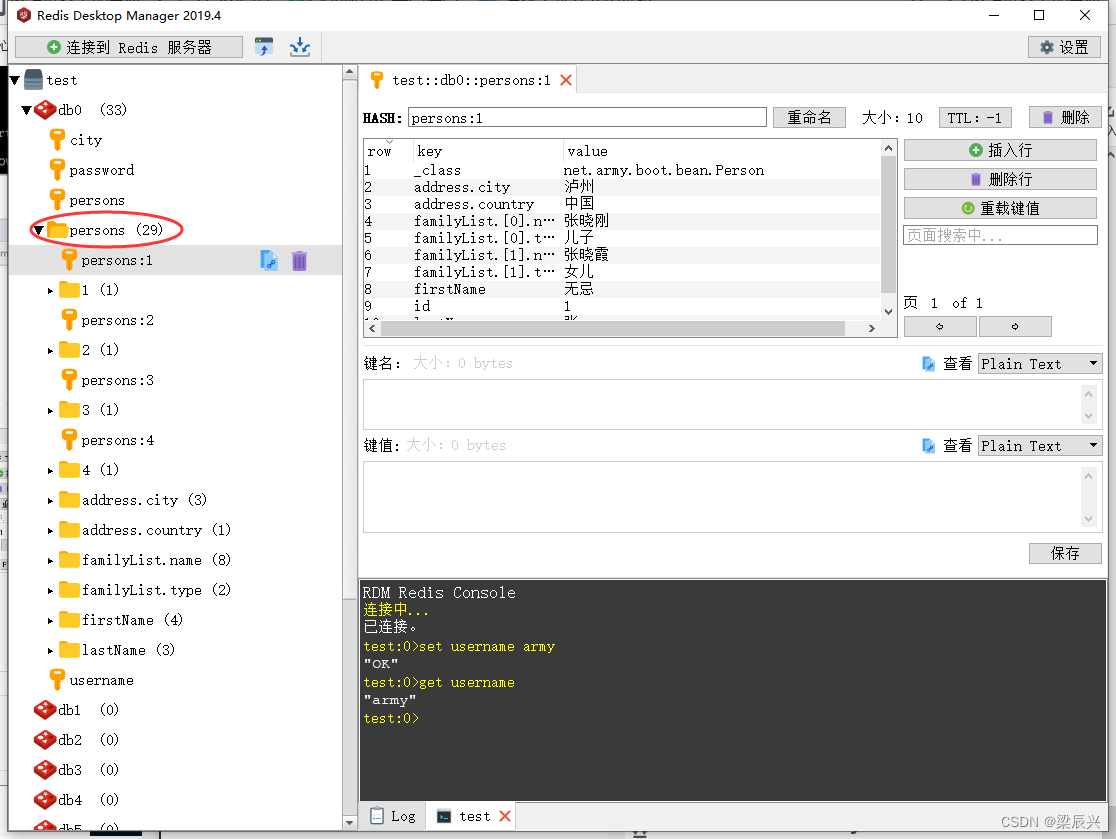
打开Redis可视化工具查看
2、创建测试方法testFindAll()
@Test
public void testFindAll() {
	Iterable<Person> persons = personRepository.findAll();
	persons.forEach(person -> System.out.println(person));
}
运行测试方法,查看结果

3、测试personRespository的其它方法
创建测试方法testFindById()
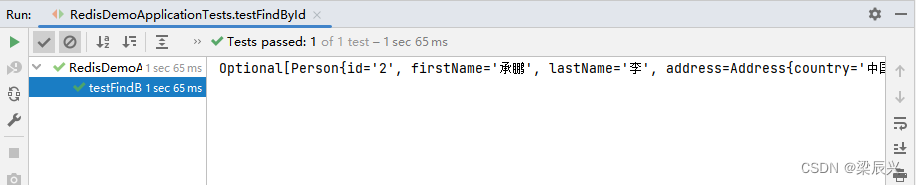
@Test
public void testFindById() {
    Optional<Person> person = personRepository.findById("2");
	System.out.println(person);
}
运行测试方法,查看结果
(八)测试自定义个性化查询方法
1、在PersonRepository接口定义方法
package net.army.boot.repository;

import net.army.boot.bean.Person;
import org.springframework.data.domain.Page;
import org.springframework.data.domain.Pageable;
import org.springframework.data.repository.CrudRepository;

import java.util.List;

/**
 * 功能:个人仓库接口
 * 日期:2023年06月16日
 * 作者:梁辰兴
 */
public interface PersonRepository extends CrudRepository<Person, String> {
    //自定义个性化查询,方法名需要符合特定的规范
    List<Person> findByLastName(String lastName);
    Page<Person> findPersonByLastName(String lastName, Pageable pageable);
    List<Person> findPersonByLastNameAndFirstName(String lastName, String firstName);
    List<Person> findByAddress_City(String city);
    List<Person> findByFamilyList_Name(String name);
}
2、在测试类创建测试方法testFindPersonByLastName()
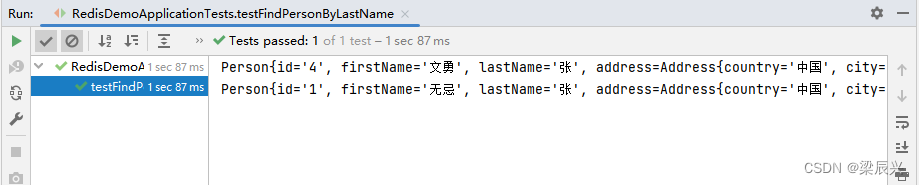
@Test
public void testFindPersonByLastName() {
	// 降序排序
	Sort.Direction sort = Sort.Direction.DESC;
	// 创建分页器
	Pageable pageable = PageRequest.of(0, 2, sort, "id");
	// 获取页面
	Page<Person> page = personRepository.findPersonByLastName("张", pageable);
	// 输出页面内容
	for (Person person : page.getContent()) {
		System.out.println(person);
	}
}
运行测试方法,查看结果
三、练习
任务1、在测试类创建测试方法testFindByLastName()
查找姓“张”的记录

任务2、在测试类创建测试方法testFindPersonByLastNameAndFirstName()
查找lastName为“唐”,firstName为“大明”的记录

任务3、在测试类创建测试方法testFindByAddress_City()
查找“北京”的记录

任务4、在测试类创建测试方法testFindByFamilyList_Name()
查找“唐雨涵”


 2653
2653


 被折叠的 条评论
为什么被折叠?
被折叠的 条评论
为什么被折叠?
 到【灌水乐园】发言


