


SpringBoot 整合其他框架
1.Junit
Junit简介:Junit入门使用教程
实现步骤
-
搭建SpringBoot工程
-
引入starter-test起步依赖(IDEA会自动引入,可在pom文件中查看)
-
编写测试类
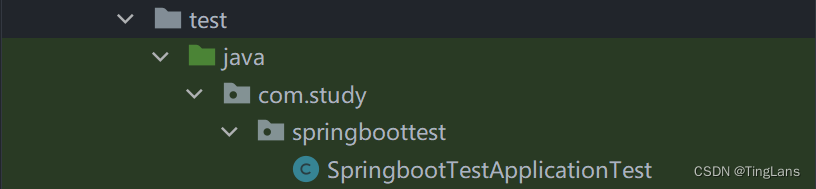
IDEA会自动创建一个与主包(main中引导类所在的包)相同的包,包中会自动创建引导类的测试类
-
添加测试相关注解
- @RunWith(SpringRunner.class)
- @SpringBootTest(classes = 启动类.class)
注意:自动生成的测试类的注解@SpringBootTest没有后面的括号。
这是因为,当测试类所在的包与主包(main中引导类所在的包)相同或者为主包的子包时,会自动寻找启动类,这种情况下@SpringBootTest不需要指定启动类package com.study.springboottest; import org.junit.runner.RunWith; import org.springframework.boot.test.context.SpringBootTest; import org.springframework.test.context.junit4.SpringRunner; @RunWith(SpringRunner.class) @SpringBootTest //与主包同名,无须指定启动类 public class SpringbootTestApplicationTest { }package com.study.test; import com.study.springboottest.SpringbootTestApplication; import com.study.springboottest.UserService; import org.junit.Test; import org.junit.runner.RunWith; import org.springframework.beans.factory.annotation.Autowired; import org.springframework.boot.test.context.SpringBootTest; import org.springframework.test.context.junit4.SpringRunner; @RunWith(SpringRunner.class) @SpringBootTest(classes = SpringbootTestApplication.class)//与主包及其子包不同名则需要指定测试类 public class UserServiceTest { } -
编写测试方法
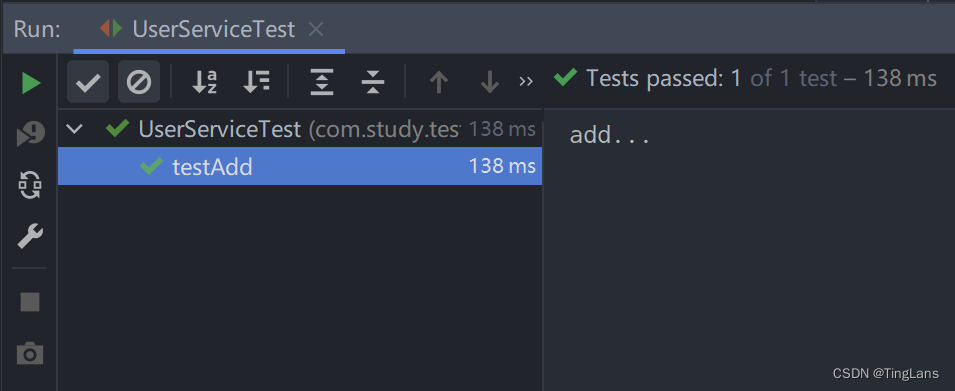
/**
 * UserService类的测试类
 */
@RunWith(SpringRunner.class)
@SpringBootTest(classes = SpringbootTestApplication.class)
public class UserServiceTest {

	@Autowired
	private UserService userService;

	@Test
	public void testAdd() {
		userService.add();
	}
}
点击测试函数左侧的箭头运行测试,测试通过
2.Redis
Redis简介:Redis全面教程
实现步骤
-
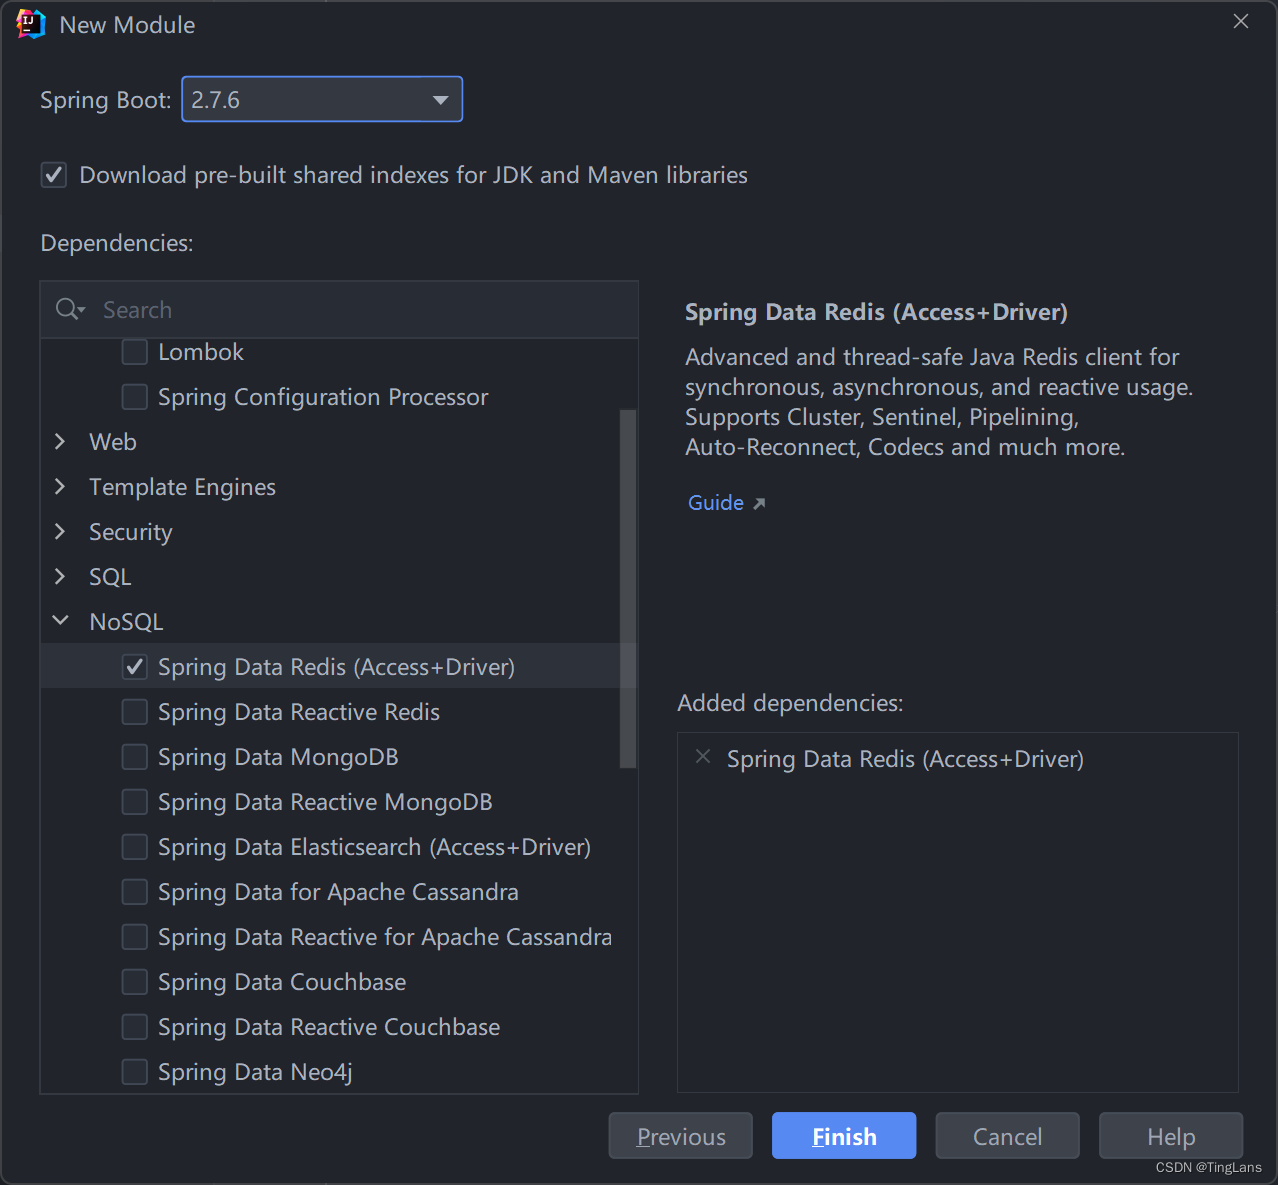
搭建SpringBoot工程
在构建SpringBoot项目的时候选择Reids
-
引入Redis起步依赖(IDEA自动完成)
-
配置Redis相关属性
在application.properties或application.yml中进行配置redis: host: 127.0.0.1 #配置主机ip port: 6379 #配置端口 password: 123456 #redis密码 -
注入RedisTemplate模板
@SpringBootTest
public class SpringbootRedisApplicationTests {

	//注入模板
	@Autowired
	private RedisTemplate redisTemplate;

}
注意:注入模板时可能会报错,提示不能自动注入,但是不影响运行
这个问题可能是SpingBoot版本的问题,所有2.7.*的版本都会报错,可以降低版本来消除此报错 -
编写测试方法
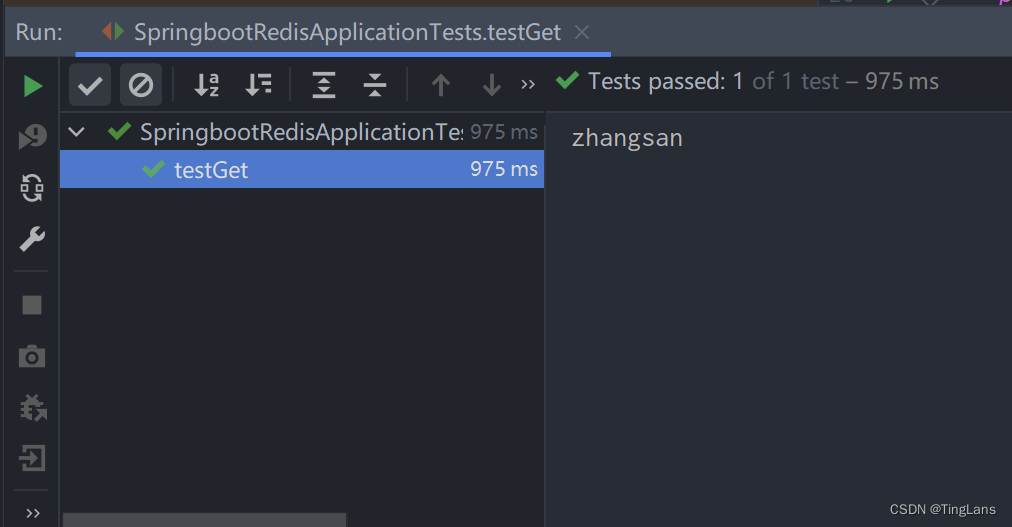
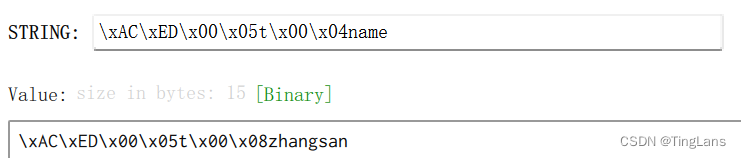
@SpringBootTest
public class SpringbootRedisApplicationTests {

	@Autowired
	private RedisTemplate redisTemplate;

	@Test
	public void testSet() {
		//存入数据
		redisTemplate.boundValueOps("name").set("zhangsan");
	}

	@Test
	public void testGet() {
		//获取数据
		Object name = redisTemplate.boundValueOps("name").get();
		System.out.println(name);
	}
}
点击测试函数左侧的绿色箭头进行测试,均测试通过
疑问:实际测试中,存入redis的键值对名称与IDEA中的并不相同,具体什么原因可能需要后续学习解决
MyBatis
MyBatis简介: MyBatis详解
实现步骤
-
搭建SpringBoot工程
选择两个依赖
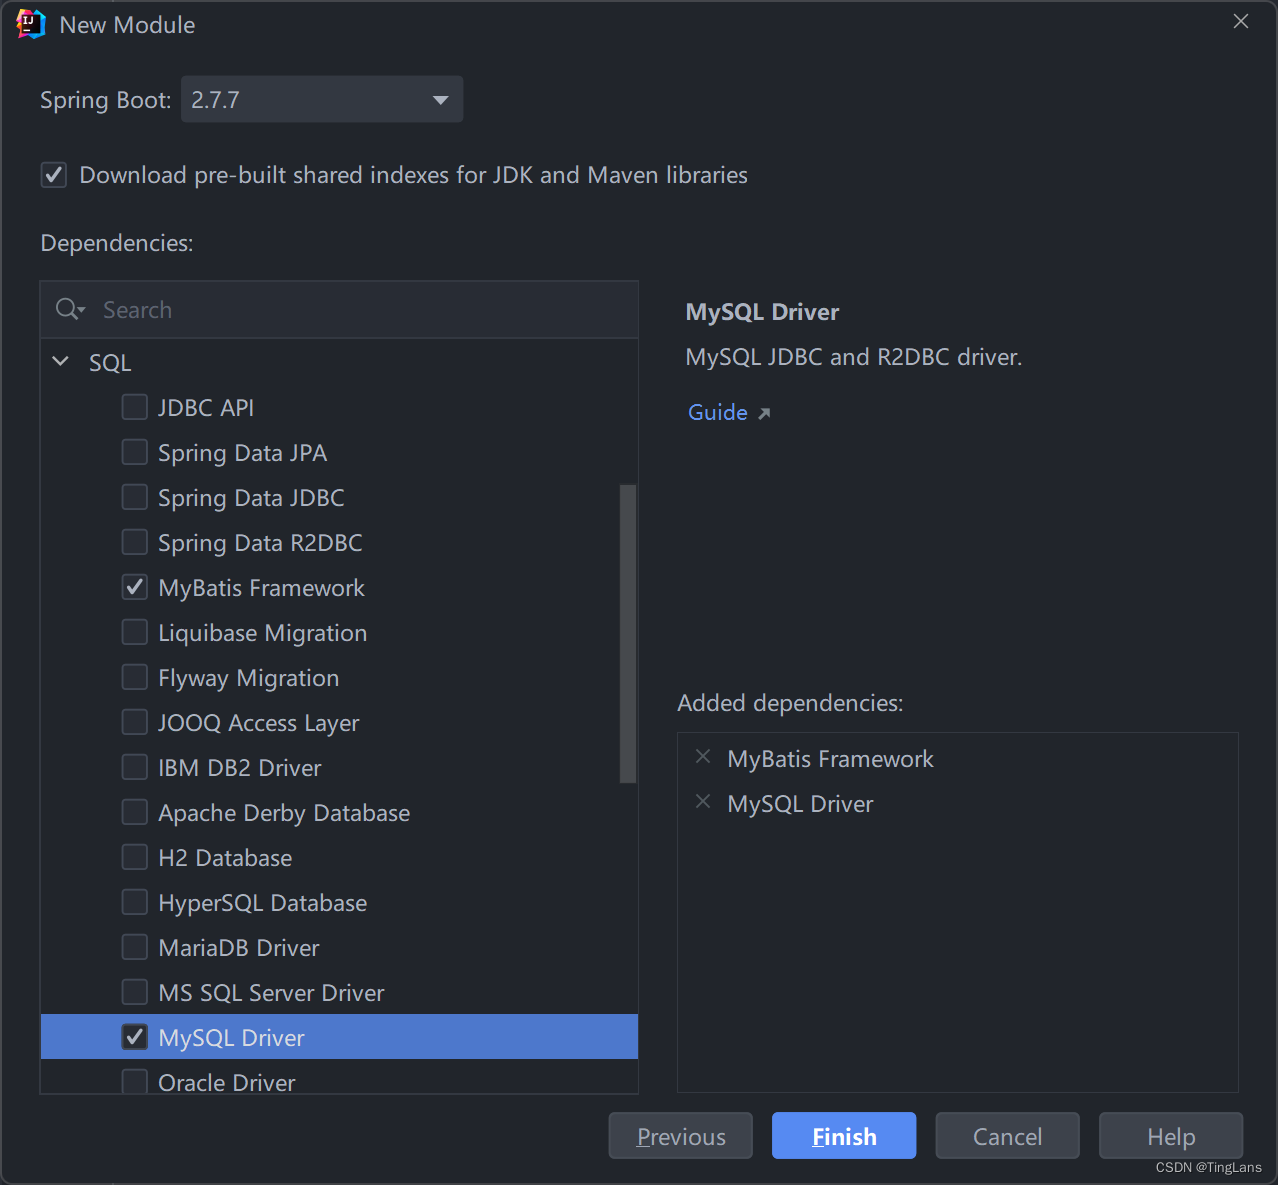
-
引入mybatis起步依赖,添加mysql驱动(IDEA自动完成)
-
编写DataSource(和MyBatis)相关配置
-
定义表和实体类
-
编写dao和mapper文件/纯注解开发
-
测试
纯注解开发(推荐)
在application文件中编写DataSource
# datasource
spring:
 	  datasource:
  		url: jdbc:mysql:///springboot
  		username: root
   	password: 030322Lr
   	driver-class-name: com.mysql.cj.jdbc.Driver
在数据库中导入表,然后创建实体类
package com.study.springbootmybatis.domain;
//实体类User.java
public class User {

	private int id;
	private String username;
	private String password;
}
编写实体类
package com.study.springbootmybatis.domain;

public class User {

	private int id;
	private String username;
	private String password;
}
编写Mapper接口
//UserMapper接口
package com.study.springbootmybatis.mapper;

@Mapper
public interface UserMapper {

	@Select("select * from t_user")
	public List<User> findAll();
}
测试
package com.study.springbootmybatis;

@SpringBootTest
class SpringbootMybatisApplicationTests {

	@Autowired
	private UserMapper userMapper;

	@Test
	public void testFindAll() {
		List<User> list = userMapper.findAll();
		System.out.println(list);
	}
}
XML配置方式
在application文件中配置DataSource和MyBatis
# datasource
spring:
  datasource:
    url: jdbc:mysql:///springboot
    username: root
    password: 030322Lr
    driver-class-name: com.mysql.cj.jdbc.Driver

mybatis:
  mapper-locations: classpath:mapper/*Mapper.xml # mapper的映射文件路径
  type-aliases-package: com.study.springbootmybatis.domain # User实体类所在的包
  # config-location: # 指定mybatis的核心配置文件
在resources中新建一个xml配置文件
<?xml version="1.0" encoding="UTF-8" ?>
<!DOCTYPE mapper PUBLIC "-//mybatis.org//DTD Mapper 3.0//EN" "http://mybatis.org/dtd/mybatis-3-mapper.dtd">
<mapper namespace="com.study.springbootmybatis.mapper.UserXMLMapper">
    <select id="findAll" resultType="user">
        select * from t_user
    </select>
</mapper>
实体类与纯注解开发相同
编写Mapper接口
package com.study.springbootmybatis.mapper;

@Mapper
public interface UserXMLMapper {

	//没有加注解
	public List<User> findAll();
}
测试
package com.study.springbootmybatis;

@SpringBootTest
class SpringbootMybatisApplicationTests {

	@Autowired
	private UserXMLMapper userXMLMapper;

	@Test
	public void testXMLFindAll() {
		List<User> list = userXMLMapper.findAll();
		System.out.println(list);
	}
}


 3045
3045


 被折叠的 条评论
为什么被折叠?
被折叠的 条评论
为什么被折叠?
 到【灌水乐园】发言


