


Python实现自动化操作手机,本质上是通过Python执行adb命令来实现的。因此我们在开始写代码之前需要安装好 adb 工具。
1.下载adb
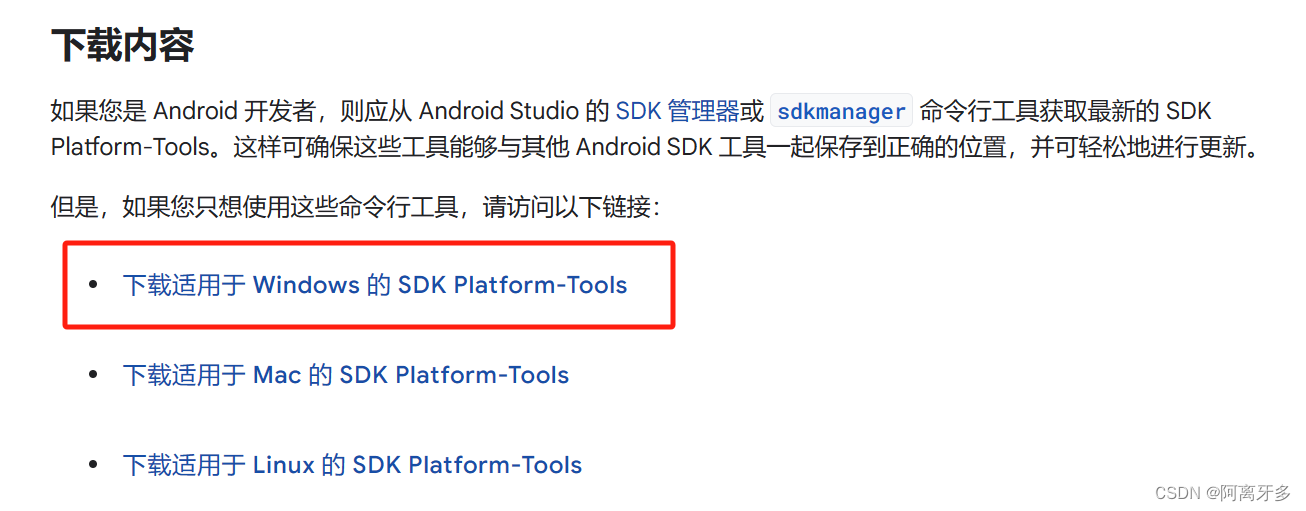
下载链接如下:
 https://developer.android.google.cn/tools/releases/platform-tools?hl=zh_cn
下载自己系统对应的工具包即可
解压后,将 adb.exe 所在的文件夹目录放入环境变量中,以便在任何位置都可以执行 adb 命令。
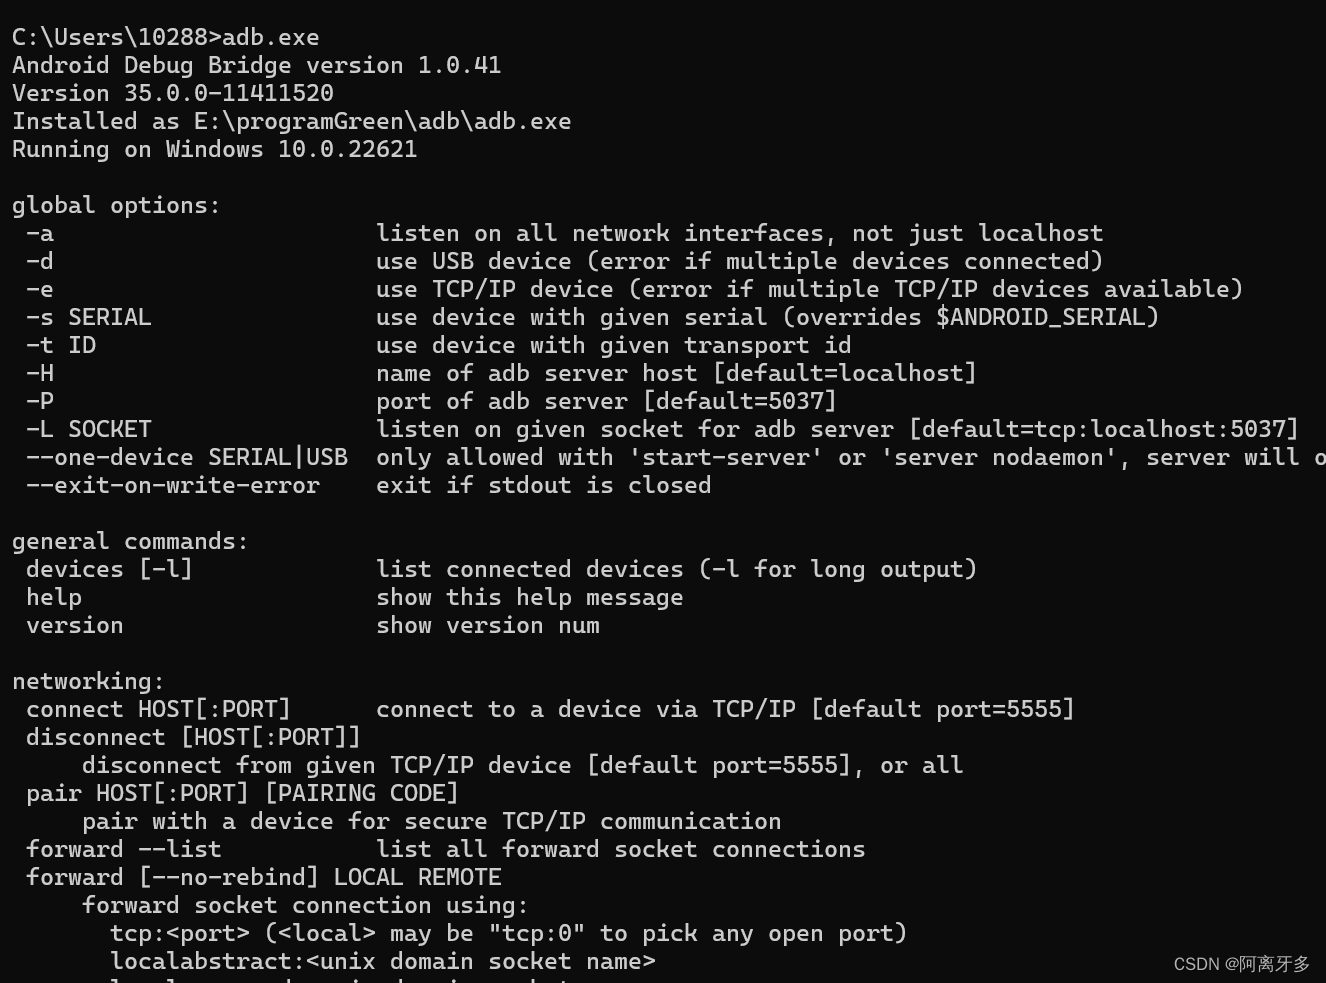
配置完成后,win + r 输入cmd,在命令行执行 adb.exe,若显示 Android Debug Bridge version (安卓调试桥版本)等信息,则证明配置成功。若不是这些,可自行百度配置环境变量。
2.连接手机或模拟器
操作手机的Python库为 uiautomator2 ,通过pip 或 pip3安装一下该库:
pip3 install uiautomator21.连接模拟器比较简单,一般模拟器默认打开了adb调试功能,如雷电模拟器。只需打开模拟器后,电脑命令行输入adb devices 查看手机列表中有机器即为连接成功。
2.手机连接相对复杂些,打开手机设置 - - 关于本机 - - 版本信息 - - 版本号 连续快速点击5次 即可打开开发者模式。
在开发者选项中,打开 usb调试功能 ,插上数据线连接电脑,选择文件传输模式,cmd命令行中输入 adb devices ,即可查看连接的手机列表。PS:刚开始最好只连接一个手机或模拟器,如果有多开需求,在程序中需要遍历手机列表后分别执行命令,否则会报错。
要想操作真实手机,还需要执行 python -m uiautomator2 init 在手机上安装ATX,模拟器则不用。
python -m uiautomator2 init期间会弹出usb调试授权提示,允许即可。
3.写代码
1.安装依赖
打开编译器,安装所需依赖。
我们使用 subprocess 库来运行外部命令 (adb命令),运行如下命令安装:
pip3 install subprocess使用 cv2 库处理图像:
pip3 install opencv-python使用 schedule 实现定时任务
pip3 install schedule2.写方法
1.执行abd命令的方法
def adb(command):
    proc = subprocess.Popen(command.split(' '), stdout=subprocess.PIPE, shell=True)
    (out, _) = proc.communicate()
    return out.decode('utf-8')
代码解释:
Popen 是 subprocess 模块中最核心的类,用于创建一个新的子进程。
command.split(' ') 表示将一个包含命令及其参数的字符串按空格分割成列表形式,以便在子进程中执行。
stdout=subprocess.PIPE 表示重定向子进程的标准输出到一个管道,使得父进程可以通过proc.stdout 读取子进程的输出内容。
shell=True 表示在Shell环境中执行命令,这样可以使用Shell的语法特性(如管道符、文件通配符等)。
第二行的 proc.communicate() 函数通常是在处理子进程时调用的,它返回一个包含两个元素的元组,我们使用(out,_)来接收。out:这是第一个元素,代表子进程的标准输出(stdout),通常是字符串形式。_:这是第二个元素,习惯上用于表示我们并不关心这个变量的值,扔掉就好了。
2.获取屏幕截图
# 截图
def take_screenshot(final):
    adb(f"adb exec-out screencap -p > ./images/{final}.png")
    print("截图成功!")
其中 adb exec-out screencap -p > ./images/{final}.png 是将截图保存到电脑端,"./images/{final}.png" 是本Python文件同级目录下名为images的文件夹,保存截图的名称为{final}.png , final是变量, 可自行传入。
3.点击屏幕的方法
# 点击屏幕
def tap(tap_x, tap_y):
    adb("adb shell input tap {} {}".format(tap_x, tap_y))
通过adb执行点击命令,{} 为占位符,通过字符串格式化方法将点击坐标传入adb命令
PS:如果不通过图像识别技术,也可以打开手机指针,获取点击位置的坐标
4. 通过图片对比获取位置信息
# 获取图片位置
def image_position(small_image, big_image):
    img_rgb = cv2.imread(big_image)
    img_gray = cv2.cvtColor(img_rgb, cv2.COLOR_BGR2GRAY)
    template = cv2.imread(small_image, 0)
    height, width = template.shape[::]
    res = cv2.matchTemplate(img_gray, template, cv2.TM_SQDIFF)
    _, _, top_left, _ = cv2.minMaxLoc(res)
    bottom_right = (top_left[0] + width, top_left[1] + height)
    return (top_left[0]+bottom_right[0])//2, (top_left[1]+bottom_right[1])//2
该方法有两个参数,参数一 small_image 是你截取的 想要点击的 图标 的路径,比如你要点击微信读书,你就提前截一张 微信读书的图标,放在你的 images 目录下。你要点击微信读书的打卡(我就这么一说其实微信读书没有打卡) 你就把要点击的那个打卡元素截下来,还是放到 image 路径下。
参数二为 big_image 大图(也是路径),其实就是程序执行过程中获取手机当前屏幕,这个方法是匹配小图在大图中的位置,获取你要点击的这个地方的坐标,最终把这个坐标作为参数传到上边那个点击平屏幕的方法中。
5.获取想要点击的所有图片
# 找到所有的图标文件
def find_png():
    for root, dirs, files in os.walk("images"):
        file_list = []
        for file in files:
            if file.endswith(".png") and "among" in file:
                print(file)
                file_list.append(file)
        return file_list
该函数使用os.walk()方法遍历指定目录下的所有文件和子目录。在每次循环中,root表示当前遍历的目录路径,dirs表示当前目录下的子目录列表,files表示当前目录下的文件列表。这个“images”就是图片所在的文件夹,这里还是相对路径,即Python同级下的文件夹名称,也可以用绝对路径(不推荐)。
在遍历图片文件过程中,需要通过文件名对图片进行一定的过滤,比如 file.endswith(".png") 以“.png” 结尾的文件, "among" in file 文件名中含有 among 的文件, 这个可以自由控制,然后把获取的图片都放到名叫file_list 的列表中。 建议把图片命名为 数字 + 标识 .png, 遍历的时候比较方便。
6.执行程序测试一下
pngName = find_png() #找到所有文件
print(pngName)
for i in pngName:   #遍历所有文件
    screen = "screen"
    take_screenshot(screen)  #截图 文件名为screen
    try:
        x, y = image_position(f"images/{i}", f"images/{screen}.png")
    except Exception as e:
        print(e)
        print("找不到图标,执行下一步操作")
        continue
    tap(x, y)
    print(f"点击了{i}图标")
程序执行顺序为: 找到所有要点击的图标文件名 -- 遍历图标文件名 -- 手机截图 -- 通过比对图标和截图获取 x,y 坐标 -- 点击坐标
这里使用 try...except.. 包裹,防止异常导致程序执行失败。
如果能够正常执行,只需将上述步骤封装进某个方法,再添加定时任务即可。
7.添加定时任务
# 定义任务
def job():
    pngName = find_png()
    print(pngName)
    for i in pngName:
        screen = "screen"
        take_screenshot(screen)
        try:
            x, y = image_position(f"images/{i}", f"images/{screen}.png")
        except Exception as e:
            print(e)
            print("找不到图标,执行下一步操作")
            continue
        tap(x, y)
        print(f"点击了{i}图标")

# 定义定时任务
time1 = input("请输入微信读书打卡时间,格式为:时:分,例如08:50\r\n")
time2 = input("请输入微信读书打卡时间,格式为:时:分,例如17:50\r\n")
schedule.every().day.at(time1).do(job)
schedule.every().day.at(time2).do(job)
while True:
    print("等待中...")
    schedule.run_pending()
    time.sleep(40)
如图,将第6步封装为job() 方法,在下边通过 schedule 进行调用
我这里写 time1 = input()是为了打包成exe文件后,比较方便的修改定时任务的时间,如果只在IDE中运行,先写死比较省劲儿。
schedule.run_pending() 是一个用于执行调度器中所有待执行的任务的函数。它遍历调度器中的任务列表,检查每个任务是否满足执行条件(如时间、优先级等),如果满足则执行该任务。该函数返回一个布尔值,表示是否执行了任务。(其实感觉比较der)
至此,本篇内容全部结束。完整代码如下:
8.完整代码
import subprocess
import cv2
import time
import os
import schedule


def adb(command):
    proc = subprocess.Popen(command.split(' '), stdout=subprocess.PIPE, shell=True)
    (out, _) = proc.communicate()
    return out.decode('utf-8')

# 截图
def take_screenshot(final):
    adb(f"adb exec-out screencap -p > ./images/{final}.png")
    print("截图成功!")

# 点击屏幕
def tap(tap_x, tap_y):
    adb("adb shell input tap {} {}".format(tap_x, tap_y))

# 获取图片位置
def image_position(small_image, big_image):
    img_rgb = cv2.imread(big_image)
    img_gray = cv2.cvtColor(img_rgb, cv2.COLOR_BGR2GRAY)
    template = cv2.imread(small_image, 0)
    height, width = template.shape[::]
    res = cv2.matchTemplate(img_gray, template, cv2.TM_SQDIFF)
    _, _, top_left, _ = cv2.minMaxLoc(res)
    bottom_right = (top_left[0] + width, top_left[1] + height)
    return (top_left[0]+bottom_right[0])//2, (top_left[1]+bottom_right[1])//2


# 找到所有的图标文件
def find_png():
    for root, dirs, files in os.walk("images"):
        file_list = []
        for file in files:
            if file.endswith(".png") and "among" in file:
                print(file)
                file_list.append(file)
        return file_list

# 定义任务
def job():
    pngName = find_png()
    print(pngName)
    for i in pngName:
        screen = "screen"
        take_screenshot(screen)
        try:
            x, y = image_position(f"images/{i}", f"images/{screen}.png")
        except Exception as e:
            print(e)
            print("找不到图标,执行下一步操作")
            continue
        tap(x, y)
        print(f"点击了{i}图标")

# 定义定时任务
time1 = input("请输入上班打卡时间,格式为:时:分,例如08:50\r\n")
time2 = input("请输入下班打卡时间,格式为:时:分,例如17:50\r\n")
schedule.every().day.at(time1).do(job)
schedule.every().day.at(time2).do(job)
while True:
    print("等待中...")
    schedule.run_pending()
    time.sleep(40)


 1177
1177

 被折叠的 条评论
为什么被折叠?
被折叠的 条评论
为什么被折叠?
 到【灌水乐园】发言


