


BOM浏览器对象模型:是规范浏览器对js语言的支持(js调用浏览器本身功能)
BOM的具体实现是window对象
window对象使用
1. 不用new直接进行使用即可,类似Math的使用方式,window关键字可以省略不写
window.document等等
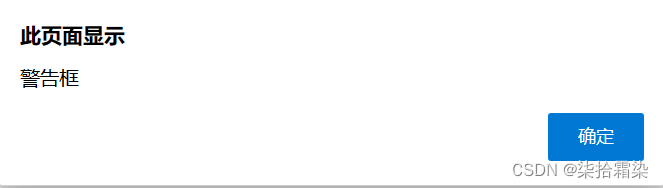
2. 框体方法
<!DOCTYPE html>
<html lang="en">
<head>
<meta charset="UTF-8">
<meta name="viewport" content="width=device-width, initial-scale=1.0">
<title>windows</title>
<script>
var a;
function warn(){
a=window.alert('警告框');
console.log(a);
}
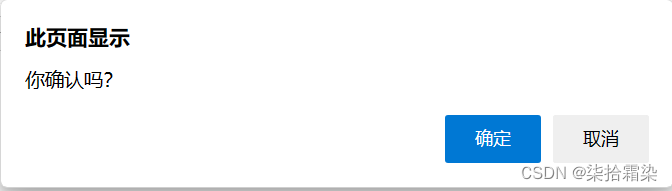
function sure(){
a=window.confirm('你确认吗?');
console.log(a);
}
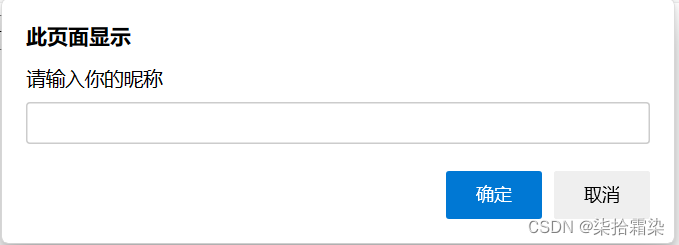
function prompt1(){
a=window.prompt('请输入你的昵称');
console.log(a);
}
</script>
</head>
<body>
<!-- 1. 框体方法 -->
<button onclick="warn();">警告框</button>
<button onclick="sure();">确认框</button>
<button onclick="prompt1();">提示框</button>
</body>
</html>确认框返回[确认true,取消false]
提示框返回[啥也不写返回'',取消返回null,输入内容返回内容]
3. 定时和间隔执行方法
setTimeout(操作,时间);
setInterval(操作,间隔时间);
将set改为clear就变成了清除
    <script>
        var id,id2;
        function testsettime(){
            id=window.setTimeout(function(){
                alert('3秒到了');
            },3000);
        }
        function testinterval(){
            id2=window.setInterval(function(){
                console.log('隔1秒执行');
            },1000);
        }
        function testcleartimeout(){
            window.clearTimeout(id);
        }
        function testclearinterval(){
            window.clearInterval(id2);
        }
    </script>
    <!-- 2. 定时和间隔执行方法 -->
    <button onclick="testsettime()">倒计时 3秒</button>
    <button onclick="testinterval()">间隔1秒</button>
    <button onclick="testcleartimeout()">停止计时器</button><!-- 阻止了倒计时的函数 -->
    <button onclick="testclearinterval()">停止间隔</button><!-- 从间隔弹出 -->
4. 子窗口方法
1》子窗口使用 window.opener.postMessage() 方法,父窗口使用window.addEventListener来监听
先看几个这浏览器页面的跳转与设置
// 地址栏属性[window.location.href, window.location.reload();]
        function testLocation(){
            window.location.href='http://www.baidu.com';//js操作,动态修改页面信息,跳转至该页面
        }
        function testLocation2(){
            window.location.reload();// 重新加载资源
        }
        // 历史记录【window.history.forward();,window.history.back();,window.history.go(index);】go0为刷新,
        function testHistory(){
            window.history.forward();
        }
        // 屏幕占比
        function testScreen(){
            var x=window.screen.width;//分辨率
            var y=window.screen.height;
            alert(x+':'+y);
        }
        // 浏览器配置属性
        function testNa(){
            alert(window.navigator.userAgent);
        }
<input type="button" value="test地址栏" onclick="testLocation()">
<input type="button" value="test地址栏" onclick="testLocation2()">
<input type="button" value="历史记录前进" onclick="testHistory()">
<input type="button" value="屏幕长宽" onclick="testScreen()">
<input type="button" value="屏幕配置" onclick="testNa()">父窗口,使用监听器进行监听
<script>
        window.addEventListener('message', function(event) {
            console.log('Received message from child window:', event.data);
        });
        function testopen(){
            //打开一个新窗口
            // window.open();
            /* window.open('js1.html','newwindow','height=200,width=600,top=0,left=0,toolbar=no,menubar=no,scrollbars=no,resizeble=no,location=no,status=no');
                                 页面,打开方式,'配置(子窗口的高,宽,距顶,距左,工具栏,菜单栏,滚动条,大小是否可变,地址栏,状态栏)'
            */
            window.open('被打开子窗口.html','newwindow','height=200,width=600,top=200,left=320,toolbar=no,menubar=yes,scrollbars=no,resizeble=no,location=no,status=yes');
        }
</script>
<button onclick="testopen()">打开新标签页</button>
子窗口中携带了一个案例【几秒钟后关闭】【打开父页面的控制台即可看到】
<script>
    function clc(){
        window.opener.postMessage('Hello from child window!', '*');
        }
    function testclose(){
            window.setInterval(function(){
                var span=document.getElementById('testspan');
                span.innerHTML=span.innerHTML-1;
                if(span.innerHTML == 0){
                    window.close();//只能关闭由window打开的页面
                }
            },1000);
        }
        function testc(){
            window.close();
        }
</script>
<body onload="testclose()">
    <p>该页面<span style="color: brown;" id="testspan">60</span>秒后关闭</p>
    <button onclick="testc();">关闭子页面</button>
    <button onclick="clc();">发往父页面</button>
</body>
在上面的代码中,子窗口使用 window.opener.postMessage() 方法向父窗口发送消息。postMessage 方法的第一个参数是要发送的消息内容,第二个参数是目标窗口的原点,使用 '*' 表示可以向任意源发送消息。
在父窗口中,我们使用 window.addEventListener() 方法来监听 message 事件,当子窗口发送消息时,就会触发该事件的处理程序。在处理程序中,我们可以通过 event.data 属性获取到子窗口发送的消息内容。
2》使子窗口与父窗口同源【域名相同,即发到服务器上,在自己本机做不到】
要实现第二种方法,将父窗口和子窗口设置为相同的域(同源),您可以遵循以下步骤:
将父窗口和子窗口的 HTML 文件放置在同一个域(同一个域名、协议和端口)下。例如,将它们都放置在http://example.com域下。
通过域名访问父窗口和子窗口的 HTML 文件。确保父窗口和子窗口的 URL 地址的域名部分相同。
确保父窗口和子窗口的协议和端口也相同。例如,父窗口是通过http://example.com访问的,则子窗口也应该通过http://example.com访问而不是https://example.com。
在父窗口和子窗口之间的通信上使用 window 对象的属性和方法,例如 window.opener 。
请注意,如果您的父窗口和子窗口由不同的应用程序或服务提供,您可能需要进行相应的配置和设置。具体的步骤和操作方式可能因您使用的服务器或应用程序框架而有所不同。
值得注意的是,如果您正在使用的是本地文件系统(file://),则无法直接通过改变域来避免跨域问题。您可以尝试使用本地服务器来提供您的应用程序,例如使用 Node.js 的 http-server 包或其他类似的工具。
请确保在实施任何更改之前备份您的代码,并且仅在您了解安全风险并且在可信环境中进行这些更改。
下节是一些案例


 被折叠的 条评论
为什么被折叠?
被折叠的 条评论
为什么被折叠?
 到【灌水乐园】发言


